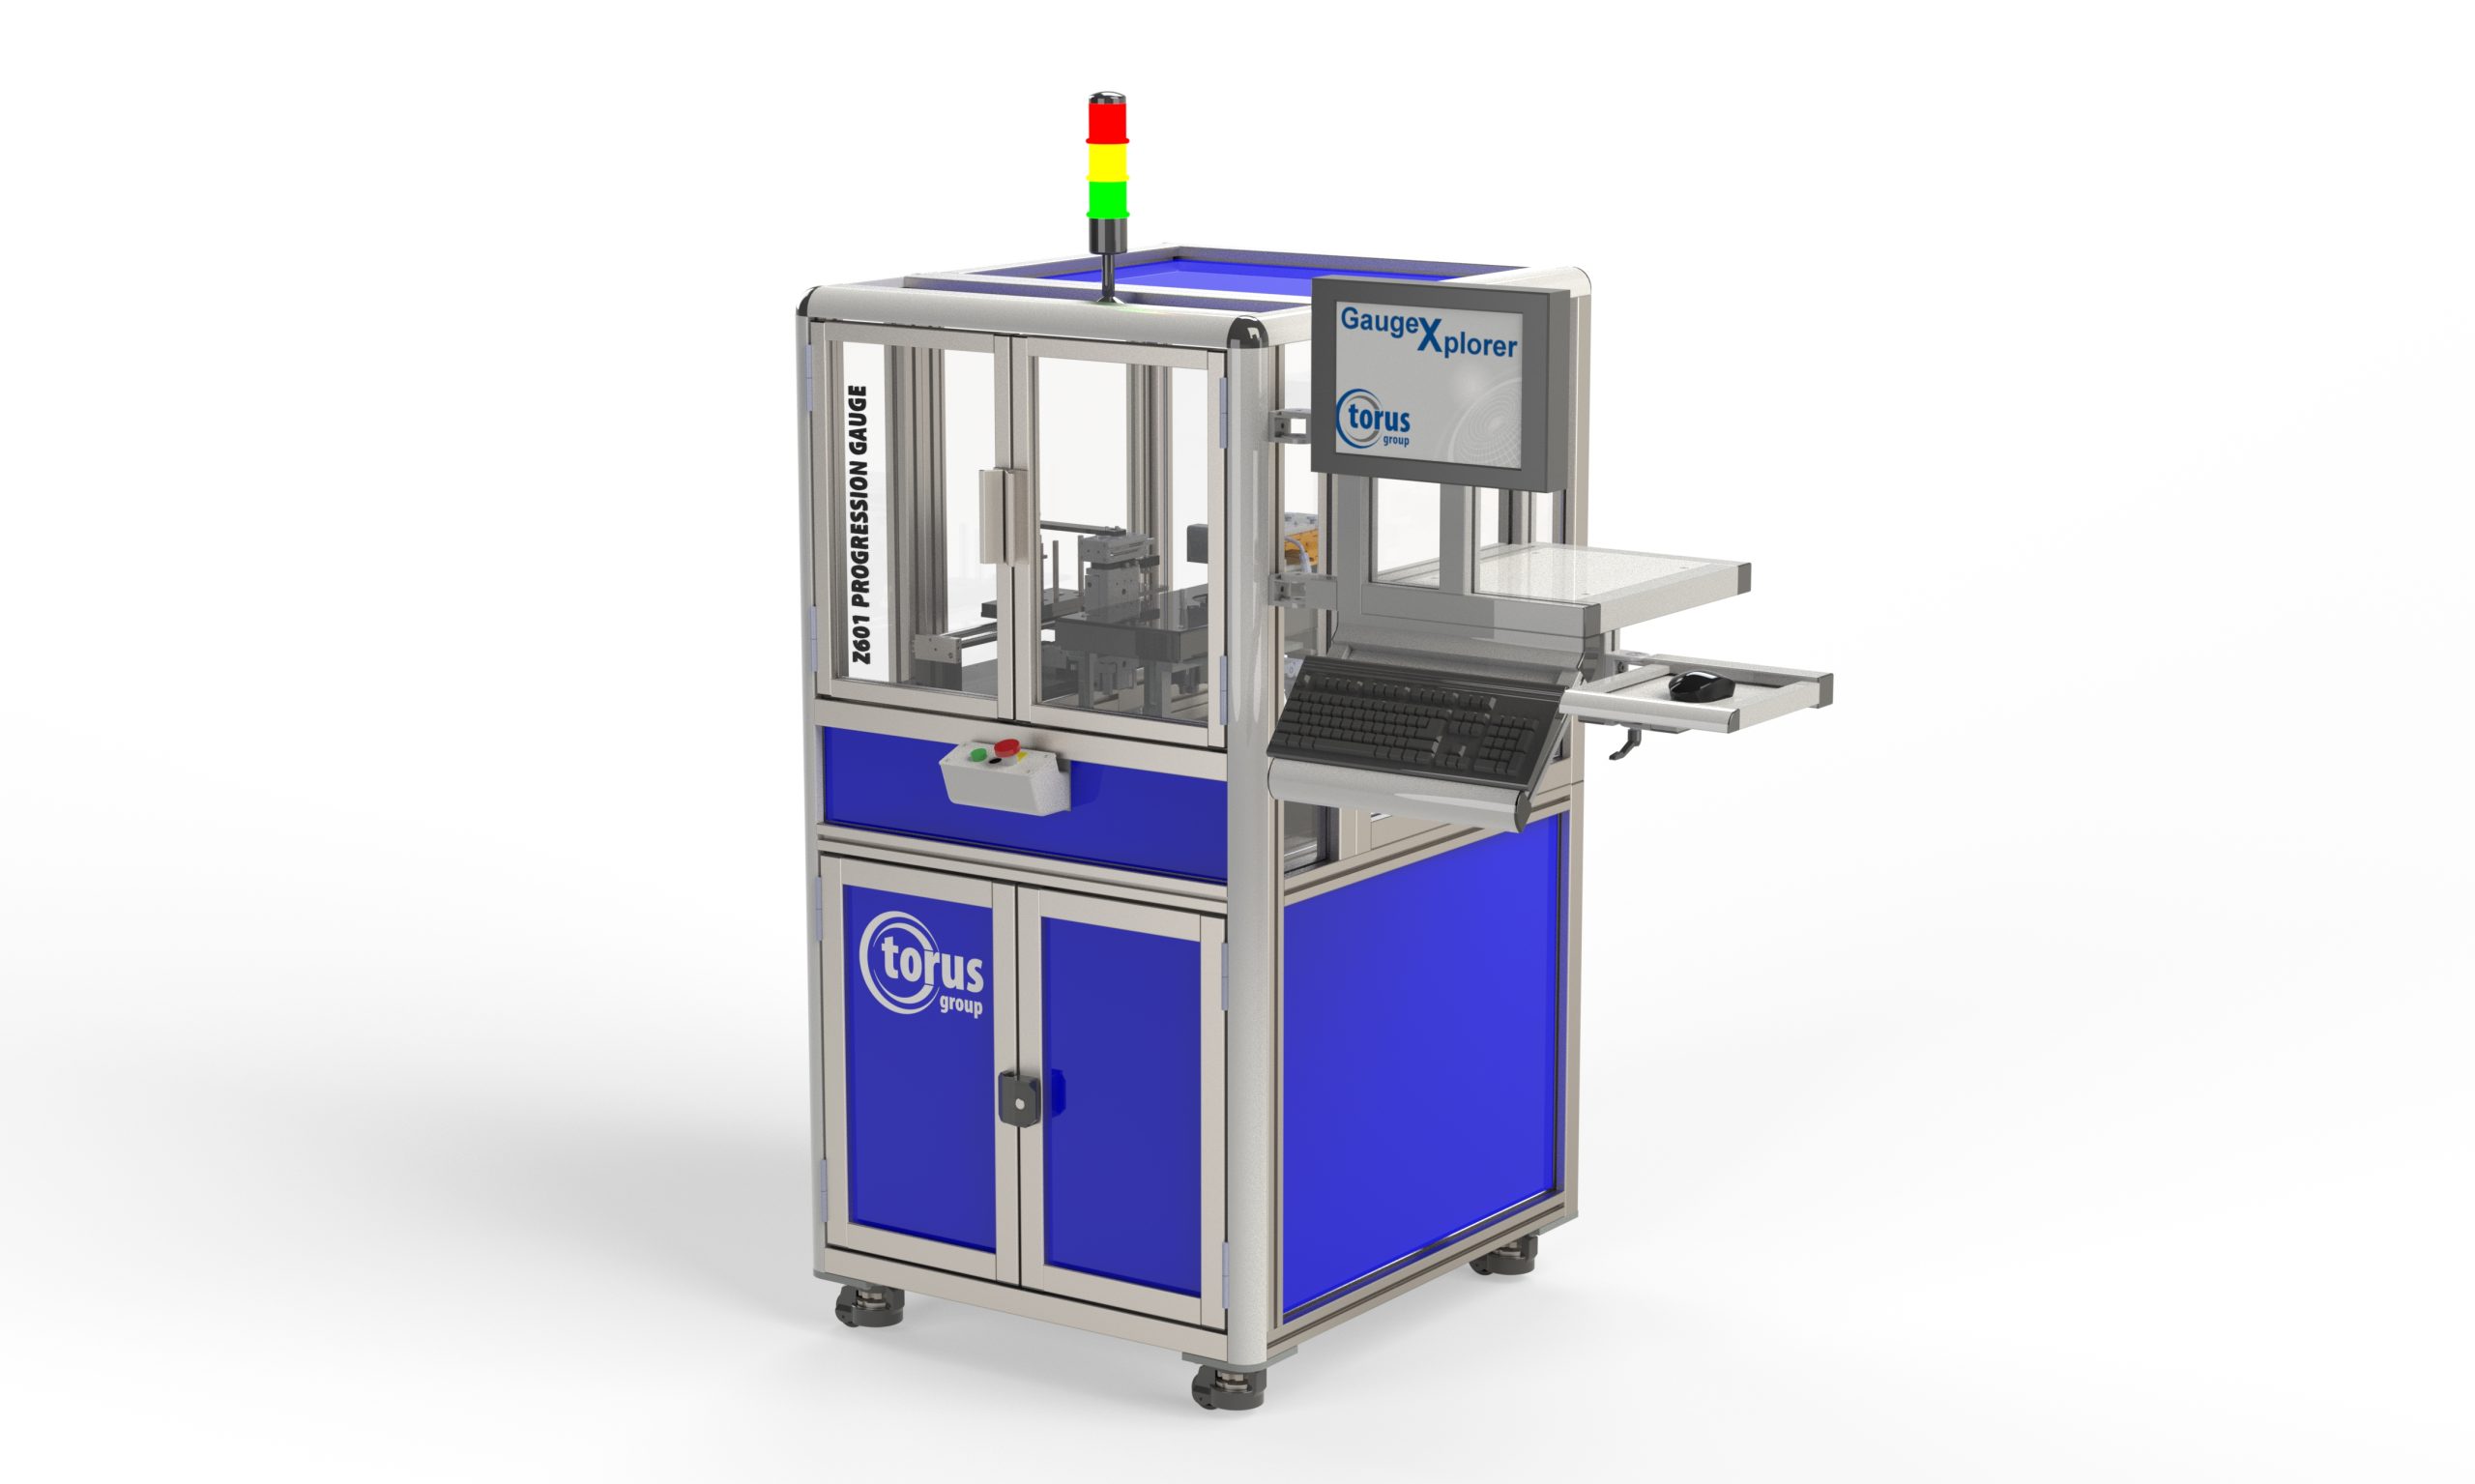
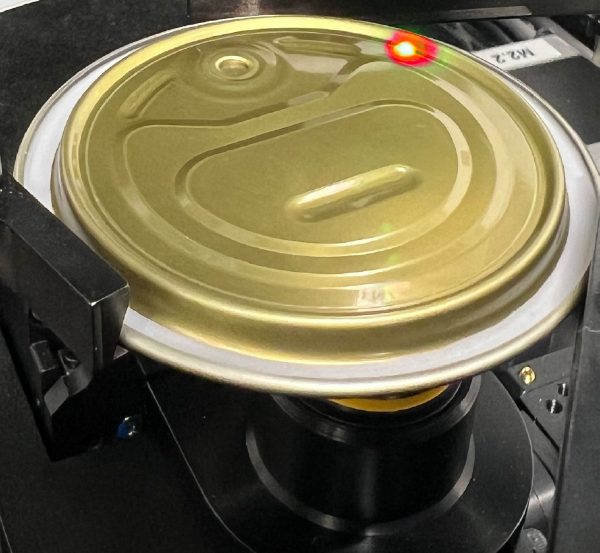
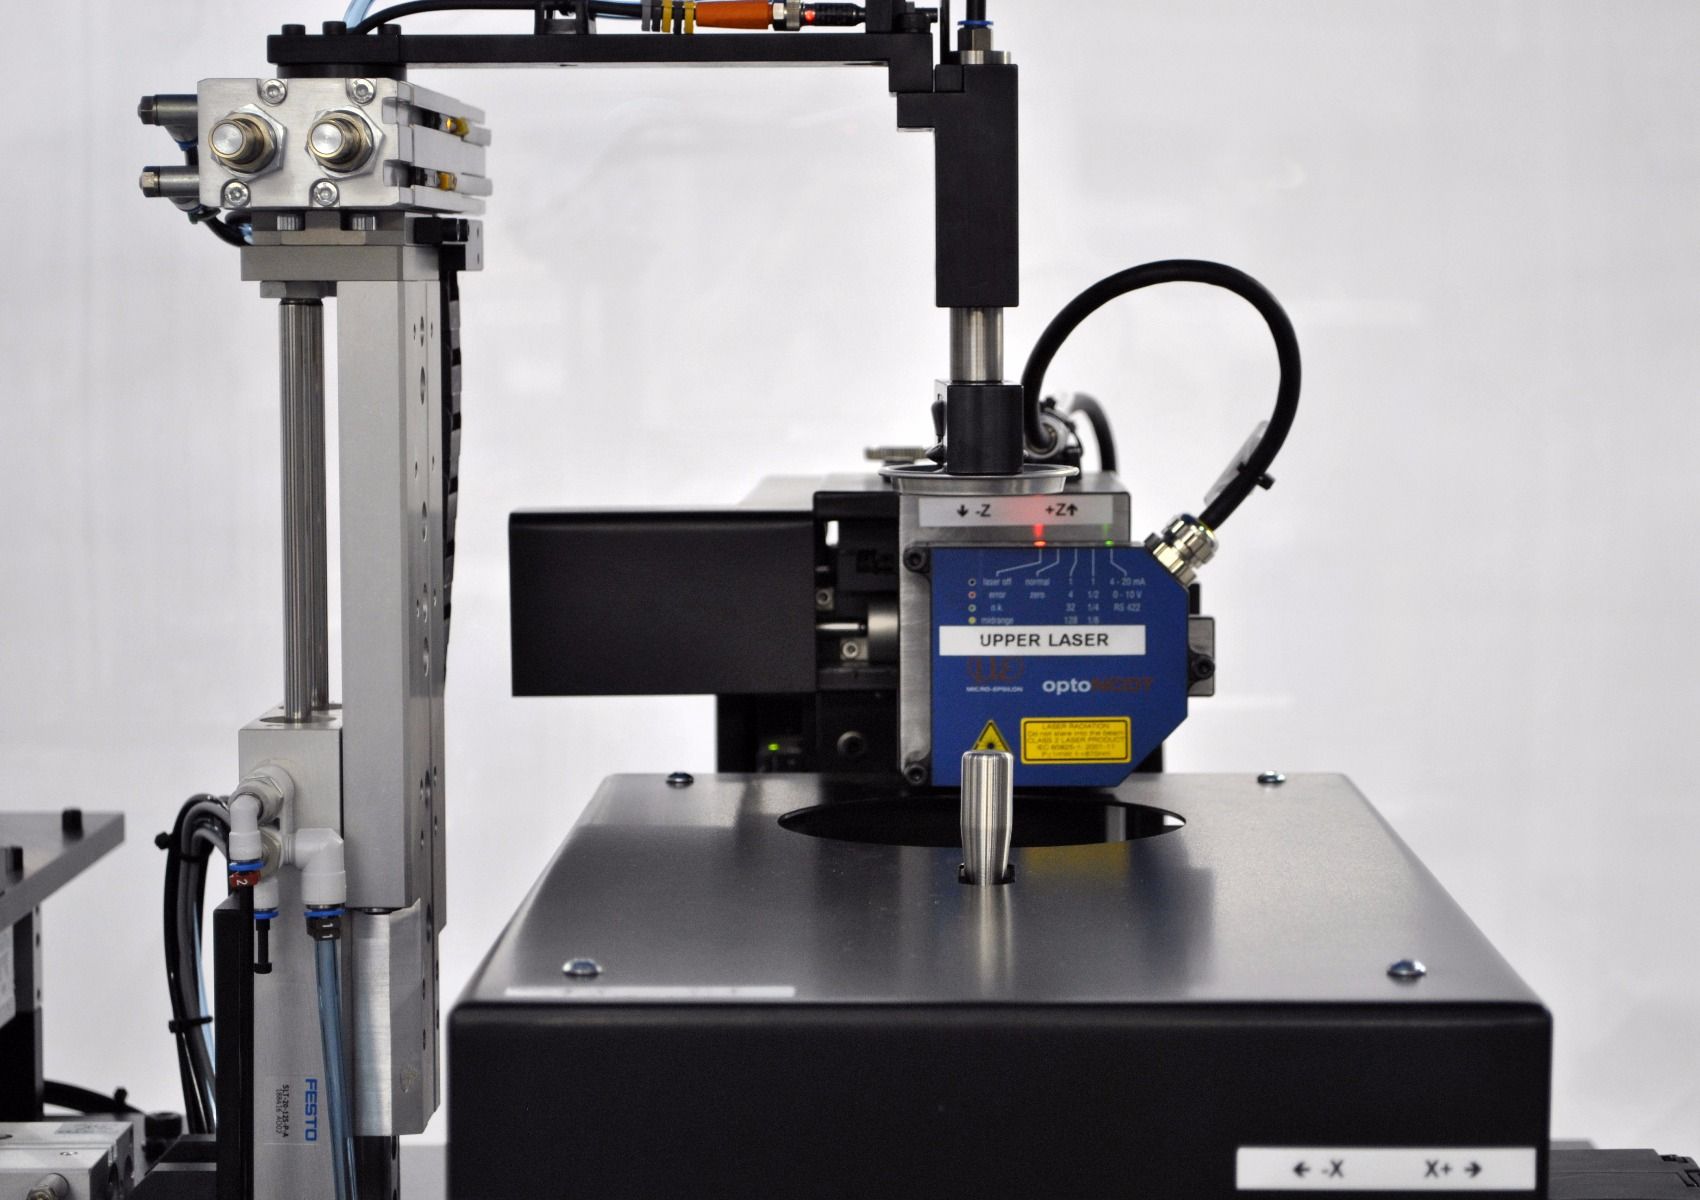
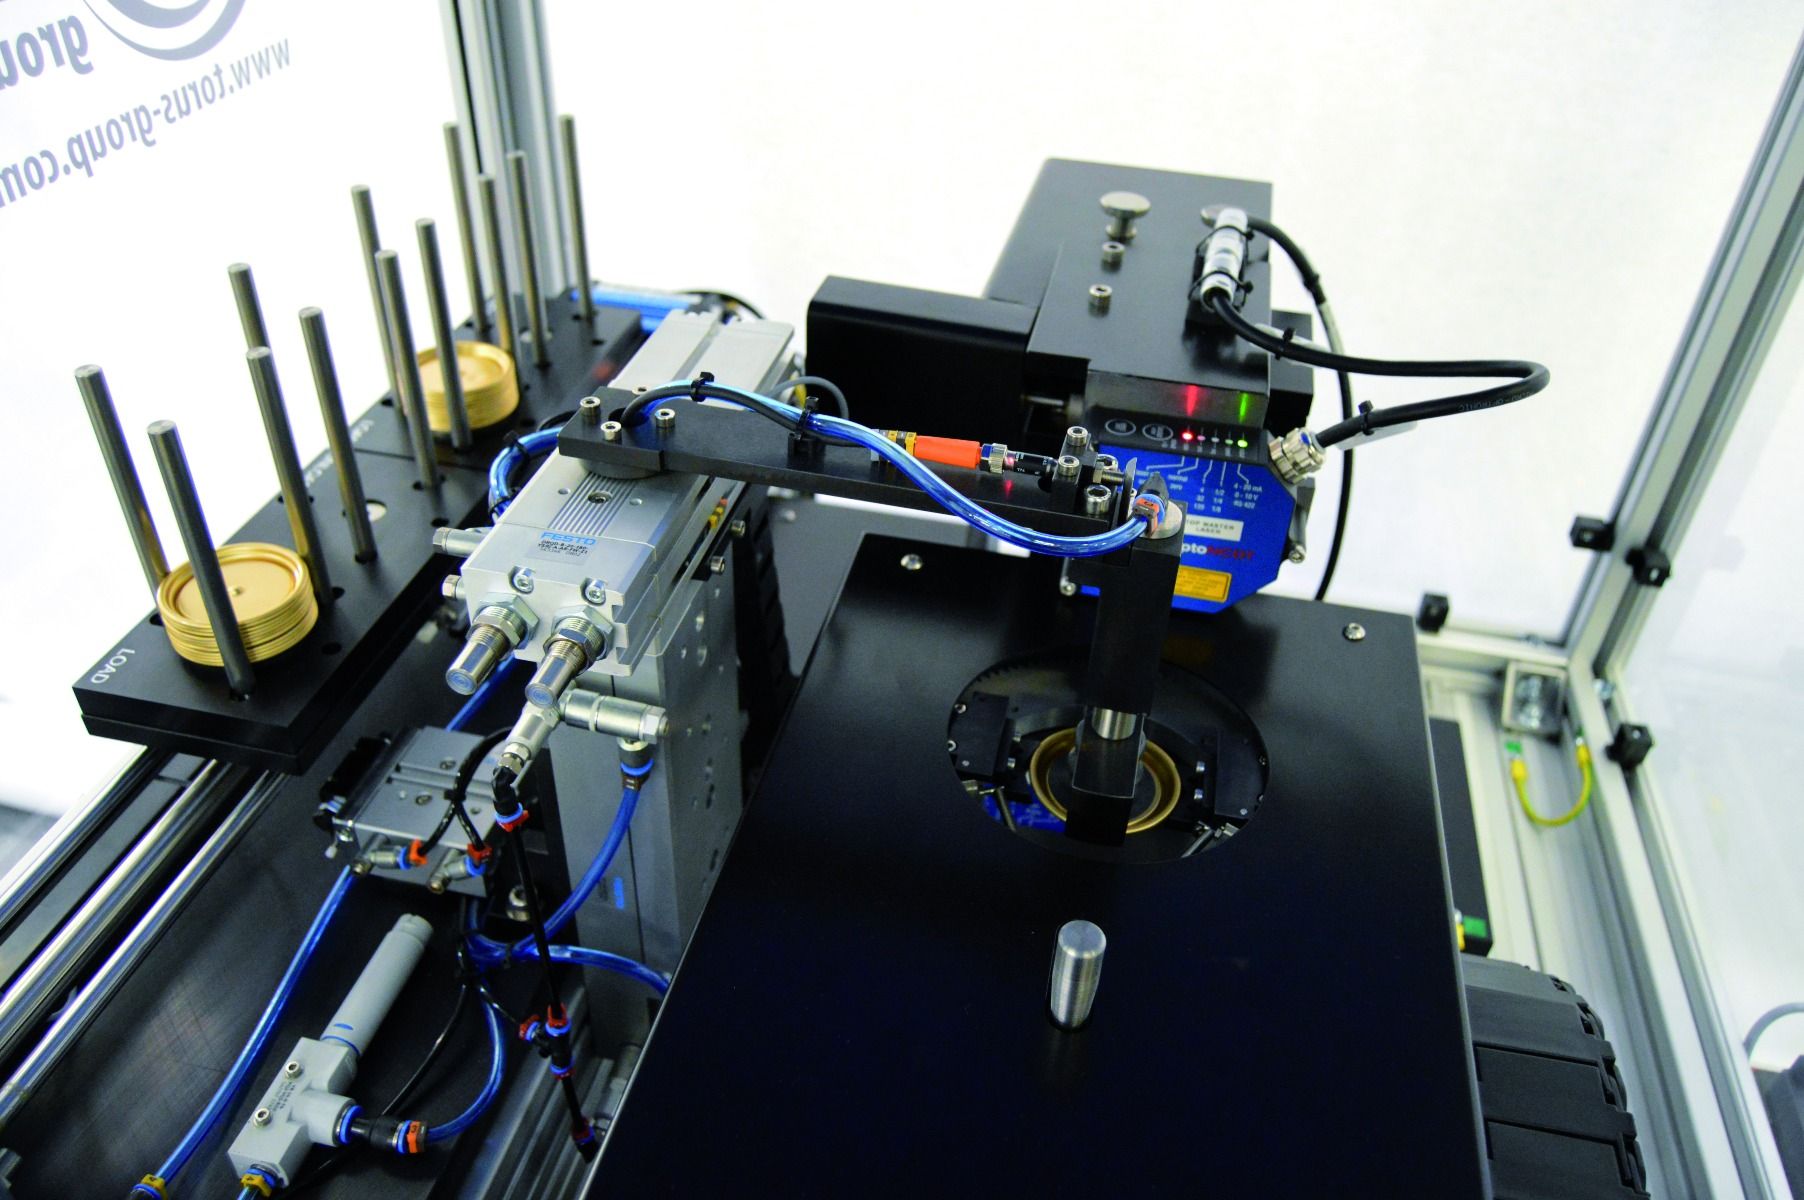
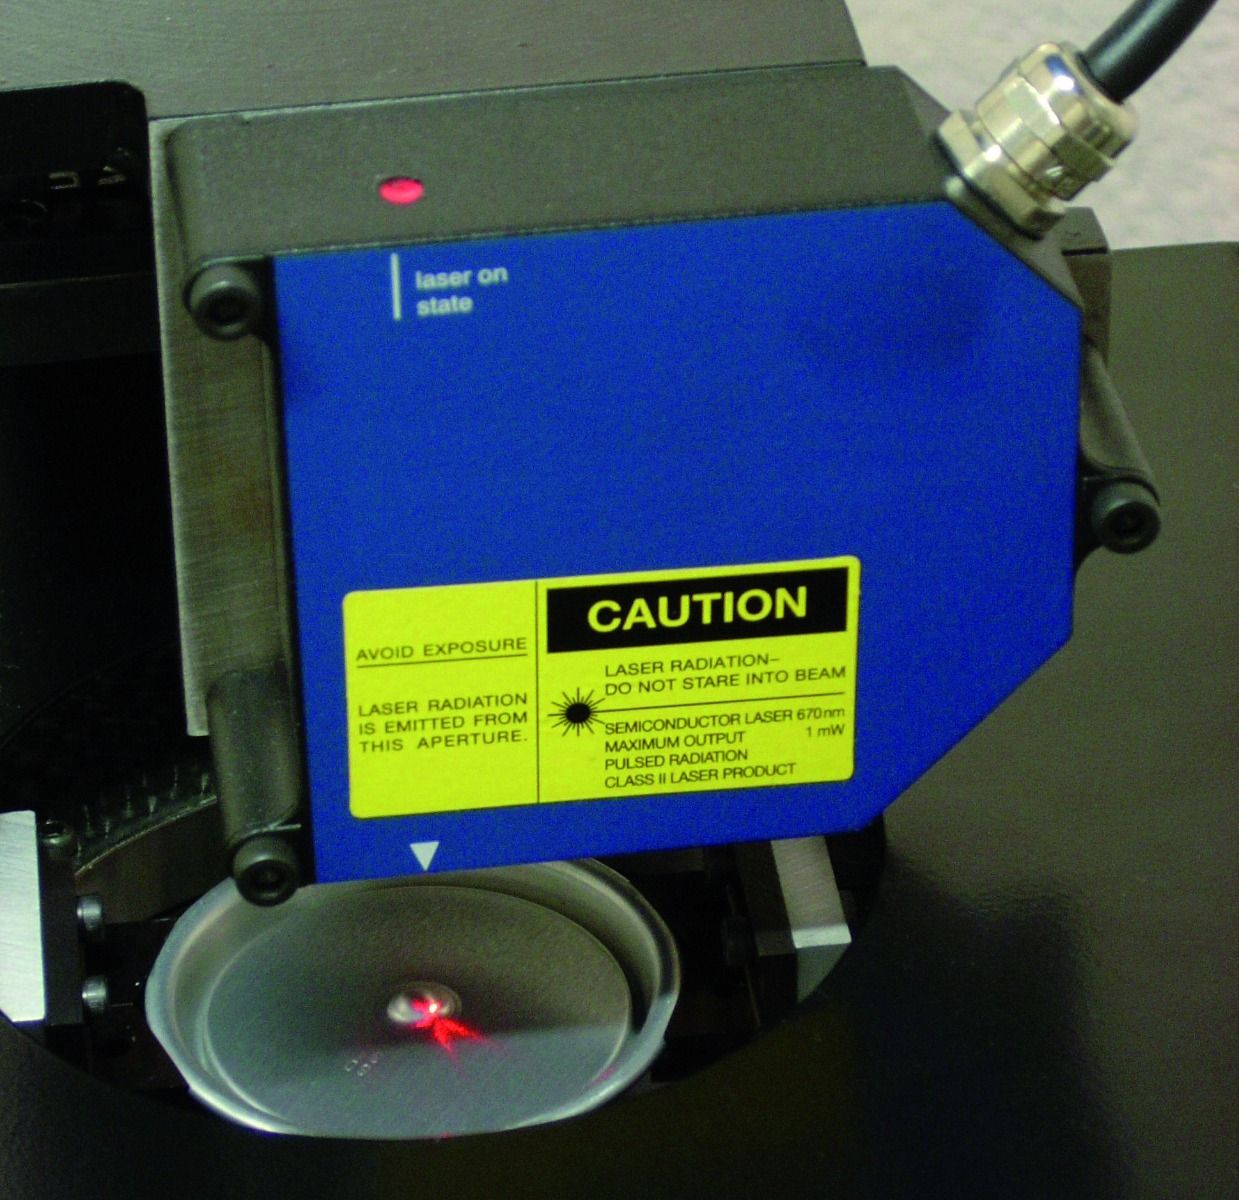


The Z611 Automative EOE Progression Gauges sets the standard for inspecting all standard and enhanced inspection features across all conversion types.
The non-contact technology gives the operator the reassurance that no influence or bias has occurred during measurement, giving you full confidence in your production process.
Technical Specification
Features (Standard Features)
Features (Enhanced Features)
Standard Measurement Features include:
Enhanced Measurement Features include:

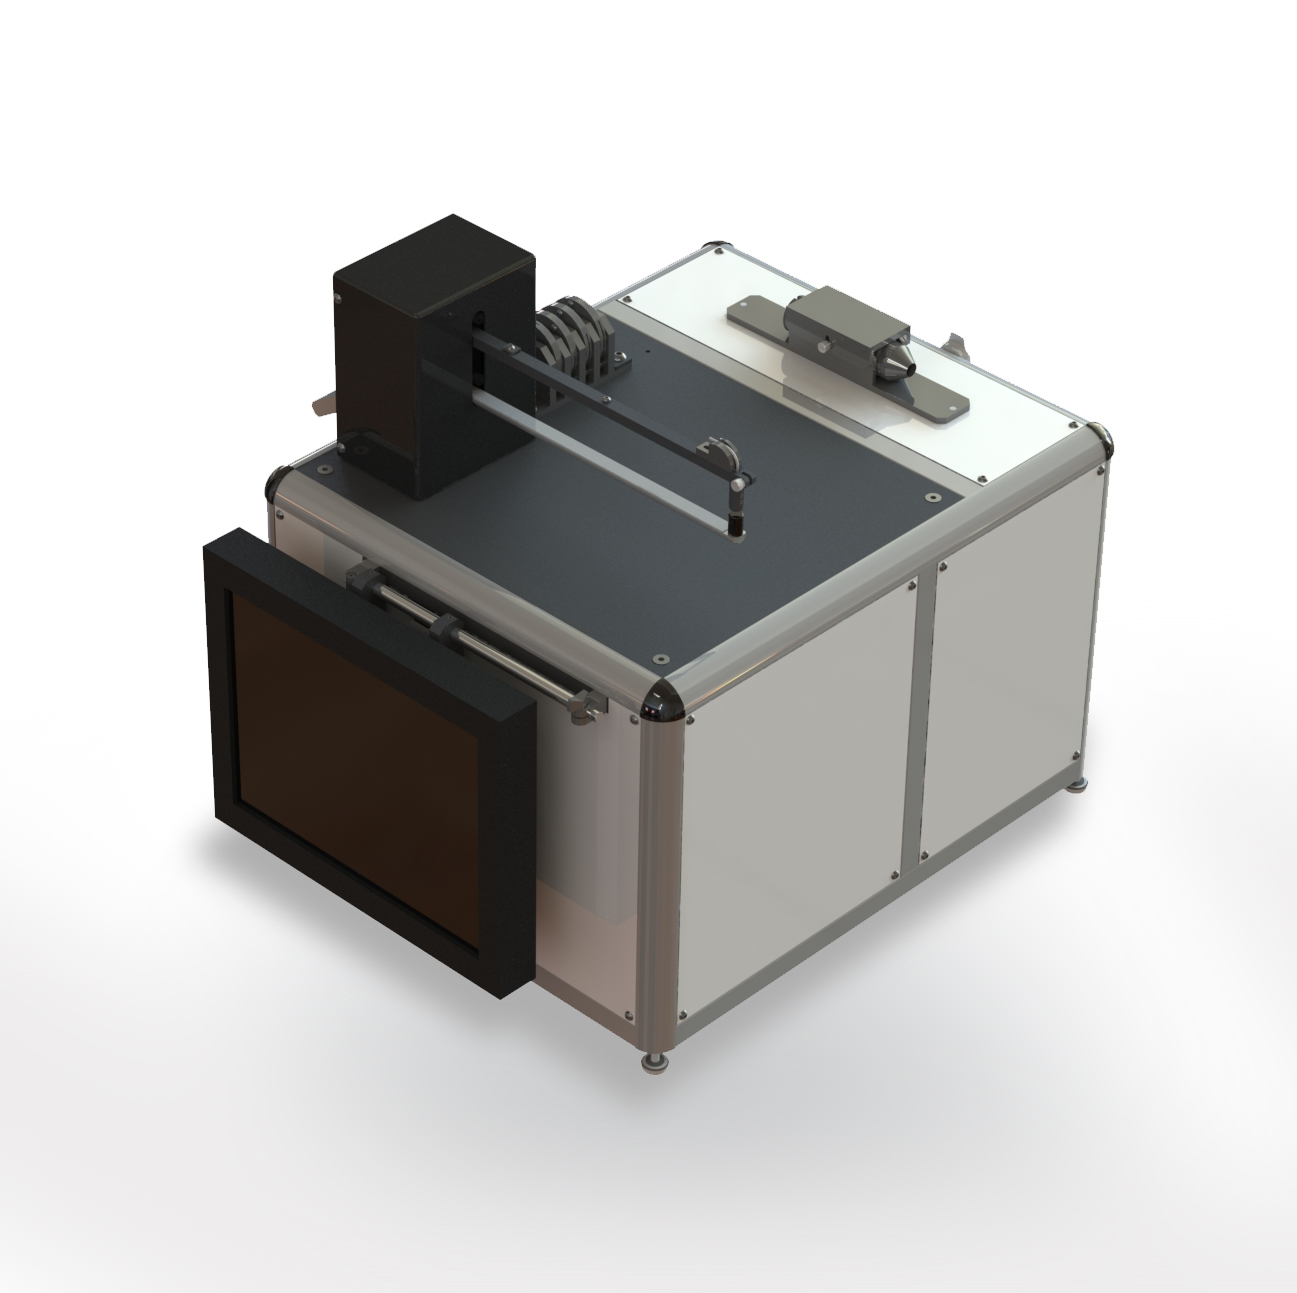
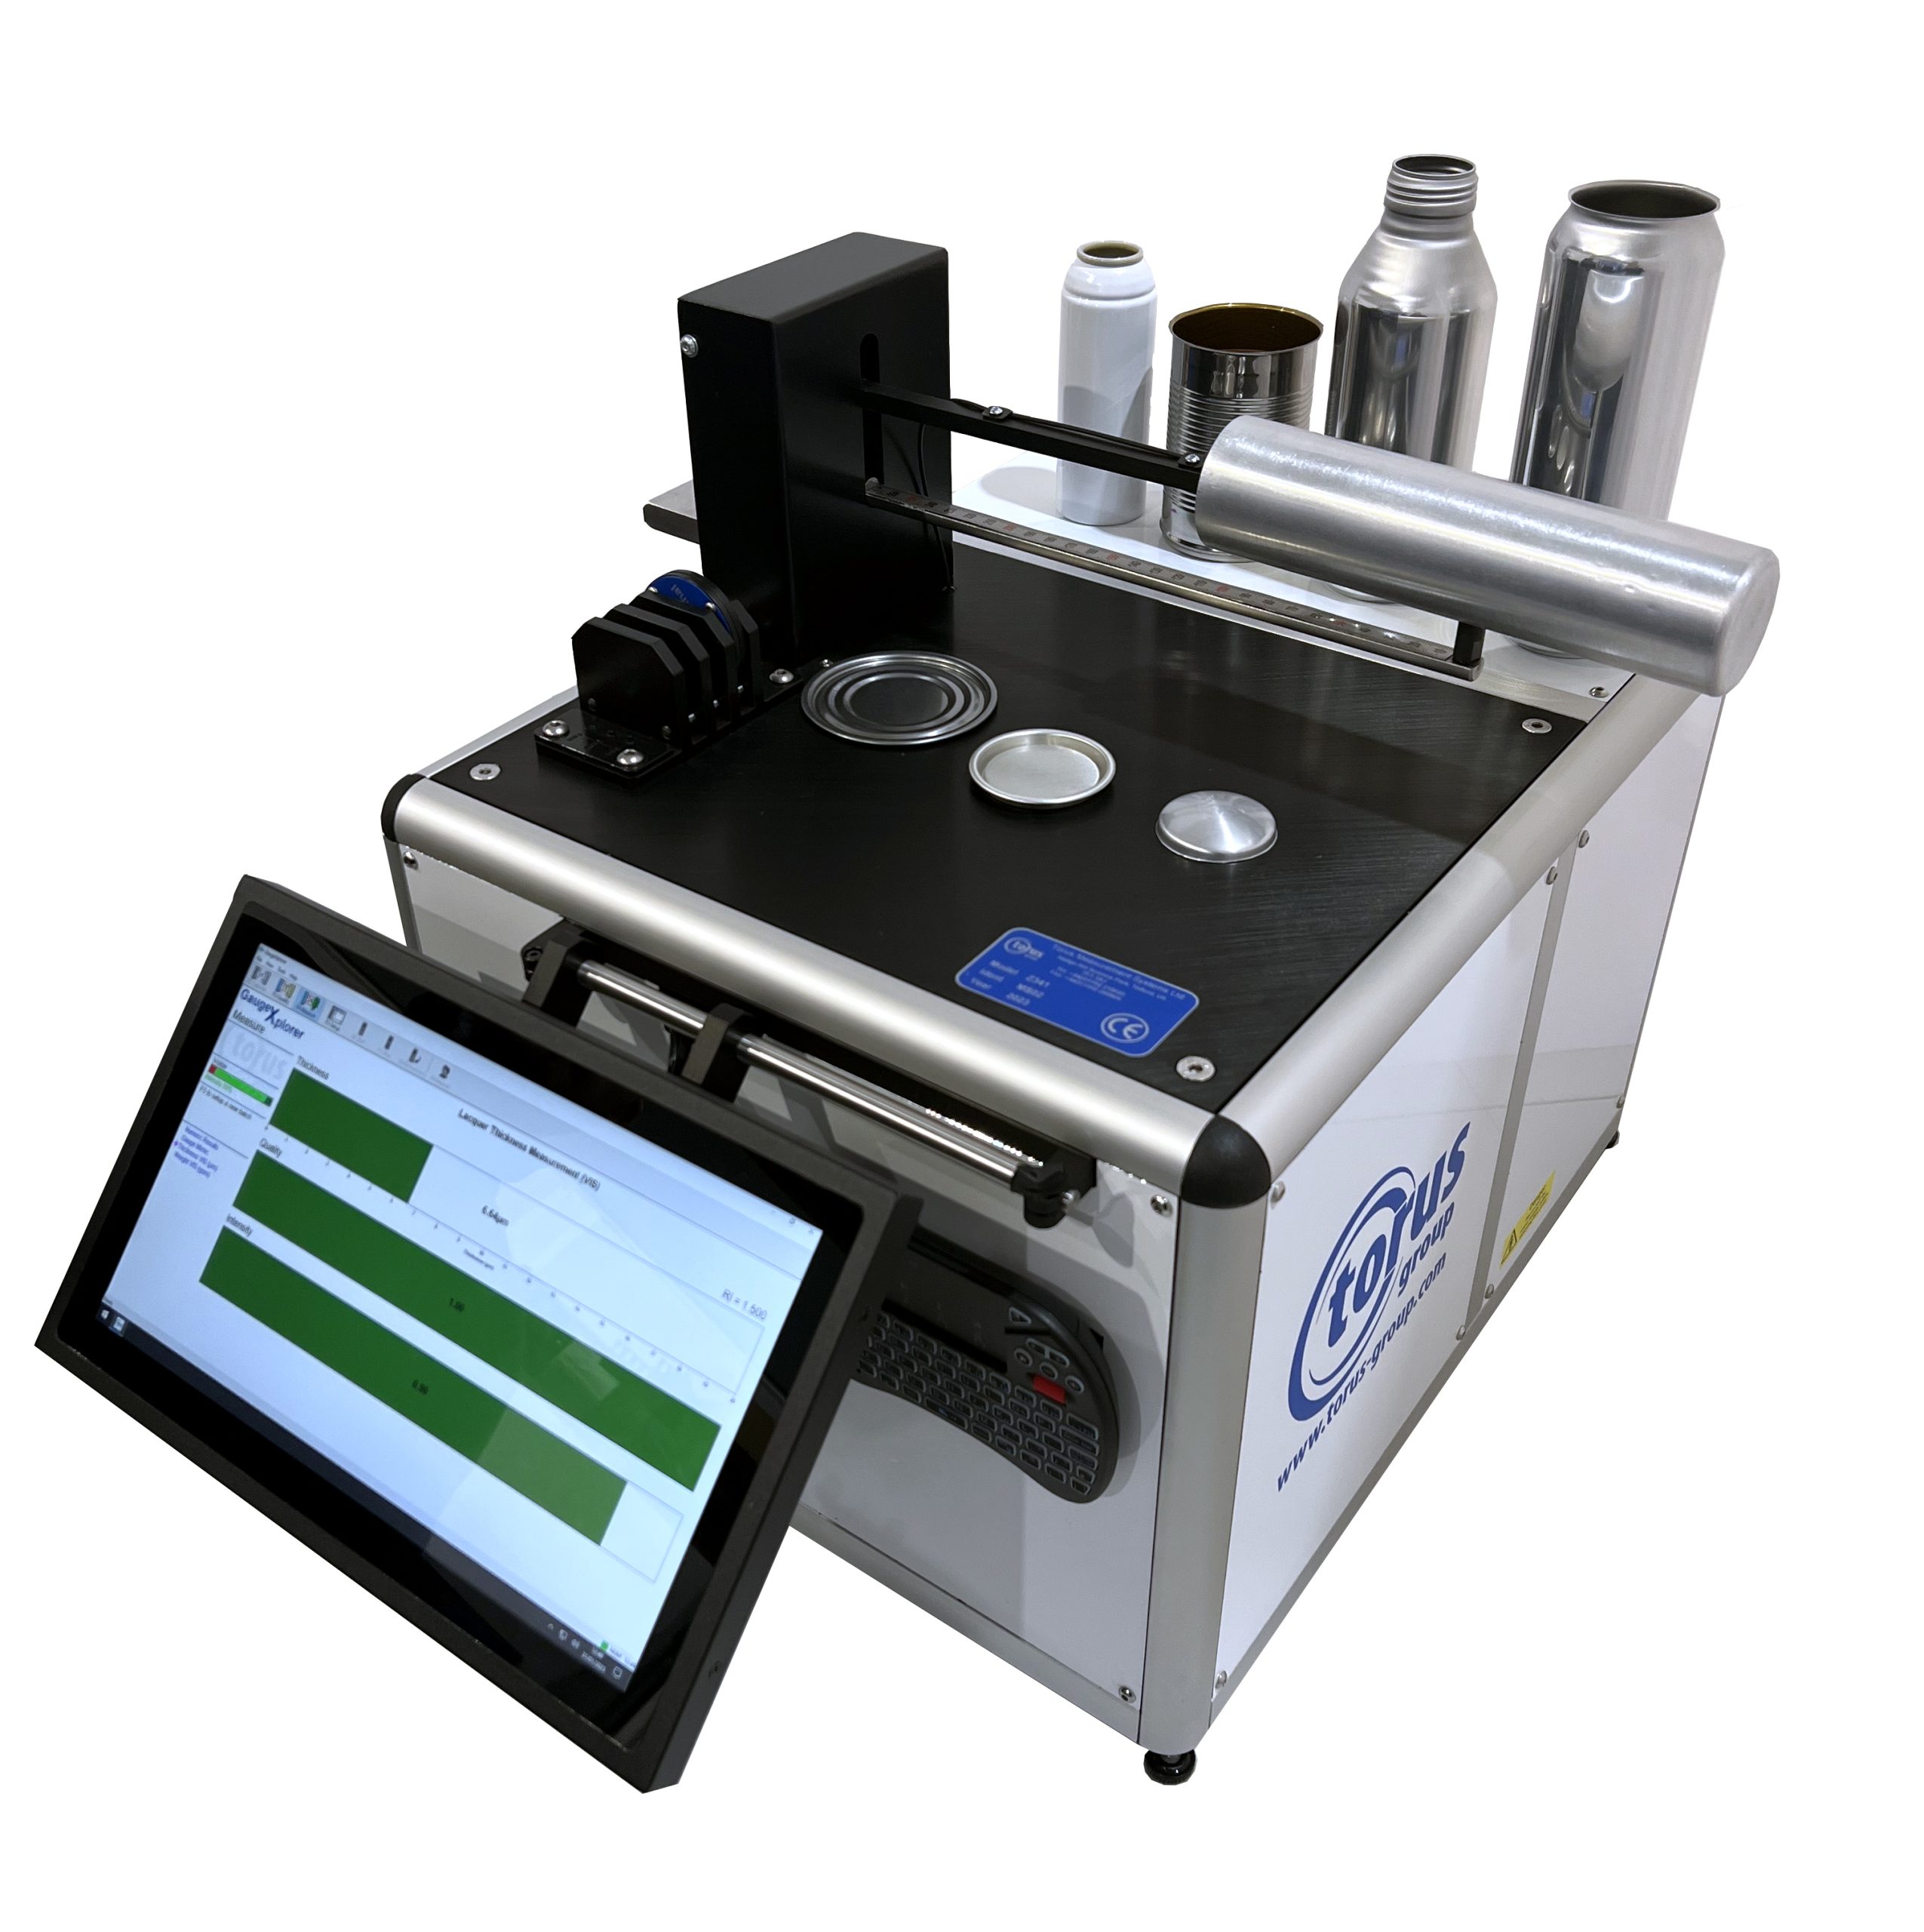
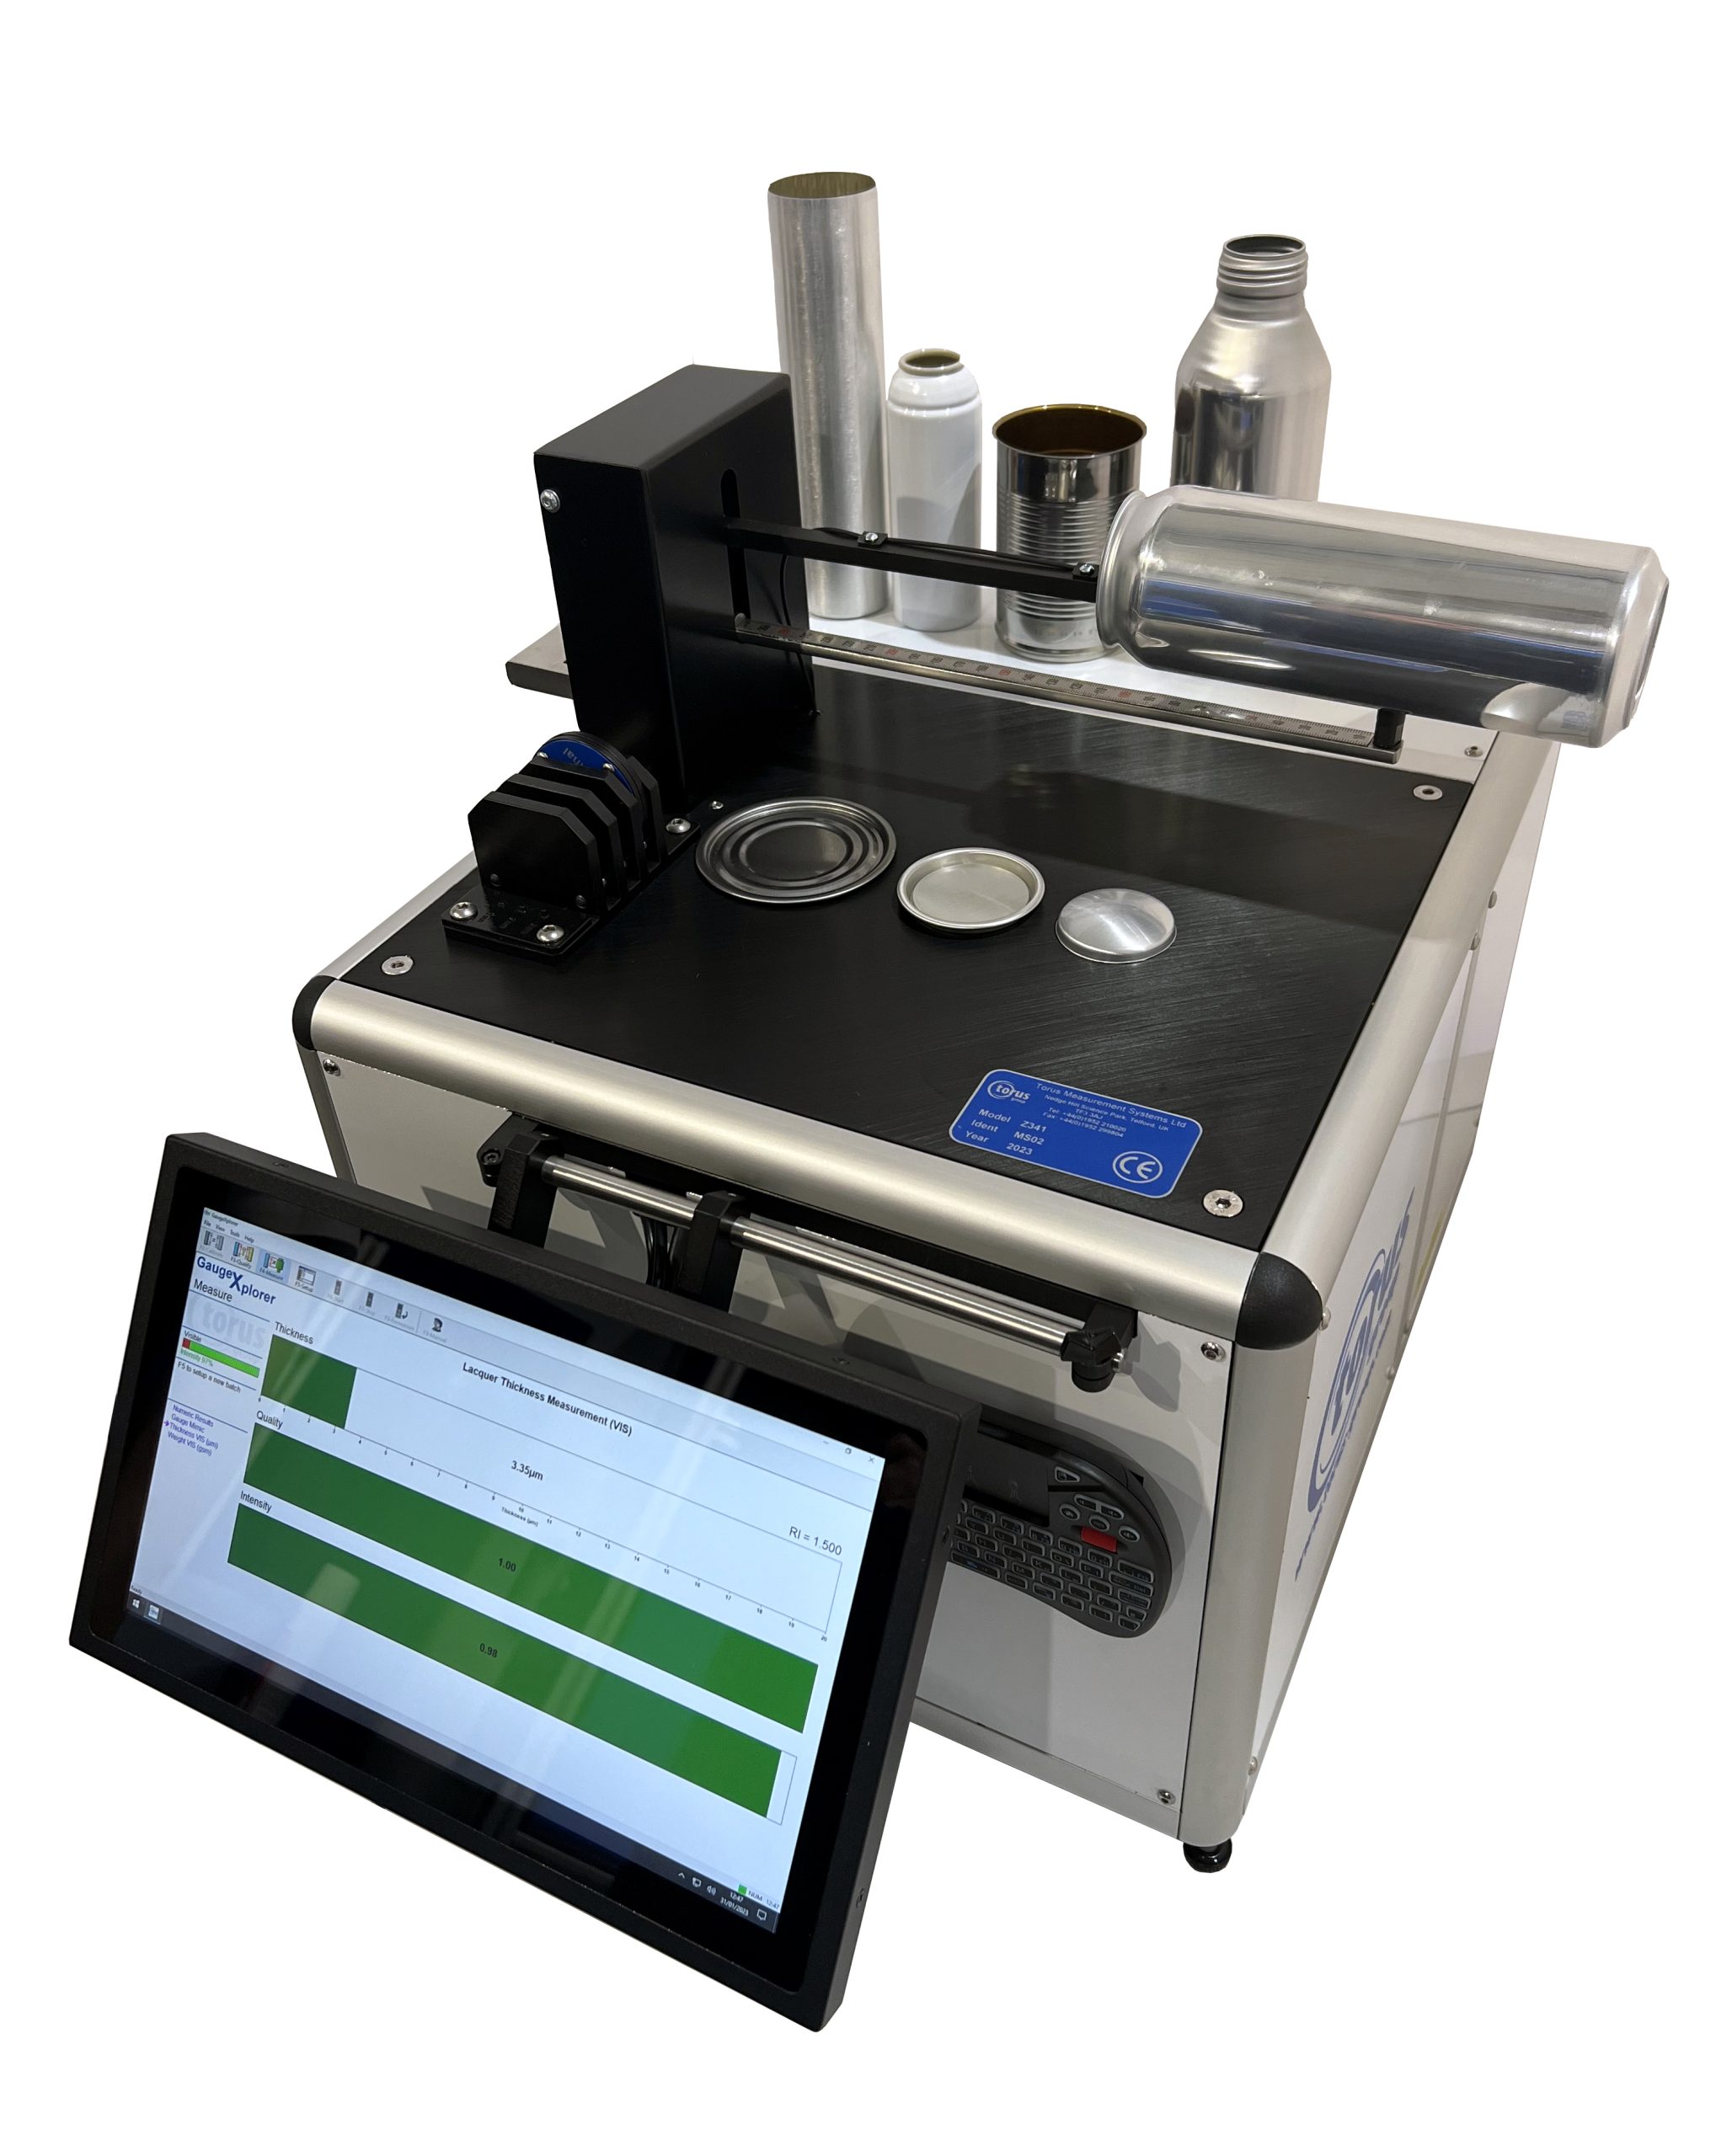
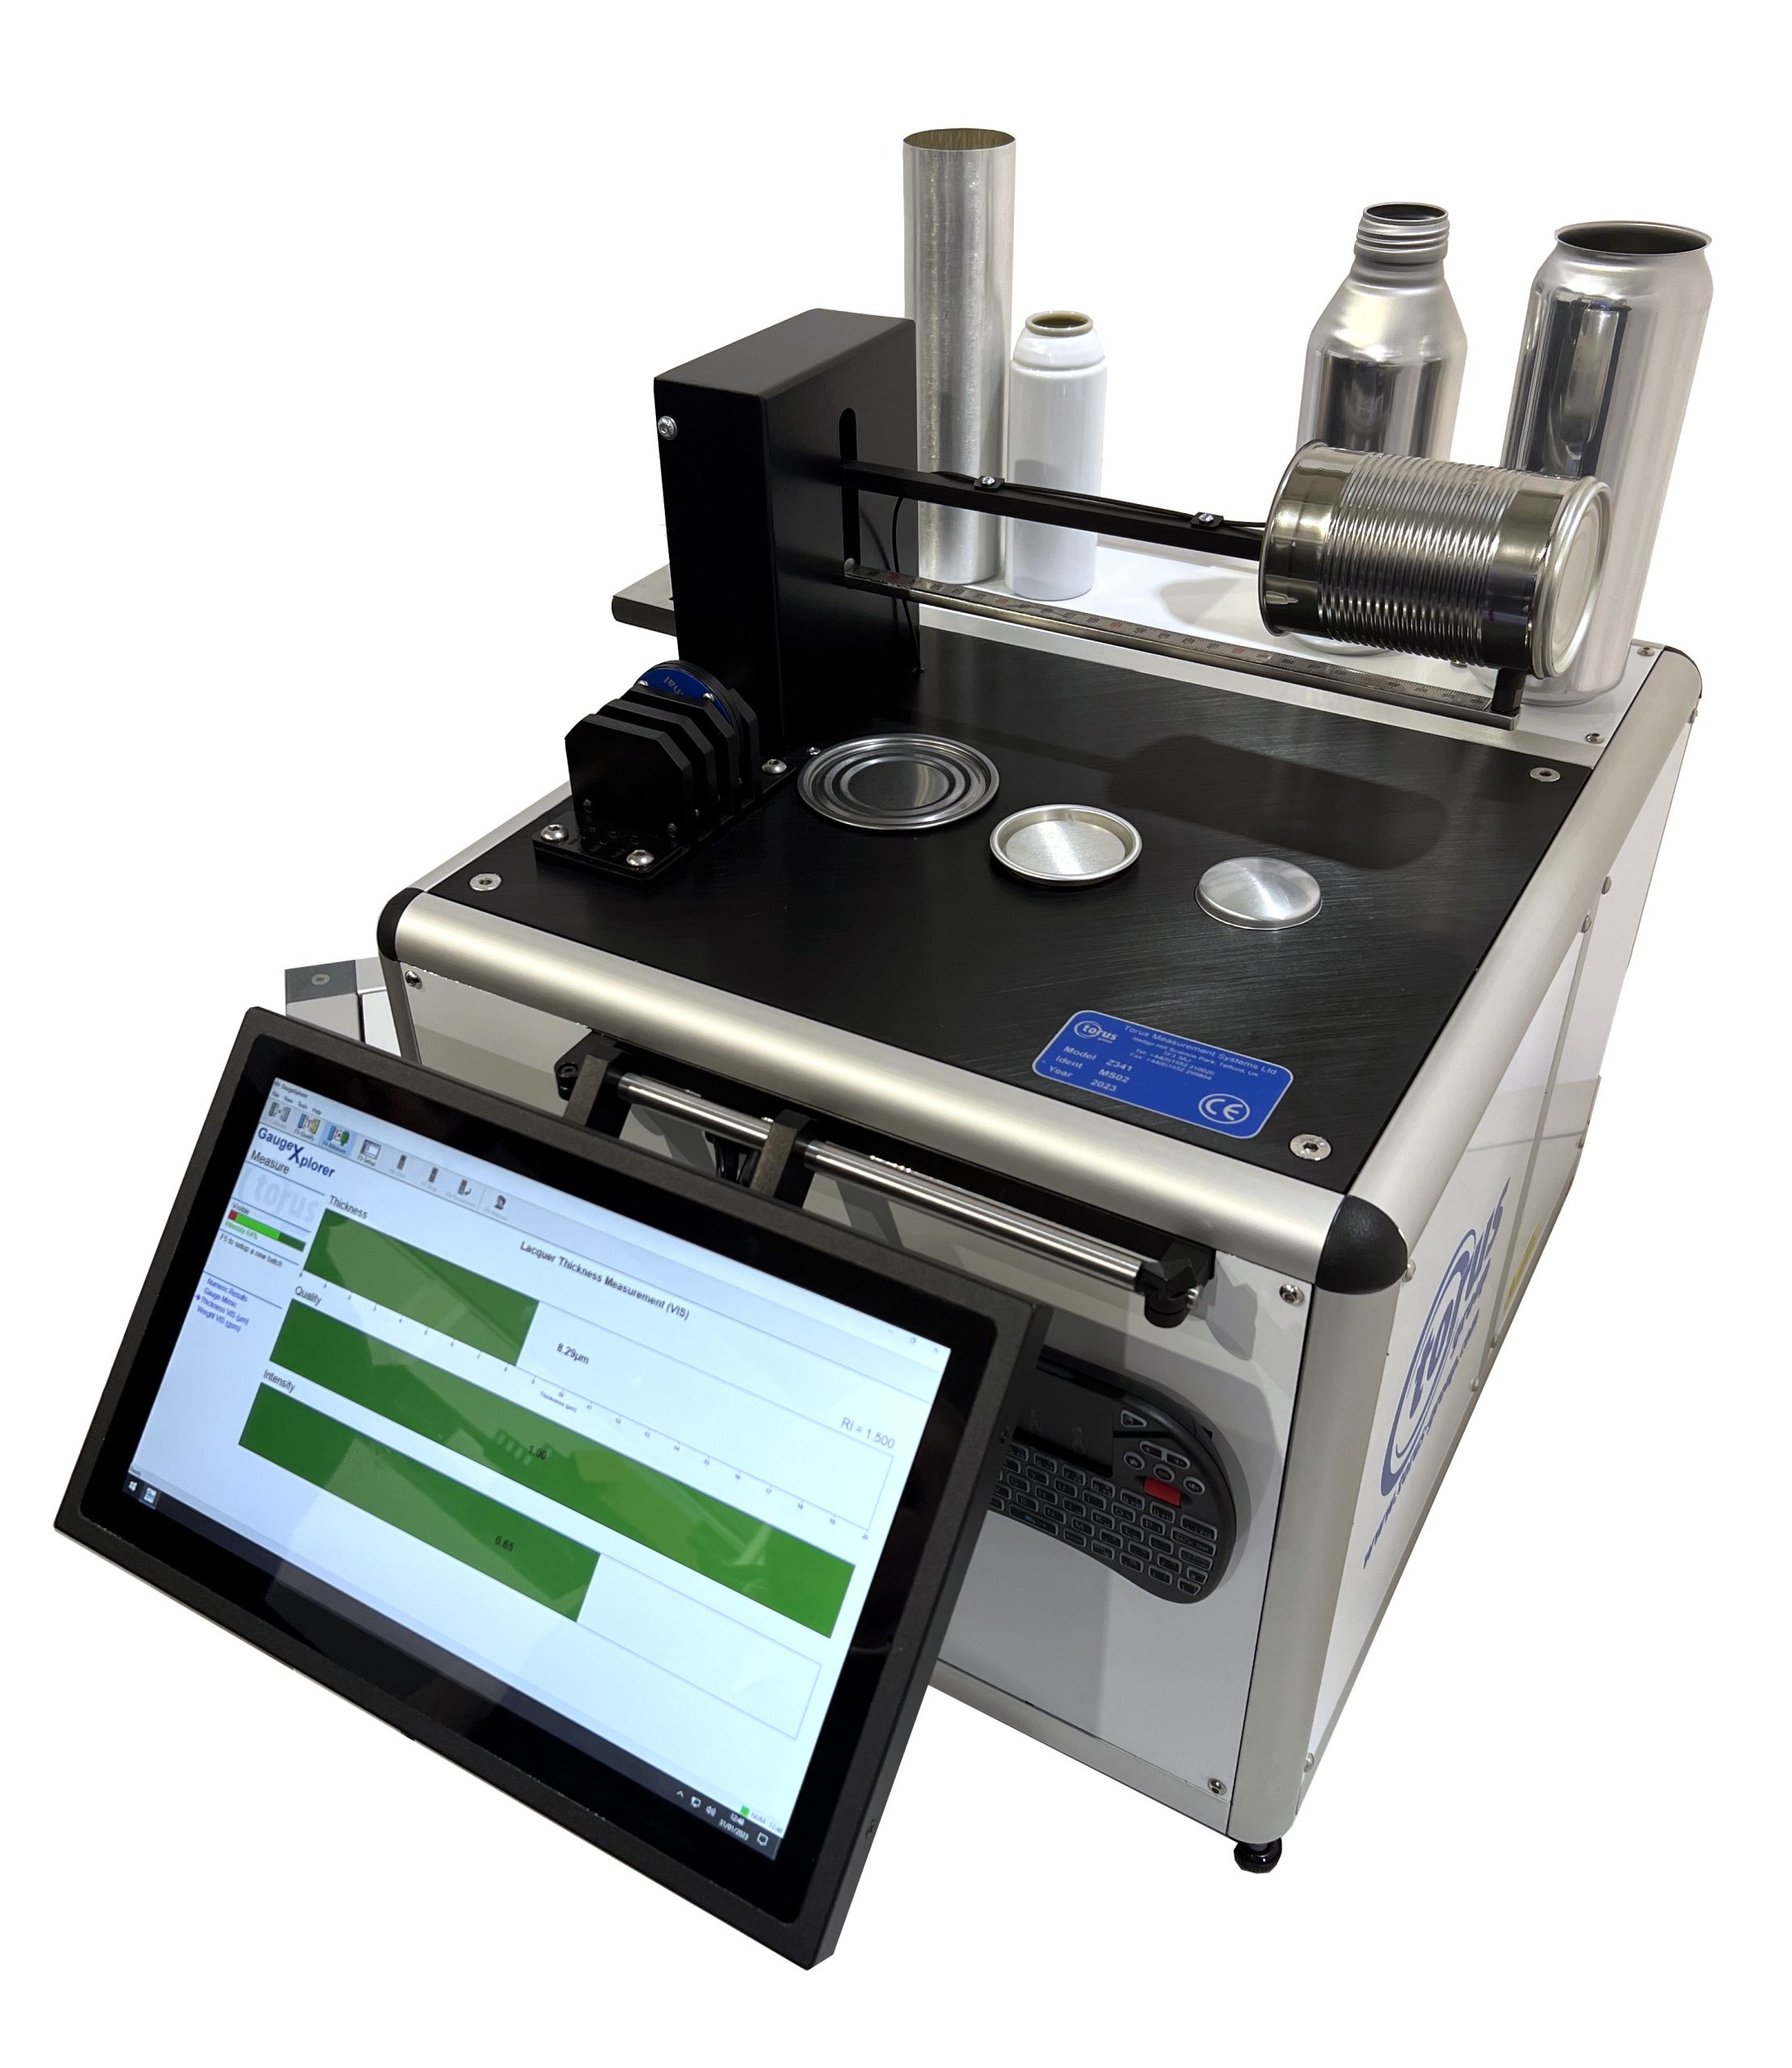
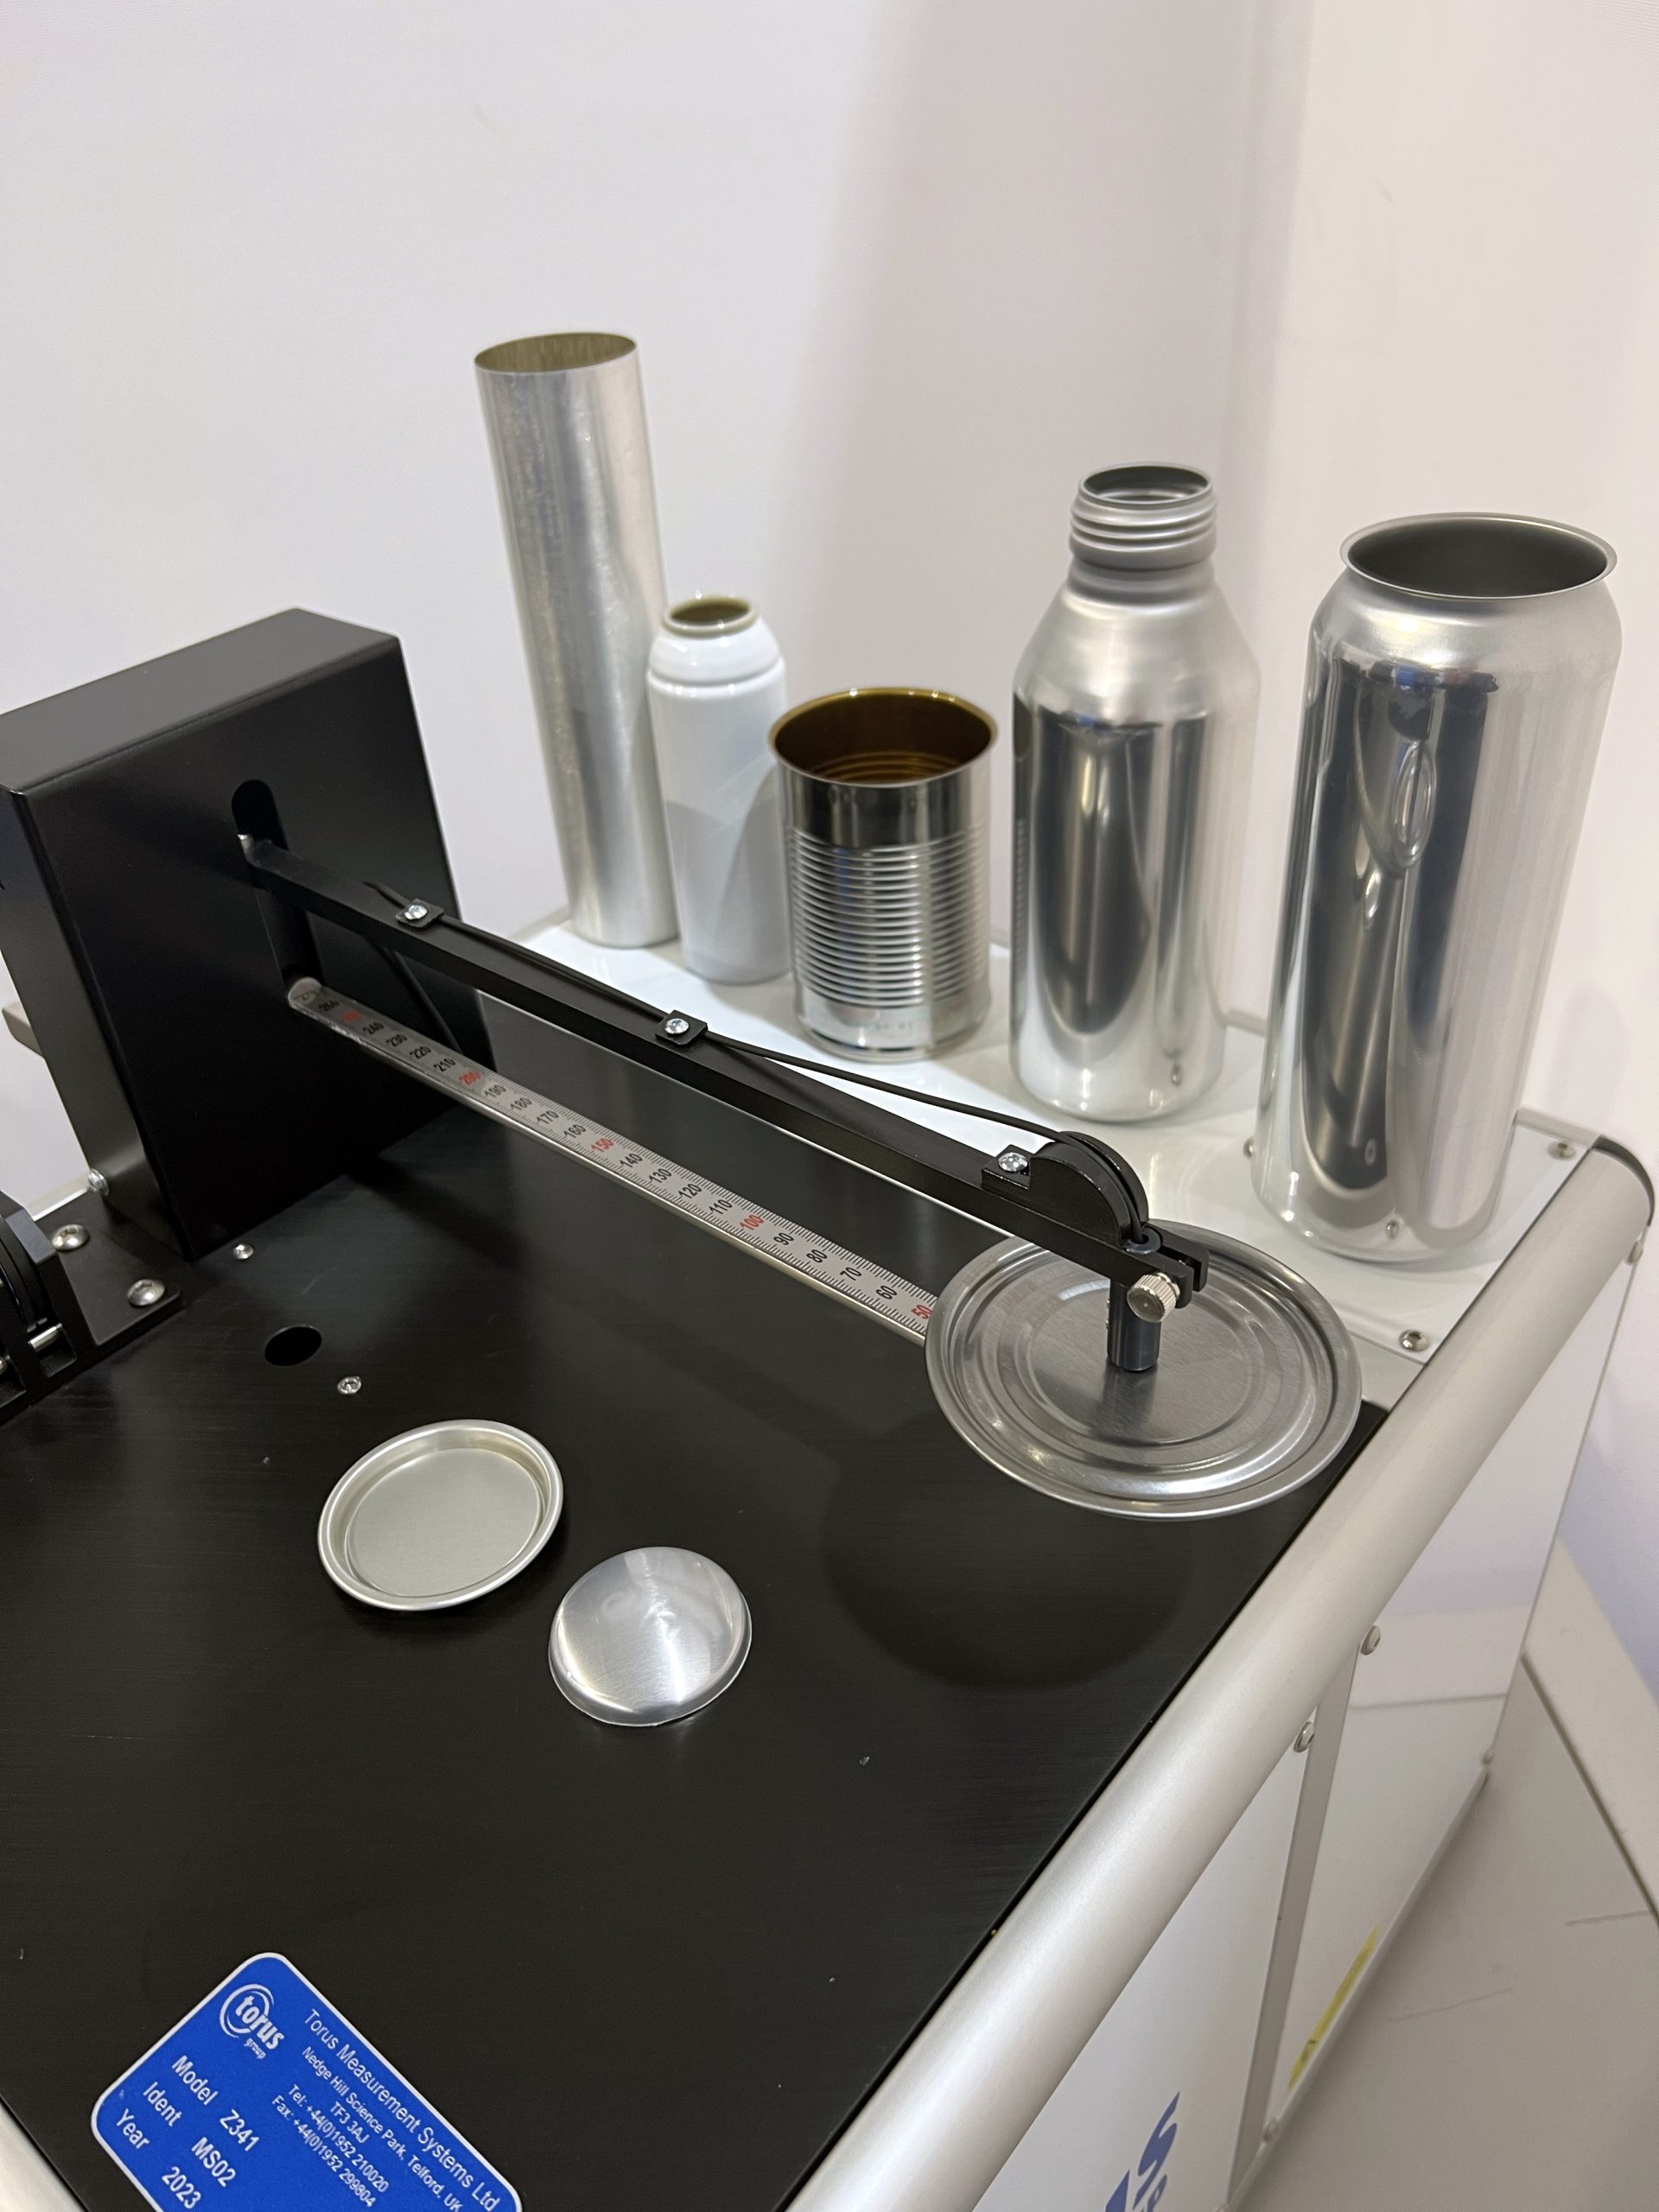


The Z341 Manual Coating Analyser has been developed to give fast and accurate measurement of the internal lacquer, sprayed during today’s 2 piece can manufacturing process
By cutting the can to give suitable access, the dome area of the can is able to be checked by the system.
No “lacquer panels” are required for calibration and measurement data can be exported via on board USB or LAN ports to your factory data acquisition systems where required.
Measurement Features
Technical Specification
Gauge Features
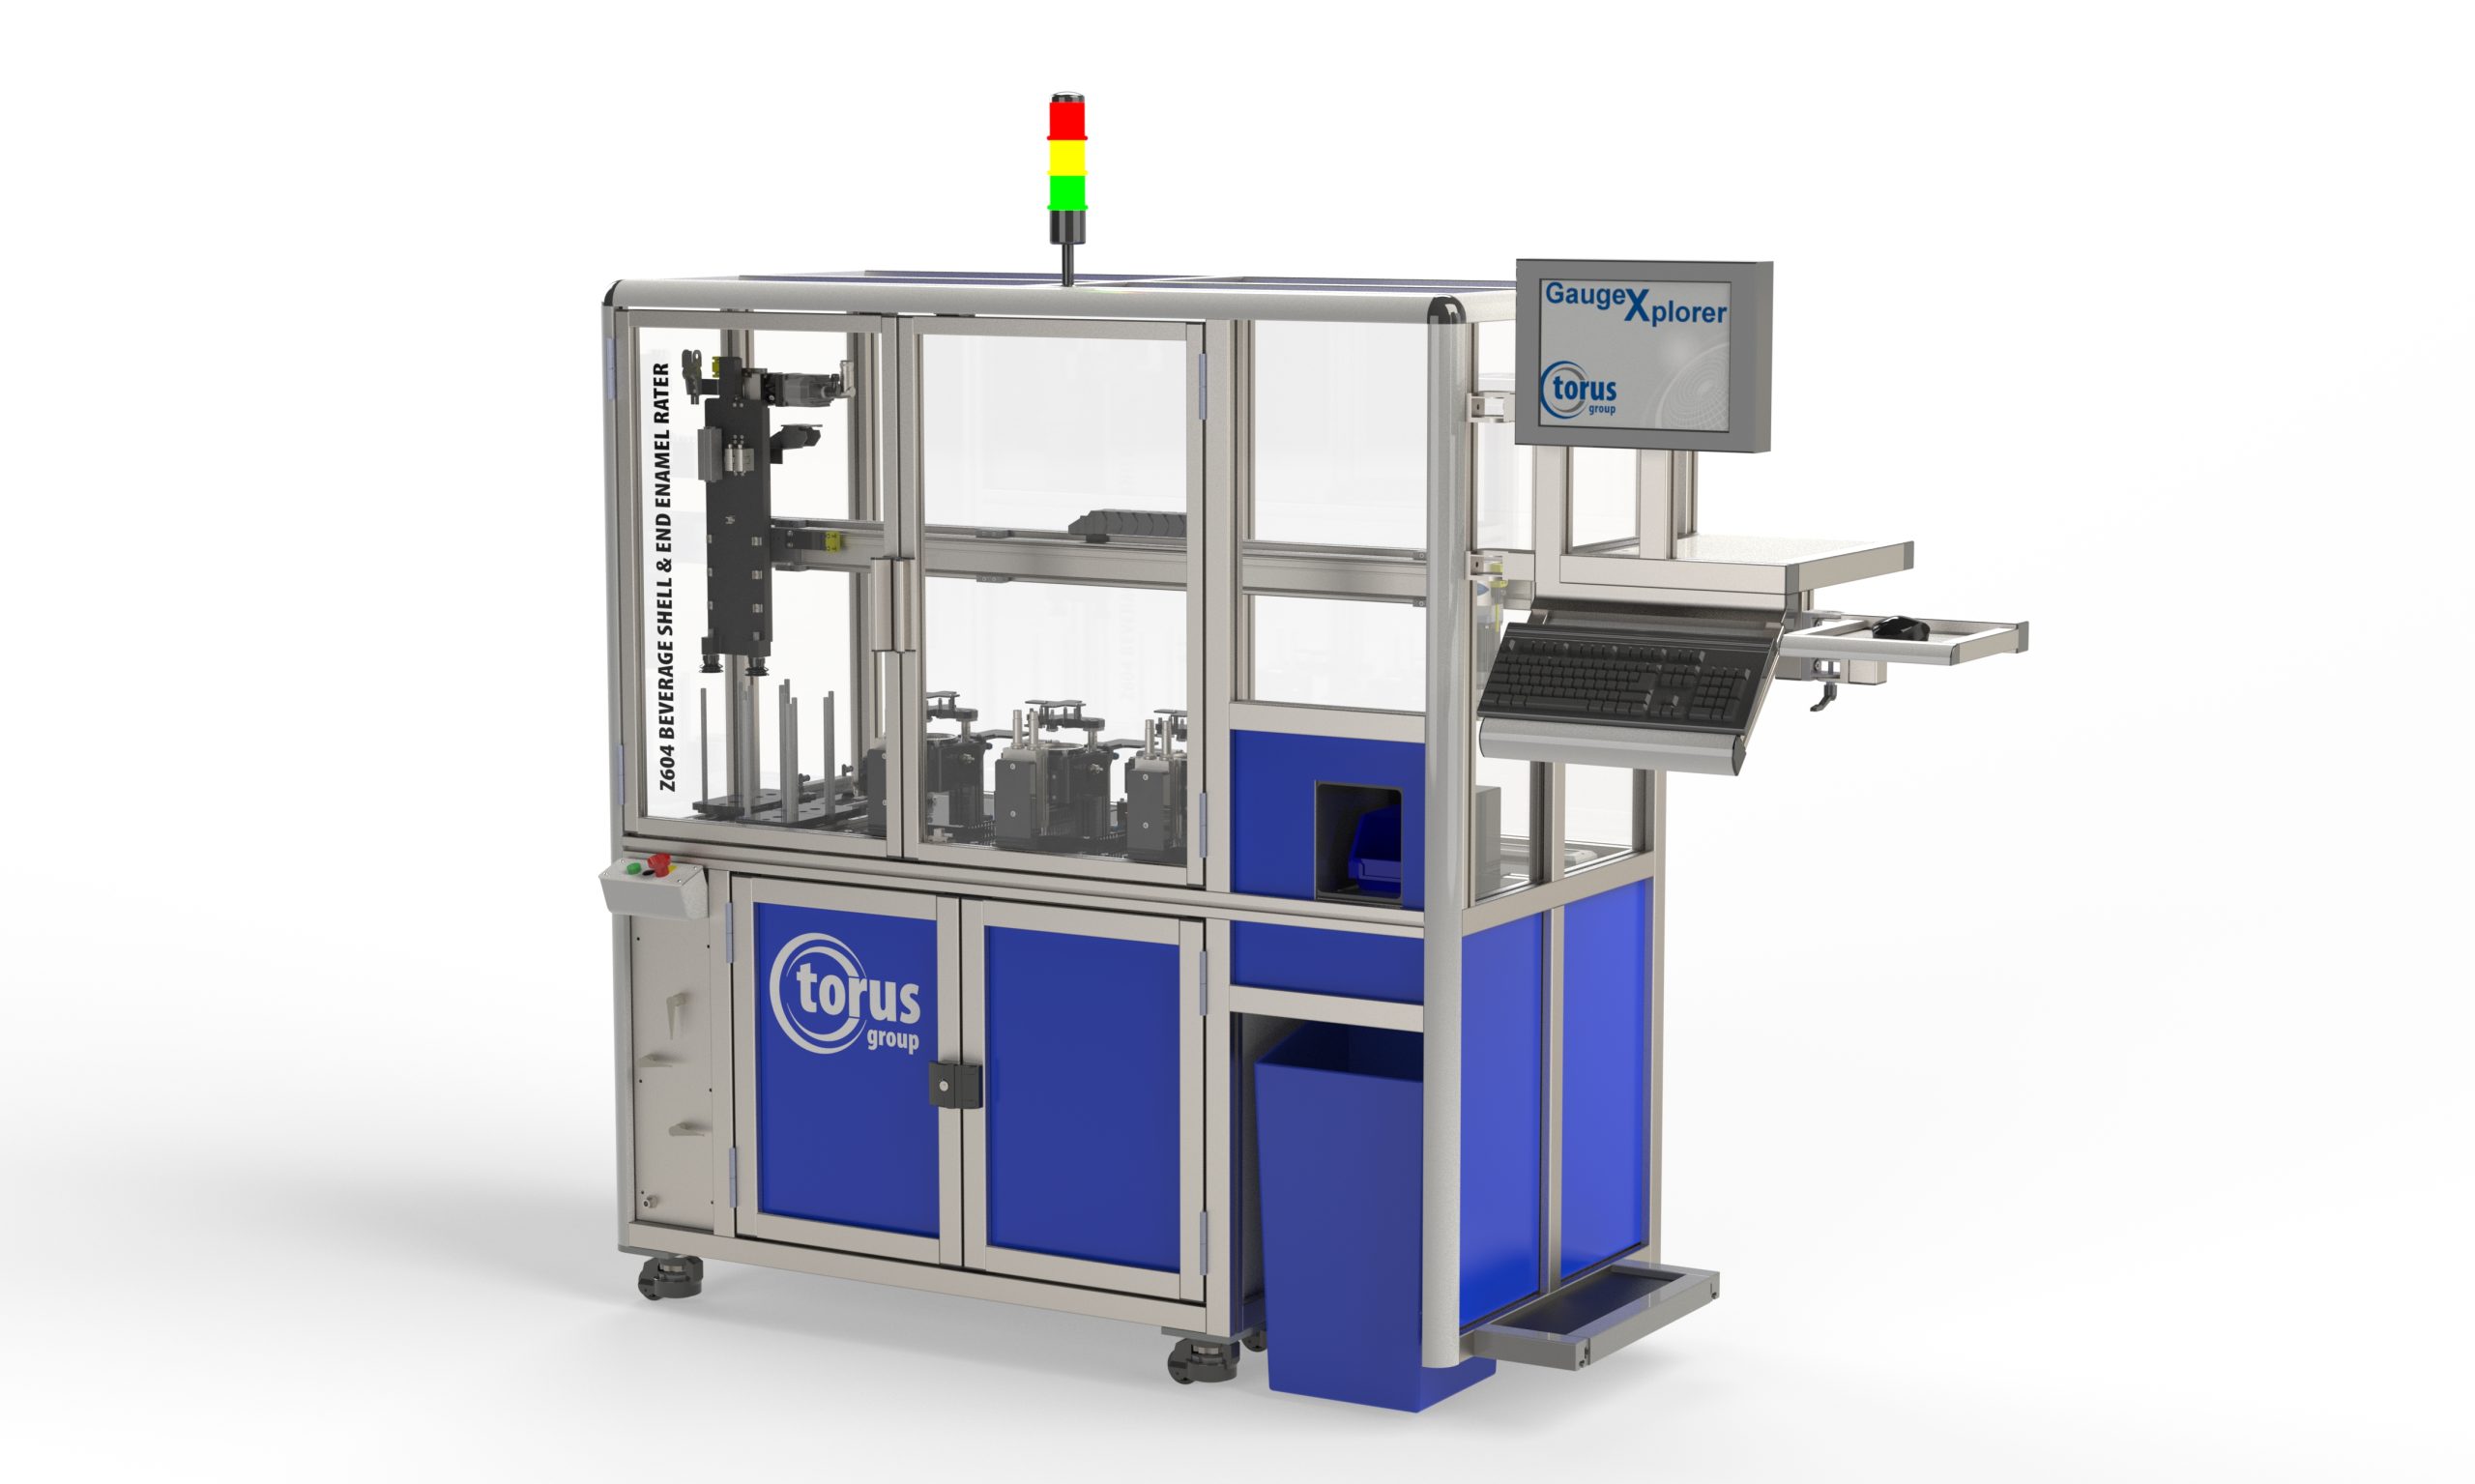
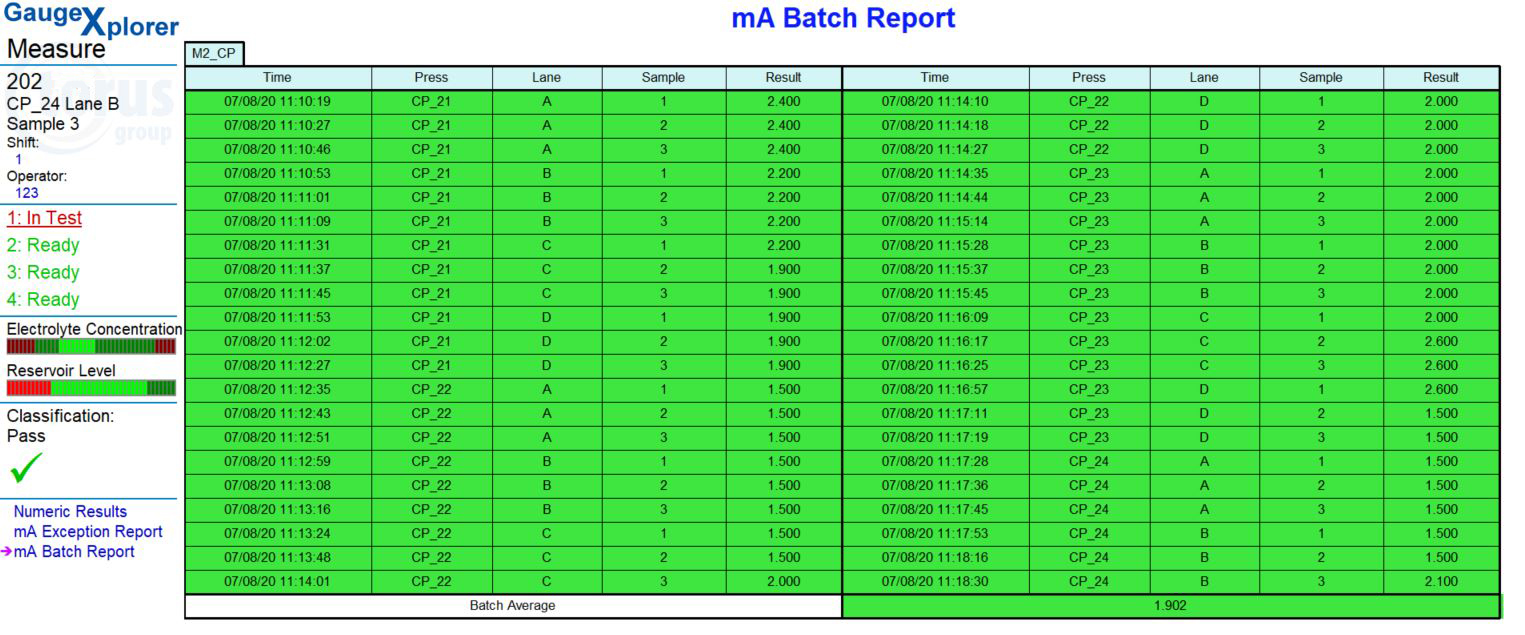
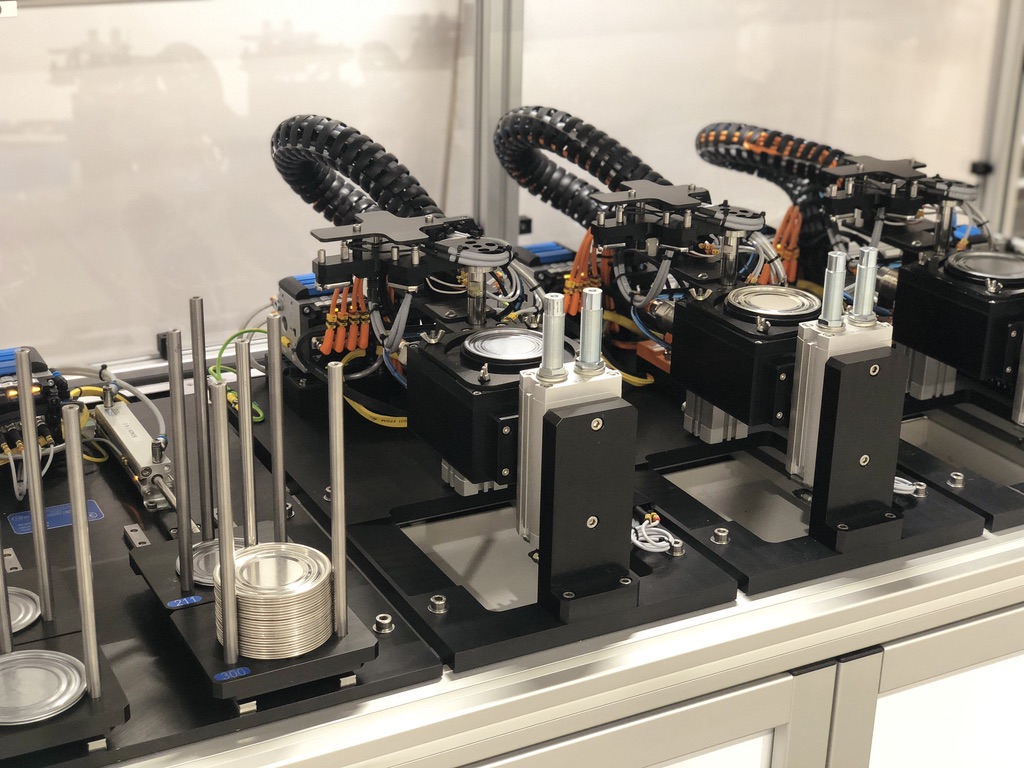


Our Z604 Automatic Food Shell and end Enamel Rater offers unprecedented functionality and capability for today’s global shell/end-making industry.
By monitoring critical manufacturing parameters over time and relating the press performance to the change in the ends opening signature, the manufacturing process capability can be observed. This trend monitoring is extremely beneficial to the process engineer, in predicting potential out-of-spec score residual and other critical features. By sampling ends from the production line, the Opening Force Gauge can monitor tooling wear in real-time and provide significant savings in both labour and scrap.

Measurement Features
Technical Specification
Once the part program is selected, the operator will be prompted to load the hopper system as instructed, a maximum of up to 100 shells / ends per hopper (maximum of 4 hoppers per gauge)
The samples can be collected from the production lines and batch loaded at any given time without cancelling the current batch inspection sequence, resulting in increased sample testing frequency.
The gauge will then automatically start the test cycle using the industry standard 4 second procedure.


The Z341 Manual Coating Analyser has been developed to give fast and accurate measurement of the internal lacquer, sprayed during today’s 2 piece can manufacturing process
By cutting the can to give suitable access, the dome area of the can is able to be checked by the system.
No “lacquer panels” are required for calibration and measurement data can be exported via on board USB or LAN ports to your factory data acquisition systems where required.
Torus Food Can Gauging
Measurement Features
Technical Specification
Gauge Features
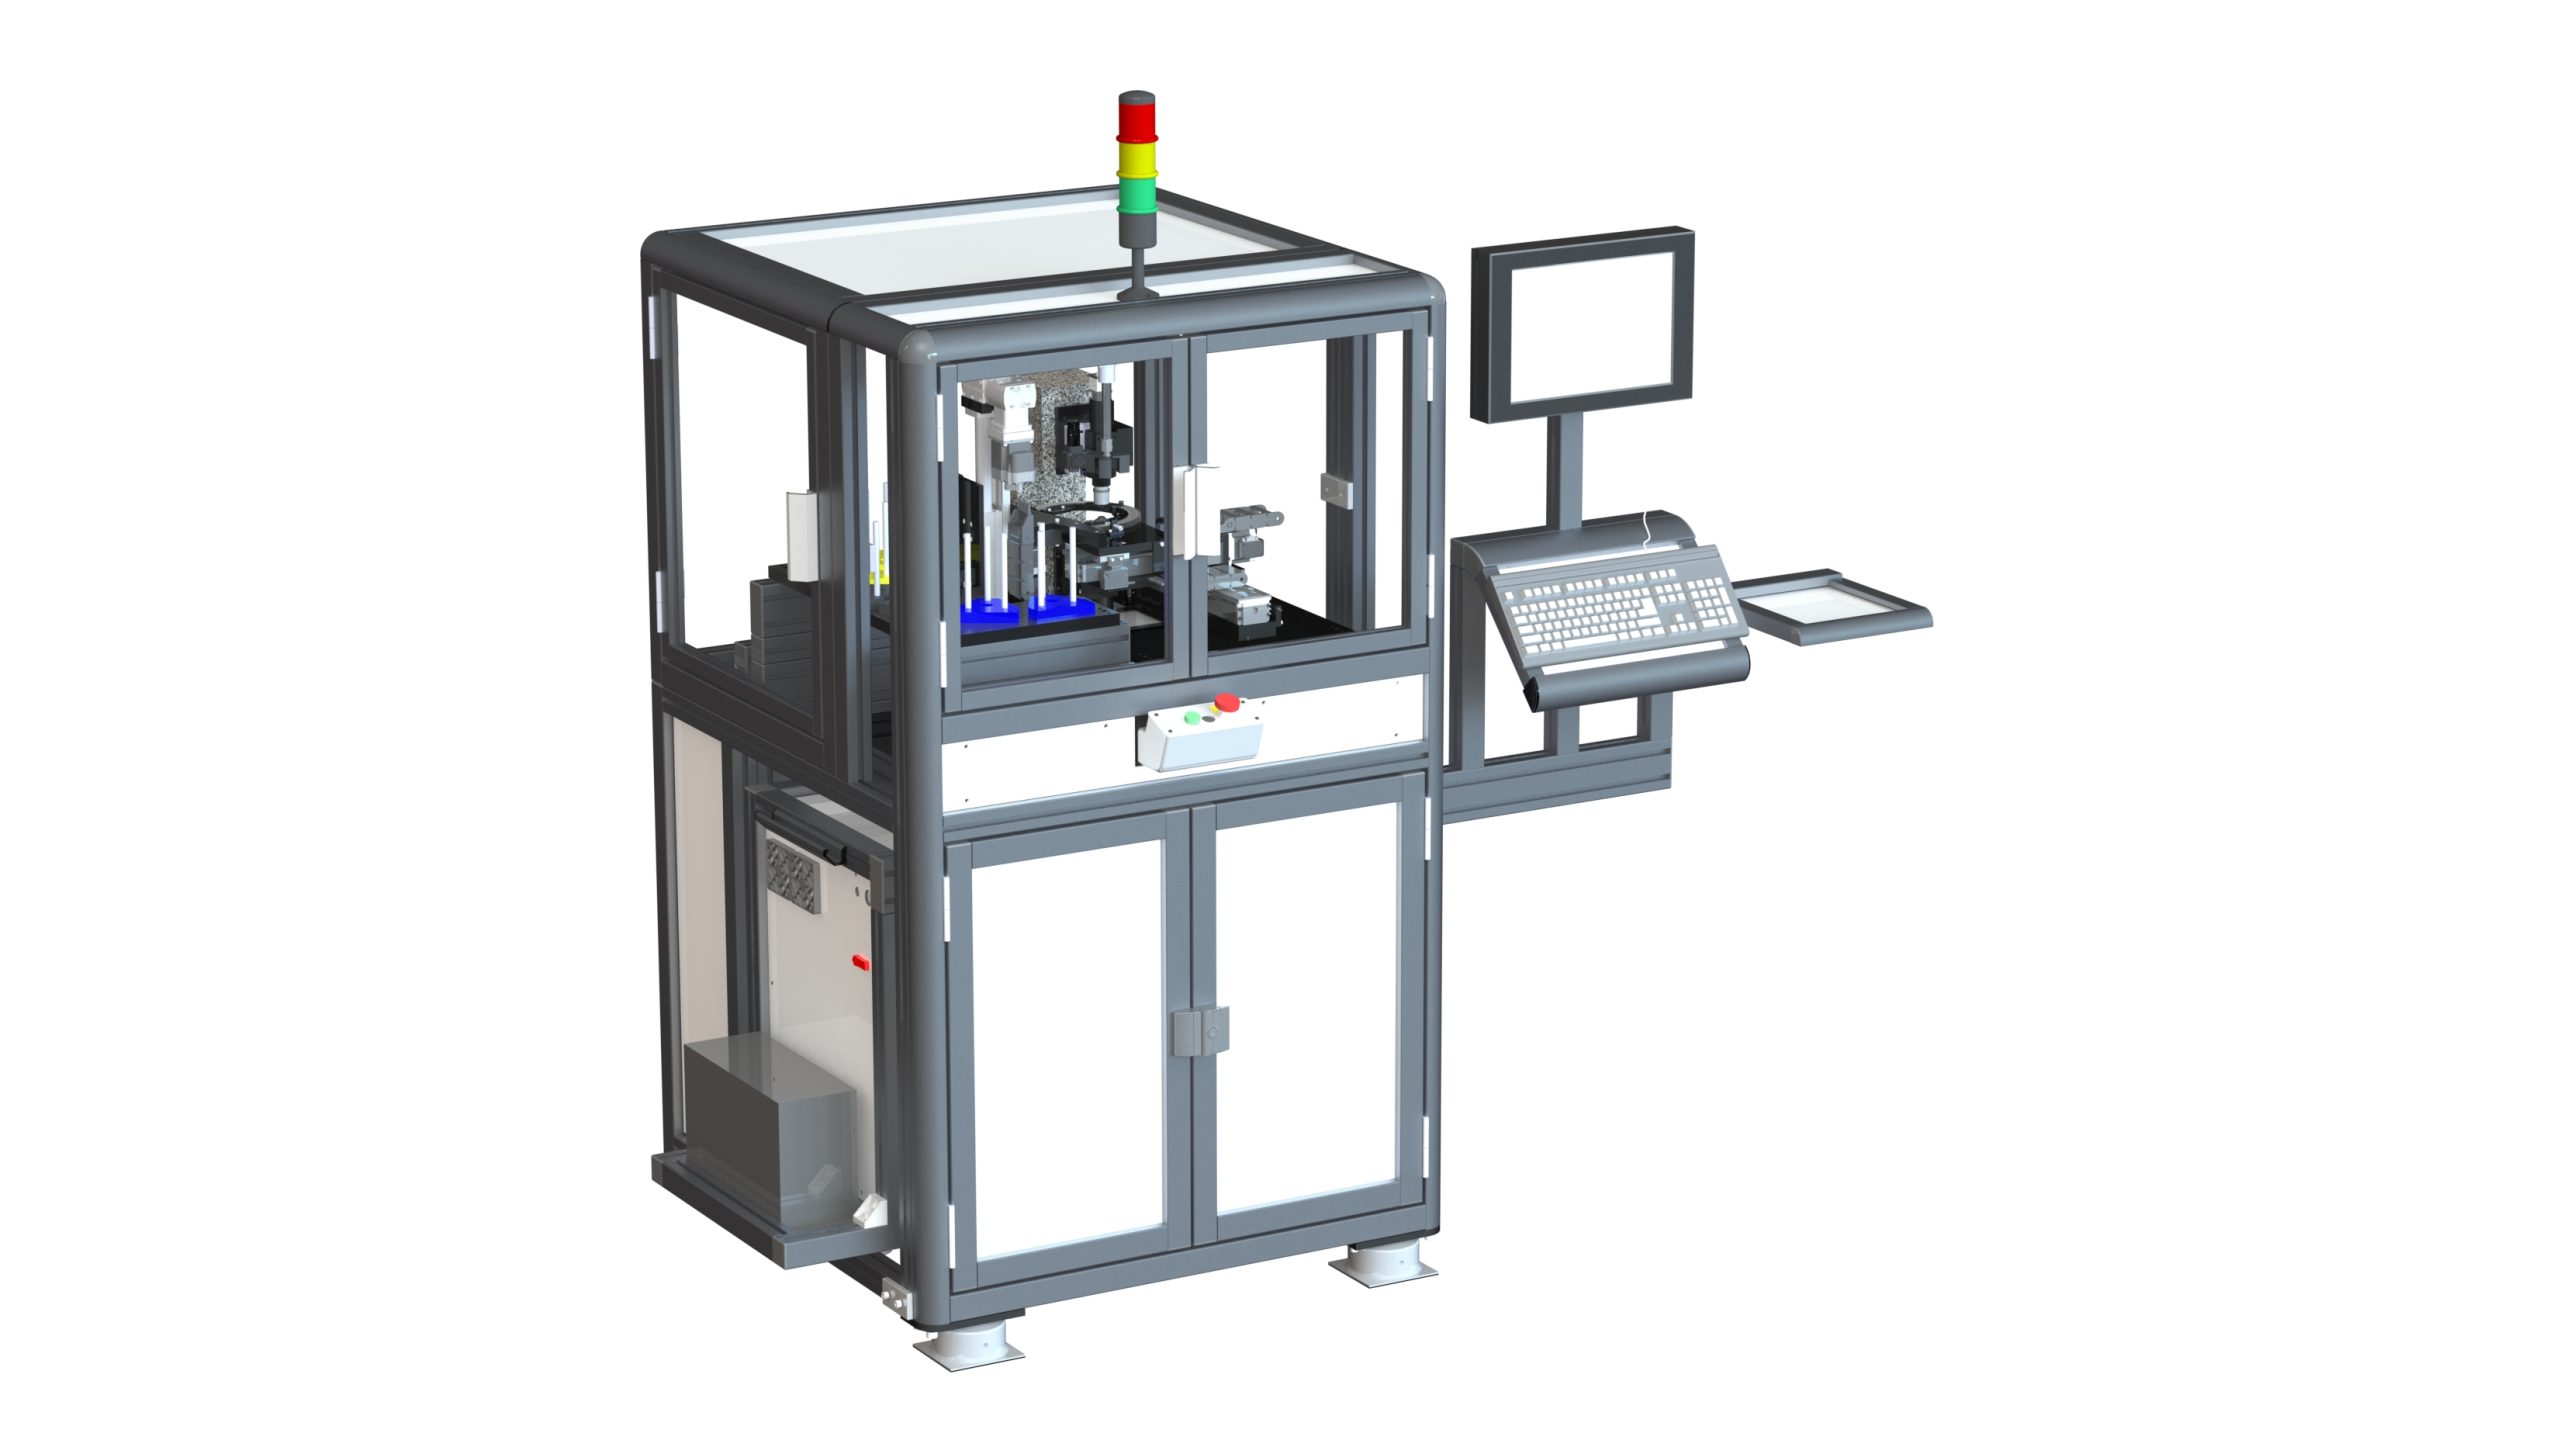
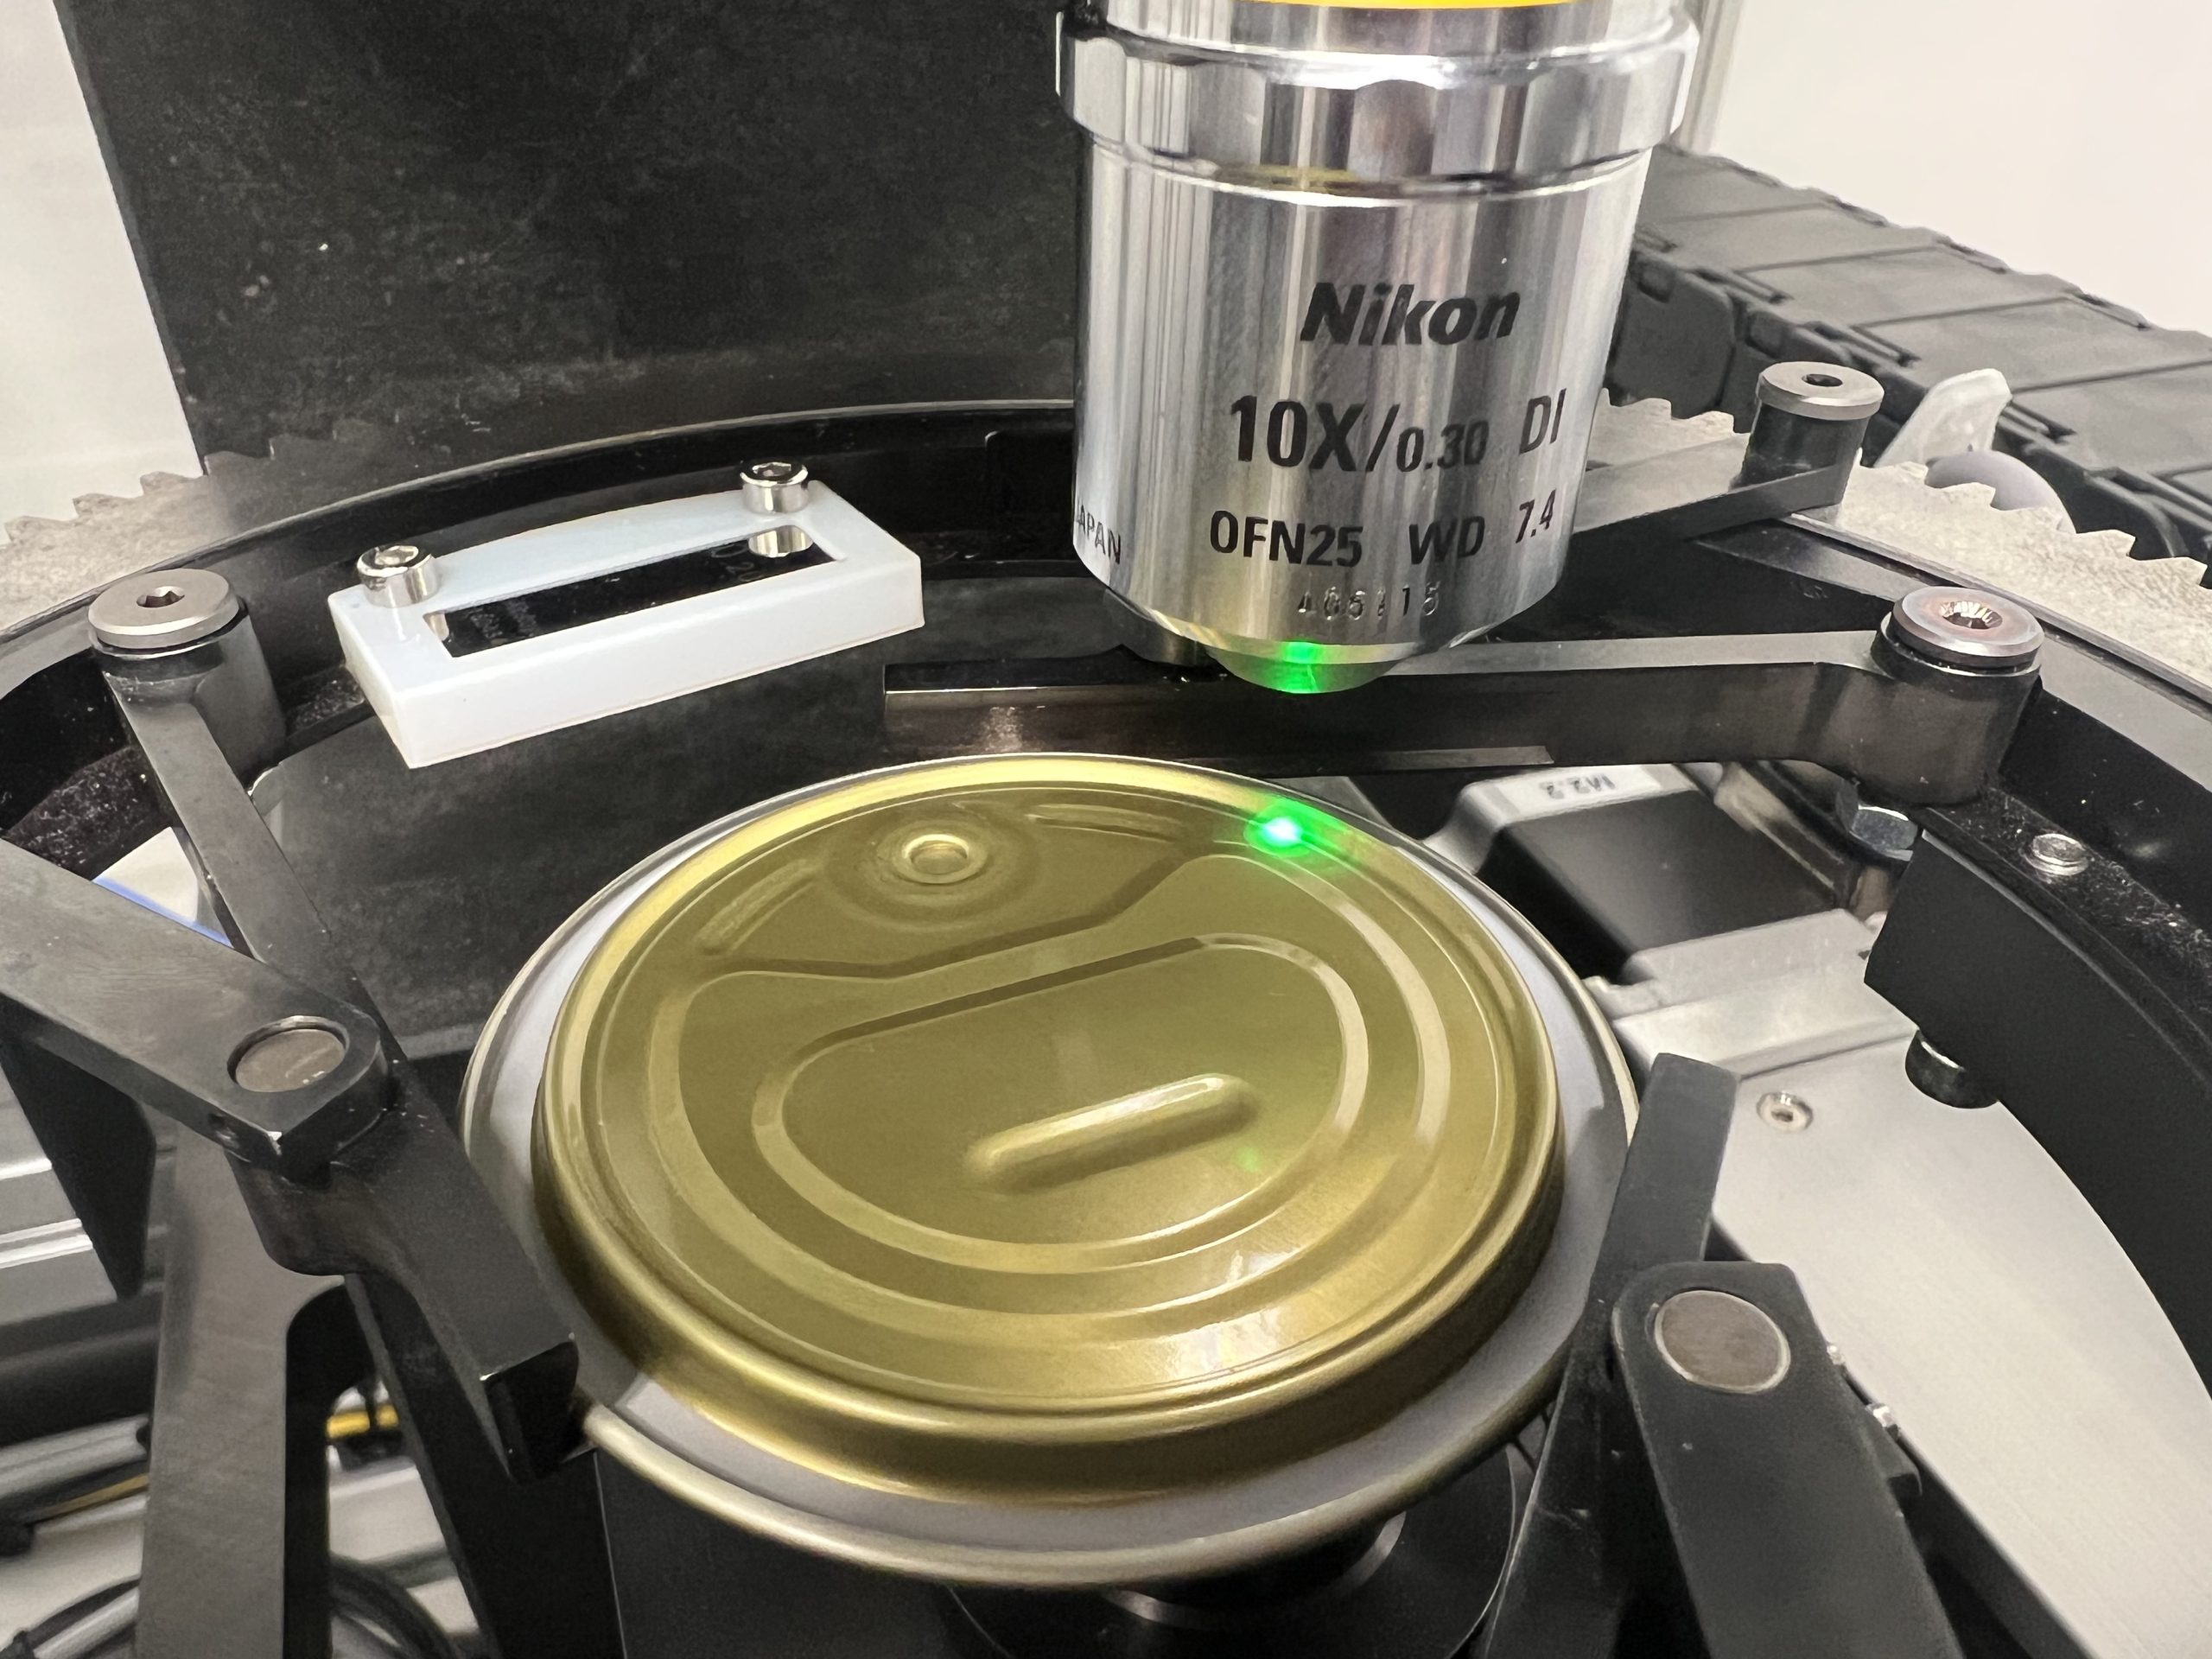
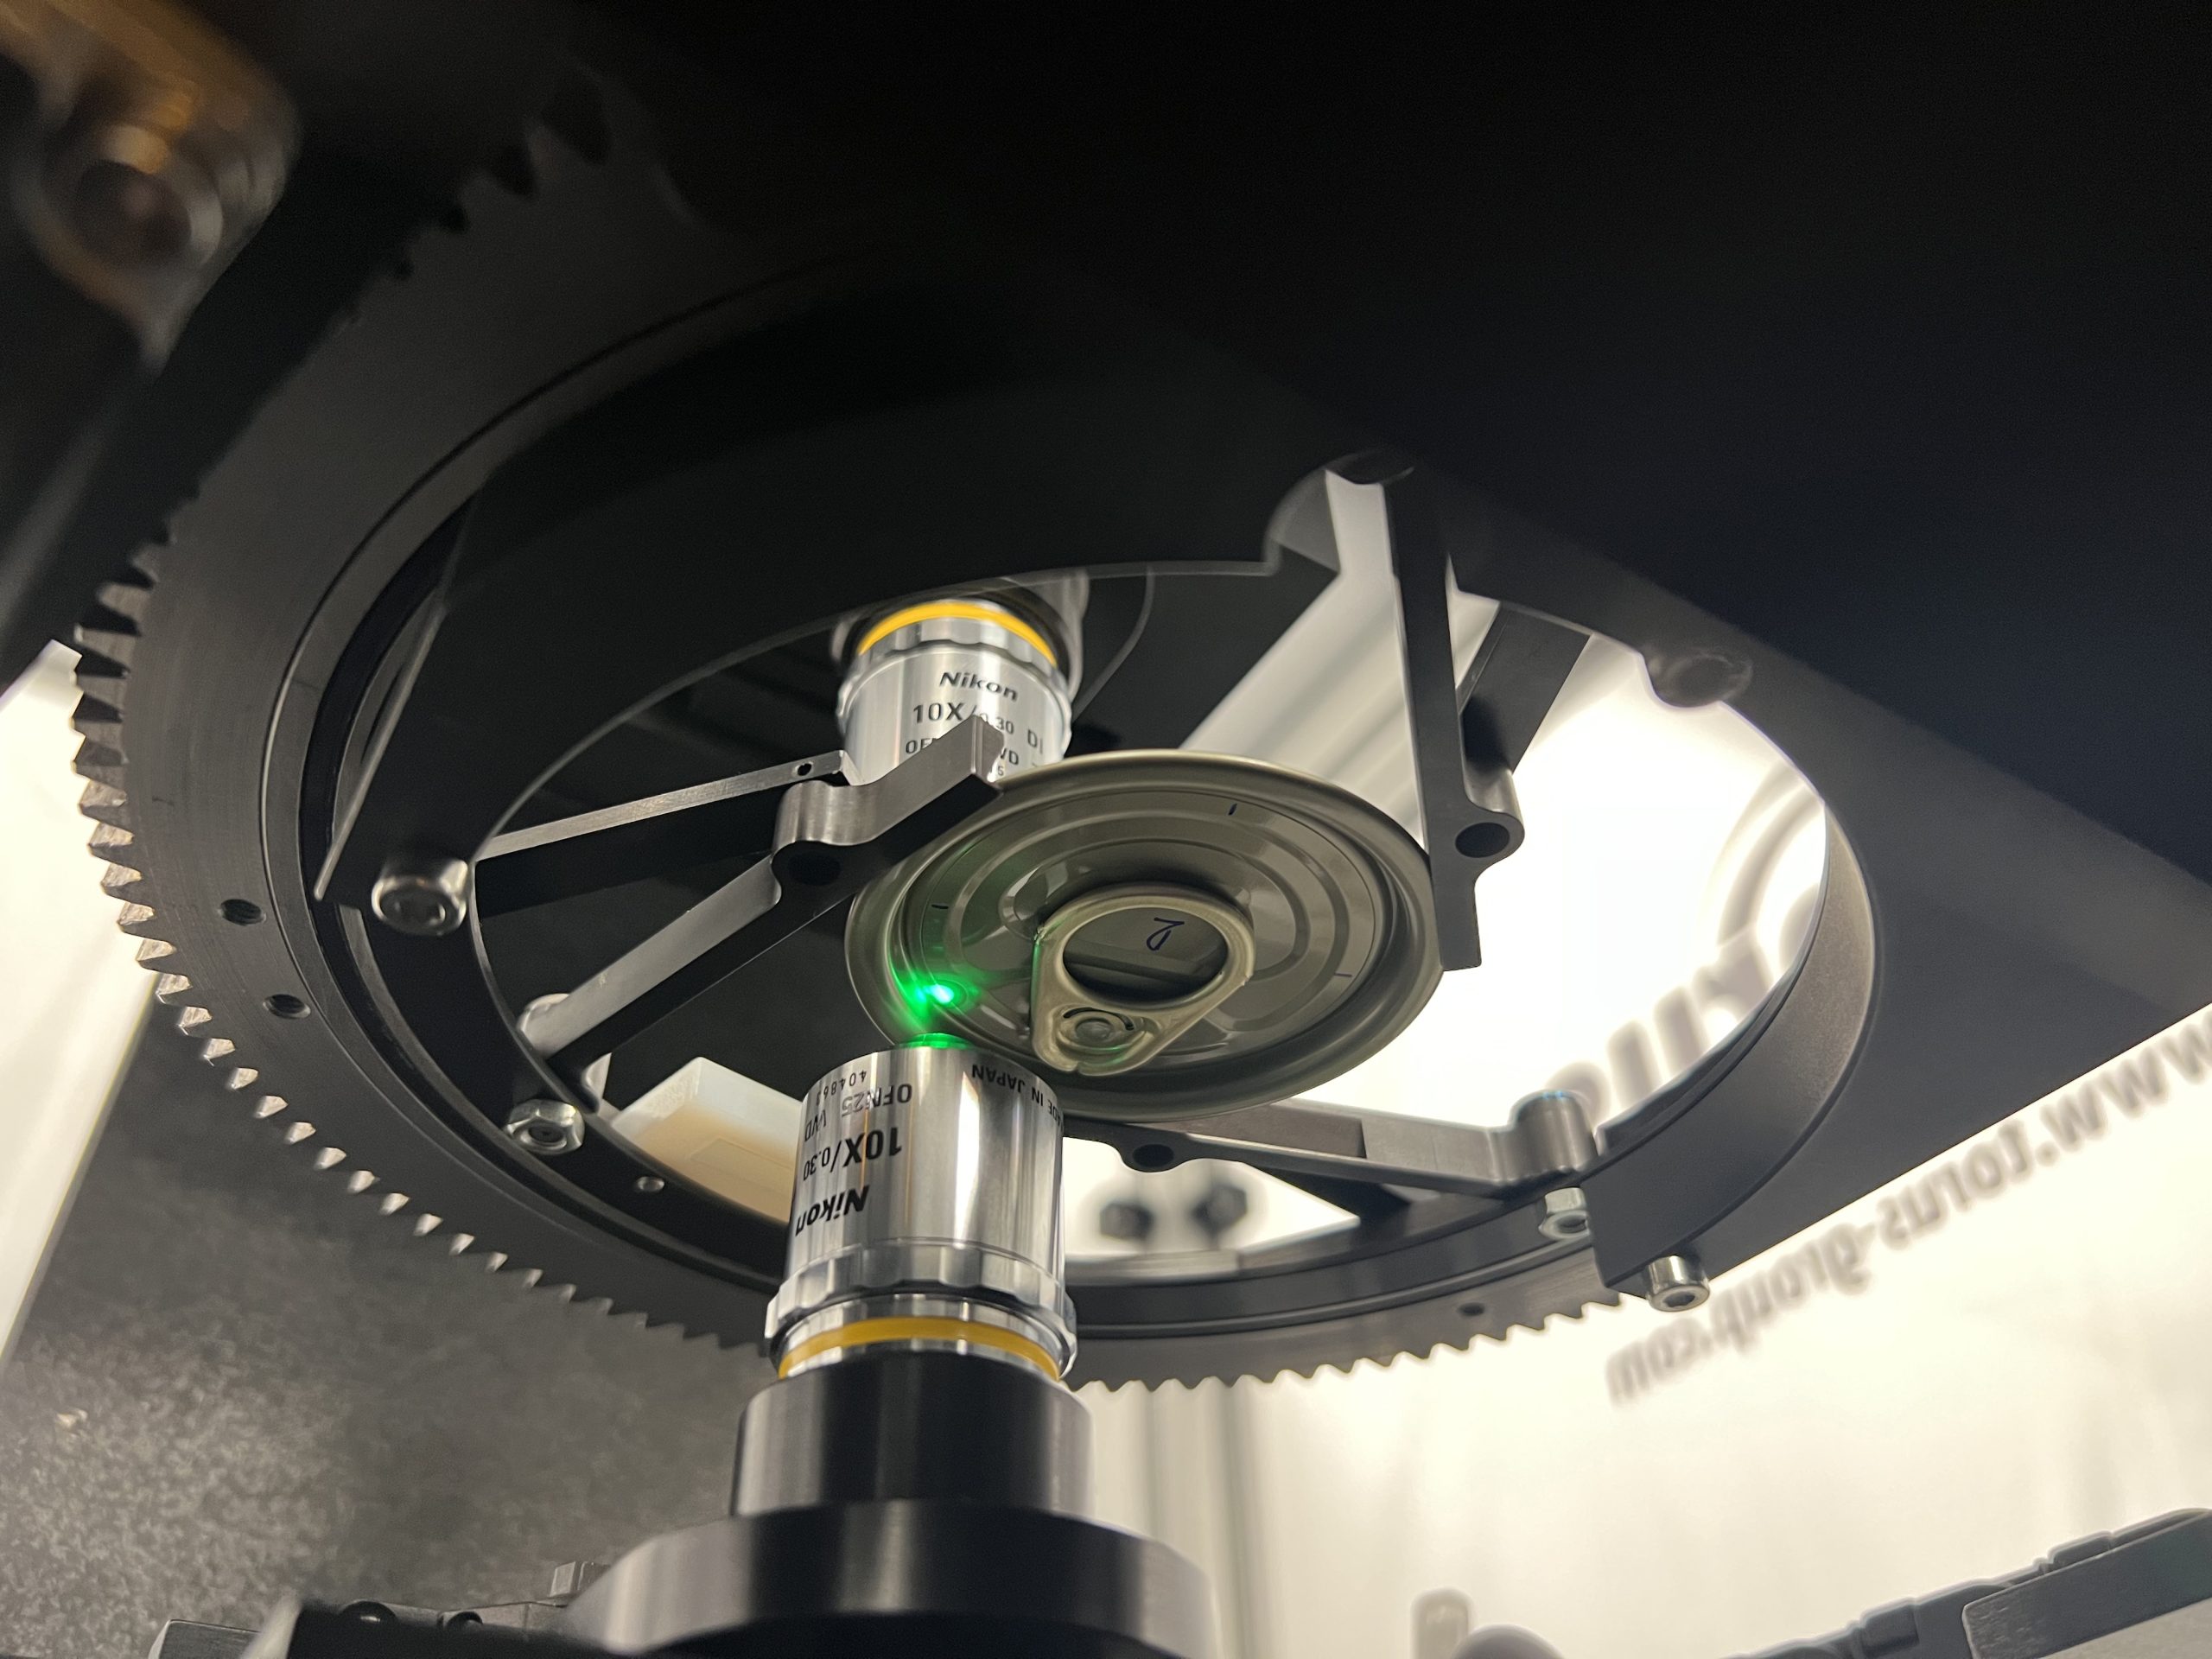


The Z606 Automatic Food End Score Gauge has been developed to provide the highest accuracy, repeatability, and usability for the measurement of Score Residual on Food can ends.
The Gauge uses two proprietary 3D Scanning White Light Interferometry Sensors developed by Torus’ Research & Development team. Each sensor performs a high-resolution area scan of the upper and lower surface of the Score area to build up a full 3D map for analysis and measurement. The sensors combine sub-micron vertical scanning with sub-micron X, Y area scans for unprecedented resolution, resolving up to 2.3 million surface data points for each Score Residual Thickness measurement.

Measurement Features
Technical Specification
1. Ease of Setup
Simply setup measurement positions using a drag and drop interface on an image of the End to be measured.
2. Pioneering Technology
3D Scanning White Light Interferometry Sensors developed by Torus, provide sub-micron resolution and unparalleled detail.
Bespoke algorithms analyse up to 2.3million data points per scan to provide accurate Score Residual Thickness Measurements.
3. Results and Feedback
(a) Mimic Screens provide instant feedback for Pass and Fail.
(b) Graphical Section plots show the Score profile for lifetime monitoring.
(c) 3D data available for output to preform detailed analysis and evaluation.

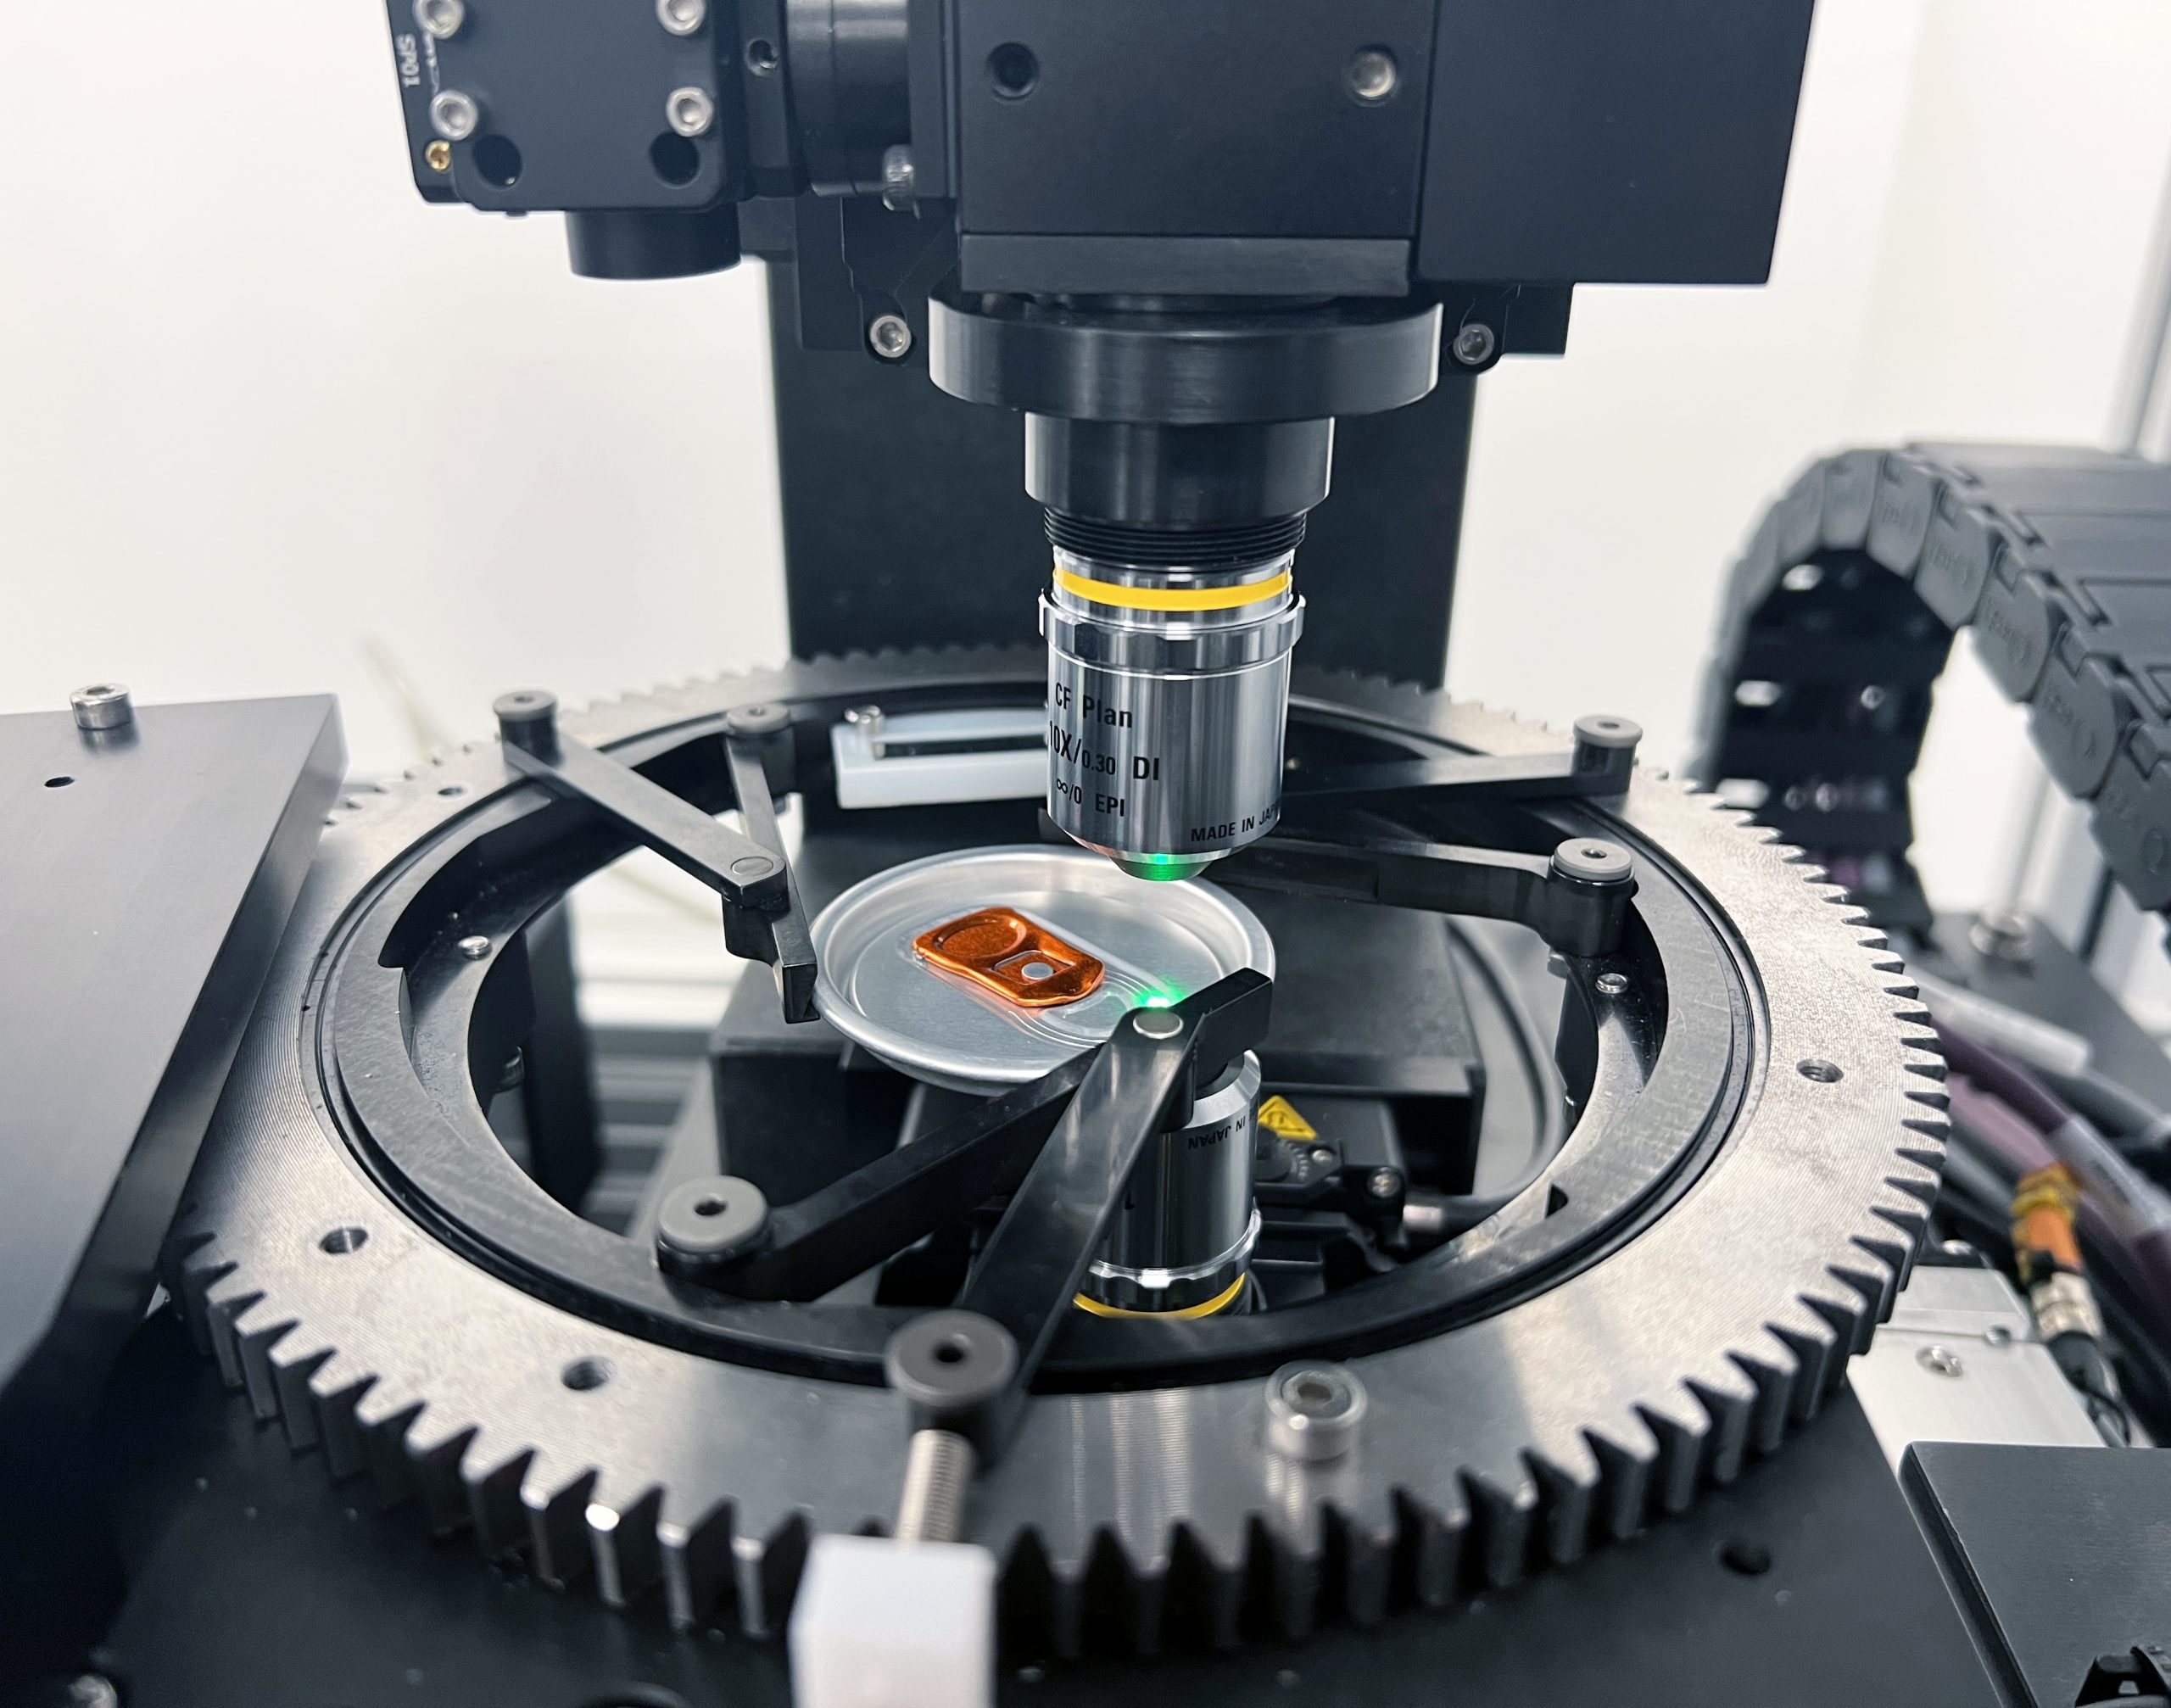
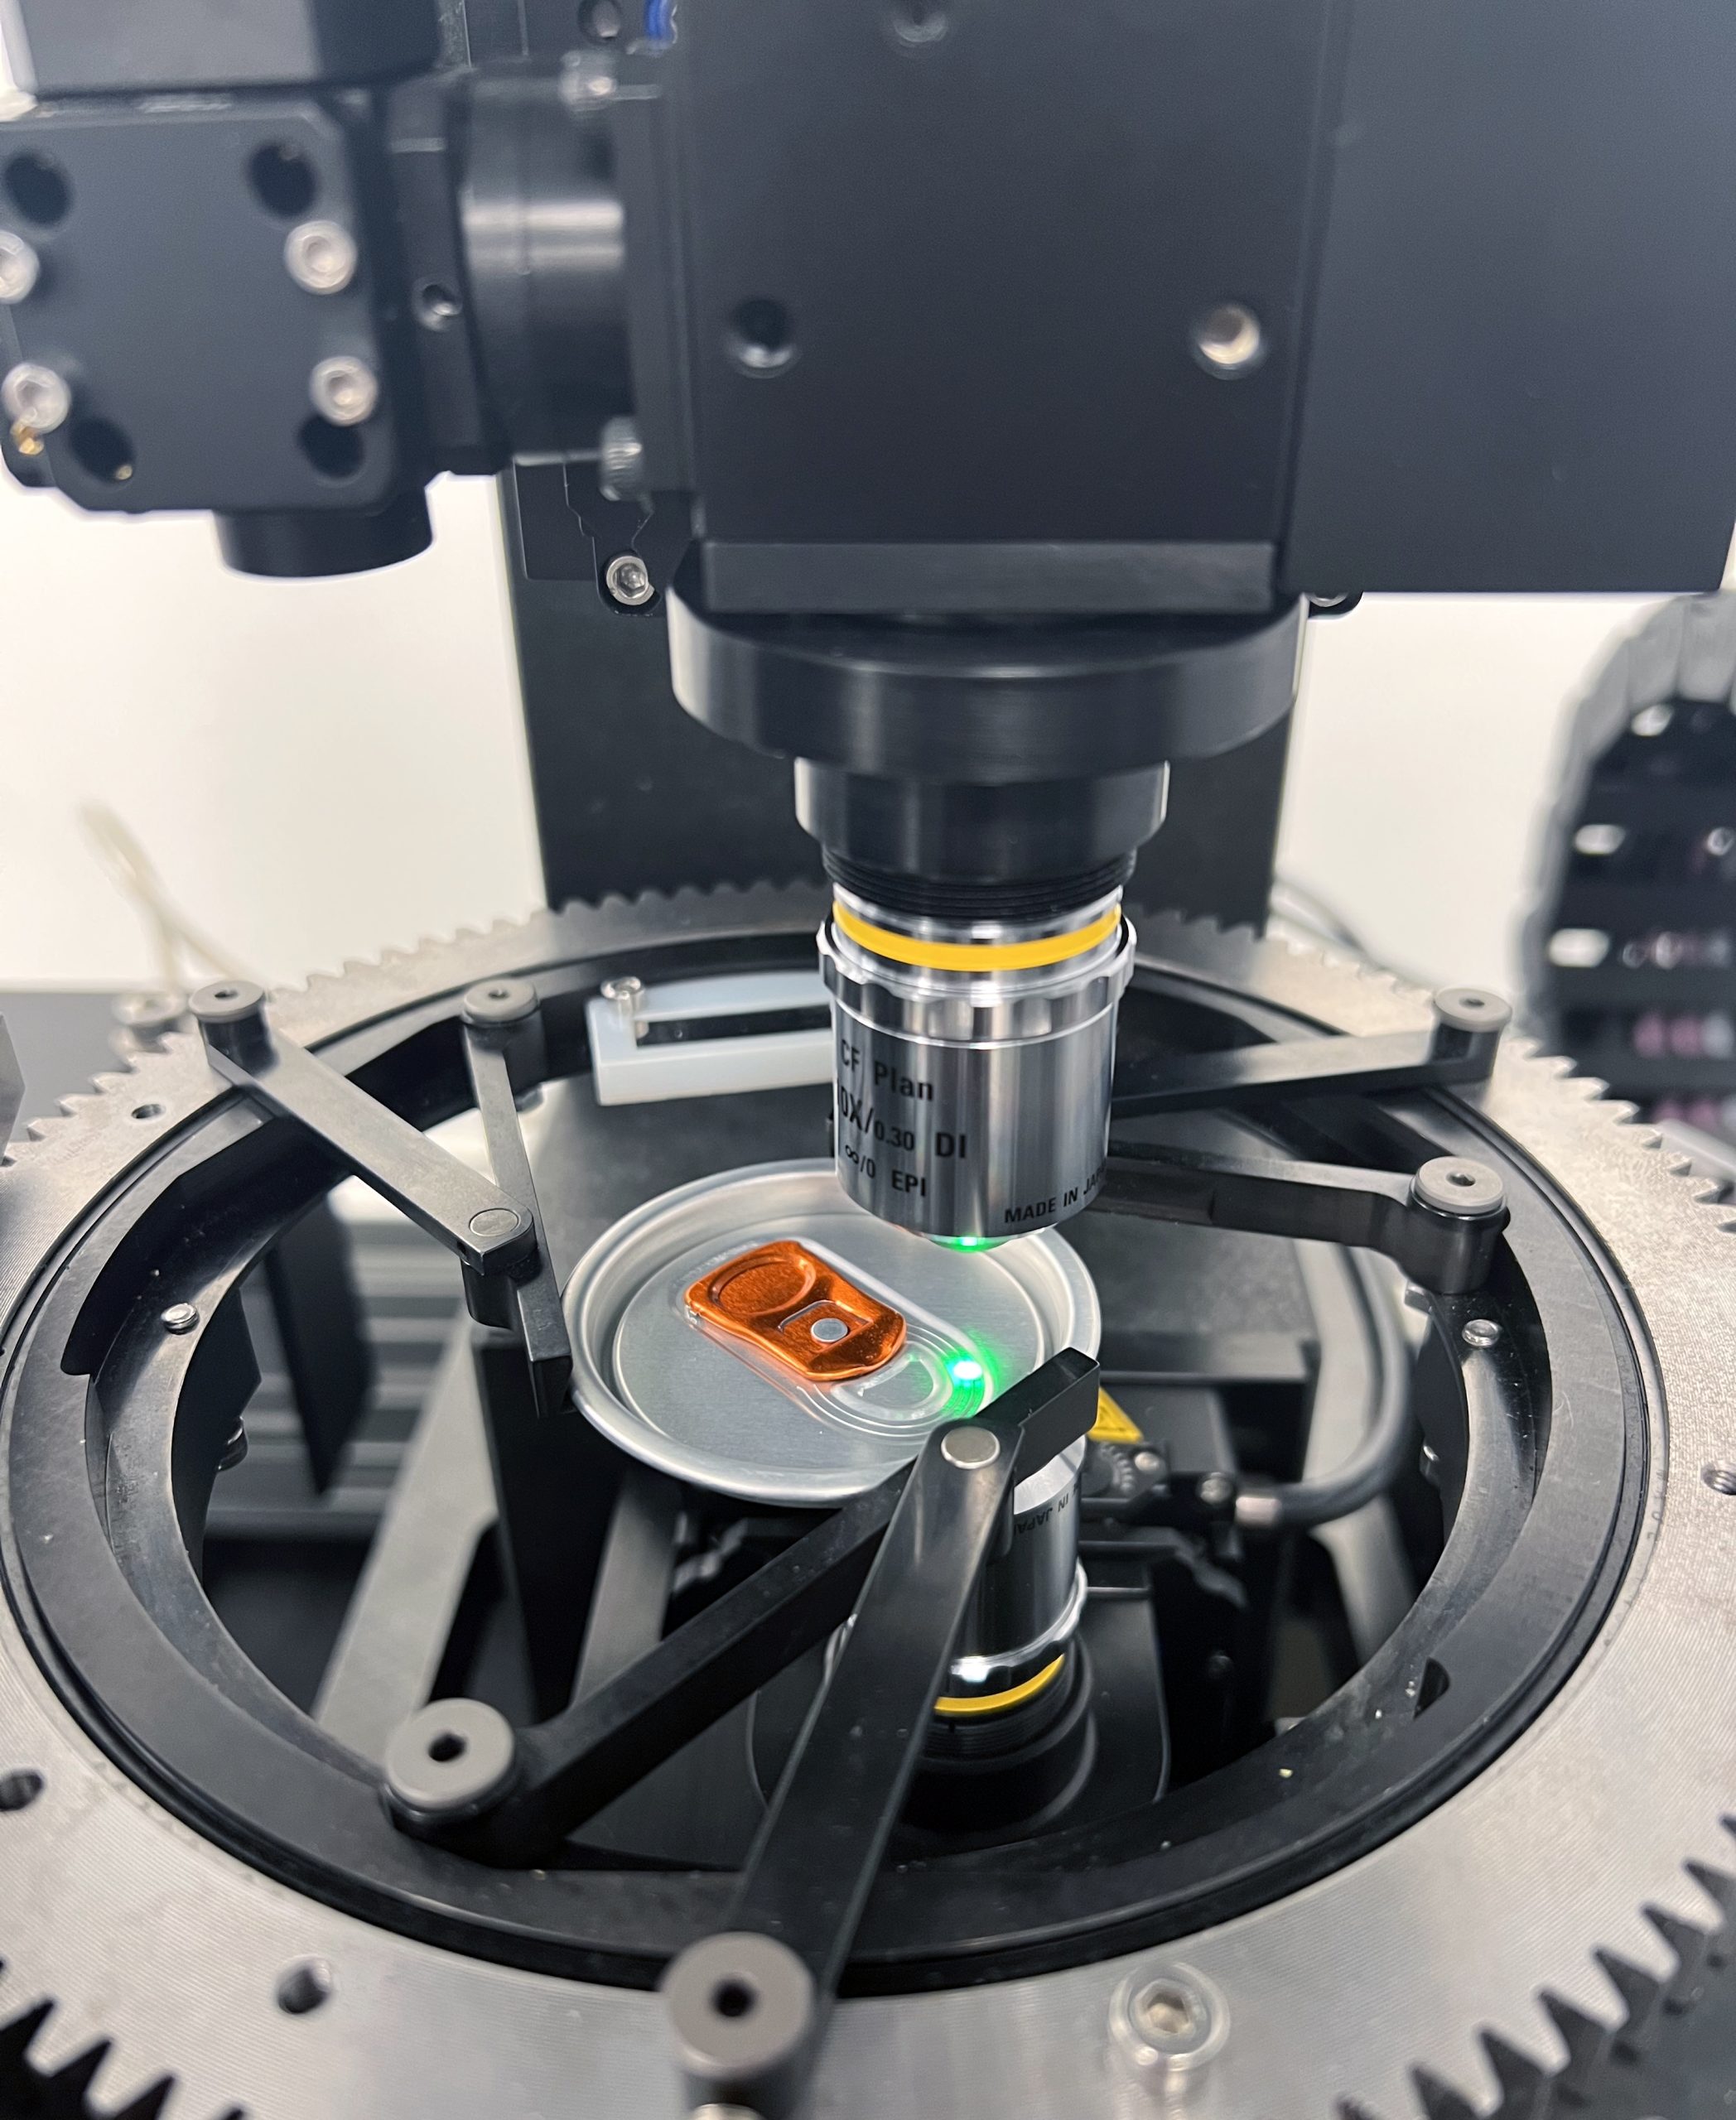
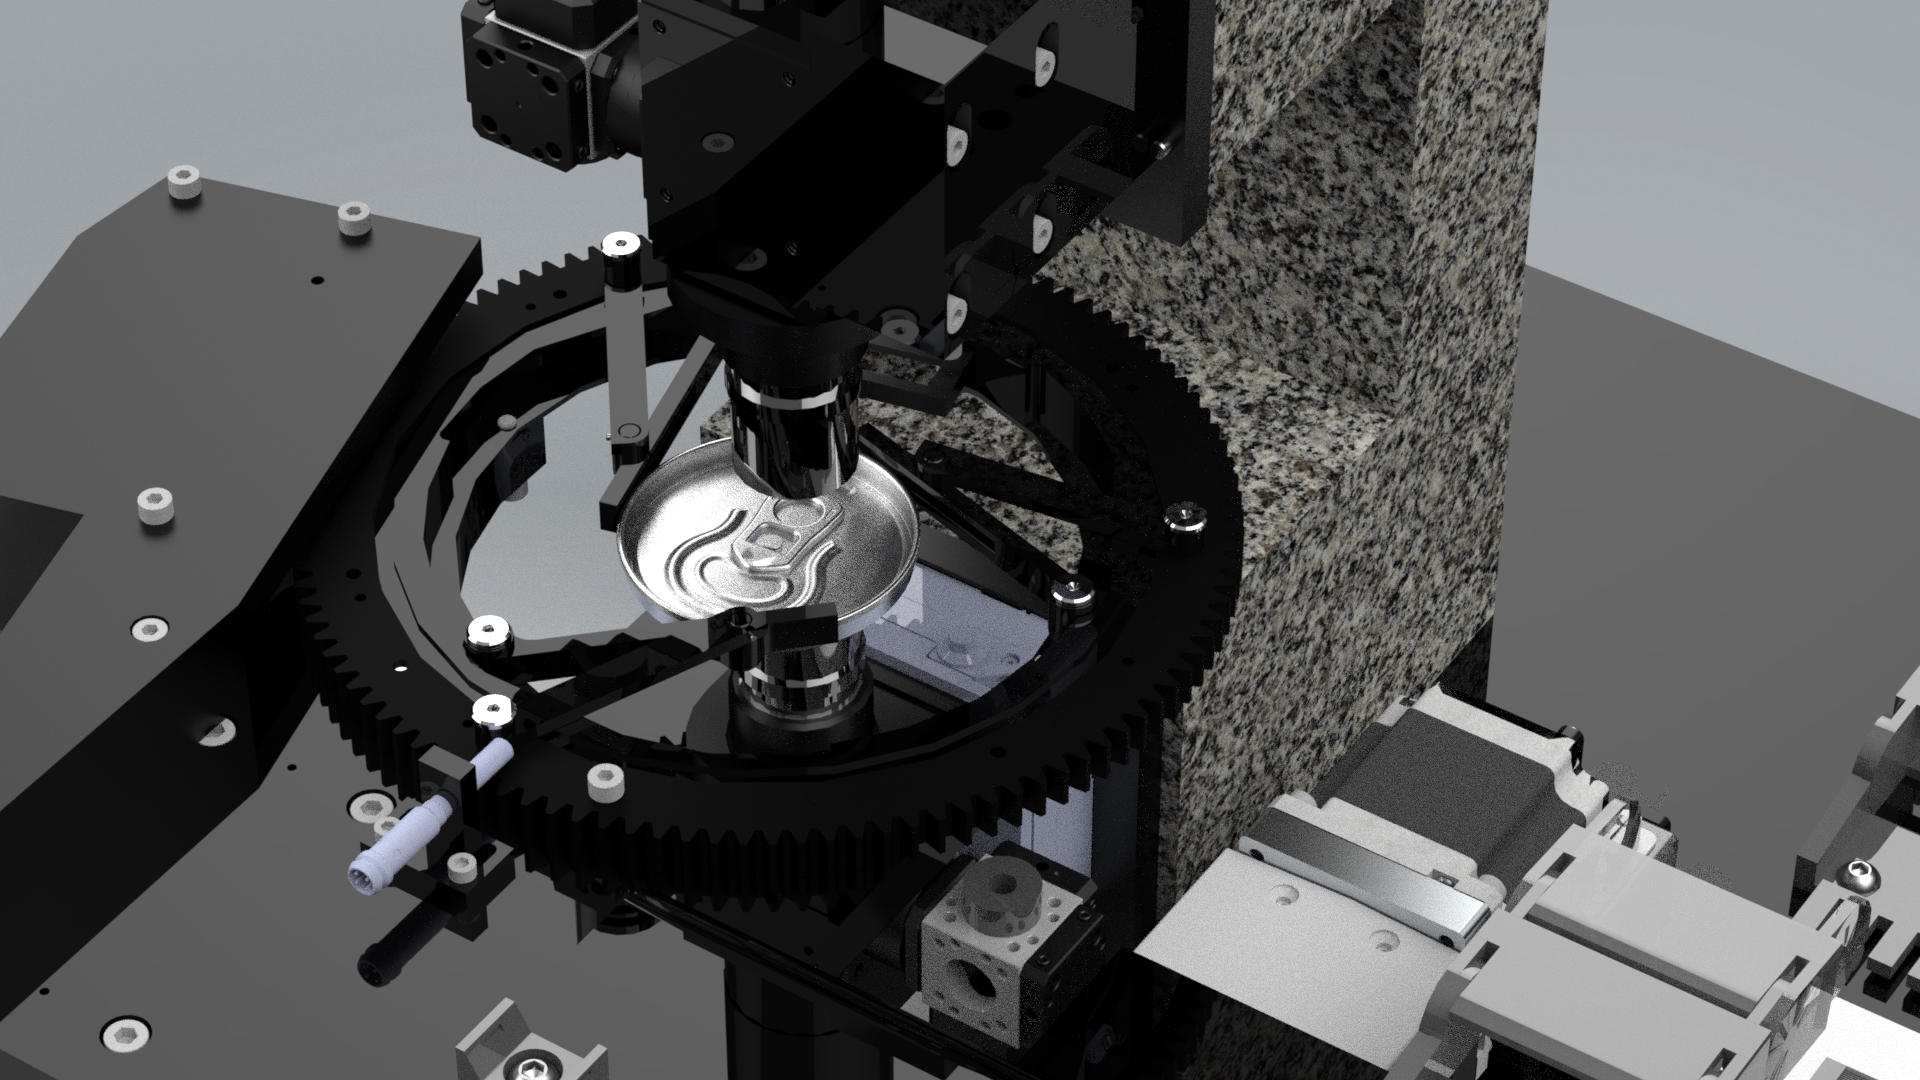


The Z606 Automatic Beverage End Score Gauge has been developed to provide the highest accuracy, repeatability, and usability for the measurement of Score Residual on Beverage can ends.
The Gauge uses two proprietary 3D Scanning White Light Interferometry Sensors developed by Torus’ Research & Development team. Each sensor performs a high-resolution area scan of the upper and lower surface of the Score area to build up a full 3D map for analysis and measurement. The sensors combine sub-micron vertical scanning with sub-micron X, Y area scans for unprecedented resolution, resolving up to 2.3 million surface data points for each Score Residual Thickness measurement.

Measurement Features
Technical Specification
1. Ease of Setup
Simply setup measurement positions using a drag and drop interface on an image of the End to be measured.
2. Pioneering Technology
3D Scanning White Light Interferometry Sensors developed by Torus, provide sub-micron resolution and unparalleled detail.
Bespoke algorithms analyse up to 2.3million data points per scan to provide accurate Score Residual Thickness Measurements.
3. Results and Feedback
(a) Mimic Screens provide instant feedback for Pass and Fail.
(b) Graphical Section plots show the Score profile for lifetime monitoring.
(c) 3D data available for output to preform detailed analysis and evaluation.
Introducing Torus’ Z704 RemoteXplorer, offering remote visual global support from our head office
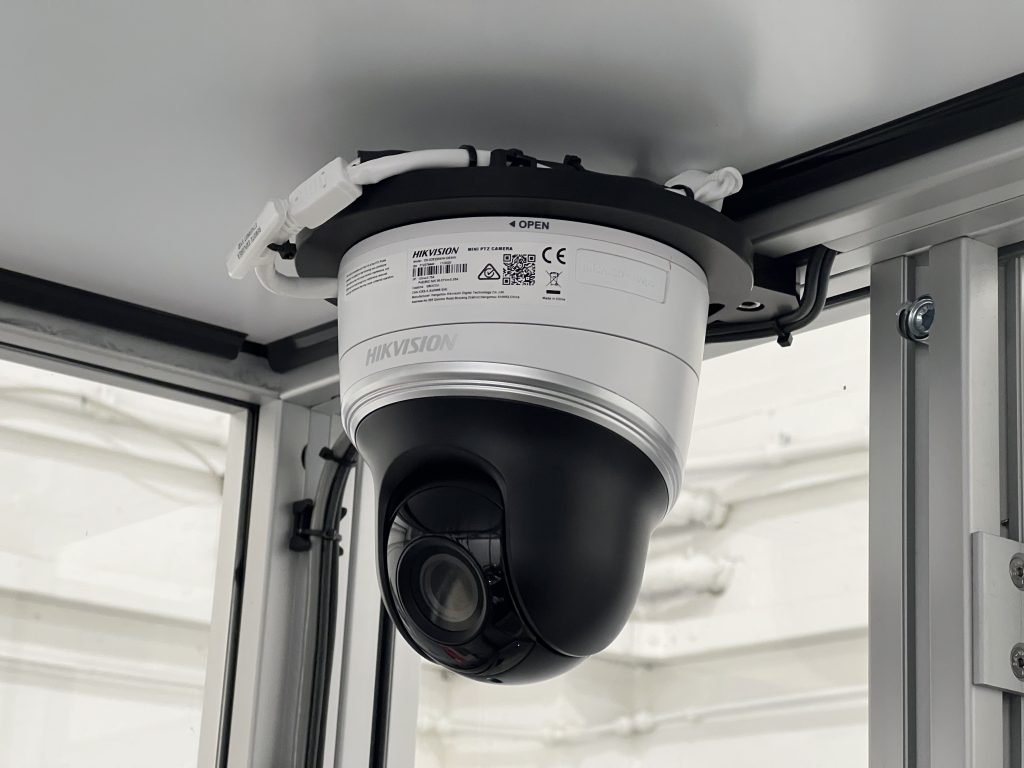
Remote support has been available for many years via Torus’ global helpdesk team, but only now can ‘eyes on’ support be offered via a new extension of Torus’ traditional GaugeXplorer software. RemoteXplorer, with the permission of customers, the gauges can now be monitored visually using RemoteXplorer’s newly developed pan and tilt camera system and software package.
How can we help you?
Using Industry standard database platforms, SPCXplorer is suitable for single station application, through to full factory database-centric network installations.Statistical Process Control (SPC) software is essential for manufacturing wide quality monitoring.
Upgrade Existing SPC Software Systems
With our database migration tools and backward compatibility architecture, users of the previous generation Repro2000 statistical process control software can upgrade with minimal disruption to their daily operation.
Designed with the needs of shop-floor data collection in mind, SPCXplorer can be interfaced to a large variety of manual instrumentation via RS232 connectivity, or for more complex gauging systems, can process bespoke ASCII data files via Ethernet.
The Reporting module ensures the data is displayed in the right format for your quality reviews, and with its simple and powerful administration functions, access to the management and configuration areas of the software is password protected for assured security.
Reliable & Professional SPC Software for Industry – SPCXplorer
Statistical Process Control software helps prevent business relative issues before they occur, via the use of data driven quality analysis. This enables you to monitor your production process by utilising visual diagrams such as Control Charts, customers have the ability to create specific control boundaries for all of their process monitoring needs. SPCXplorer detects manufacturing issues before they occur.
Using statistical process control software and knowing how efficient your processes are running, helps give the operators valuable information on whether to instigate or adjust their manufacturing processes or whether to carry on with the current process.
Want to know more about our SPC software? Contact us today.
How can we help you?
GXP software is fundamental to all Torus Measurement Systems gauges, providing smooth reliable gauge operation, including state of the art intuative diagnostic tools, allowing the operators and our TMS support team easy access to the gauge where ever in the world you are.
GXP software has a range of features for your specific industry requirements to help improve productivity & meet quality requirements.
How can we help you?
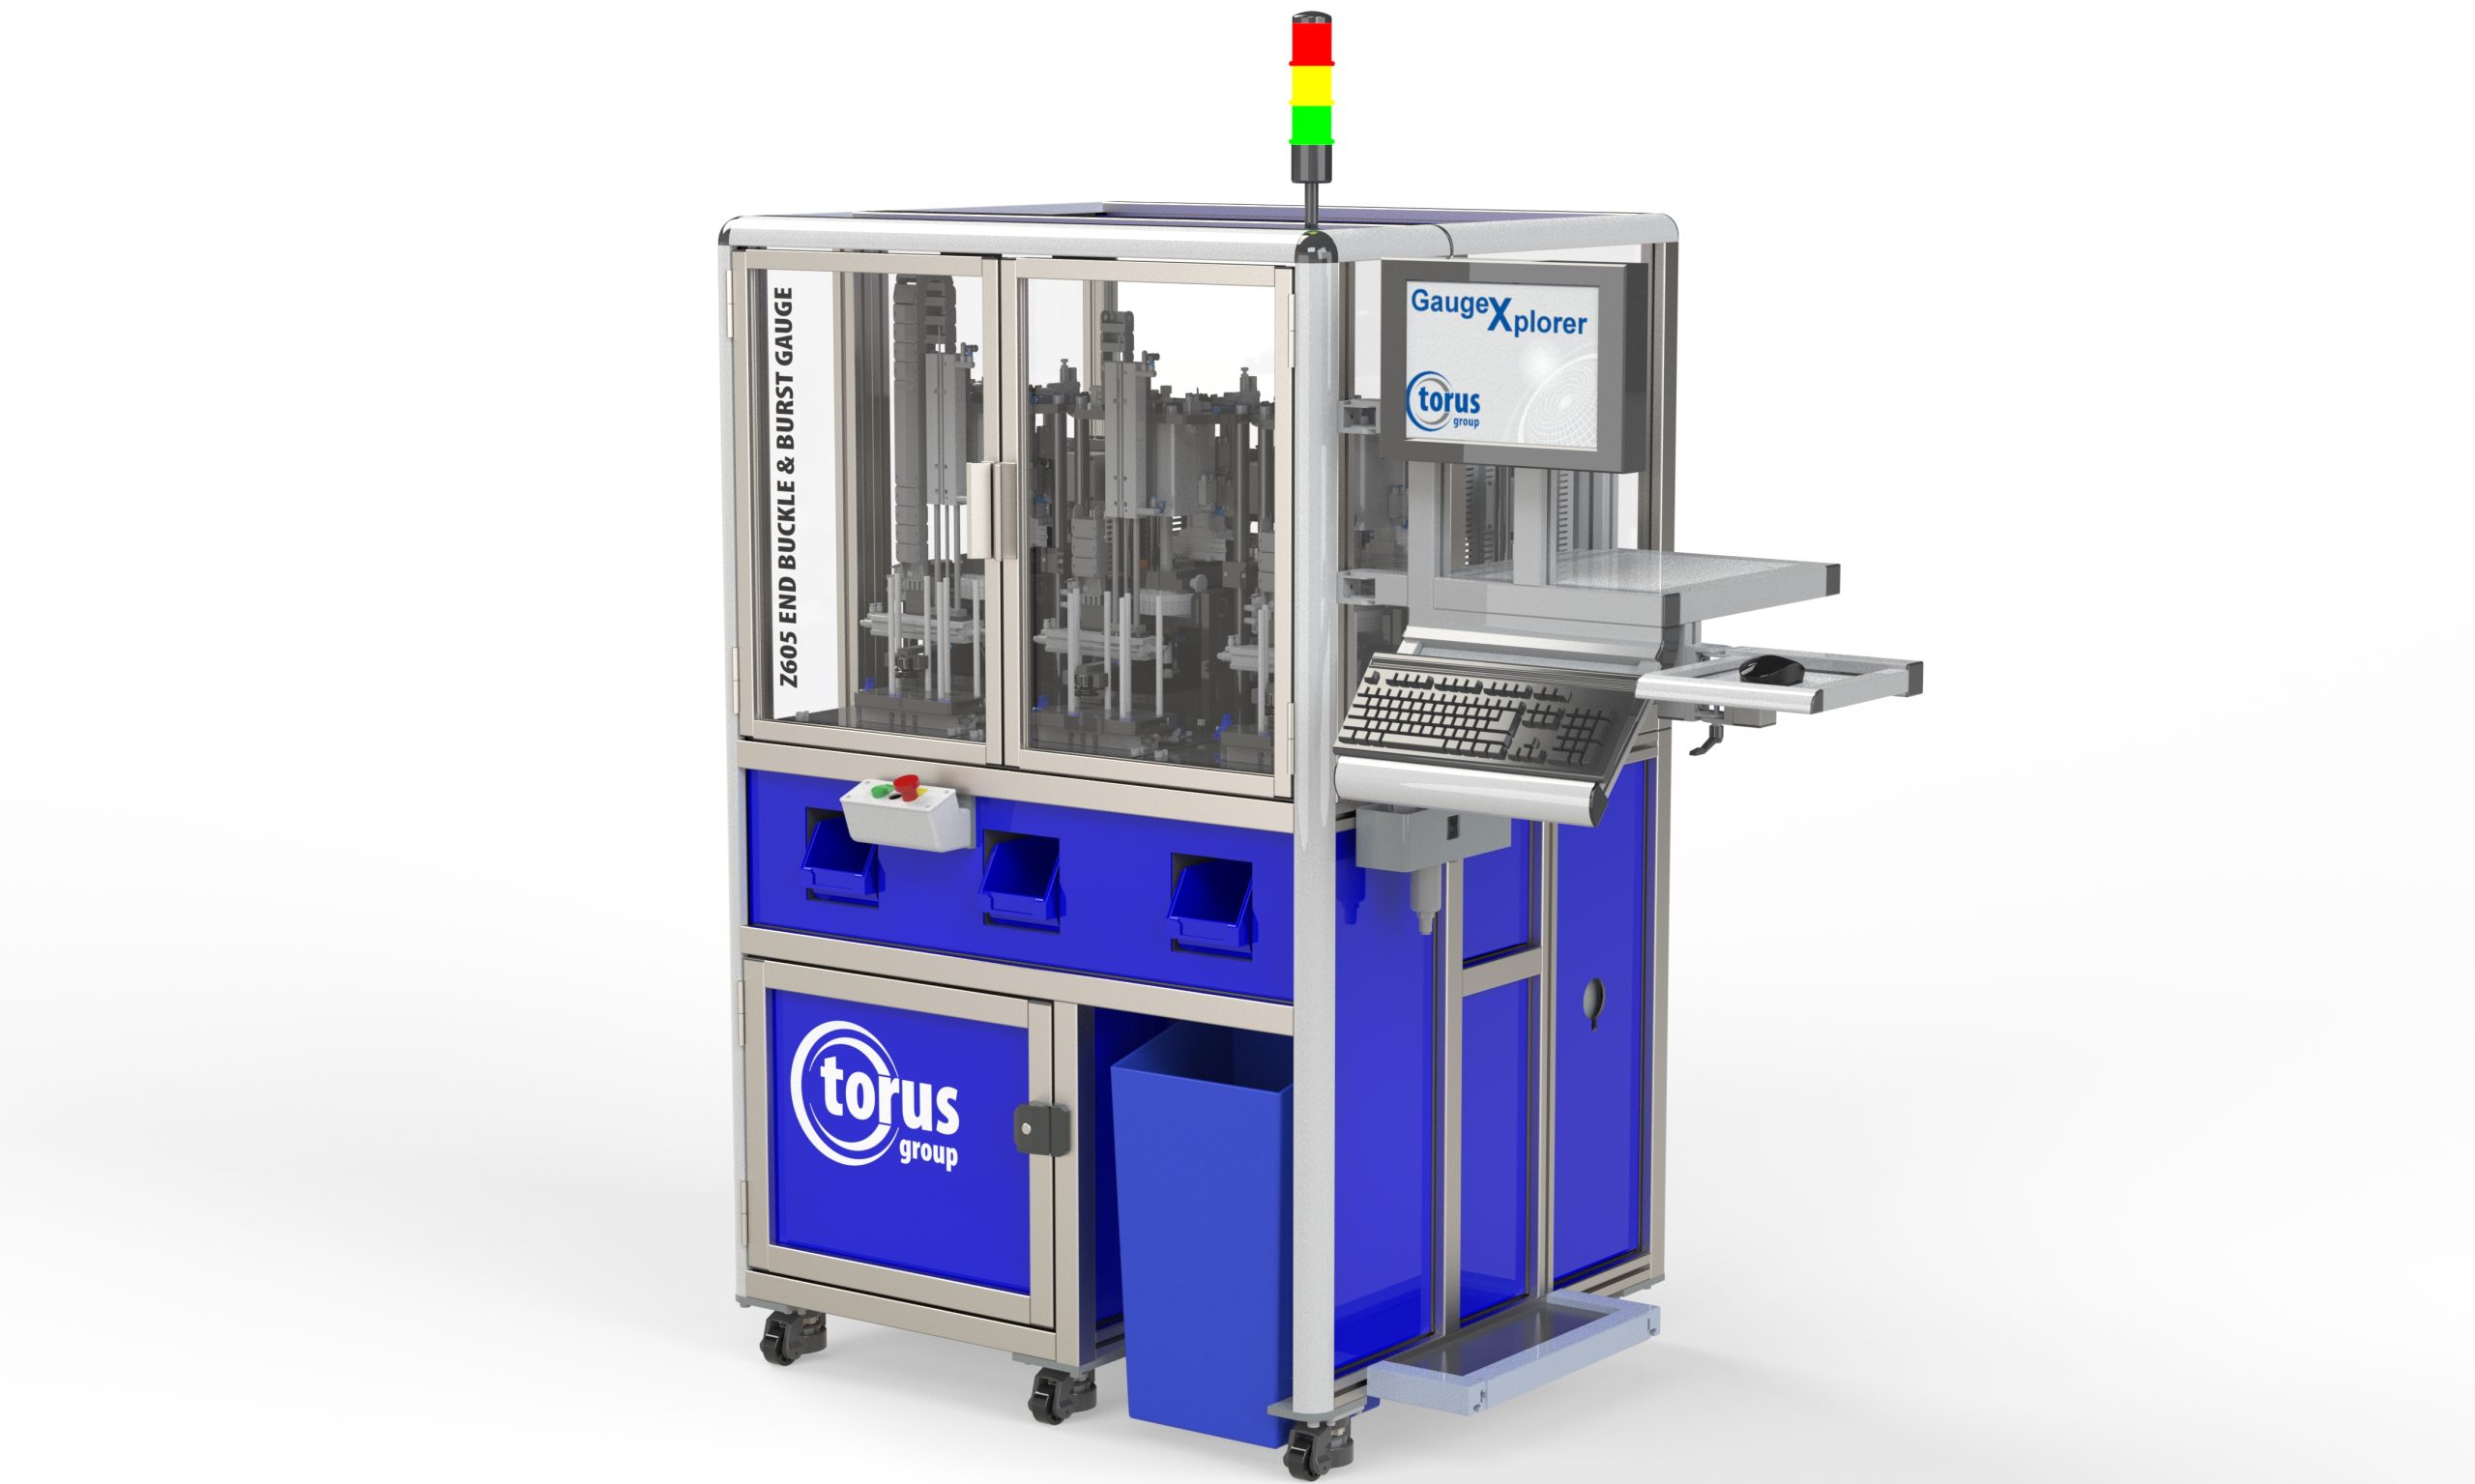
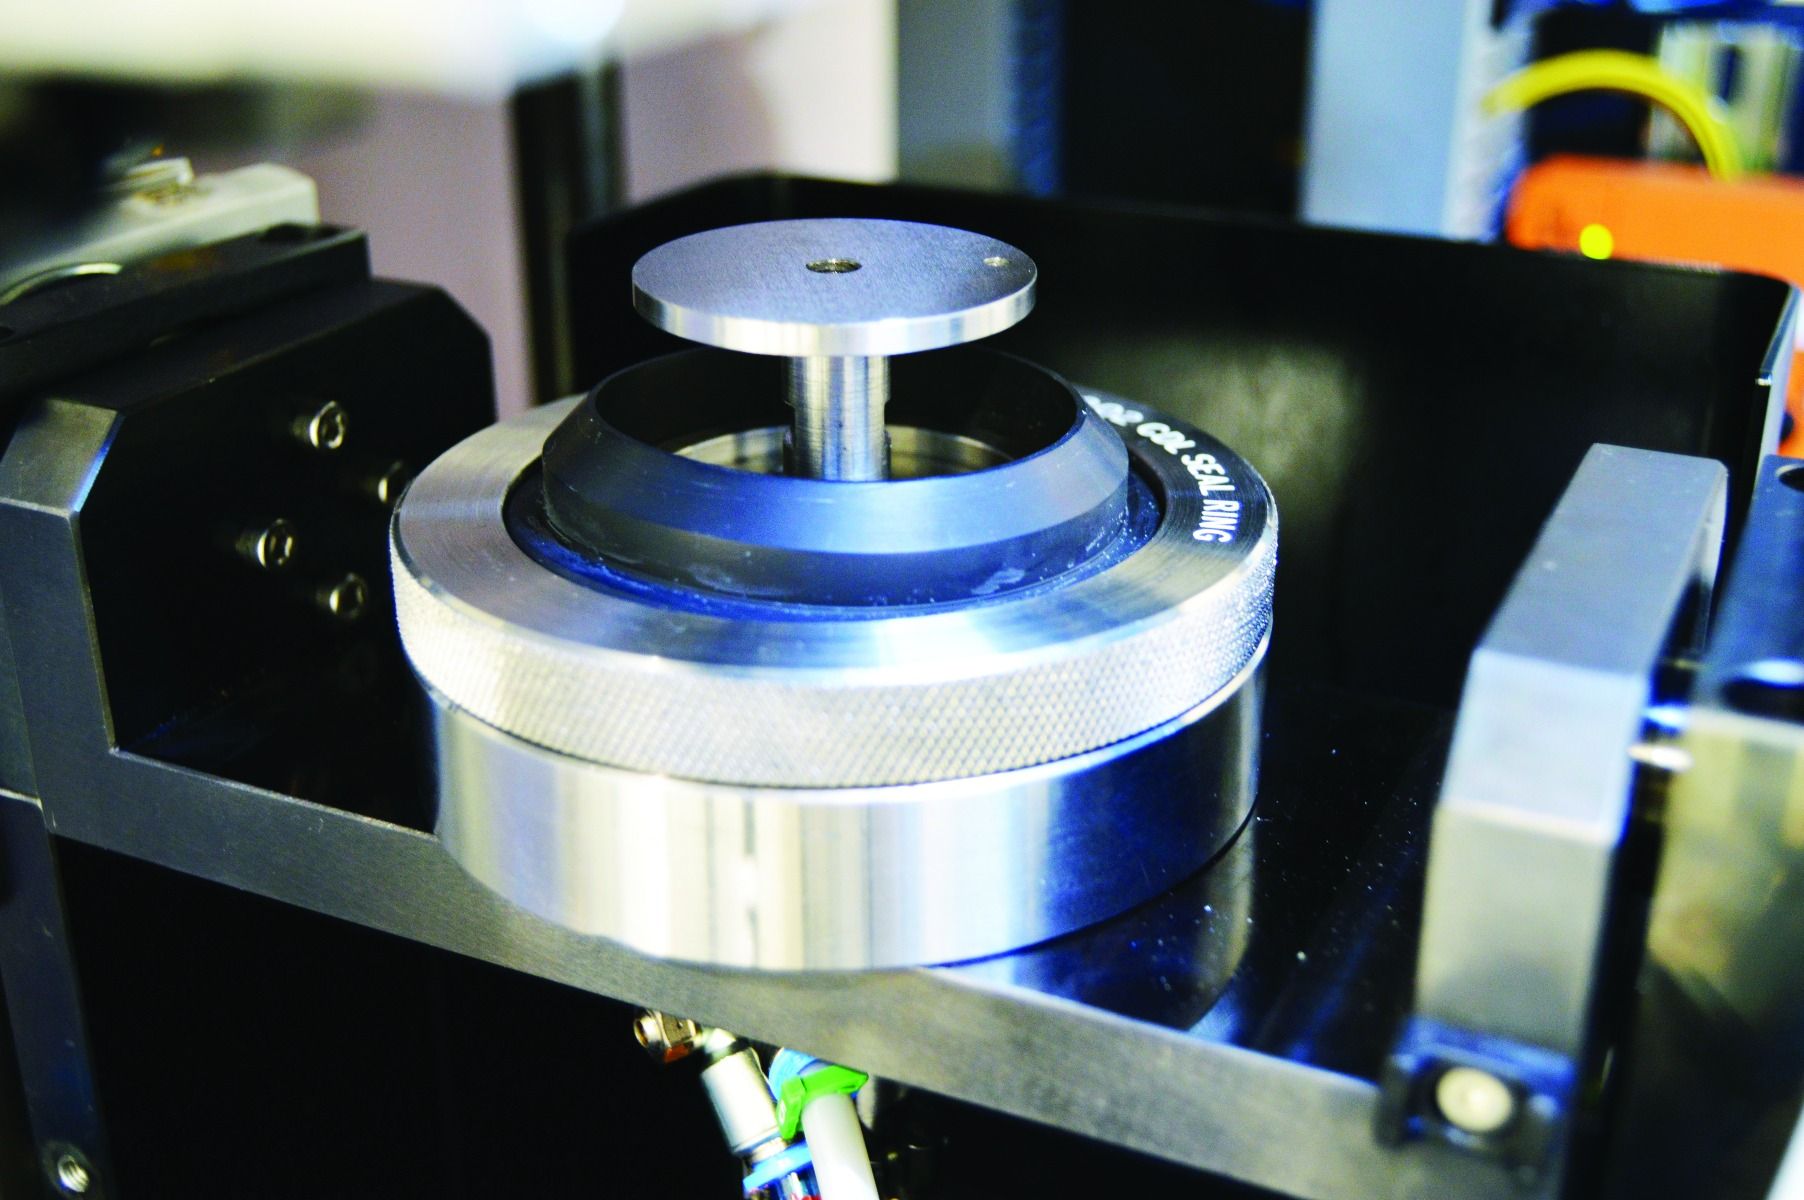
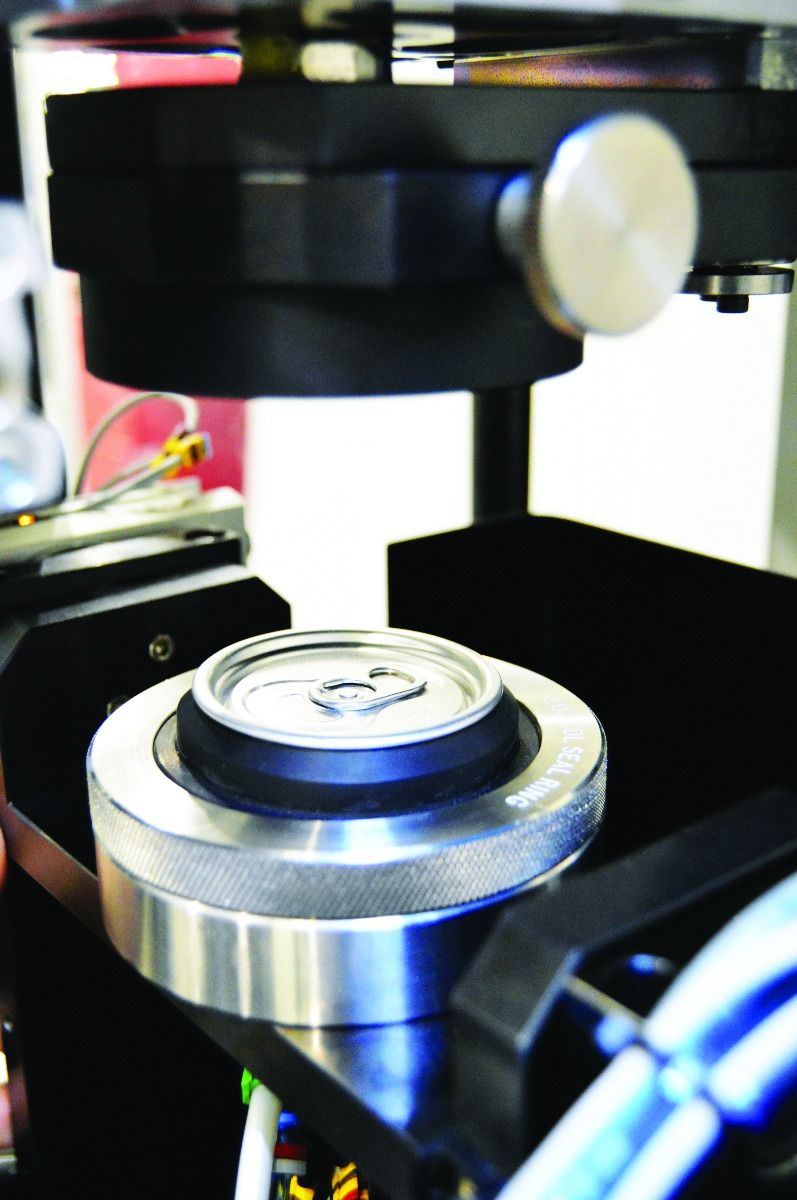


The Z605 End Buckle and Burst Gauge is the world’s first End Buckle and Burst Gauge with up to three size capability with no manual change parts.
The operator simply loads a batch of ends into the gauge to initiate both the buckle and burst tests. The collated data is then quickly exported to the customers SPC data acquisition system for analysis.

Measurement Features
Technical Specification
Ends are collected from operator loaded hopper cassettes and placed into the dedicated tooling, precisely clamping and securing the end in position. Pressure is then applied until the end buckles or reaches a maximum specifiable pressure before finishing the test. Operators are presented with graphical information about buckle and burst performance as well as numerical data for SPC analysis and pass/fail classification.


Our Z604 automatic beverage shell and end enamel rater offers unprecedented functionality and capability for today’s global shell/end making industry.
By monitoring critical manufacturing parameters over time and relating the press performance to the change in the ends opening signature, the manufacturing process capability can be observed. This trend monitoring is extremely beneficial to the process engineer, in predicting potential out-of-spec score residual and other critical features. By sampling ends from the production line, the Opening Force Gauge can monitor tooling wear in real-time and provide significant savings in both labour and scrap.

Measurement Features
Technical Specification
**Beverage can end standard diameter range includes but is not limited to Ø 200 – Ø 209
Once the part program is selected, the operator will be prompted to load the hopper system as instructed, a maximum of up to 100 shells / ends per hopper (maximum of 4 hoppers per gauge)
The samples can be collected from the production lines and batch loaded at any given time without cancelling the current batch inspection sequence, resulting in increased sample testing frequency.
The gauge will then automatically start the test cycle using the industry standard 4 second procedure.


The Z601 Automative EOE Progression Gauges sets the standard for inspecting all standard and enhanced inspection features across all conversion types.
The non-contact technology gives the operator the reassurance that no influence or bias has occurred during measurement, giving you full confidence in your production process.

Technical Specification
The system is available in two variants; Standard and Enhanced
The Enhanced version allows optional measurement of additional features:




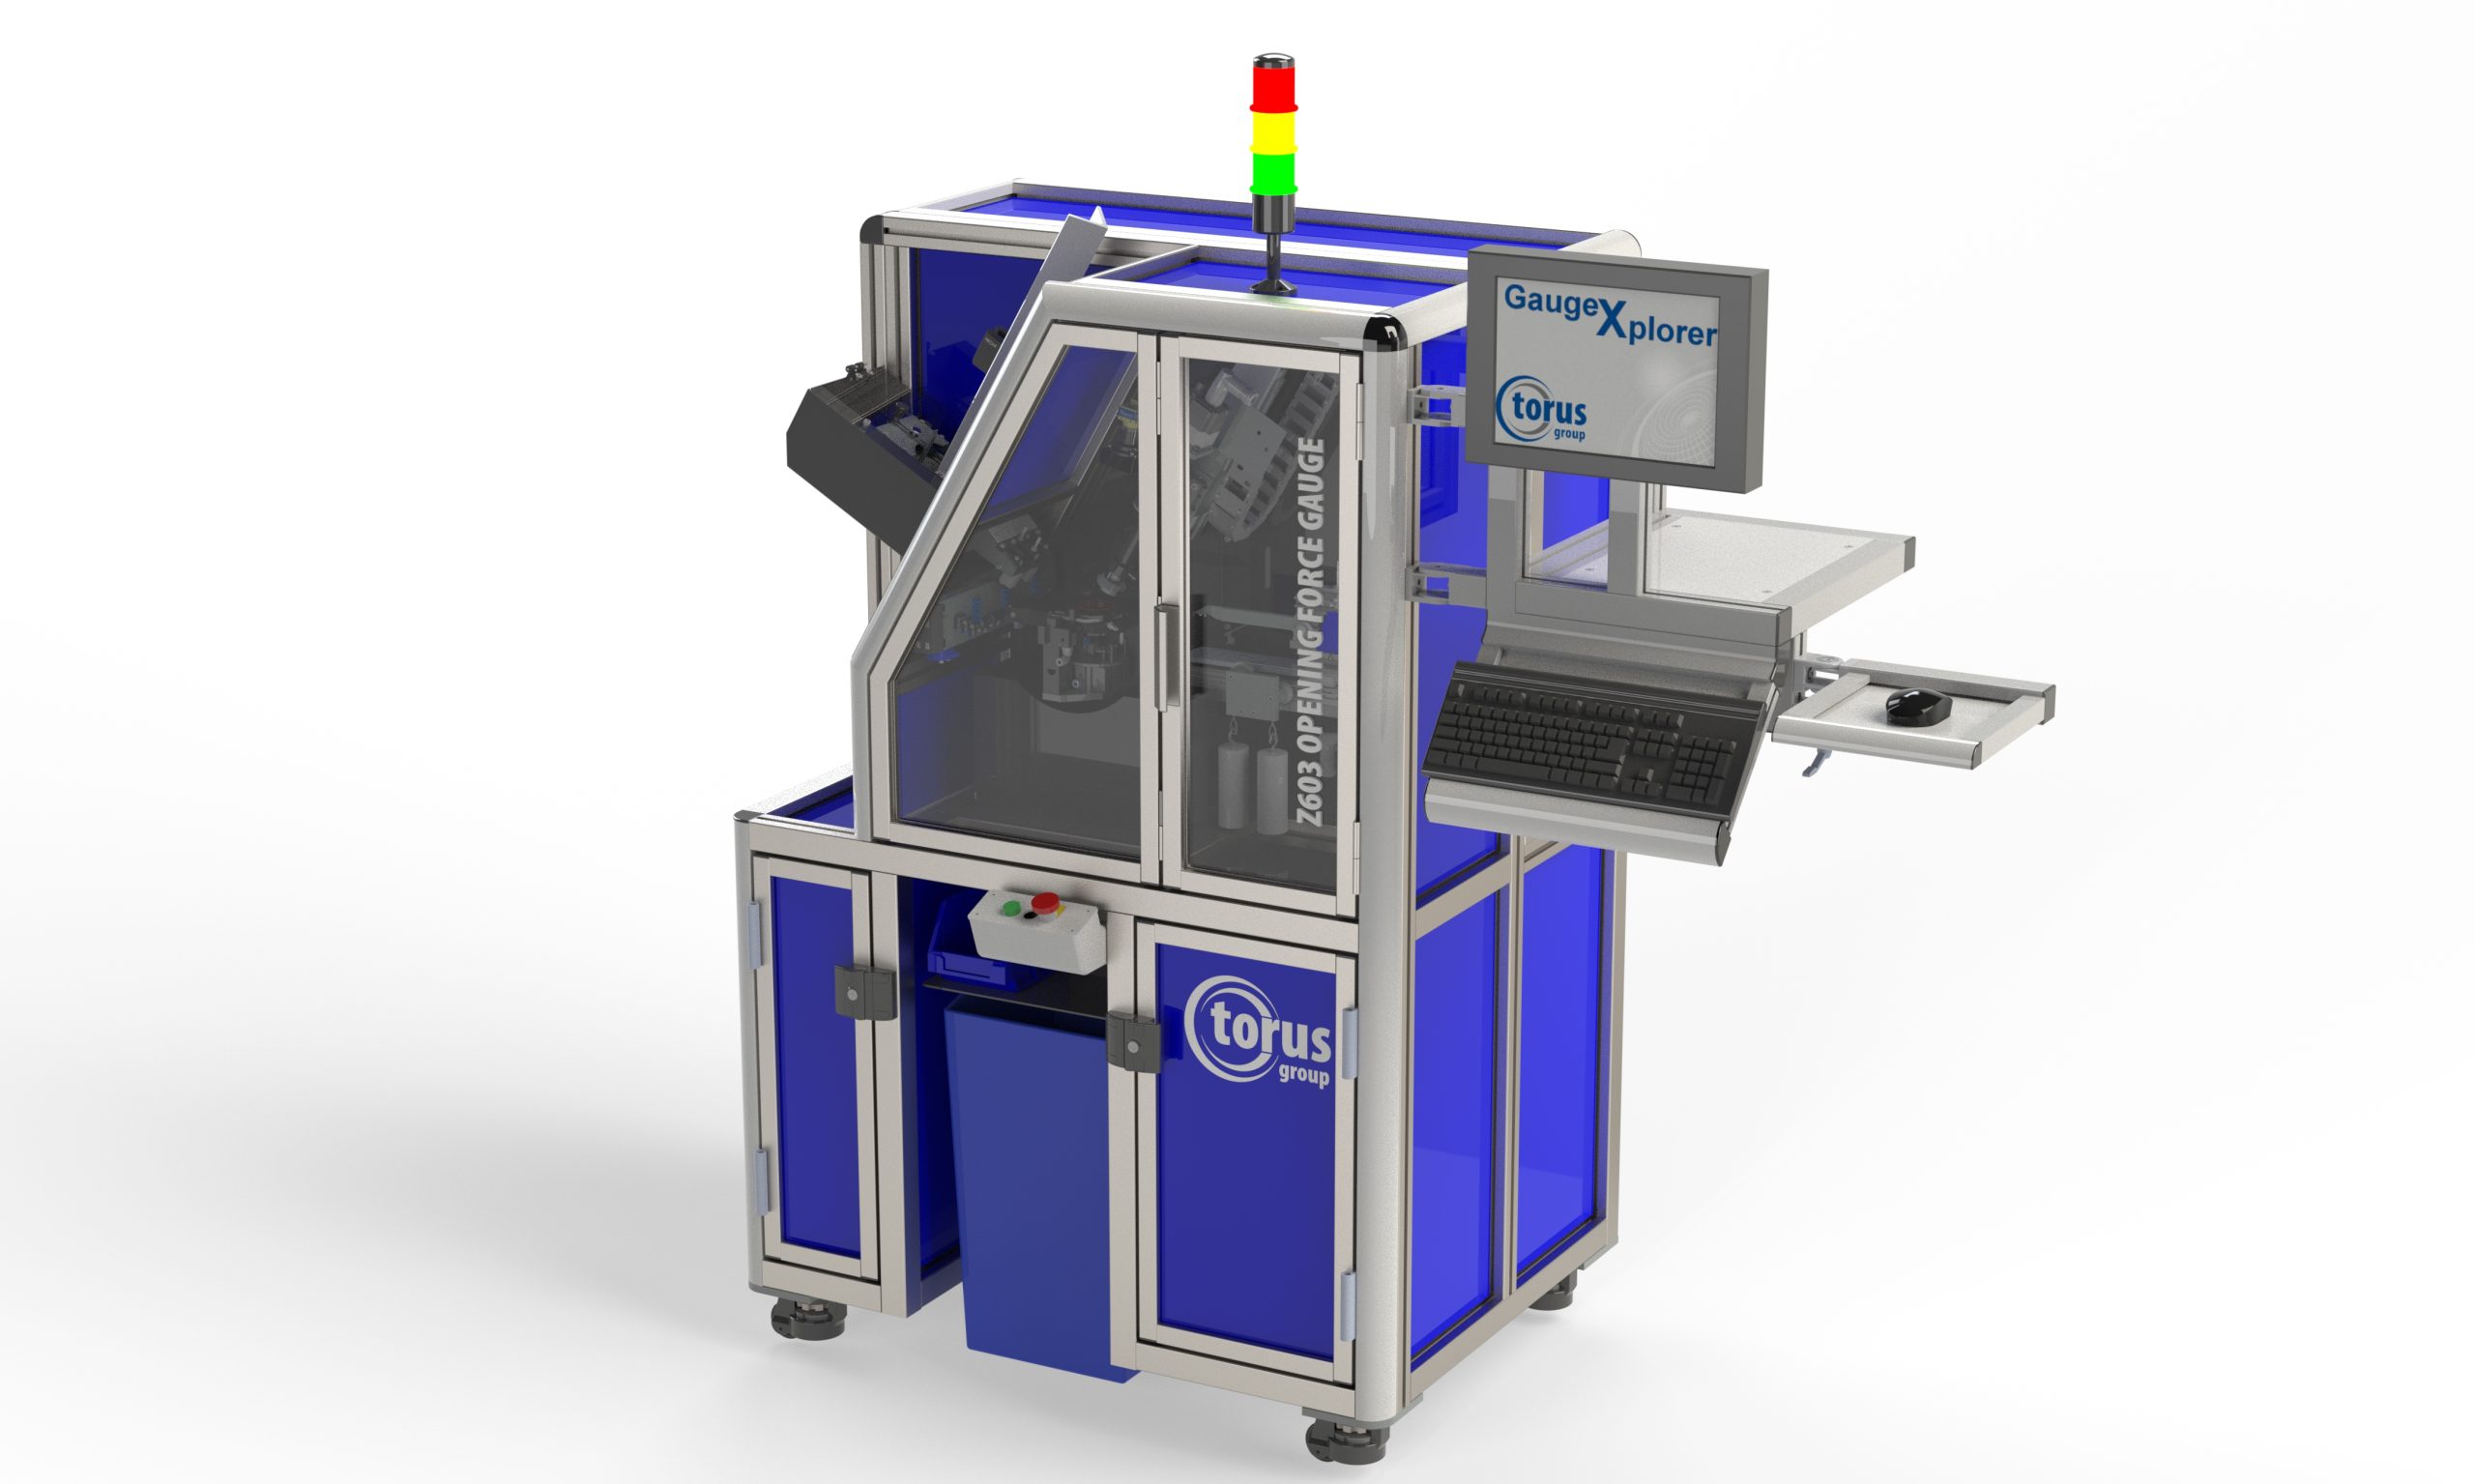
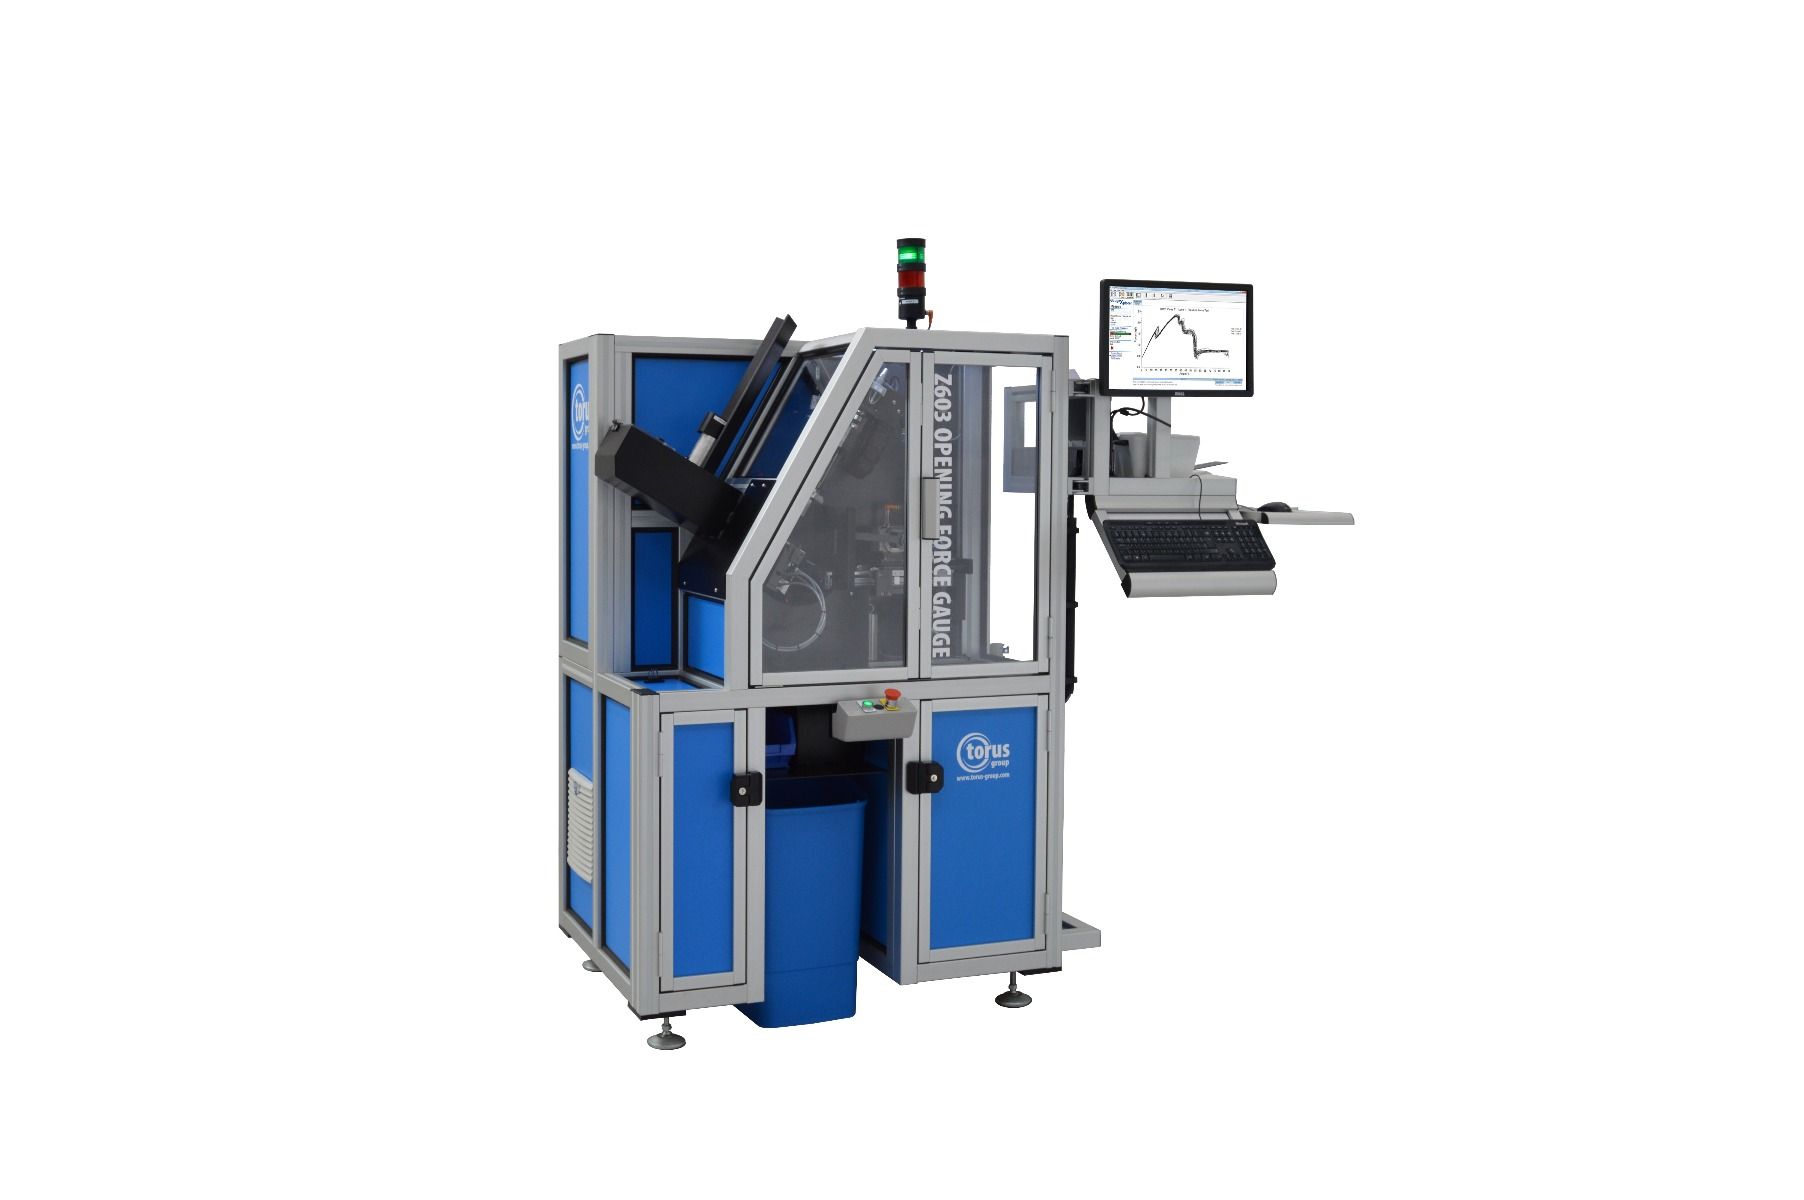
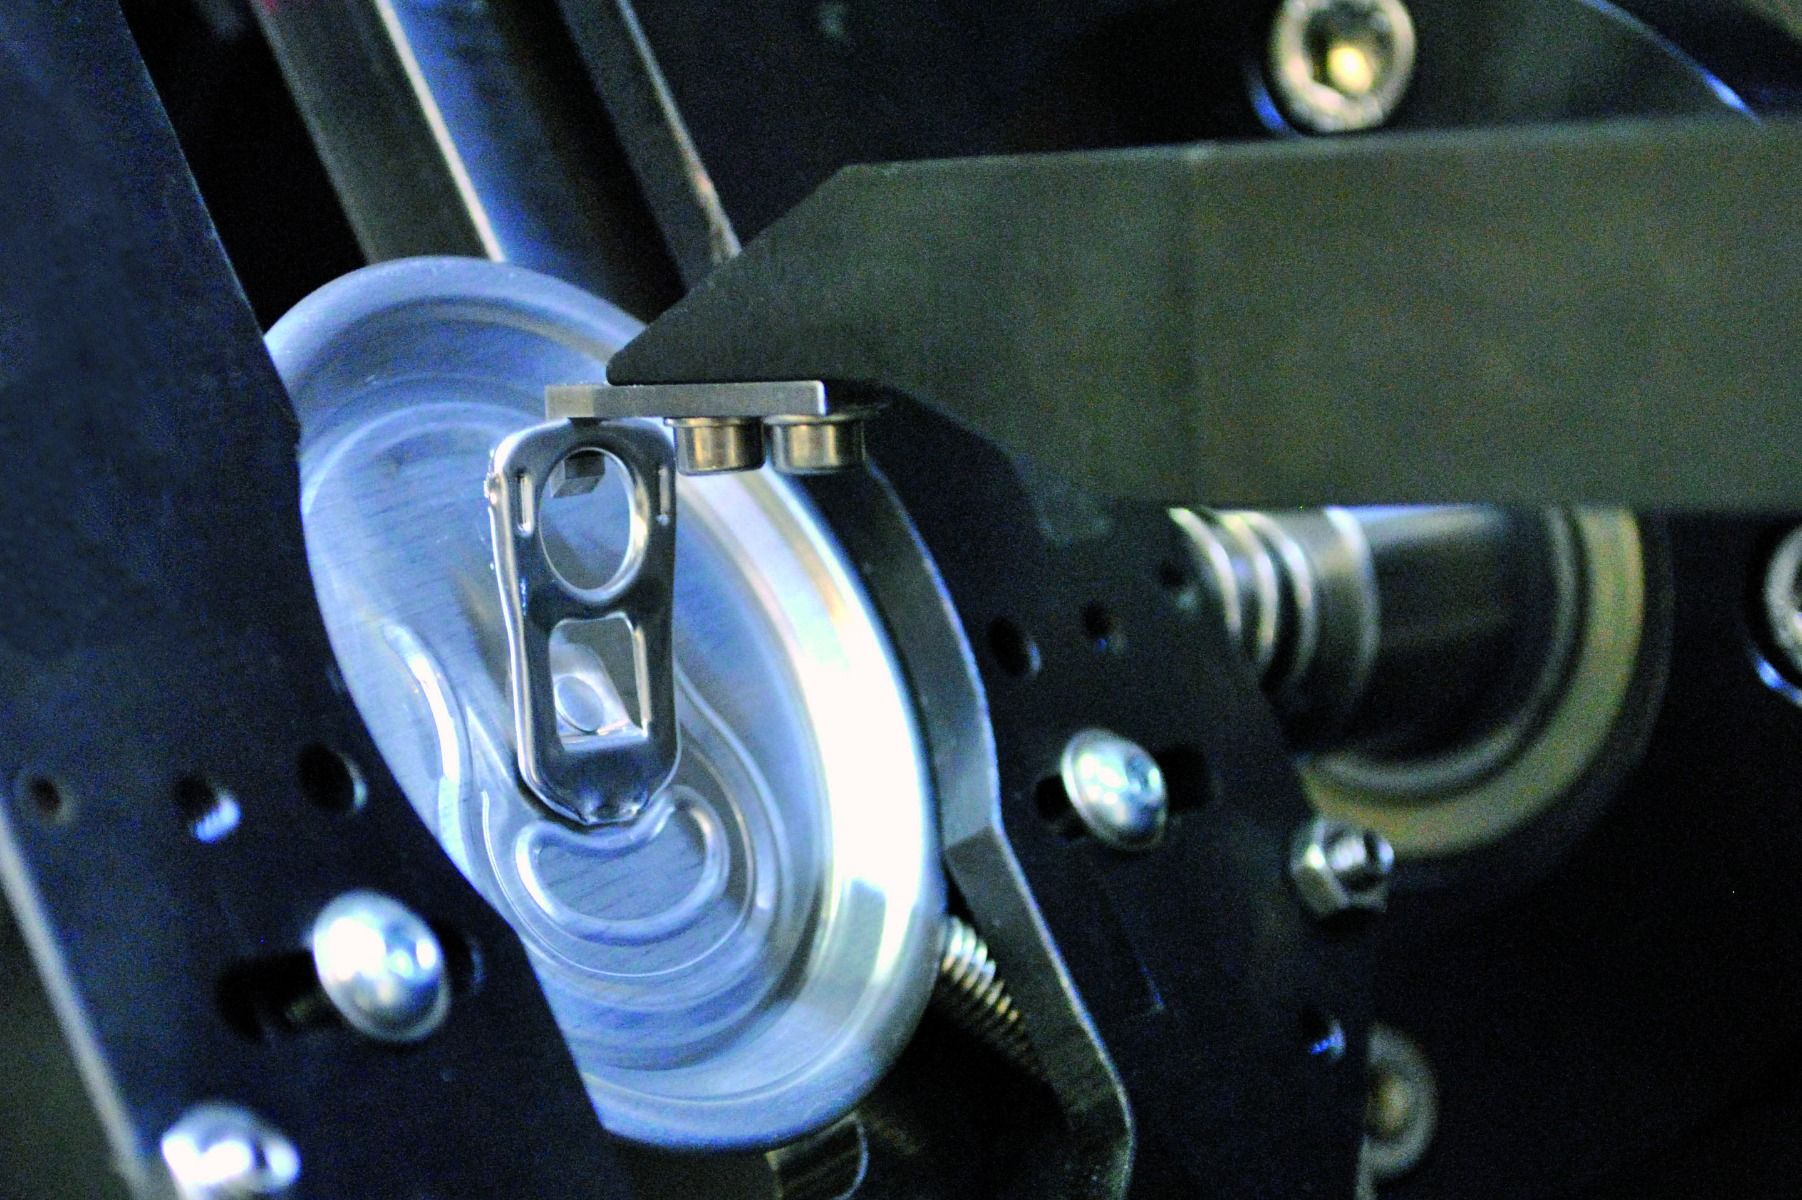


The “Enhanced” Opening Force Gauge from Torus Measurement Systems builds on the success of the standard model used by leading end makers.
By monitoring critical manufacturing parameters over time and relating the press performance to the change in the ends opening signature, the manufacturing process capability can be observed. This trend monitoring is extremely beneficial to the process engineer, in predicting potential out-of-spec score residual and other critical features. By sampling ends from the production line, the Opening Force Gauge can monitor tooling wear in real-time and provide significant savings in both labour and scrap.

Measurement Features
Technical Specification

Tab Strength
Shift Data Comparison – Tab Strength

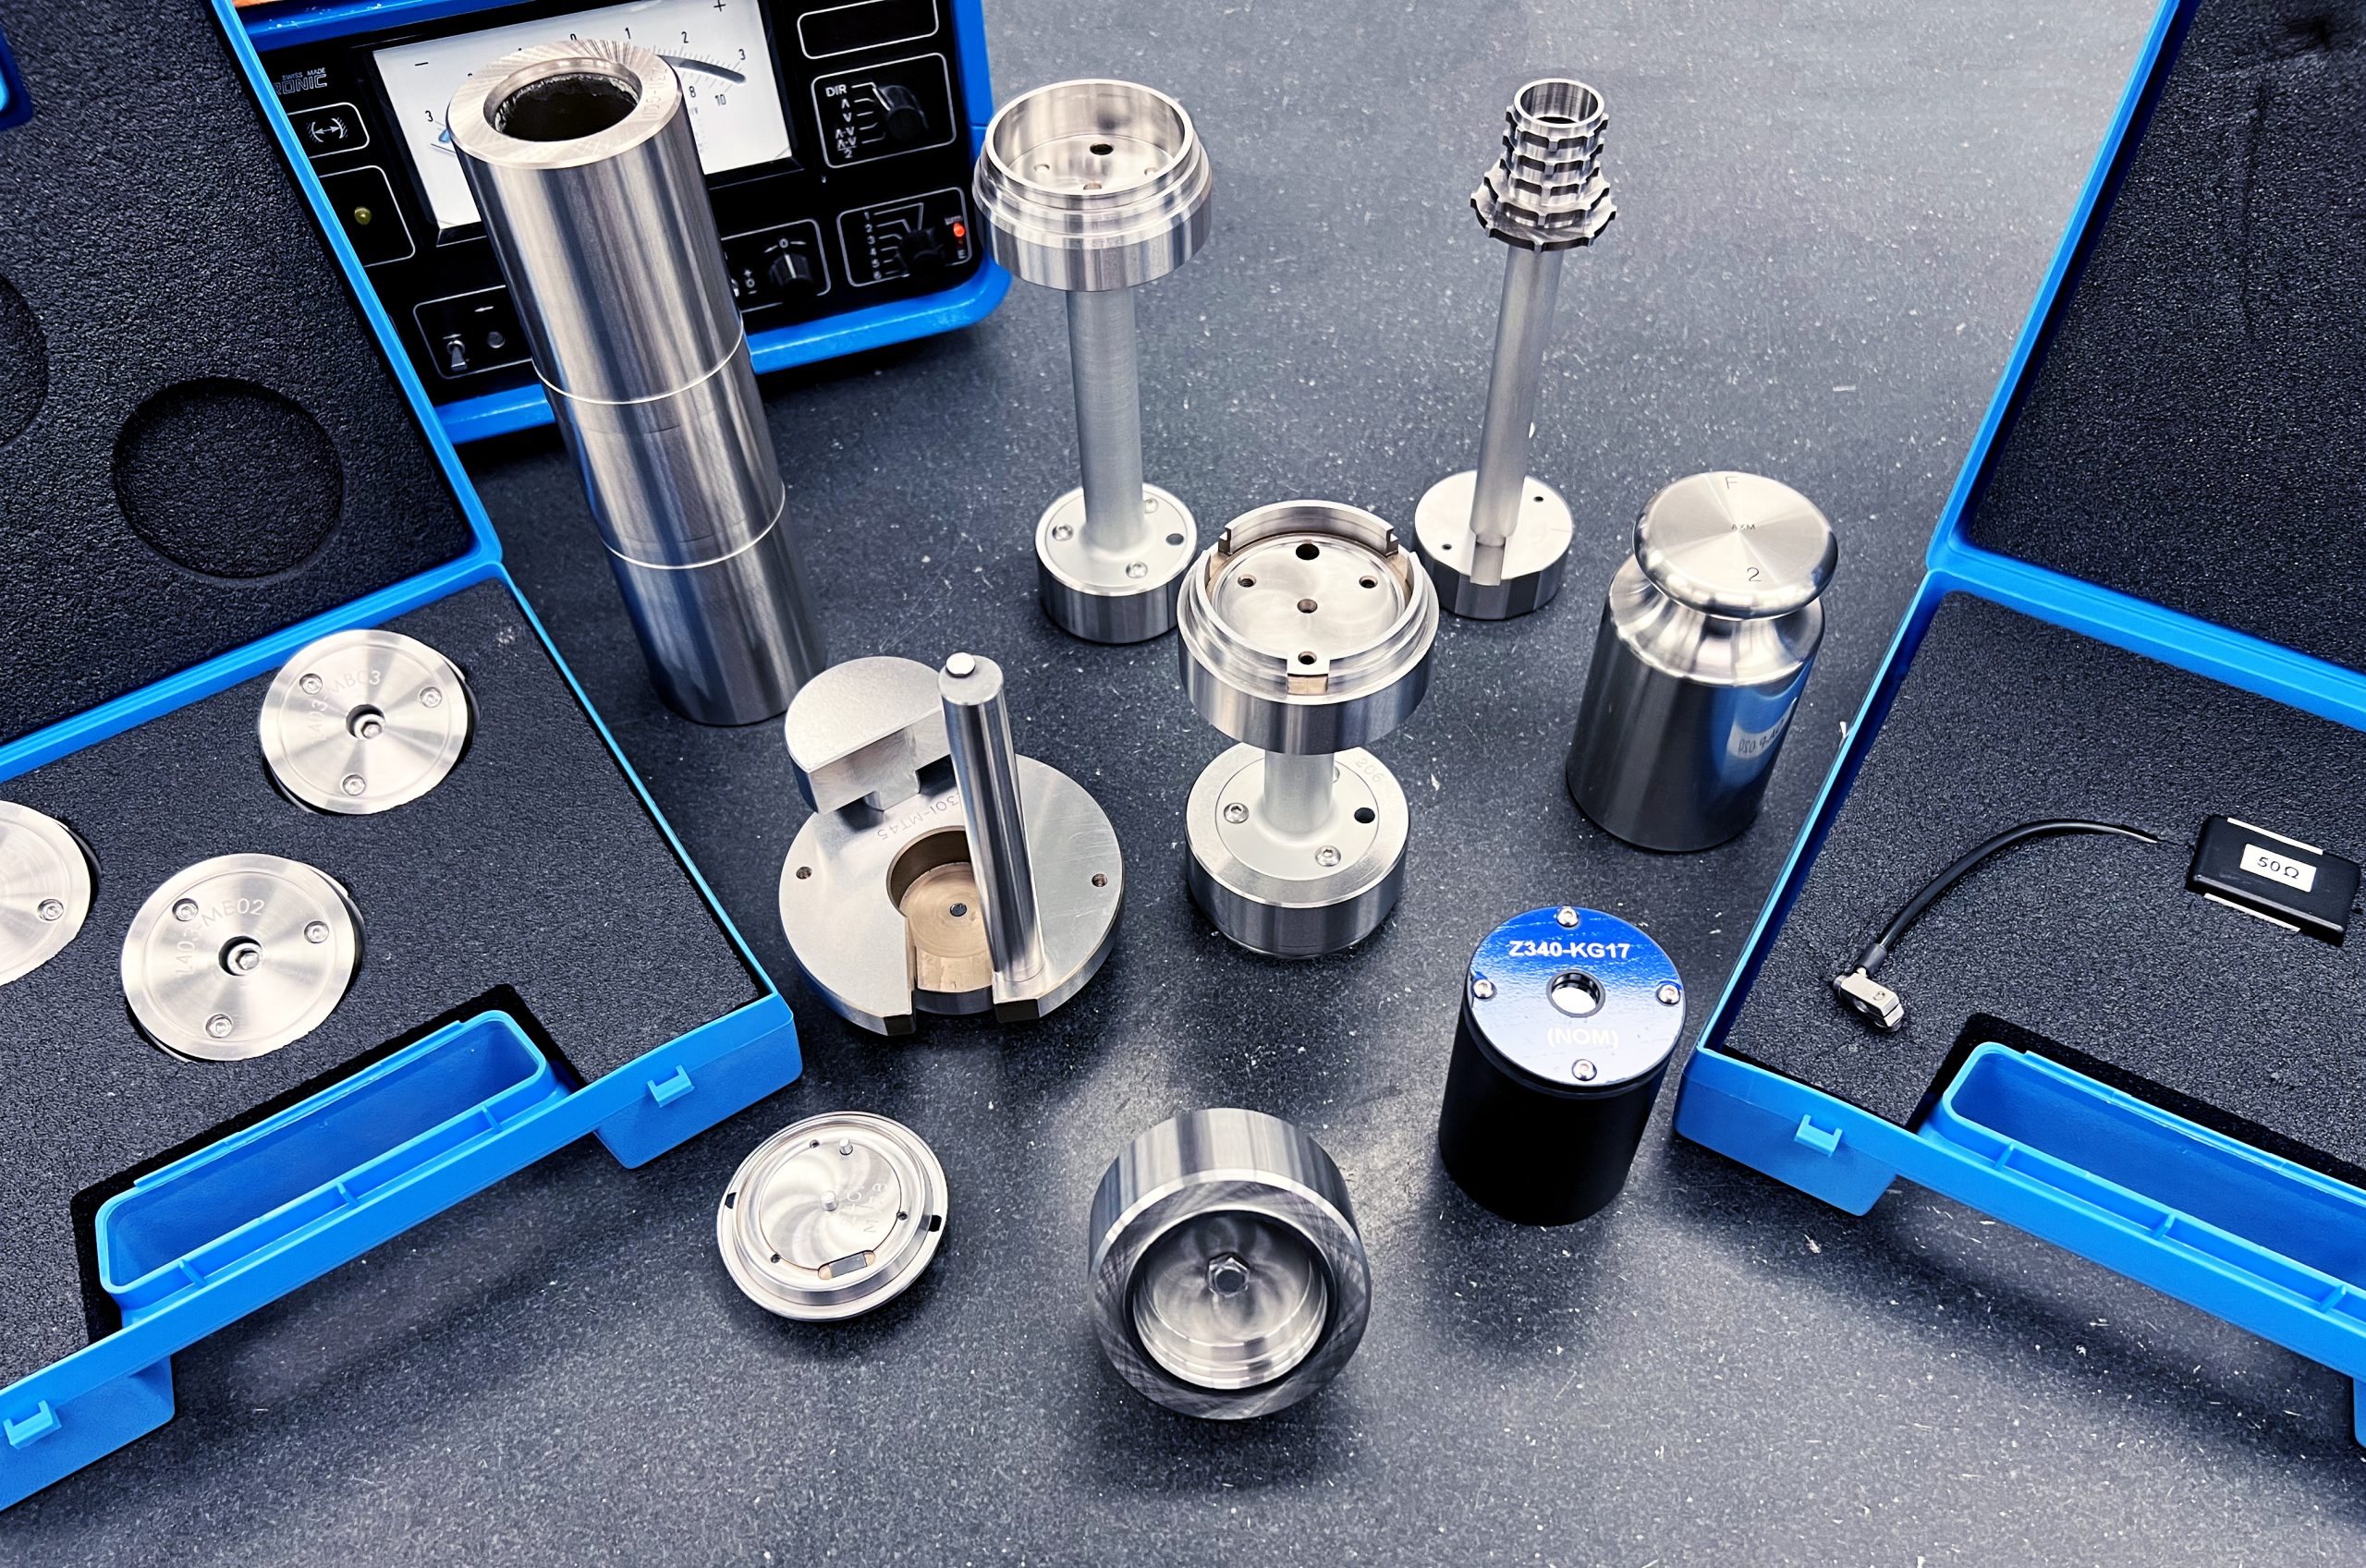
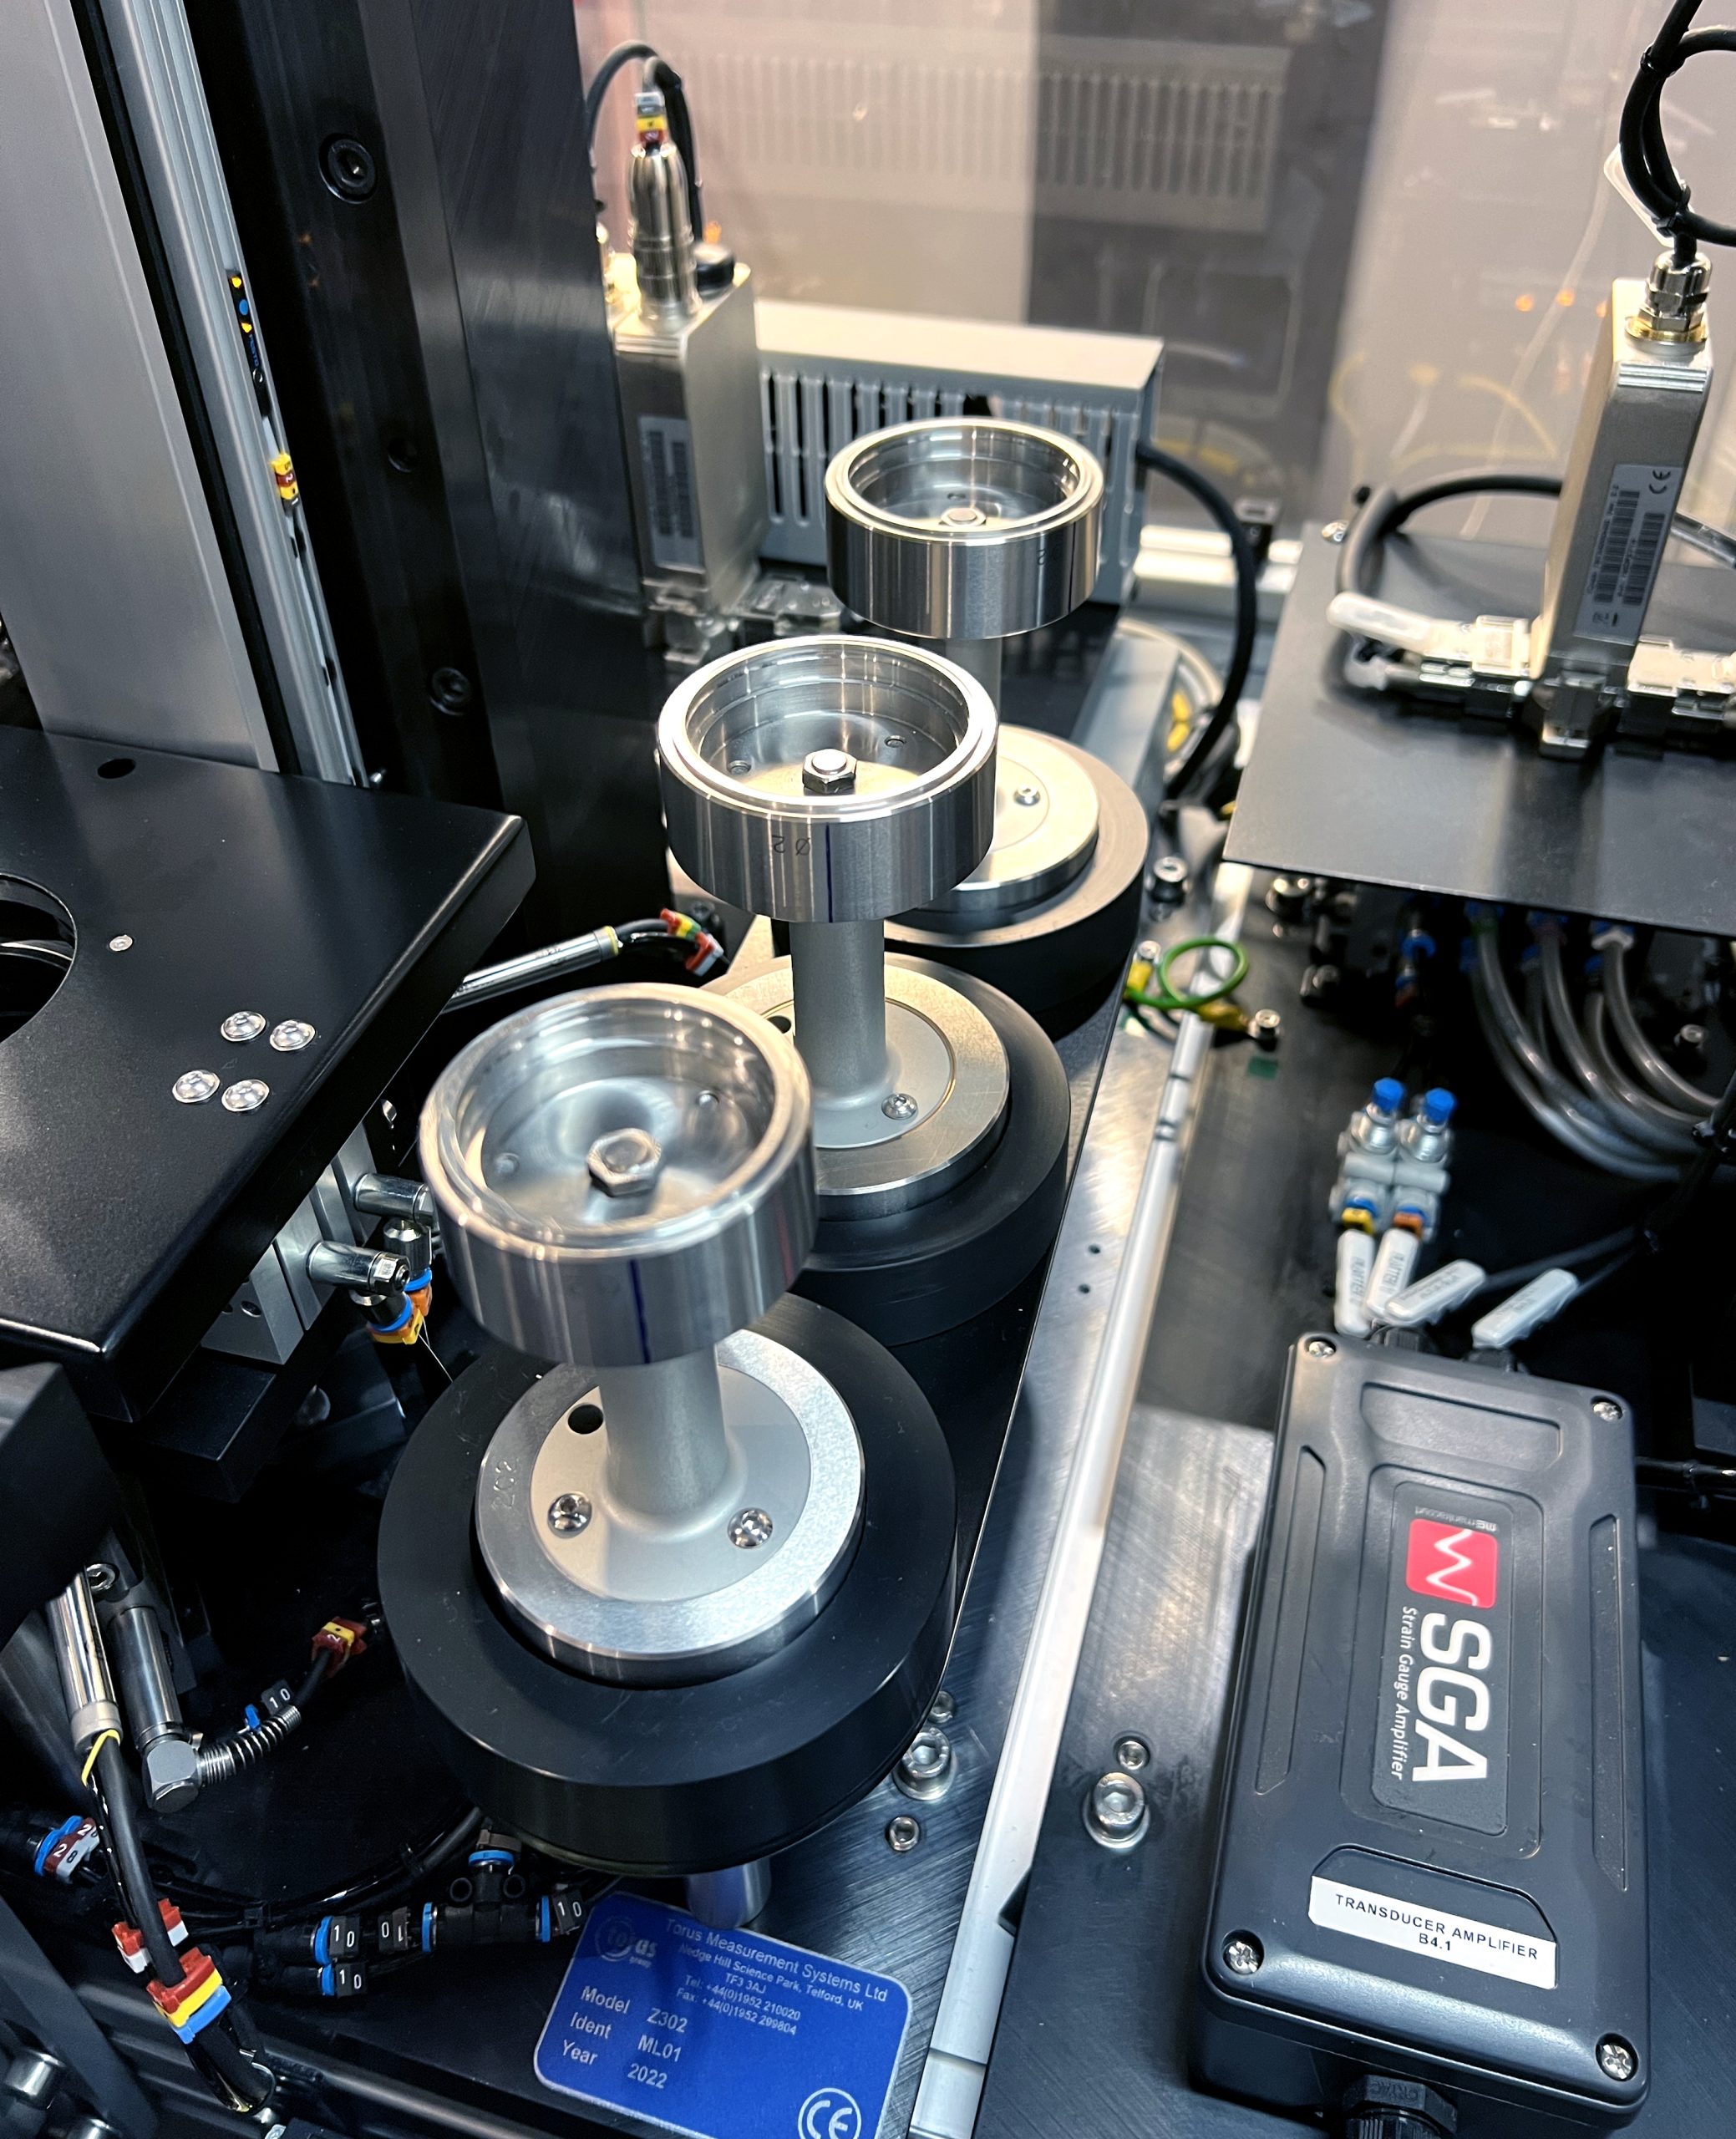
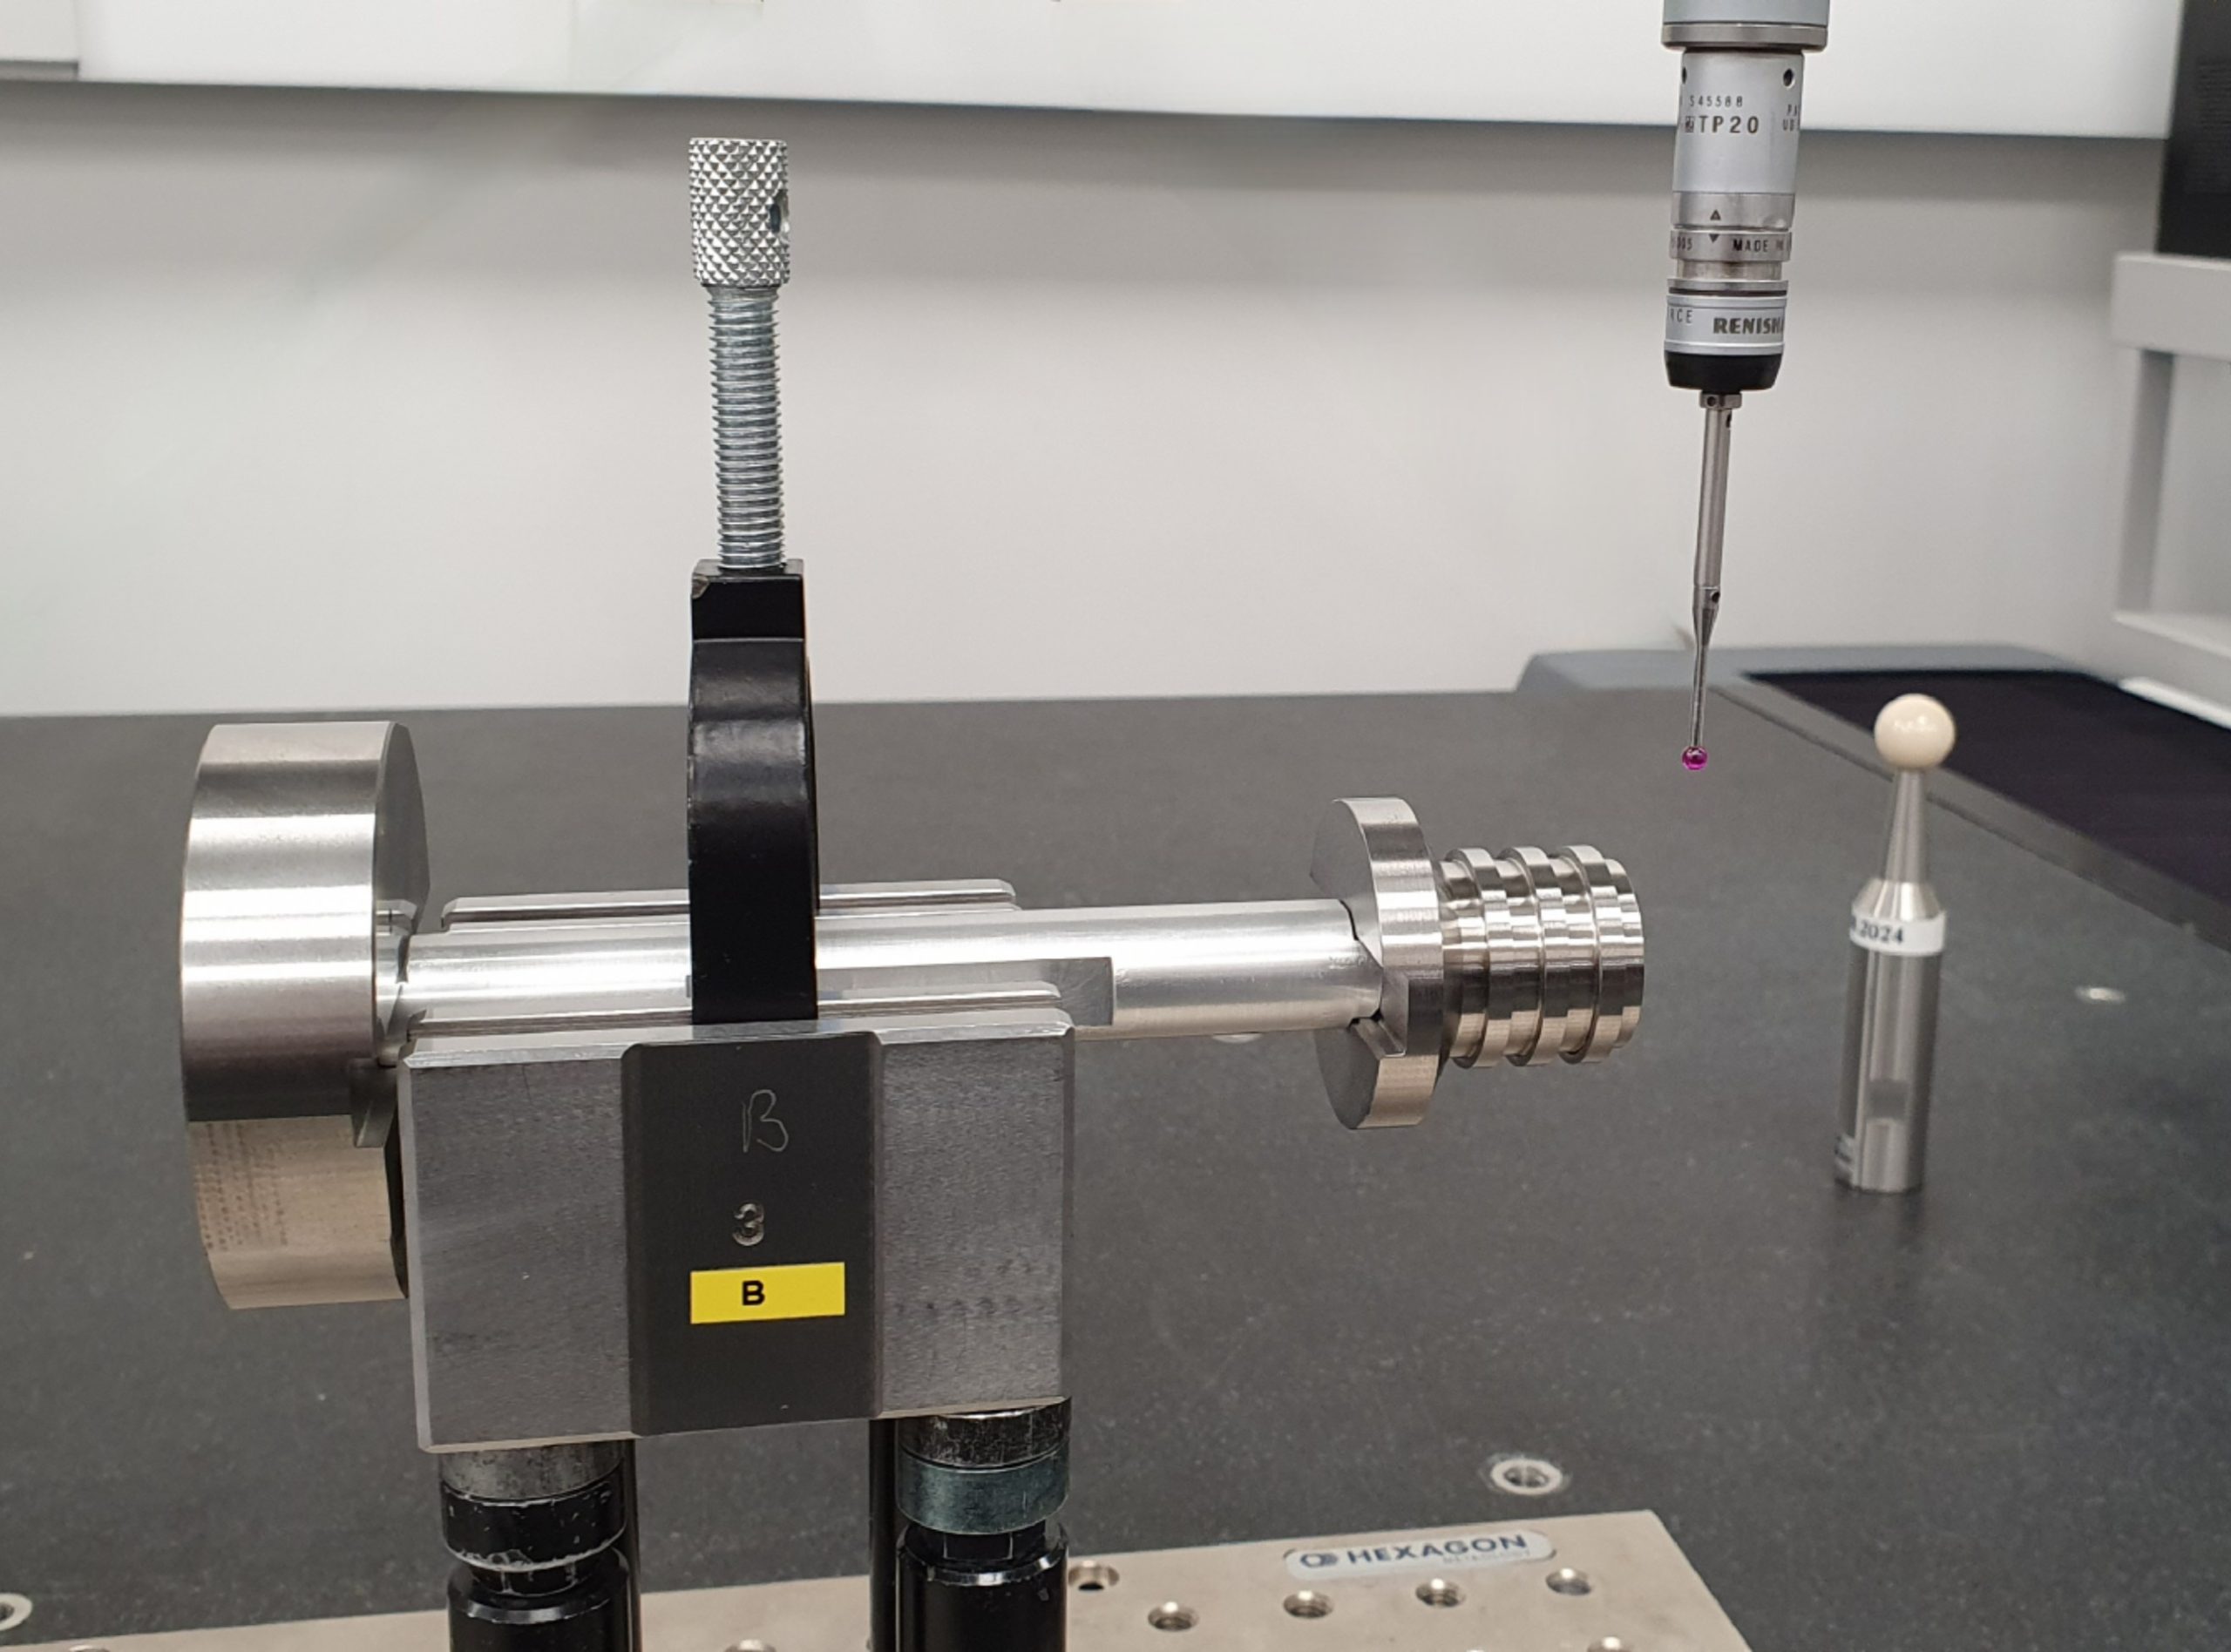


The Beverage Can Master supplied with your gauge is extremely important for the reliability of your measurement results.
As the original equipment manufacturer Torus Measurement Systems recommends that your Master is re-calibrated annually to continually assess for wear, damage and integrity. This ensures your product quality is never compromised.
Torus are a leading manufacturer in gauging systems for the packaging industry worldwide, with the expertise to understand the functionality and critical features of your master.
Torus Measurement Systems Master Calibration Service offers:


The Z341 Manual Coating Analyser has been developed to give fast and accurate measurement of the internal lacquer, sprayed during today’s 2 piece can manufacturing process
By cutting the can to give suitable access, the dome area of the can is able to be checked by the system.
No “lacquer panels” are required for calibration and measurement data can be exported via on board USB or LAN ports to your factory data acquisition systems where required.
Torus Beverage Can Gauging
Measurement Features
Technical Specification
Gauge Features
Torus Technology Group
Nedge Hill Science Park, Telford, Shropshire, TF33AJ, UK
Registered in England, Number 08664999
