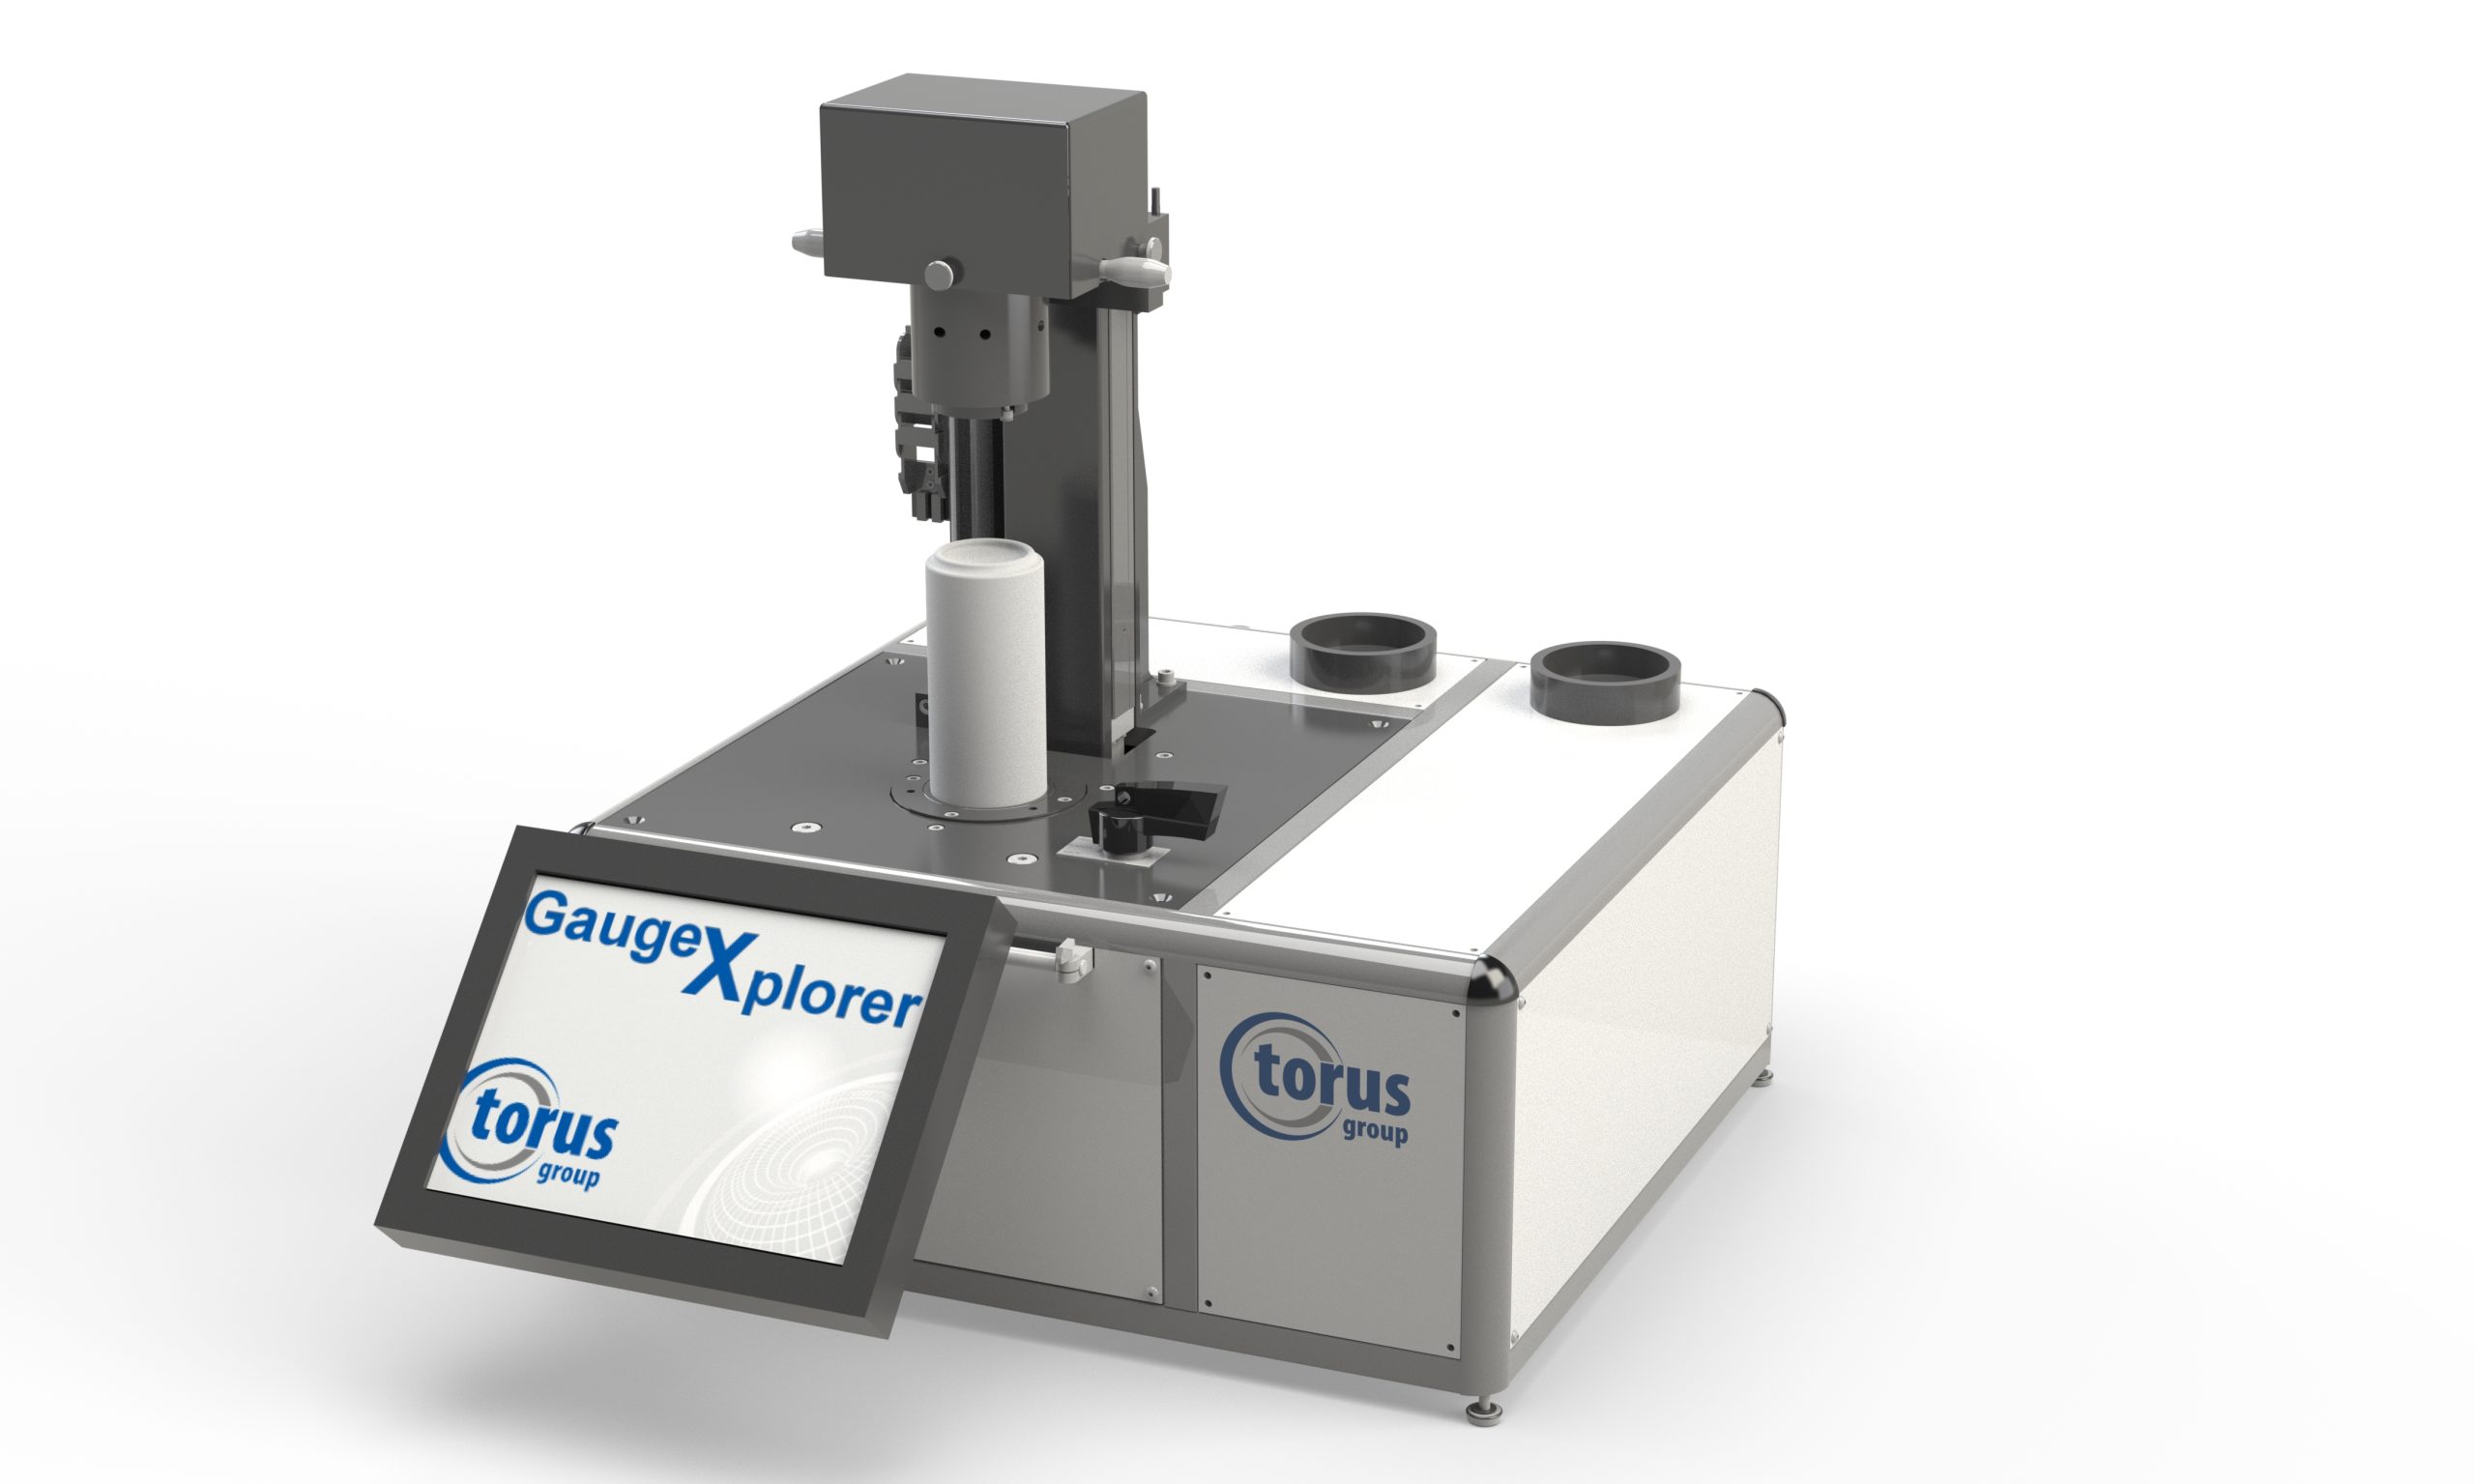
Z339 MANUAL BACK END FINISHED GAUGE

The gauge is designed to ensure correlation with the Z302 series inspection system by utilising common measurement principles and instrumentation

Specifications

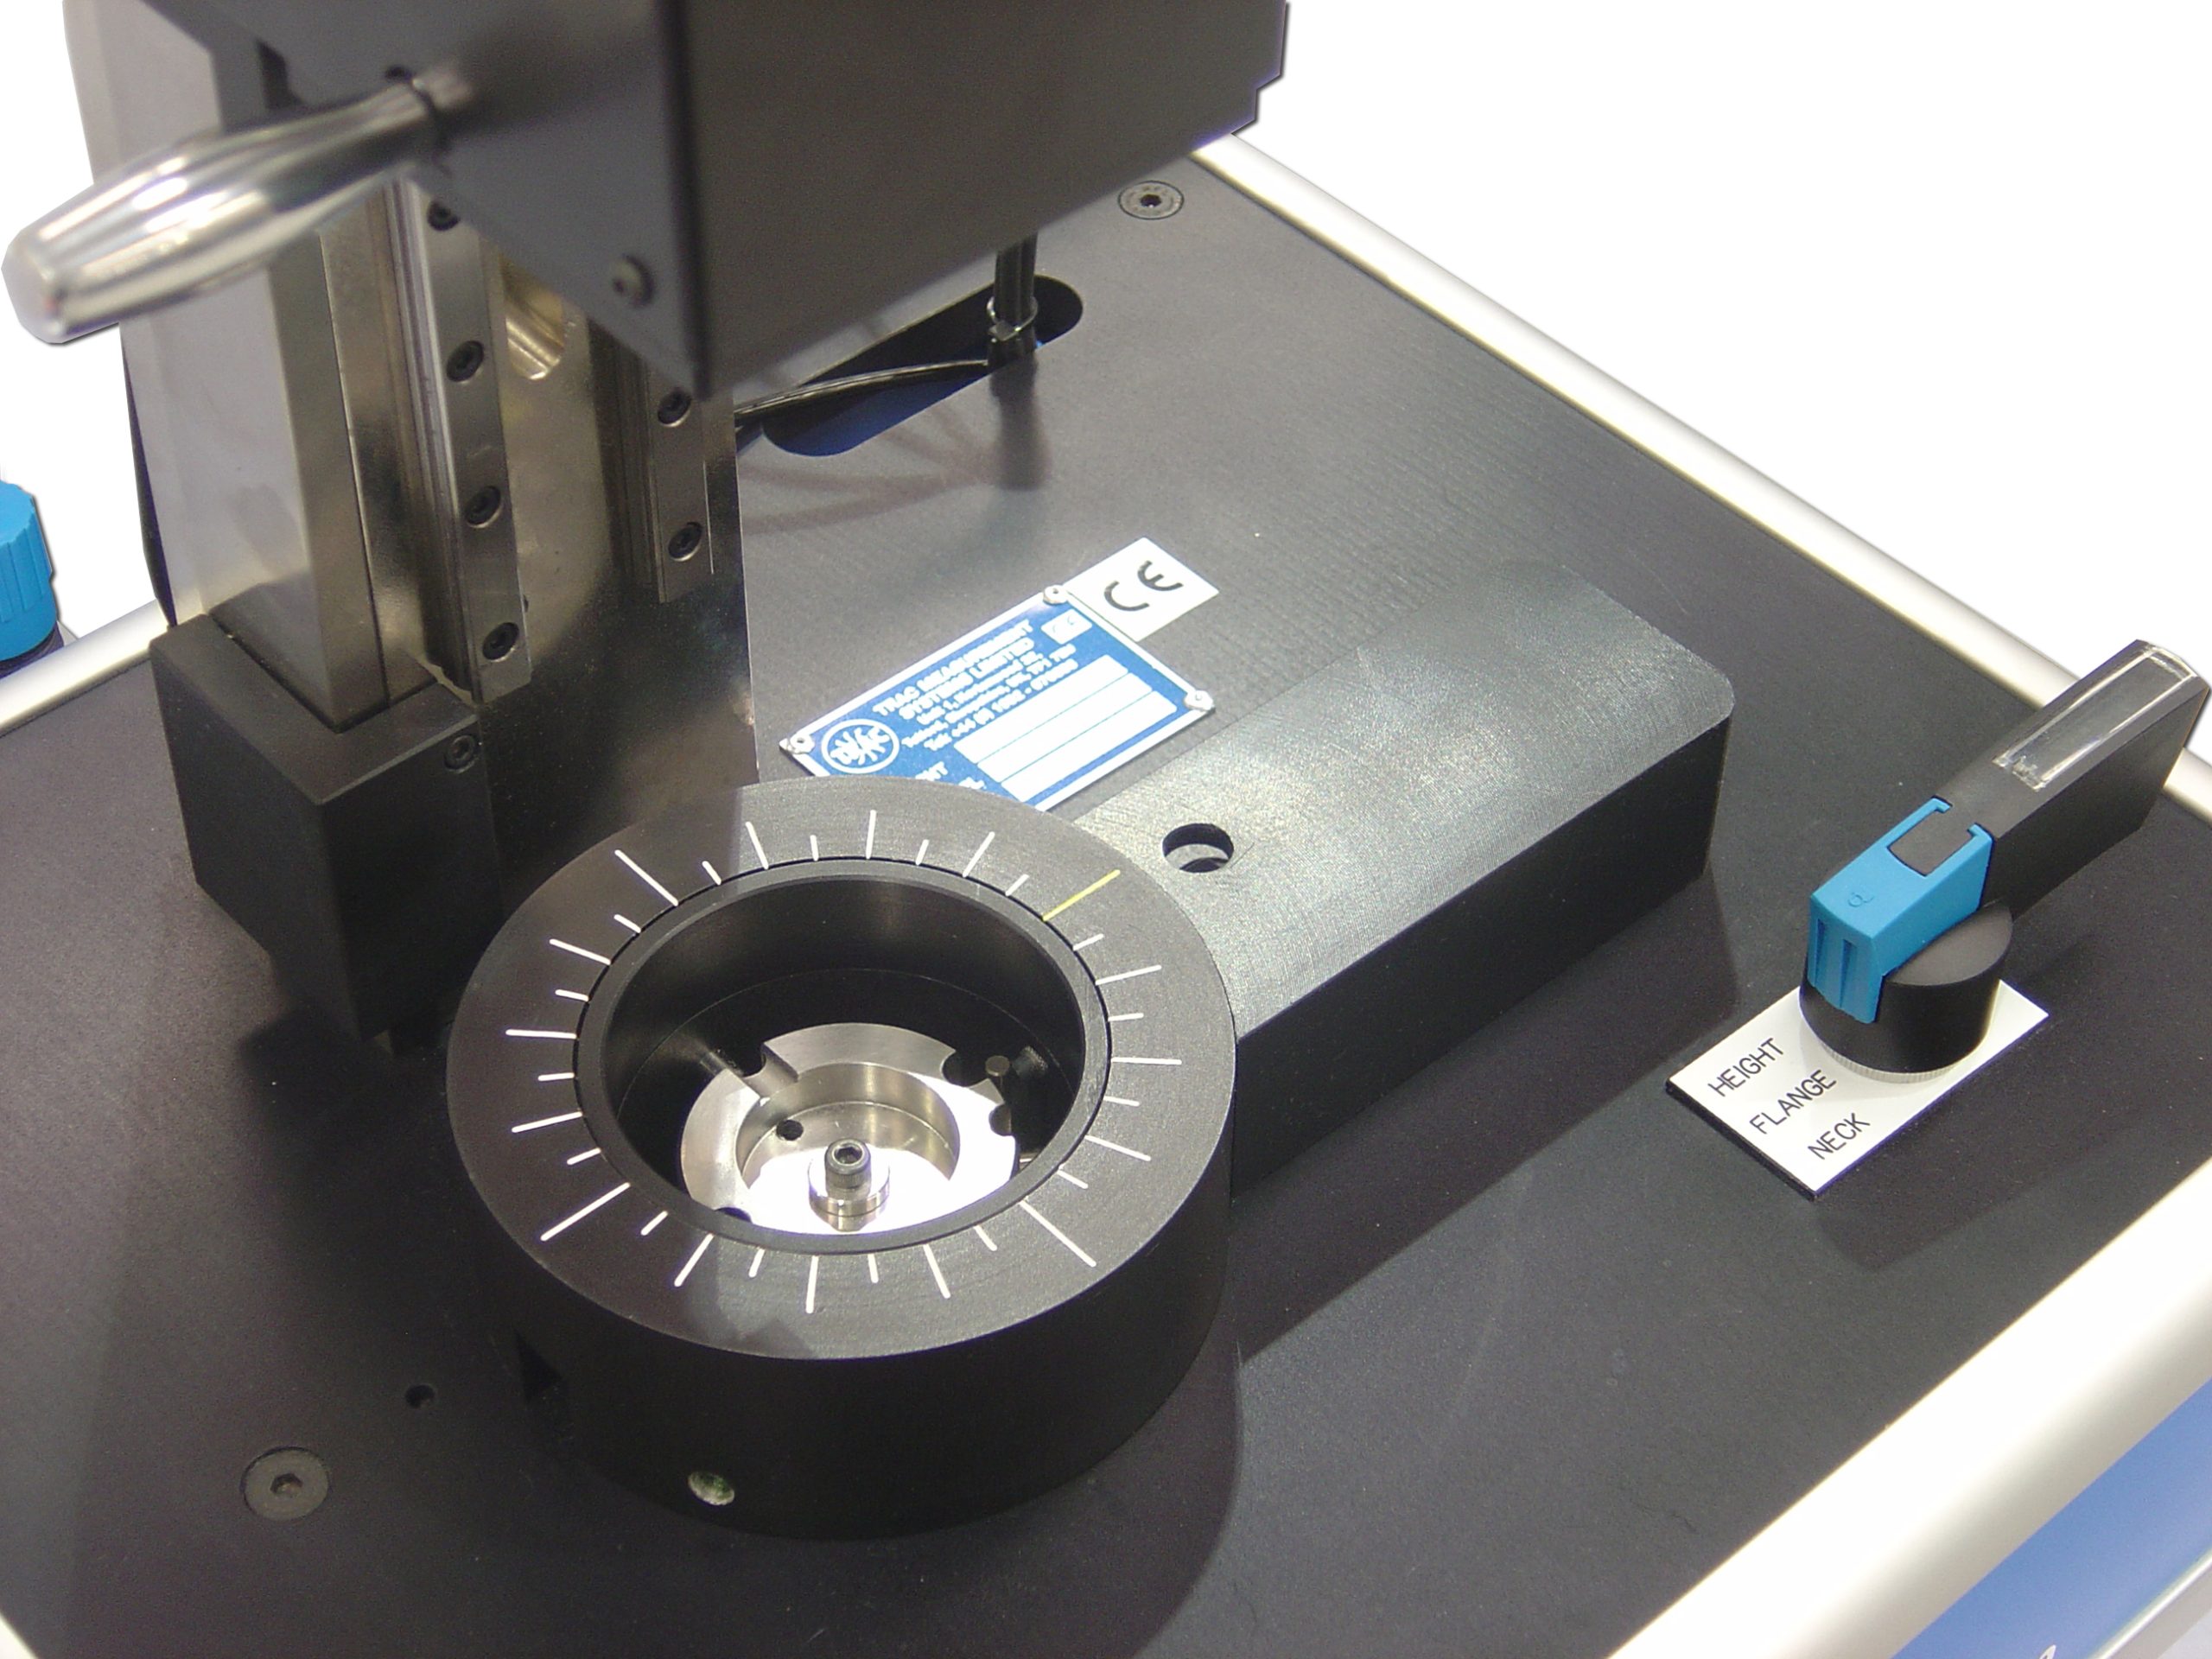
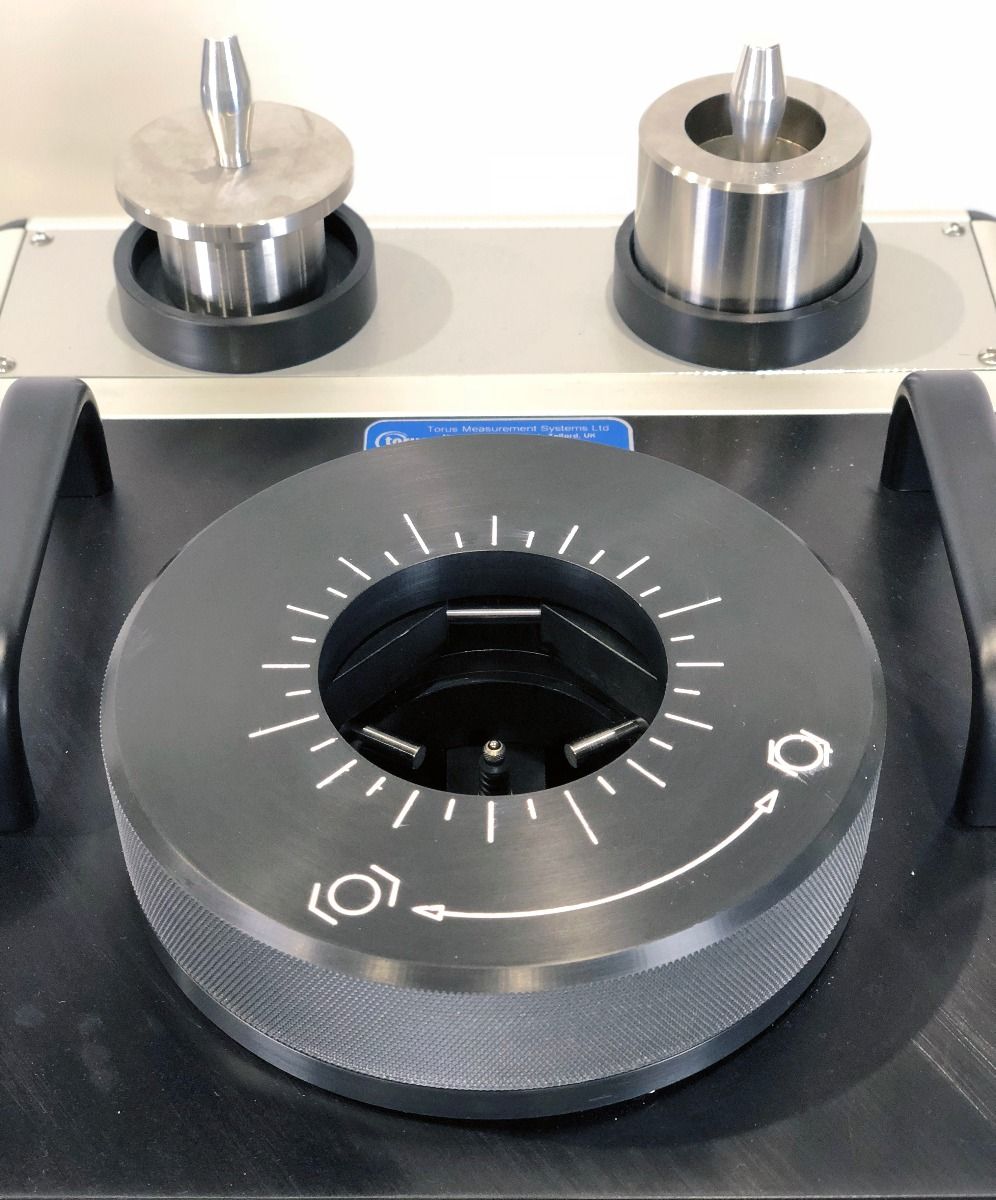
Each component is manually loaded by the operator and orientated to the required position for measurement. All features are simultaneously checked at each position, allowing a typical can inspection in under 30 seconds.


Torus Beverage Can Gauging


Measurement Features

  • Finished Can Height | Accuracy: +/- 0.010 mm
  • Flange Width | Accuracy:  +/- 0.010 mm
  • Internal Neck Diameter | Accuracy:  +/- 0.010 mm


Technical Specification

  • Can Materials | Aluminium
  • Can Stages | Finished
  • Can Height Range | Typical Range: 88.4 – 188 mm
  • Can Flange Width | Typical Range: 2 – 2.2 mm
  • Can Outside Body Diameter | Typical Range: Ø 202 – Ø 211
  • Can Internal Neck Diameter | Typical Range: Ø 200 – Ø 206
  • Automatic location tooling for 200 and 202 neck diameter
  • Can be used as a back-up system for automatic gauging if required
  • No change tooling for multiple diameters
  • Small bench top design making the gauge transportable and easy to move from the lab to the shop floor
  • Cost effective alternative to Torus’ Z302 Automatic Finished Can Inspection Gauge

Torus Recommends

Our Divisions

Through our three key divisions we deliver a range of measurement and inspection systems, metrology services and machine enclosure solutions, as well as our online store for aluminium profile components and workspace solutions.

How can we help you?