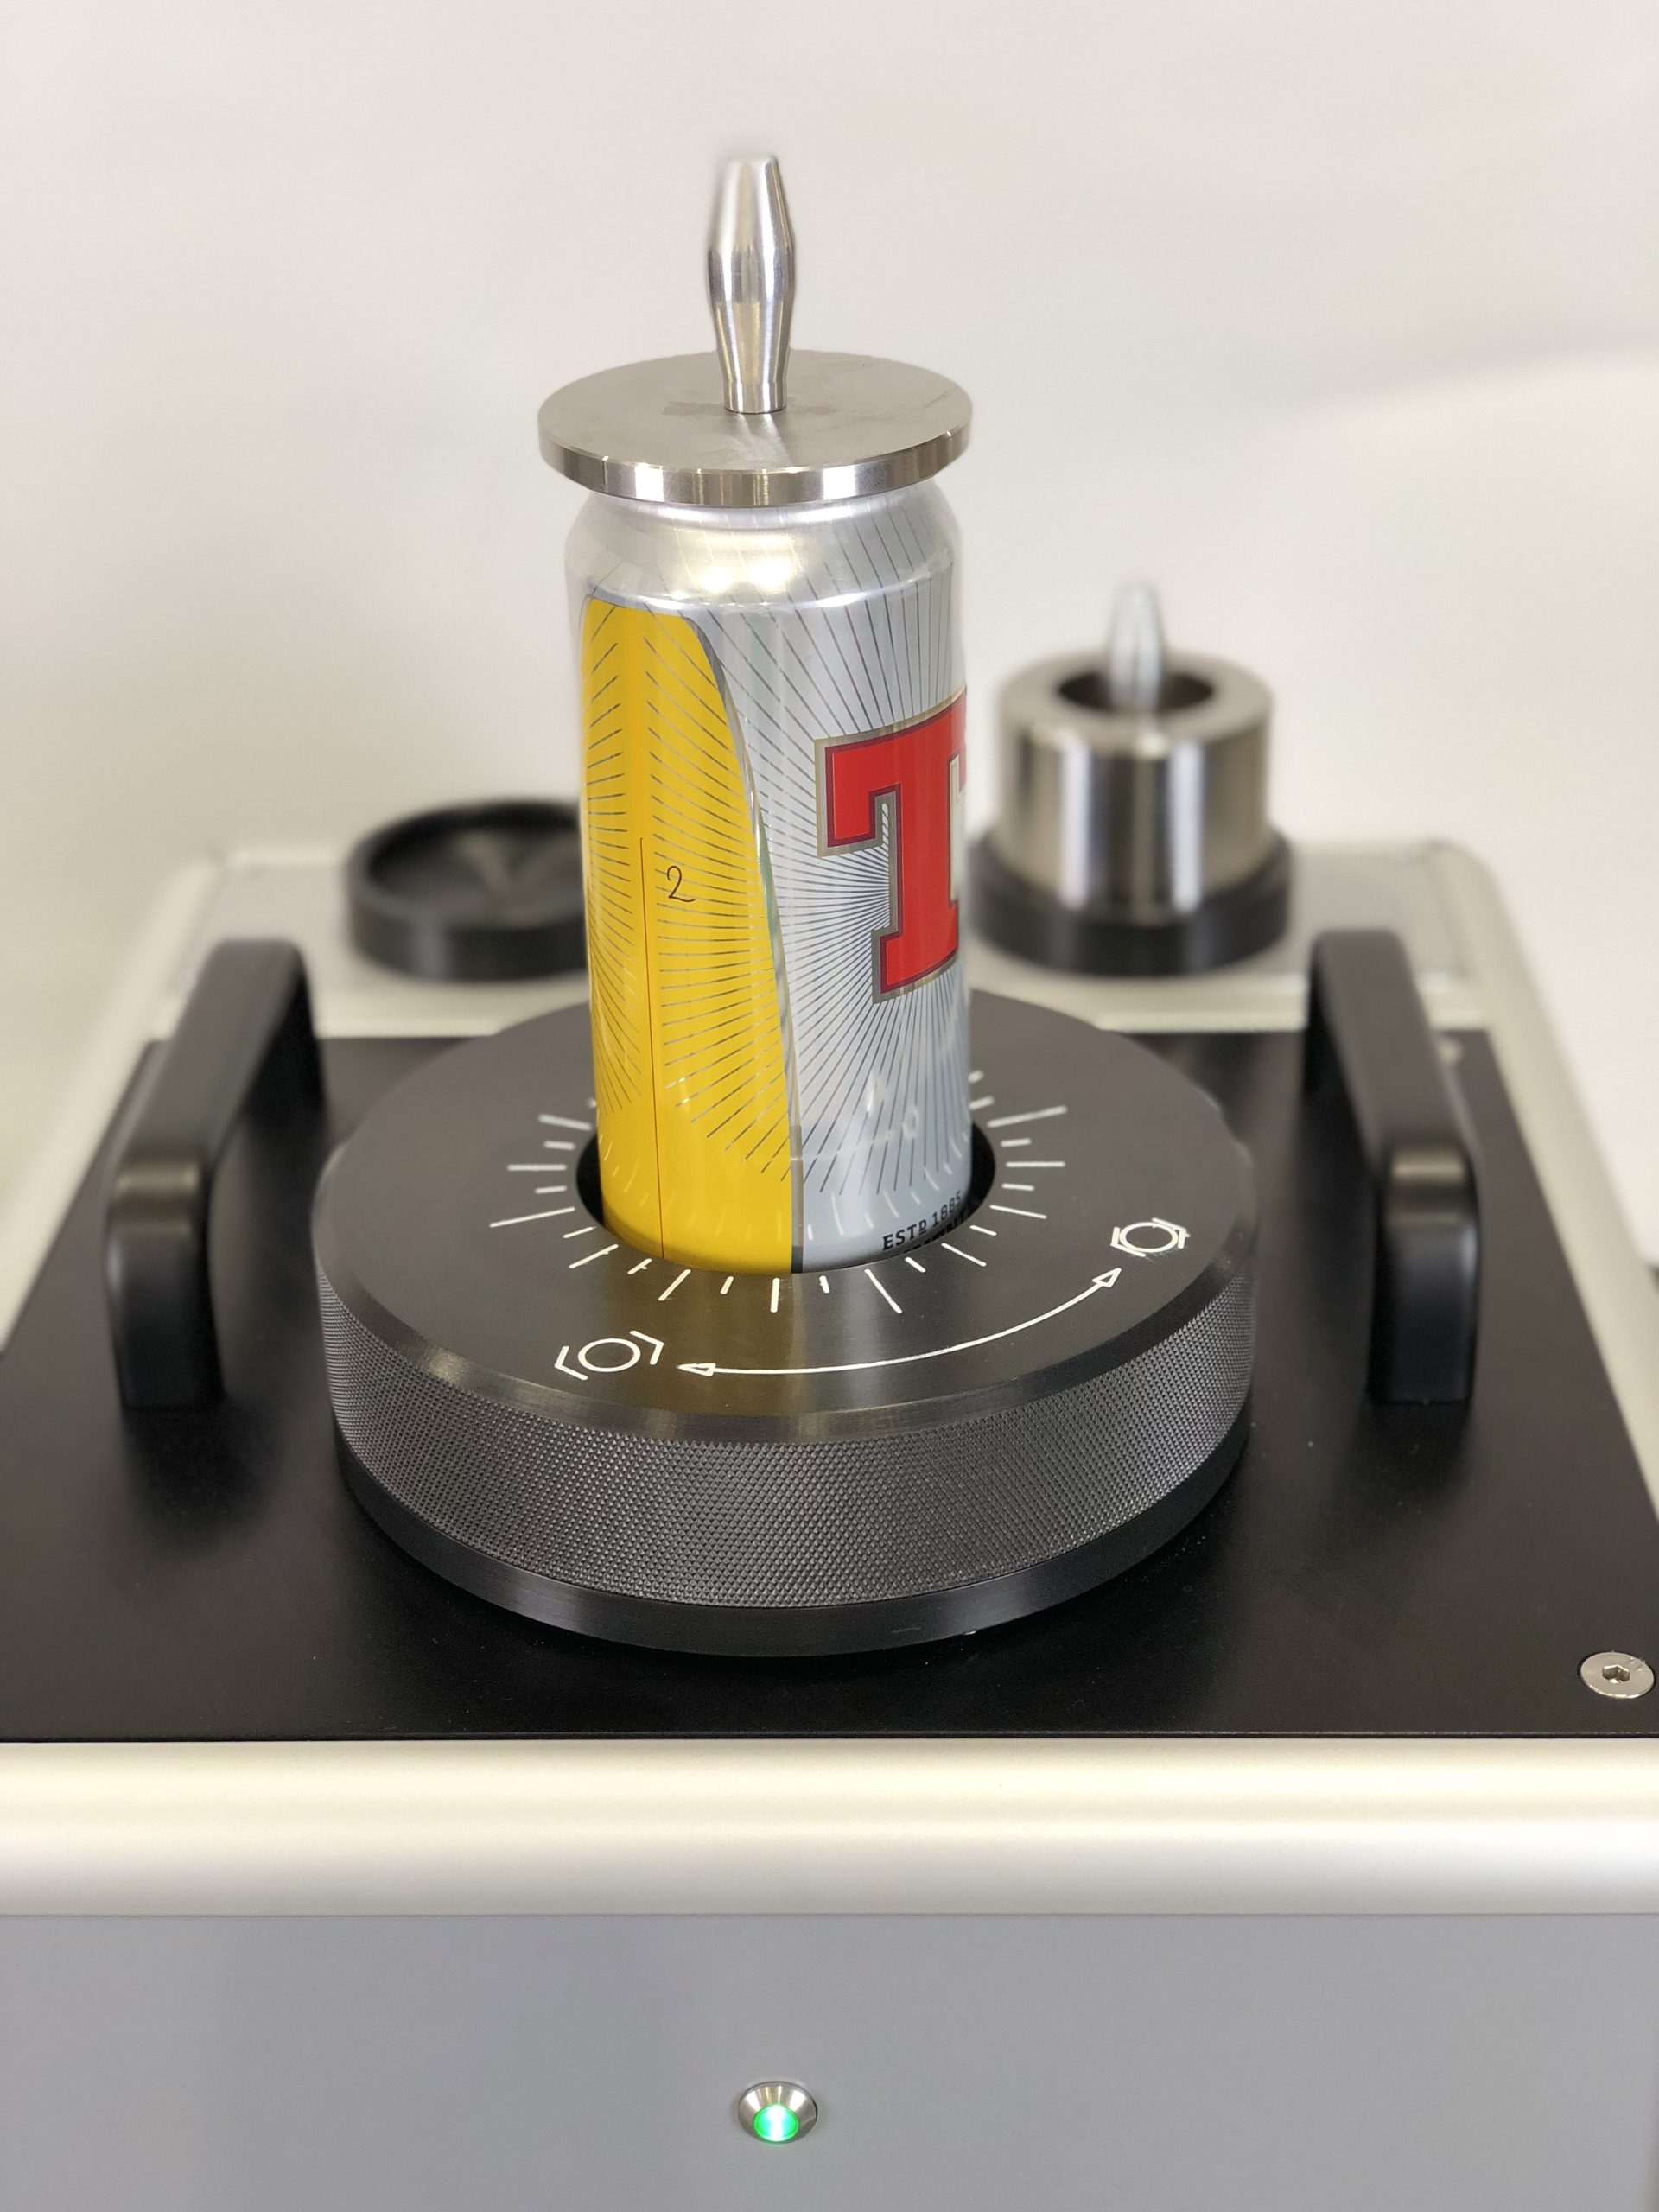
The scanner utilises proven contact measurement technology to scan the form of the reformed profile and incorporates a entering check to accurately locate Ø 202 – Ø 300 body cans.
Torus Beverage Can Gauging
Measurement Features
- Reform Diameter | Accuracy: +/- 0.010 mm
- Internal Reform Diameter | Accuracy: +/- 0.010 mm
- Internal Reform Height | Accuracy: +/- 0.030 mm
- Reformed Dome Depth | Accuracy: +/- 0.010 mm
Technical Specification
- Can Materials | Aluminium
- Can Stages | Finished, Reformed
- Can Finished Dome Depth Range | Typical Range: 9 – 13 mm
- Can Internal Reform Diameter | Typical Range: Ø 43.8 mm – Ø 54.0 mm
- Can Internal Reform Height | Typical Range: 0 – 4 mm
- Can Internal Dome Diameter | Typical Range: Ø 43.8 mm – Ø 54.0 mm
- Important traceability can be tagged to ensure easy analysis and comparison to other key performance tests, such as Dome Reversal Performance
- Correlates directly with the Torus Z302 Back End Gauge with reform scanning tooling
- Provides accurate reform profile measurement to allow for monitoring tool wear and adjustment within the can reforming process
- Multi-size capability with no change parts

