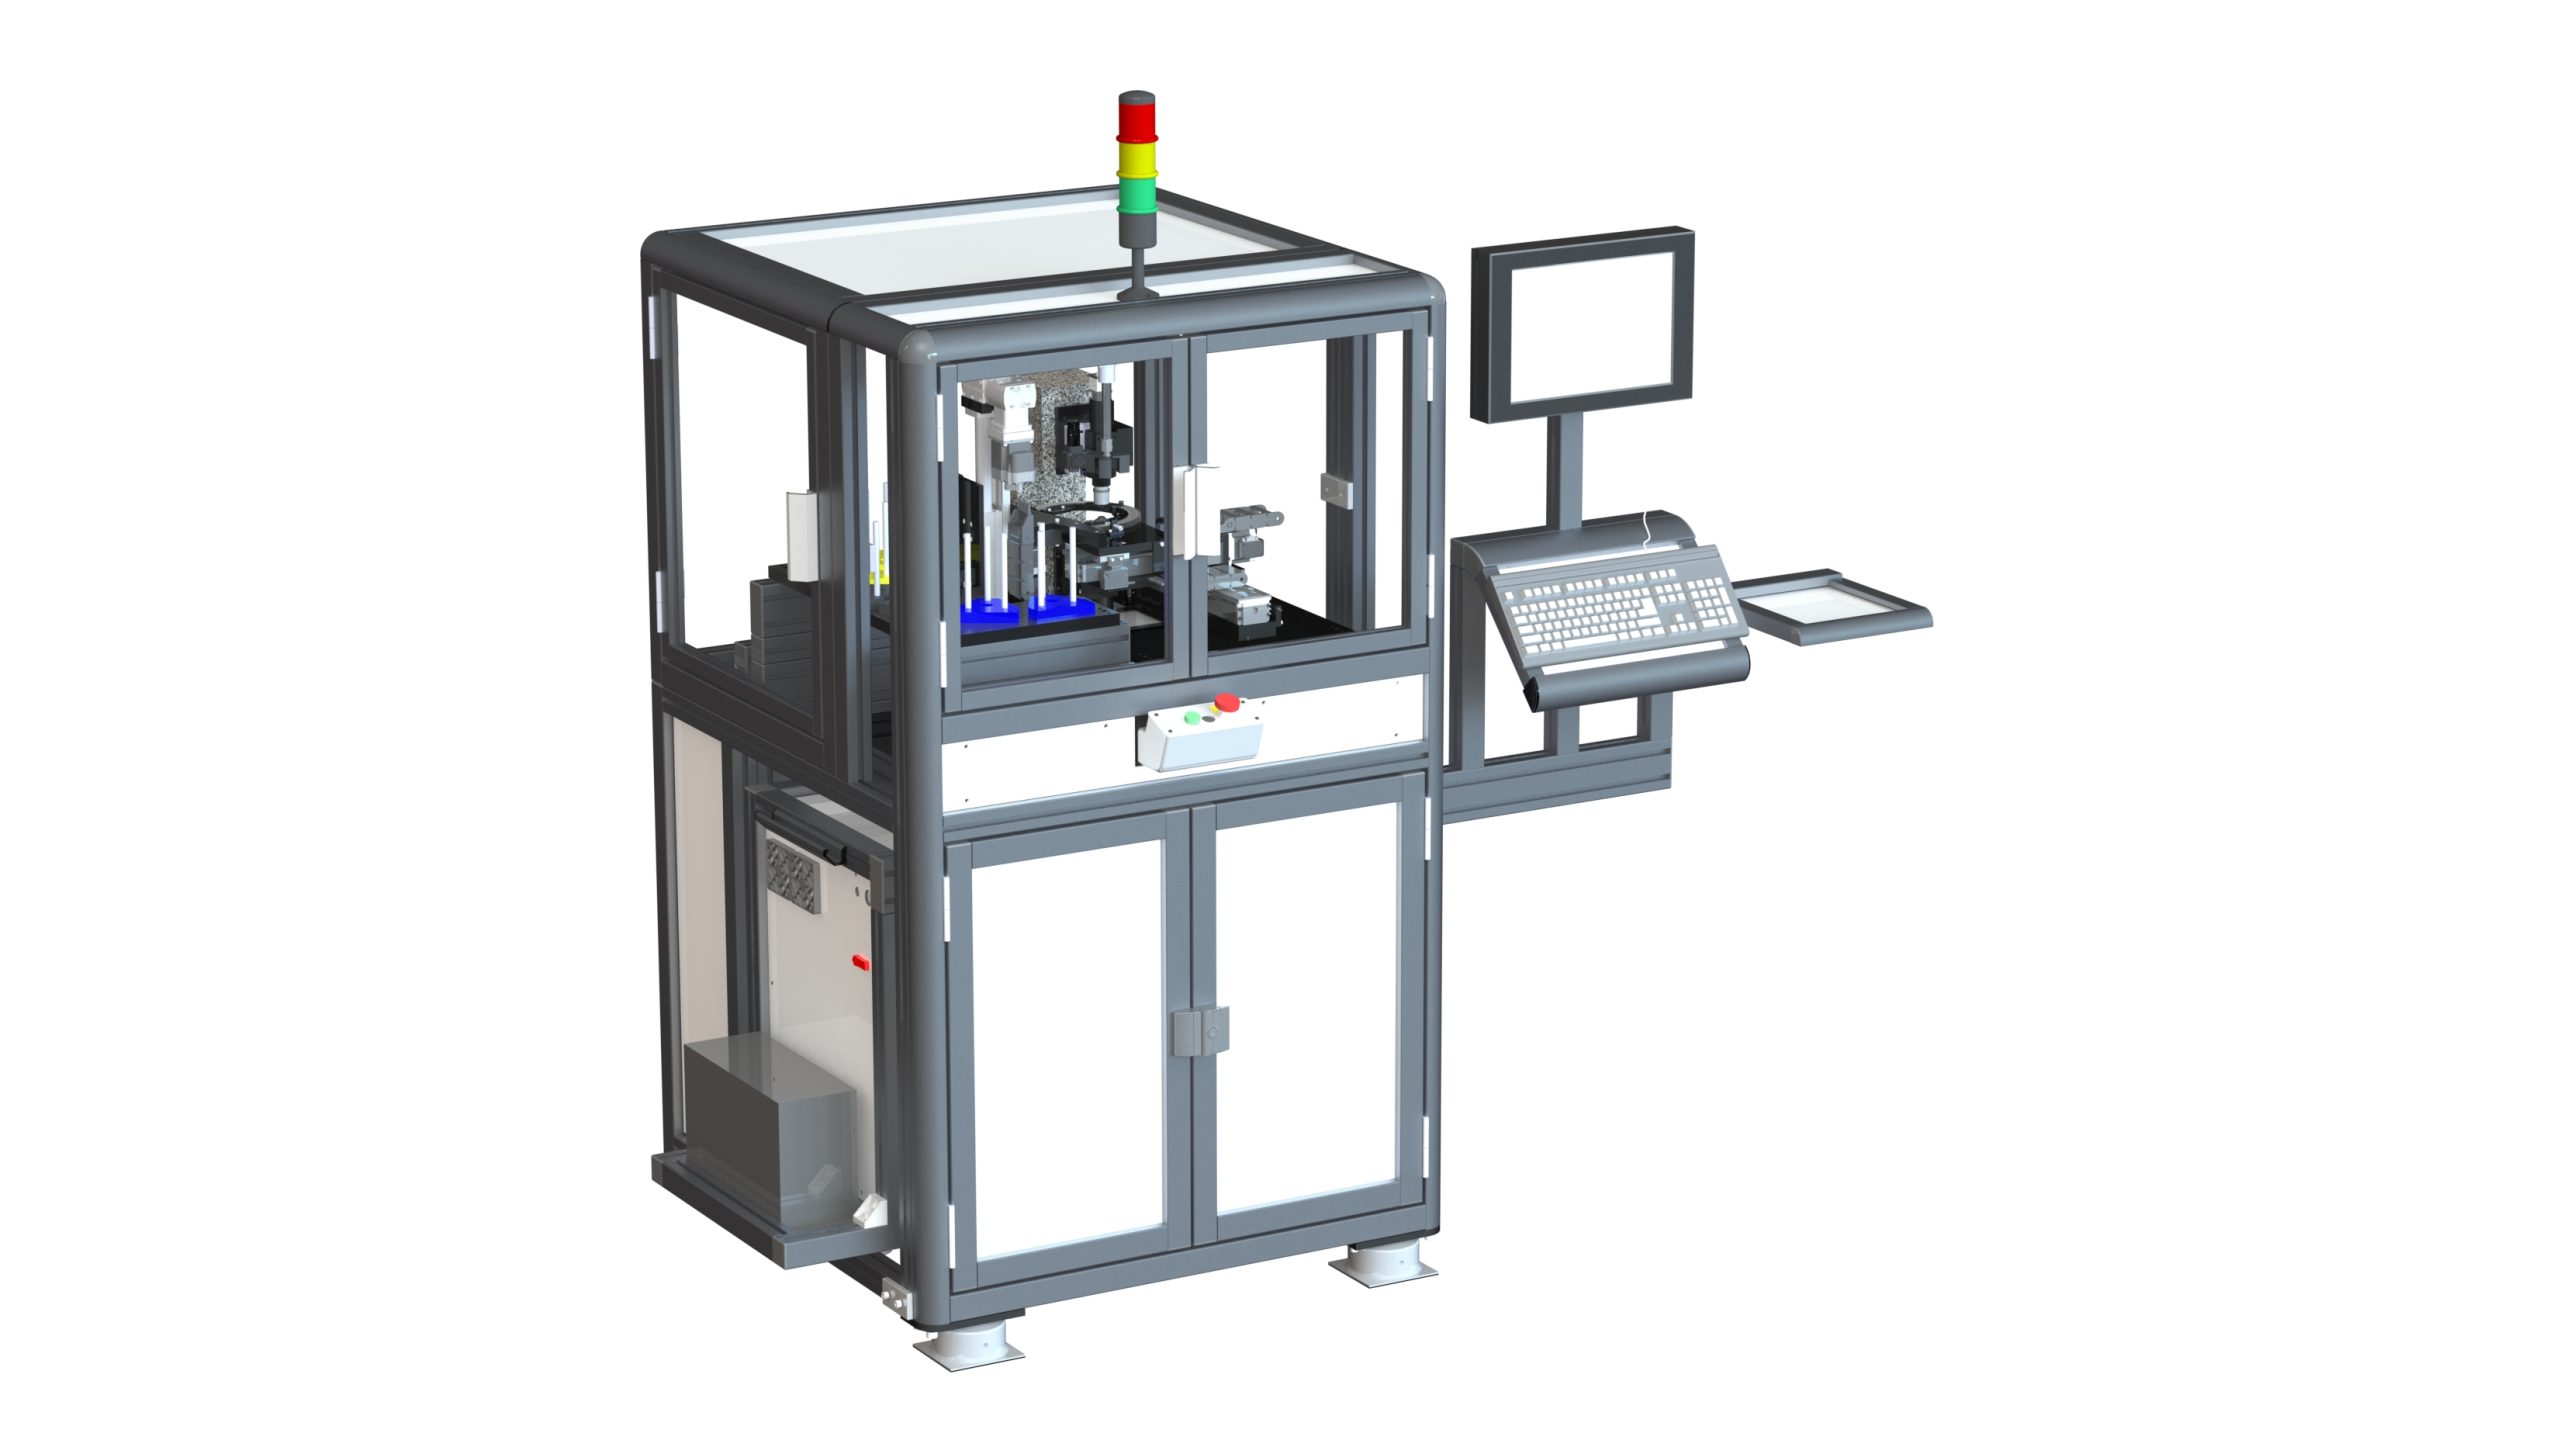
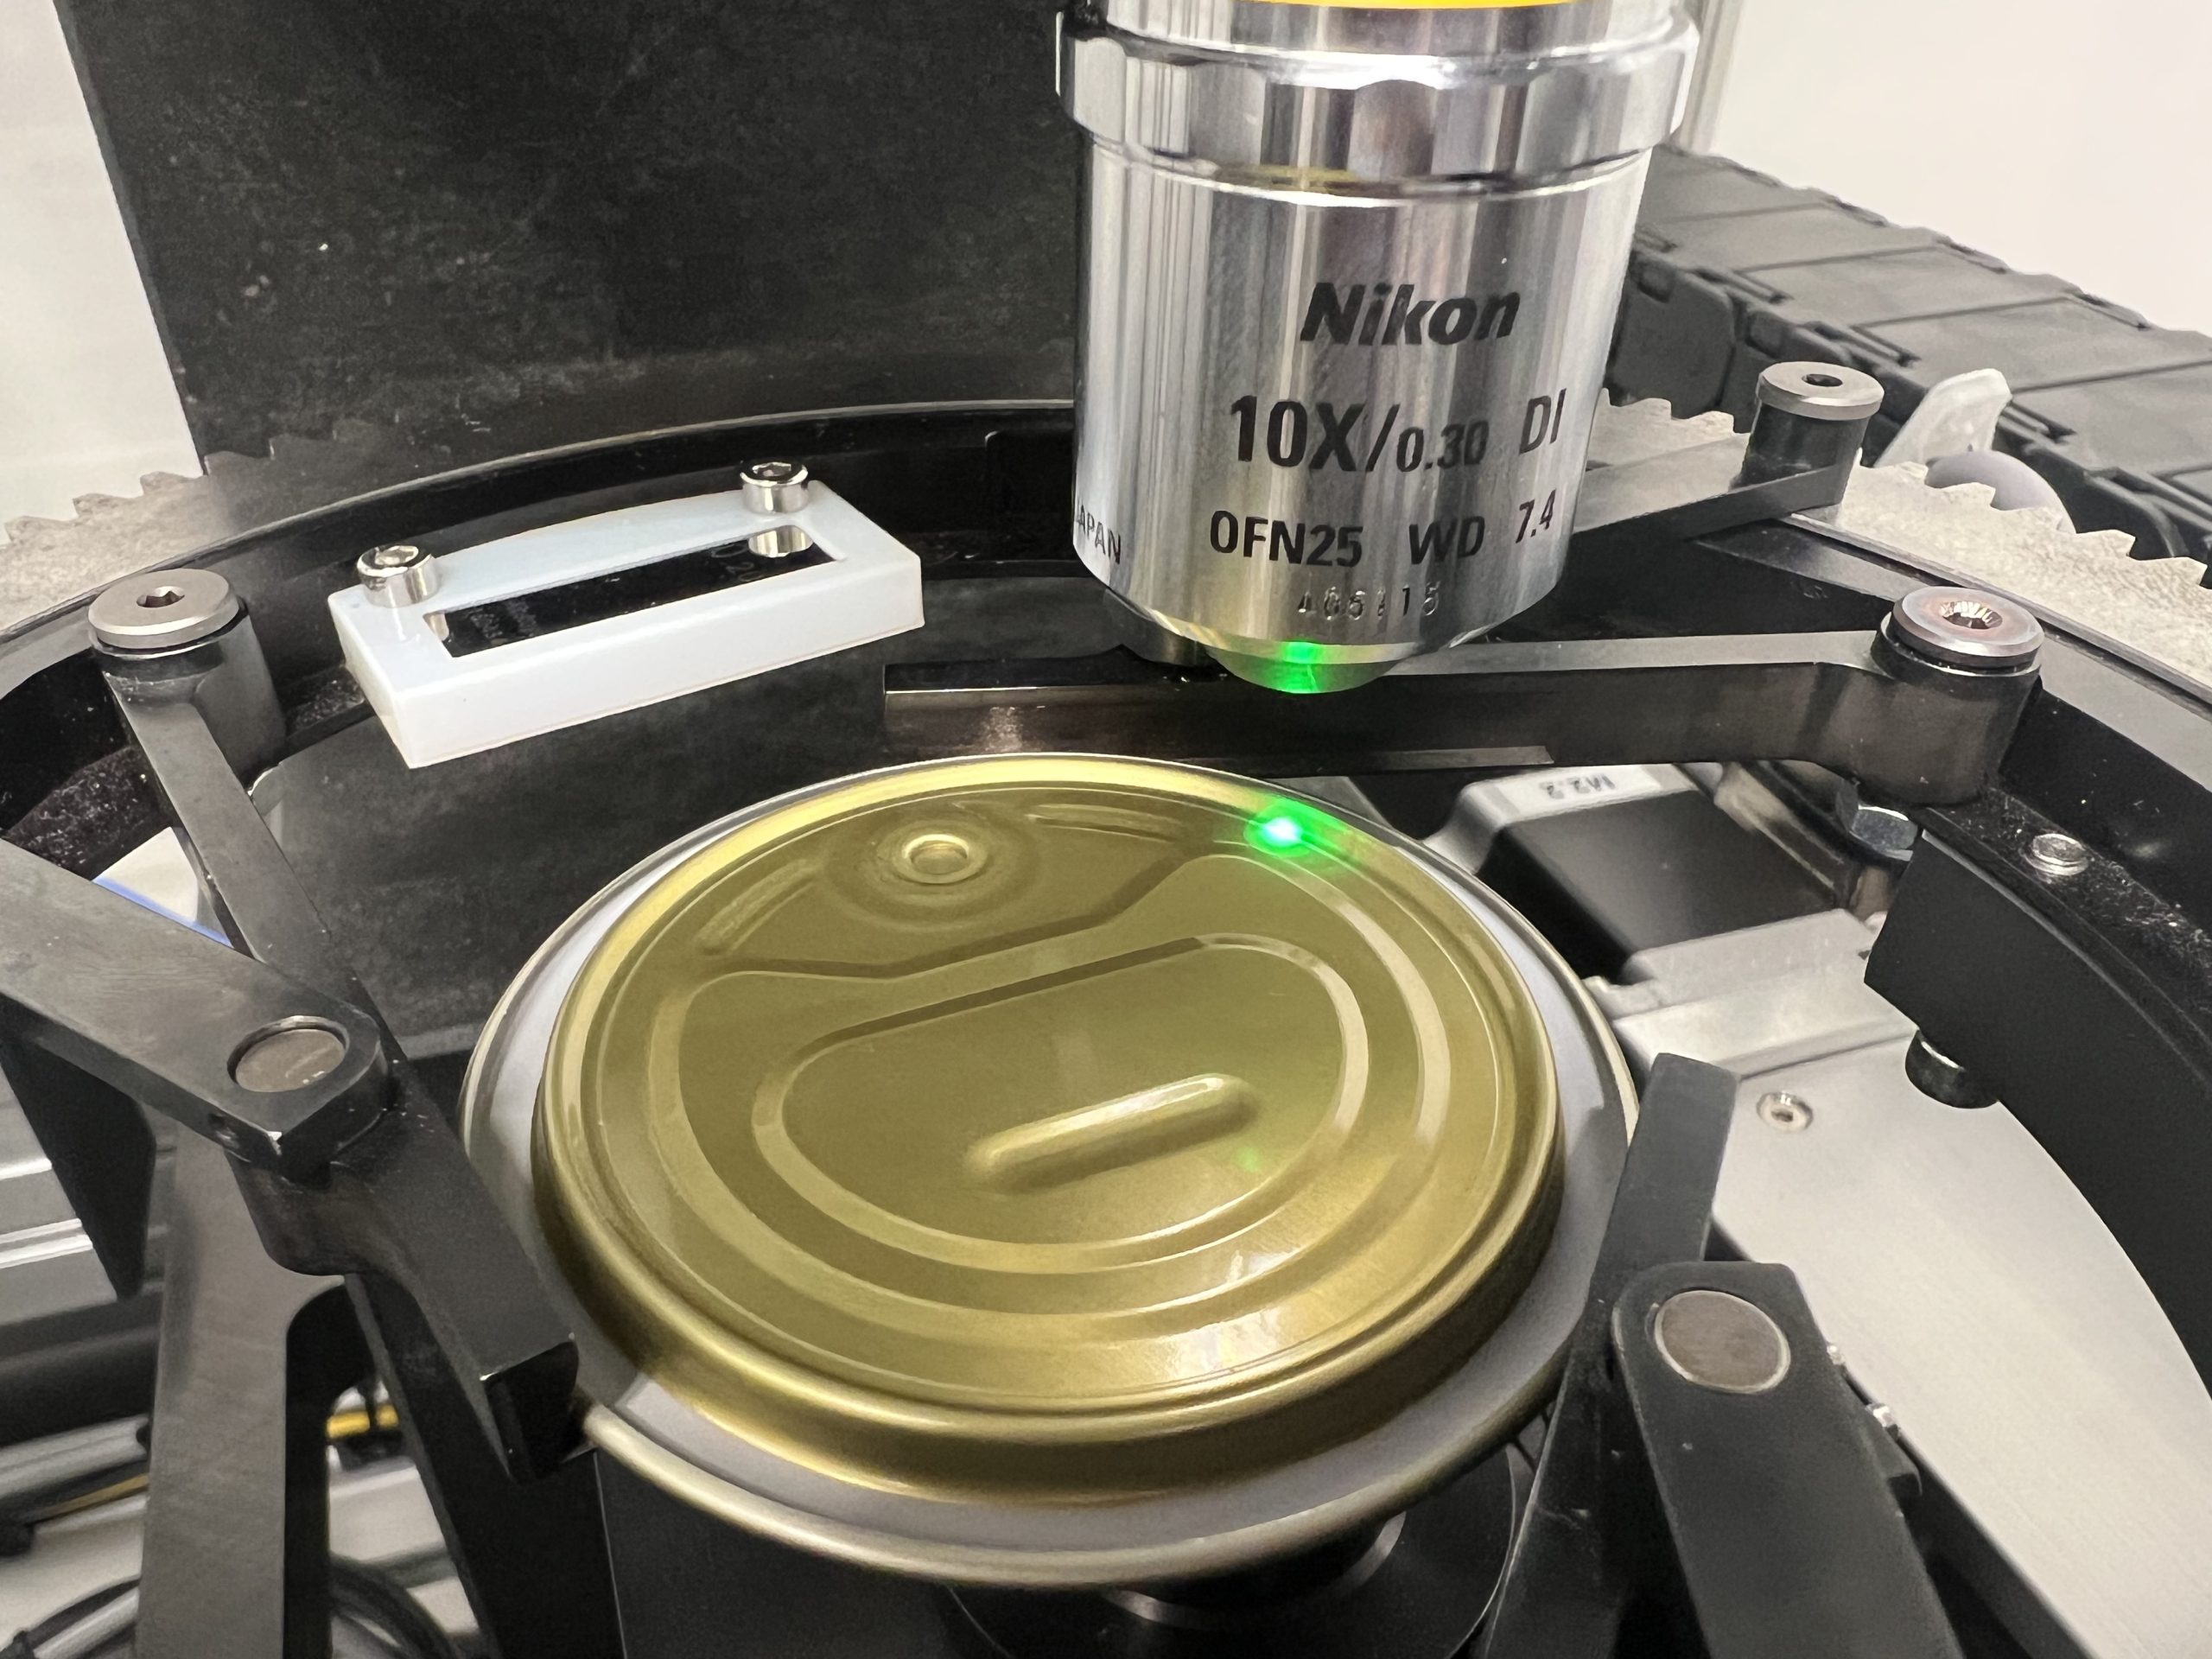
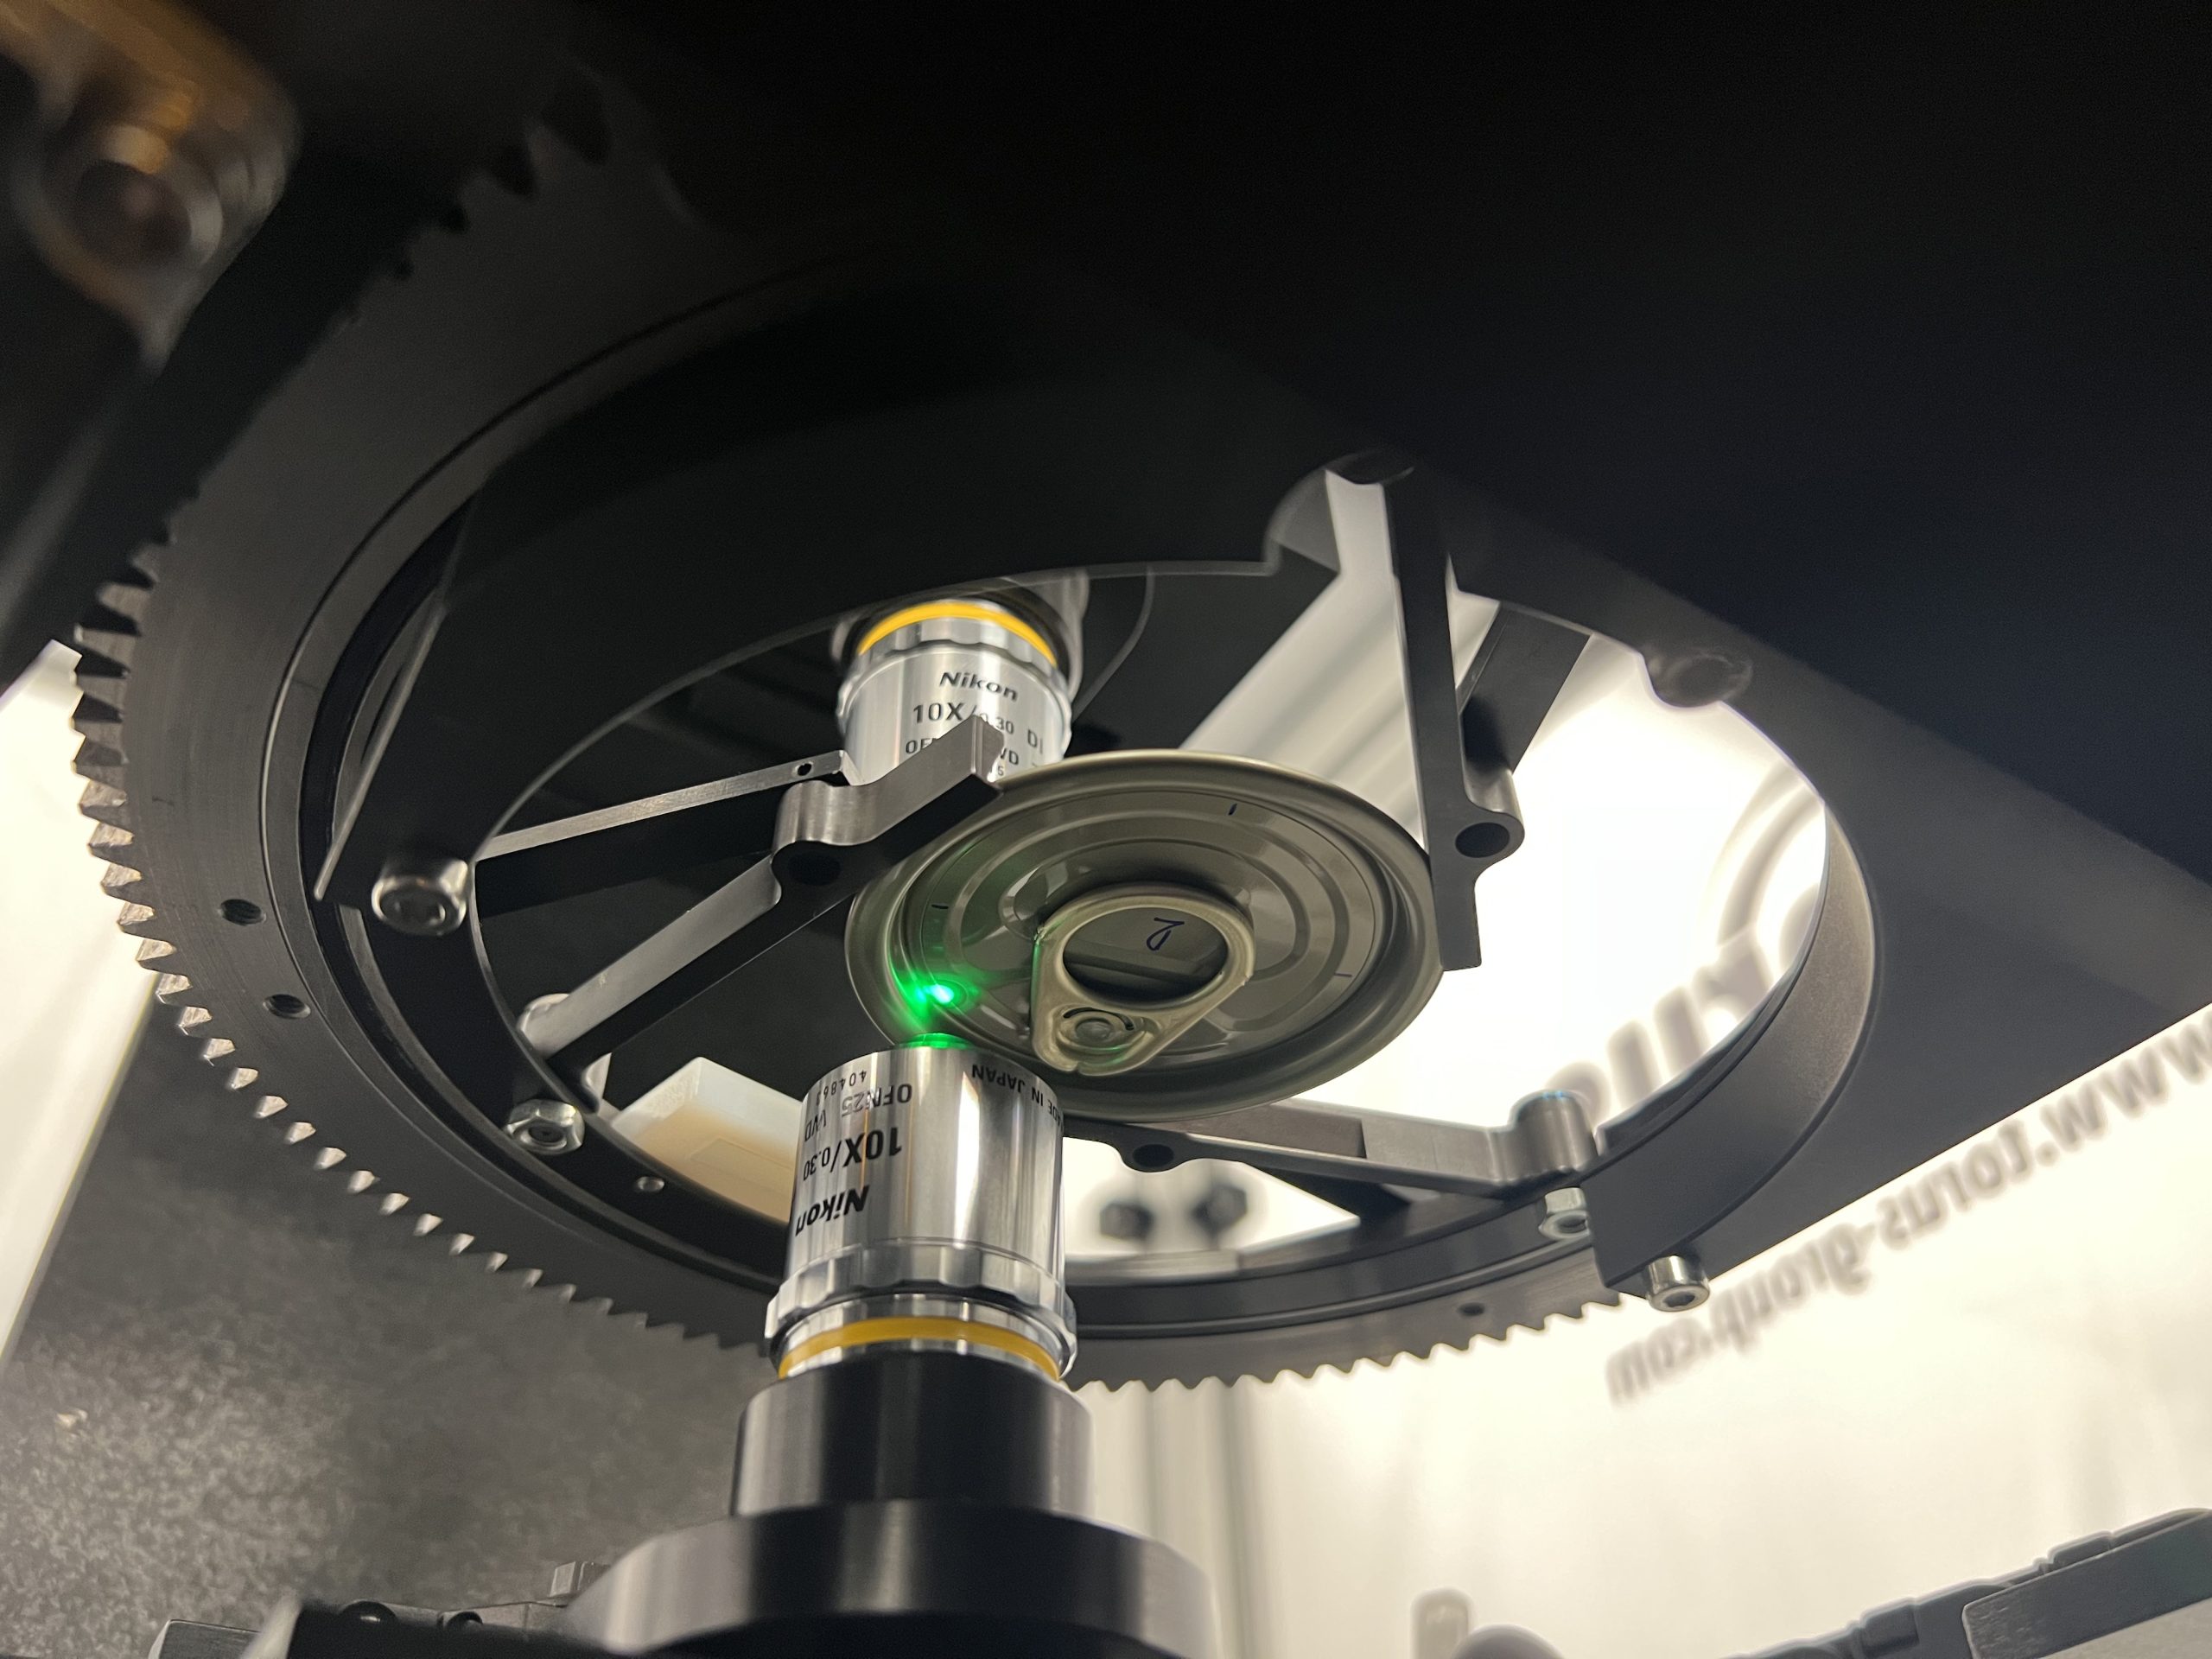


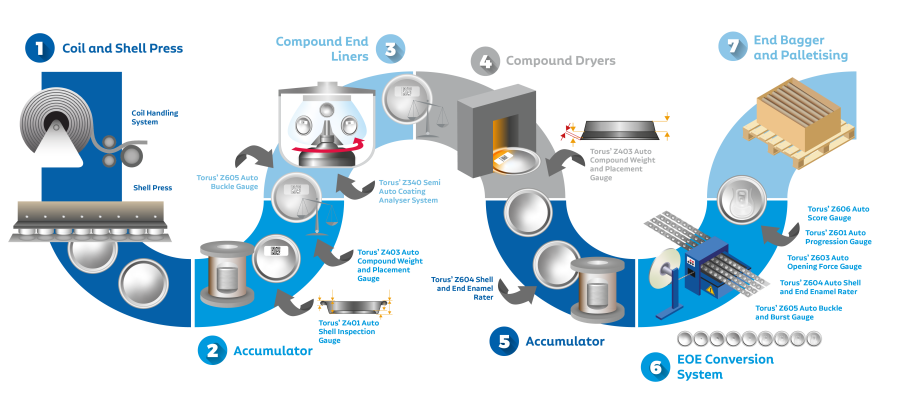
The Z606 Automatic Food End Score Gauge has been developed to provide the highest accuracy, repeatability, and usability for the measurement of Score Residual on Food can ends.
The Gauge uses two proprietary 3D Scanning White Light Interferometry Sensors developed by Torus’ Research & Development team. Each sensor performs a high-resolution area scan of the upper and lower surface of the Score area to build up a full 3D map for analysis and measurement. The sensors combine sub-micron vertical scanning with sub-micron X, Y area scans for unprecedented resolution, resolving up to 2.3 million surface data points for each Score Residual Thickness measurement.
Measurement Features
Technical Specification
1. Ease of Setup
Simply setup measurement positions using a drag and drop interface on an image of the End to be measured.
2. Pioneering Technology
3D Scanning White Light Interferometry Sensors developed by Torus, provide sub-micron resolution and unparalleled detail.
Bespoke algorithms analyse up to 2.3million data points per scan to provide accurate Score Residual Thickness Measurements.
3. Results and Feedback
(a) Mimic Screens provide instant feedback for Pass and Fail.
(b) Graphical Section plots show the Score profile for lifetime monitoring.
(c) 3D data available for output to preform detailed analysis and evaluation.
Torus Technology Group
Nedge Hill Science Park, Telford, Shropshire, TF33AJ, UK
Registered in England, Number 08664999
