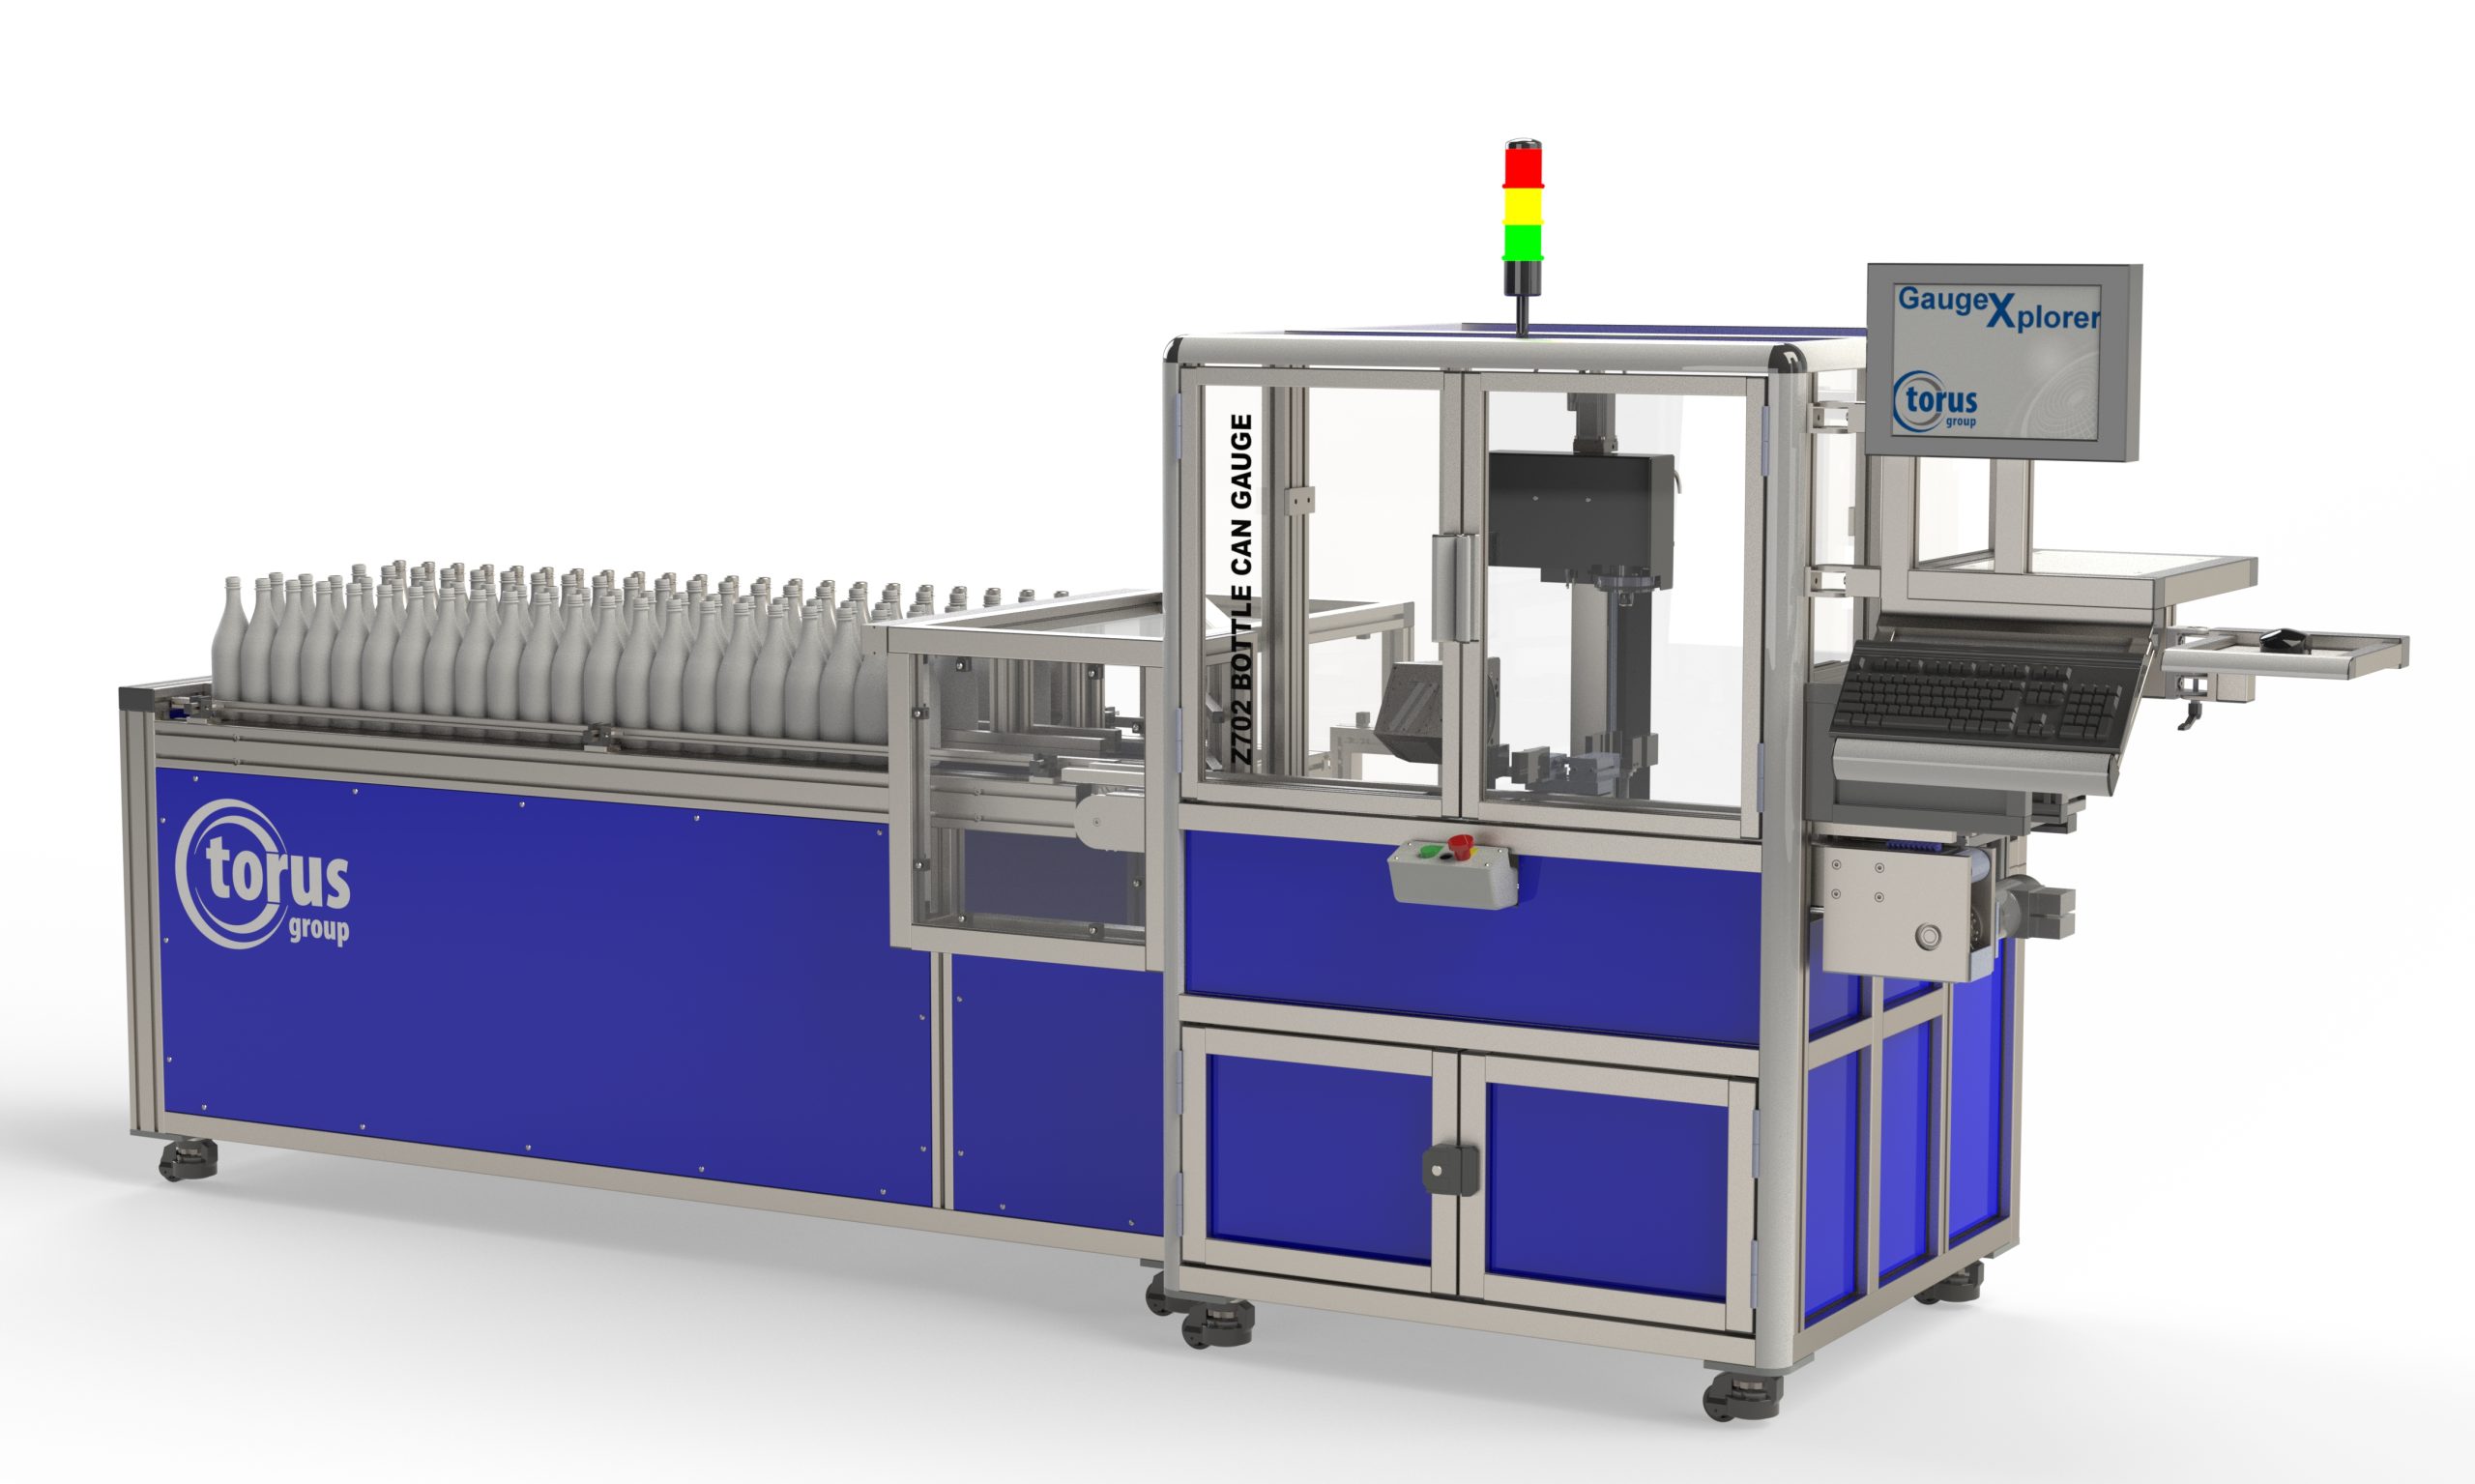
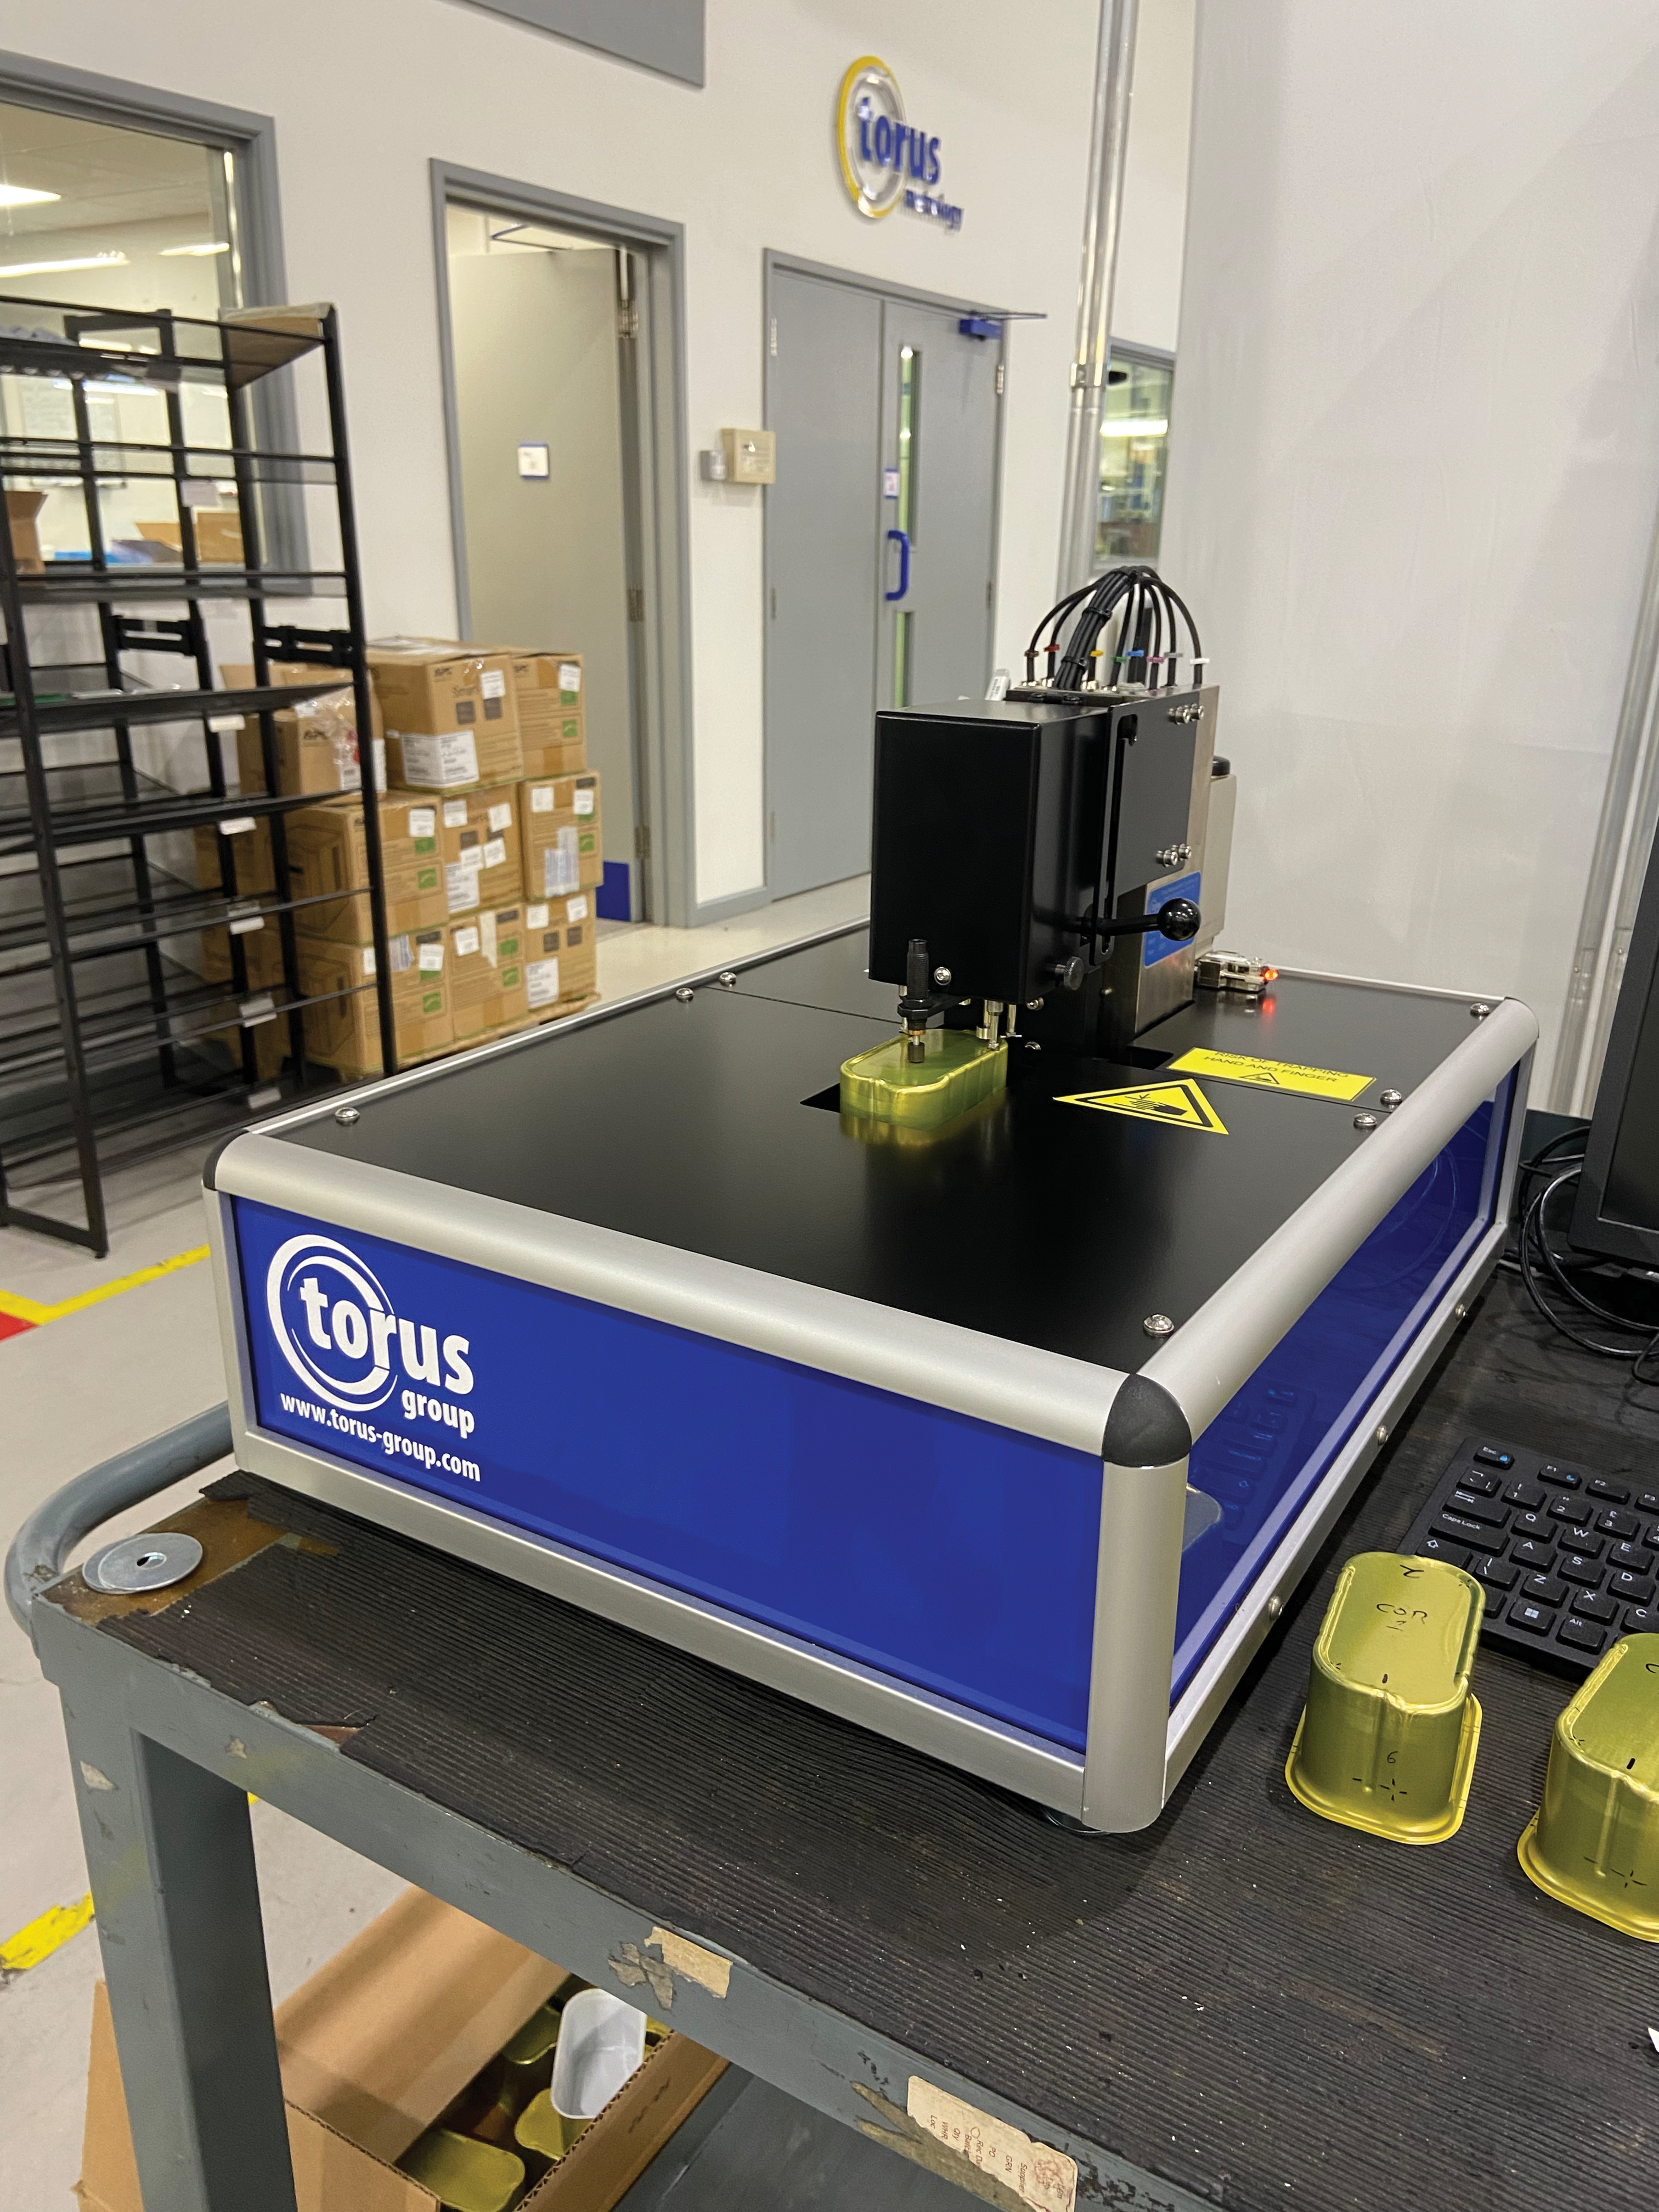
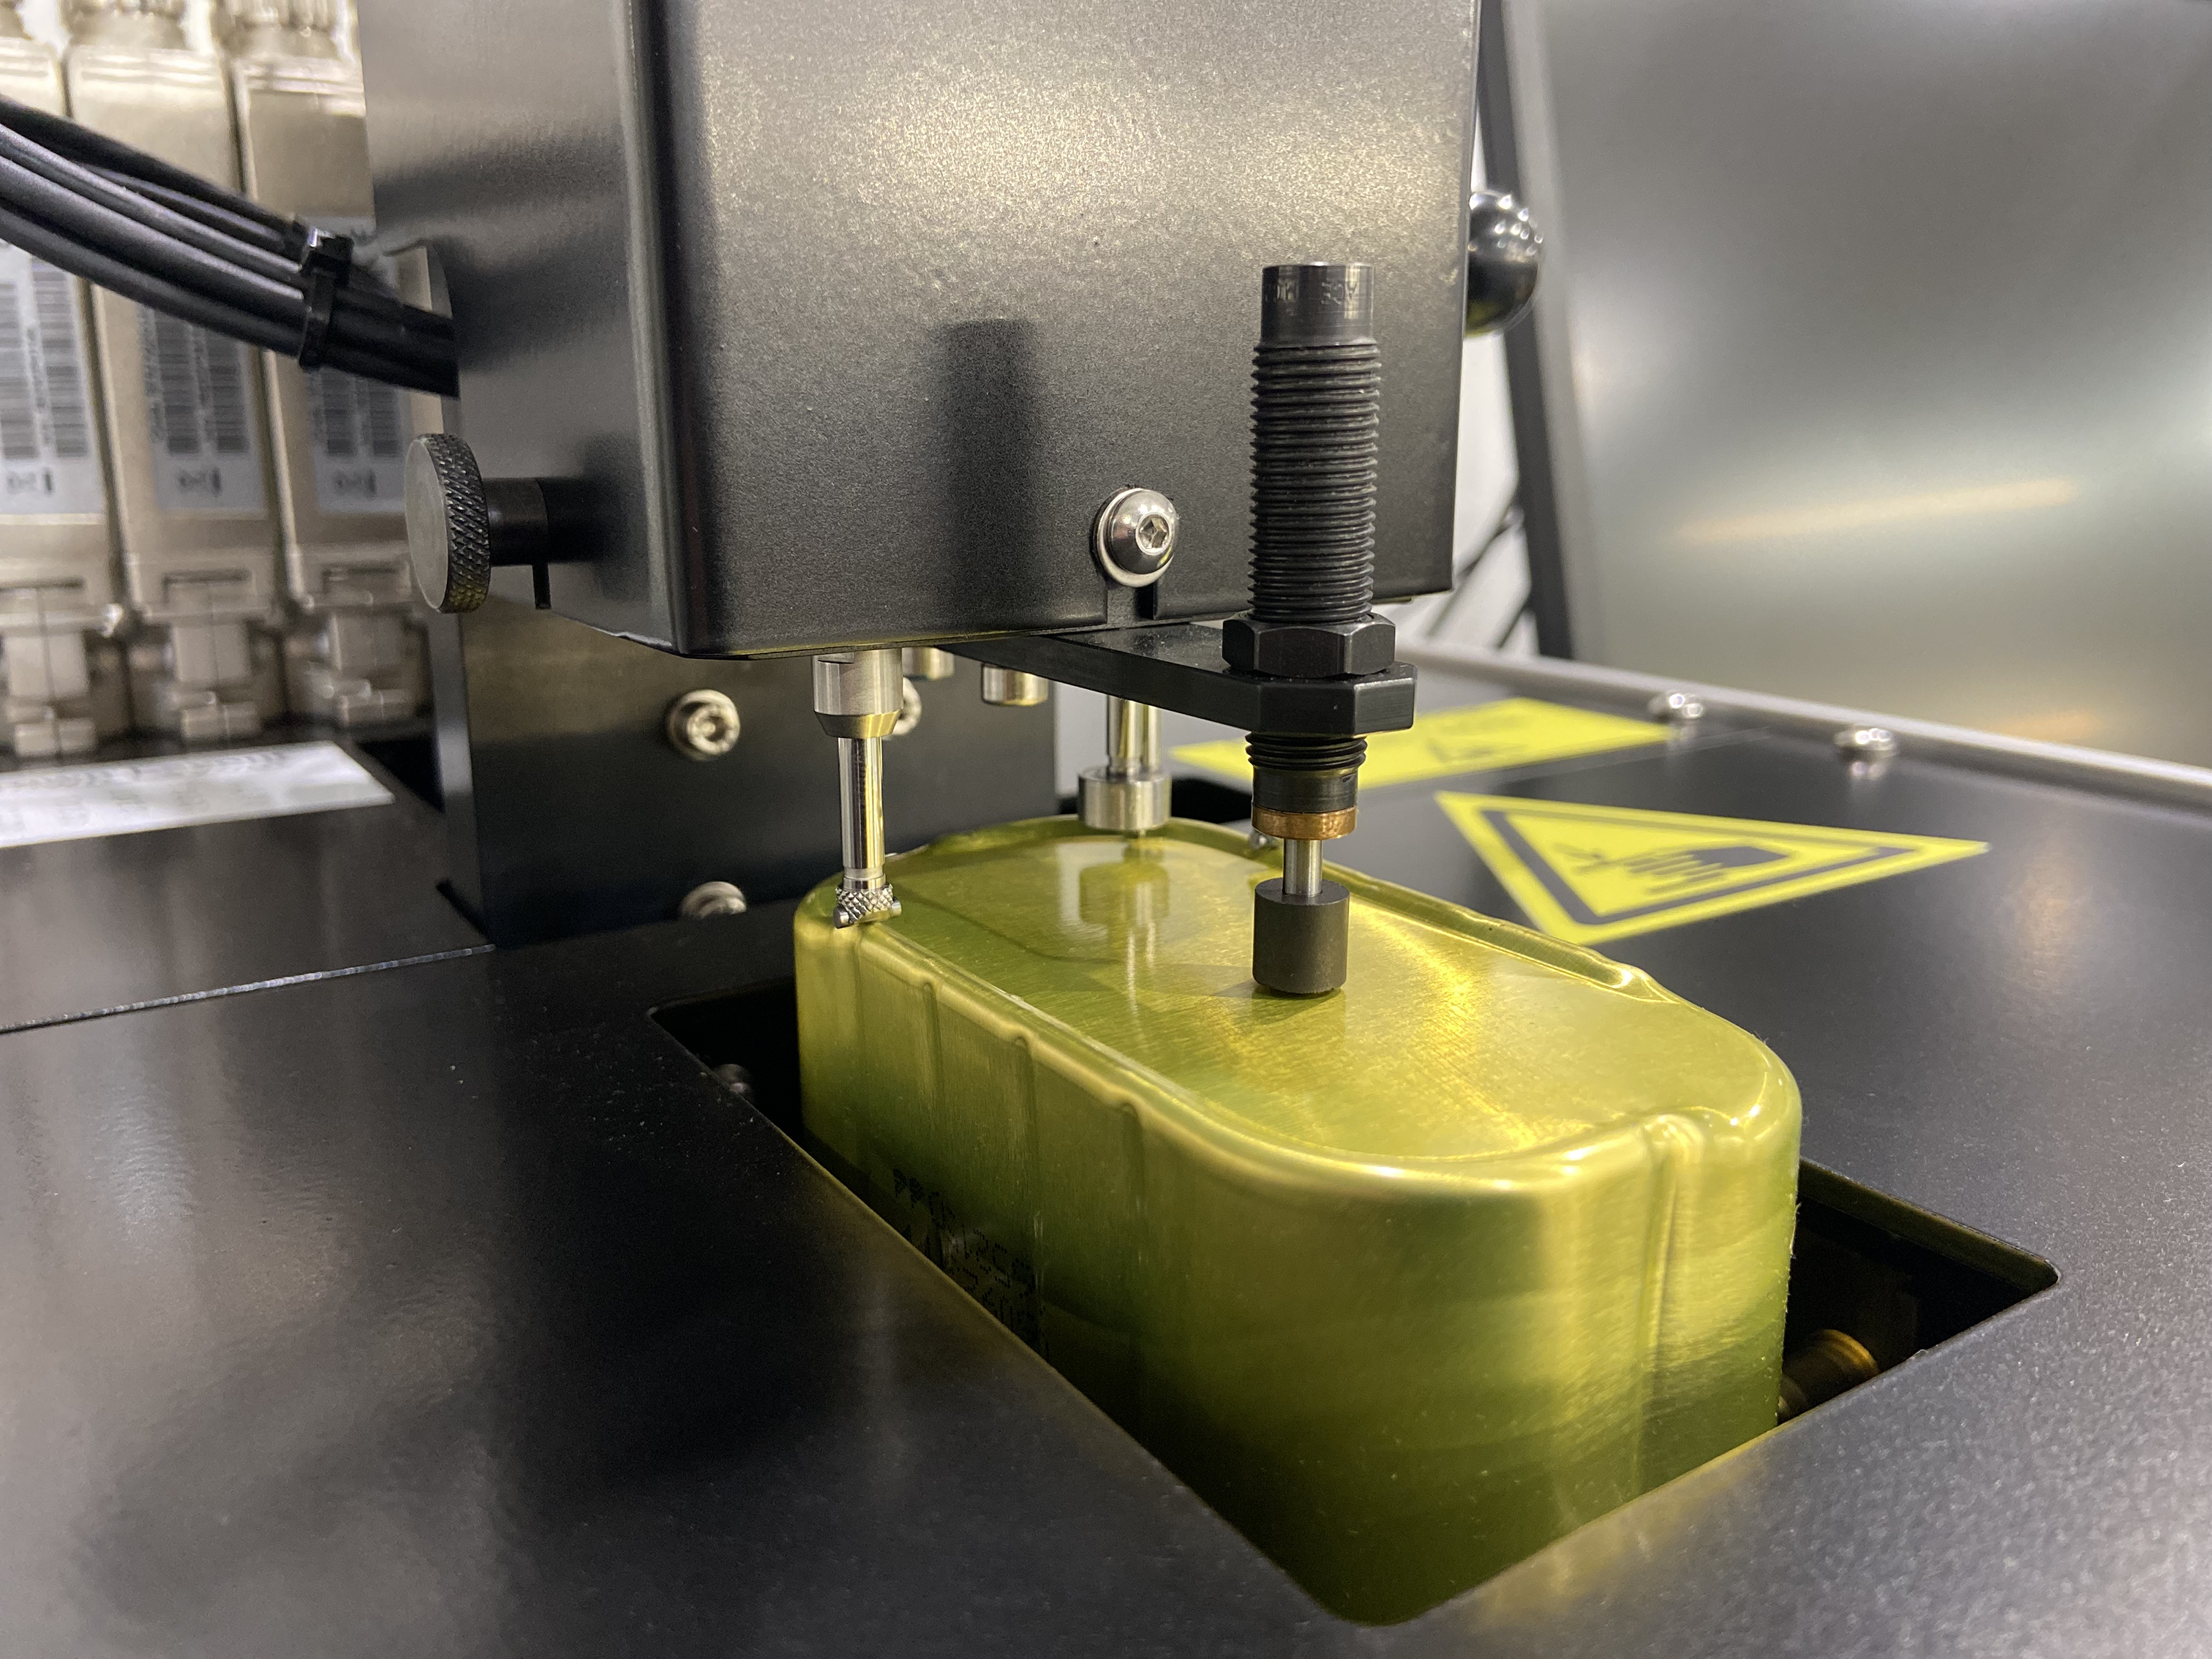
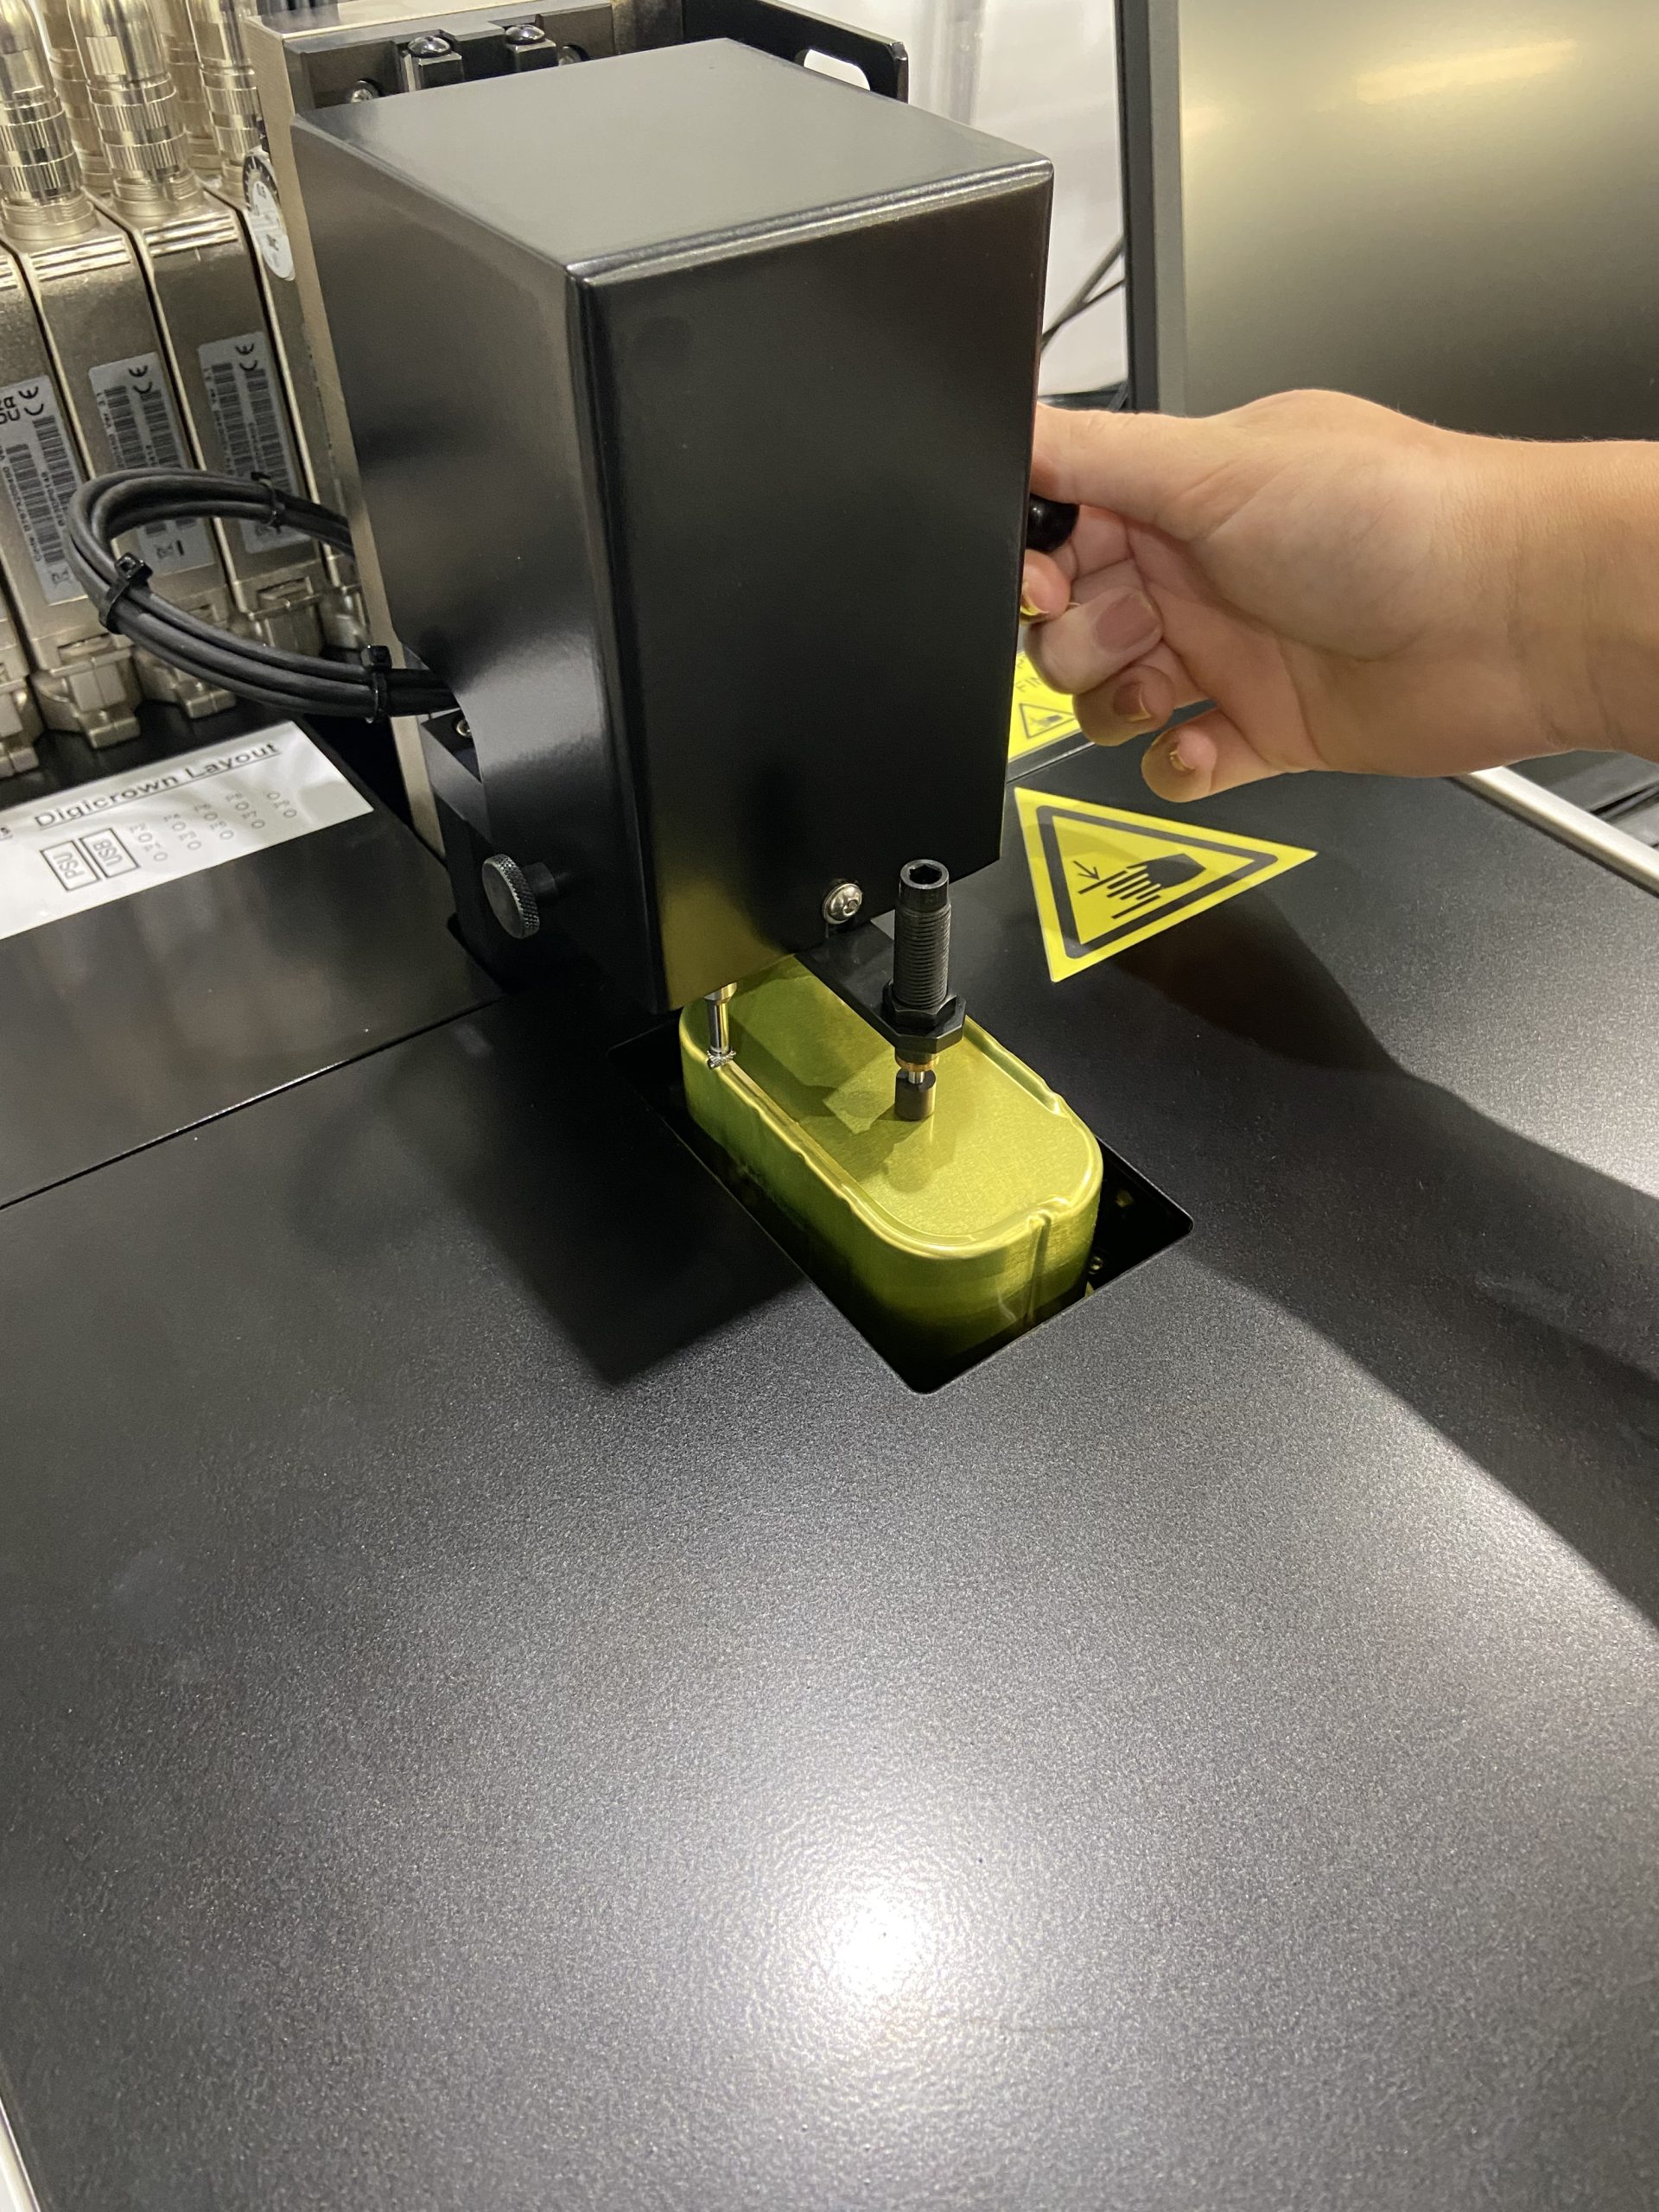


The Torus Measurement Systems Manual Benchtop 2 Piece Specialised Food Can Gauge has been specifically designed for the measurement of body dimensions of specialised cans.
Designed with flexibility in mind, this gauge can be suitable for a range of different food can products upon request.
The gauge is manually loaded, unloaded and operated.
Utilising the latest Torus GaugeXplorer measurement and machine control software.
Torus Food Can Gauging
Measurement Features
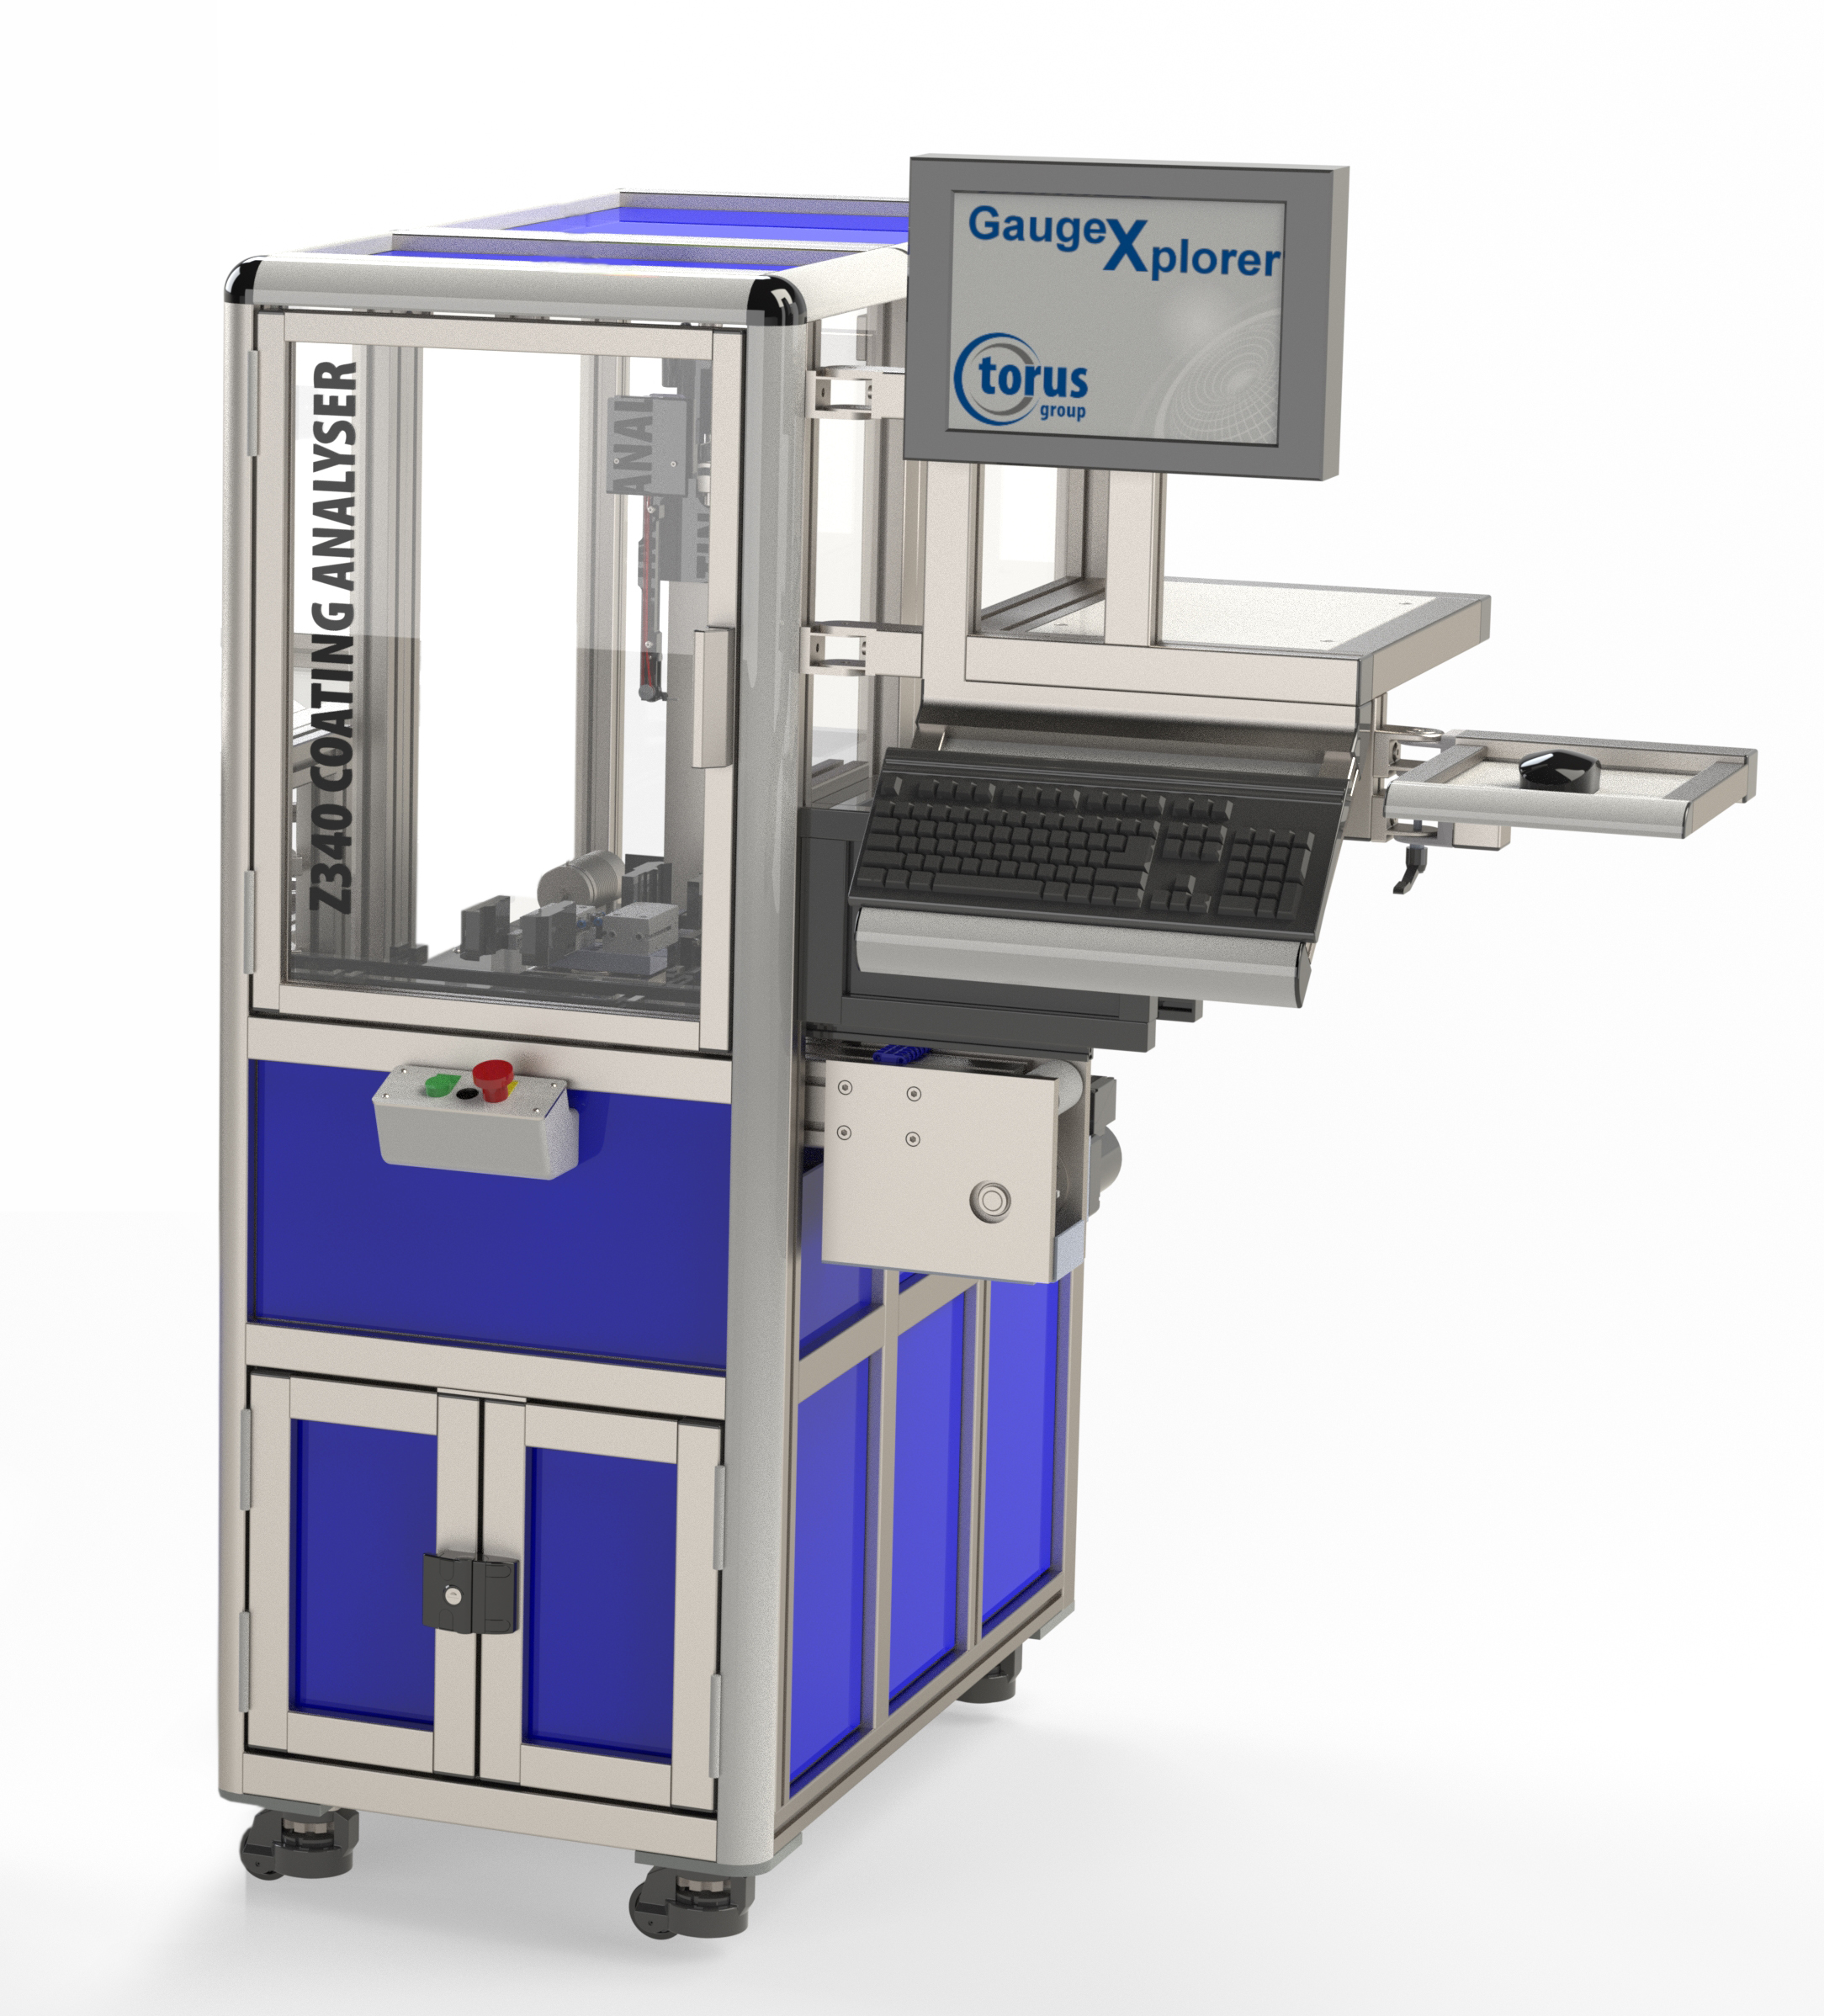
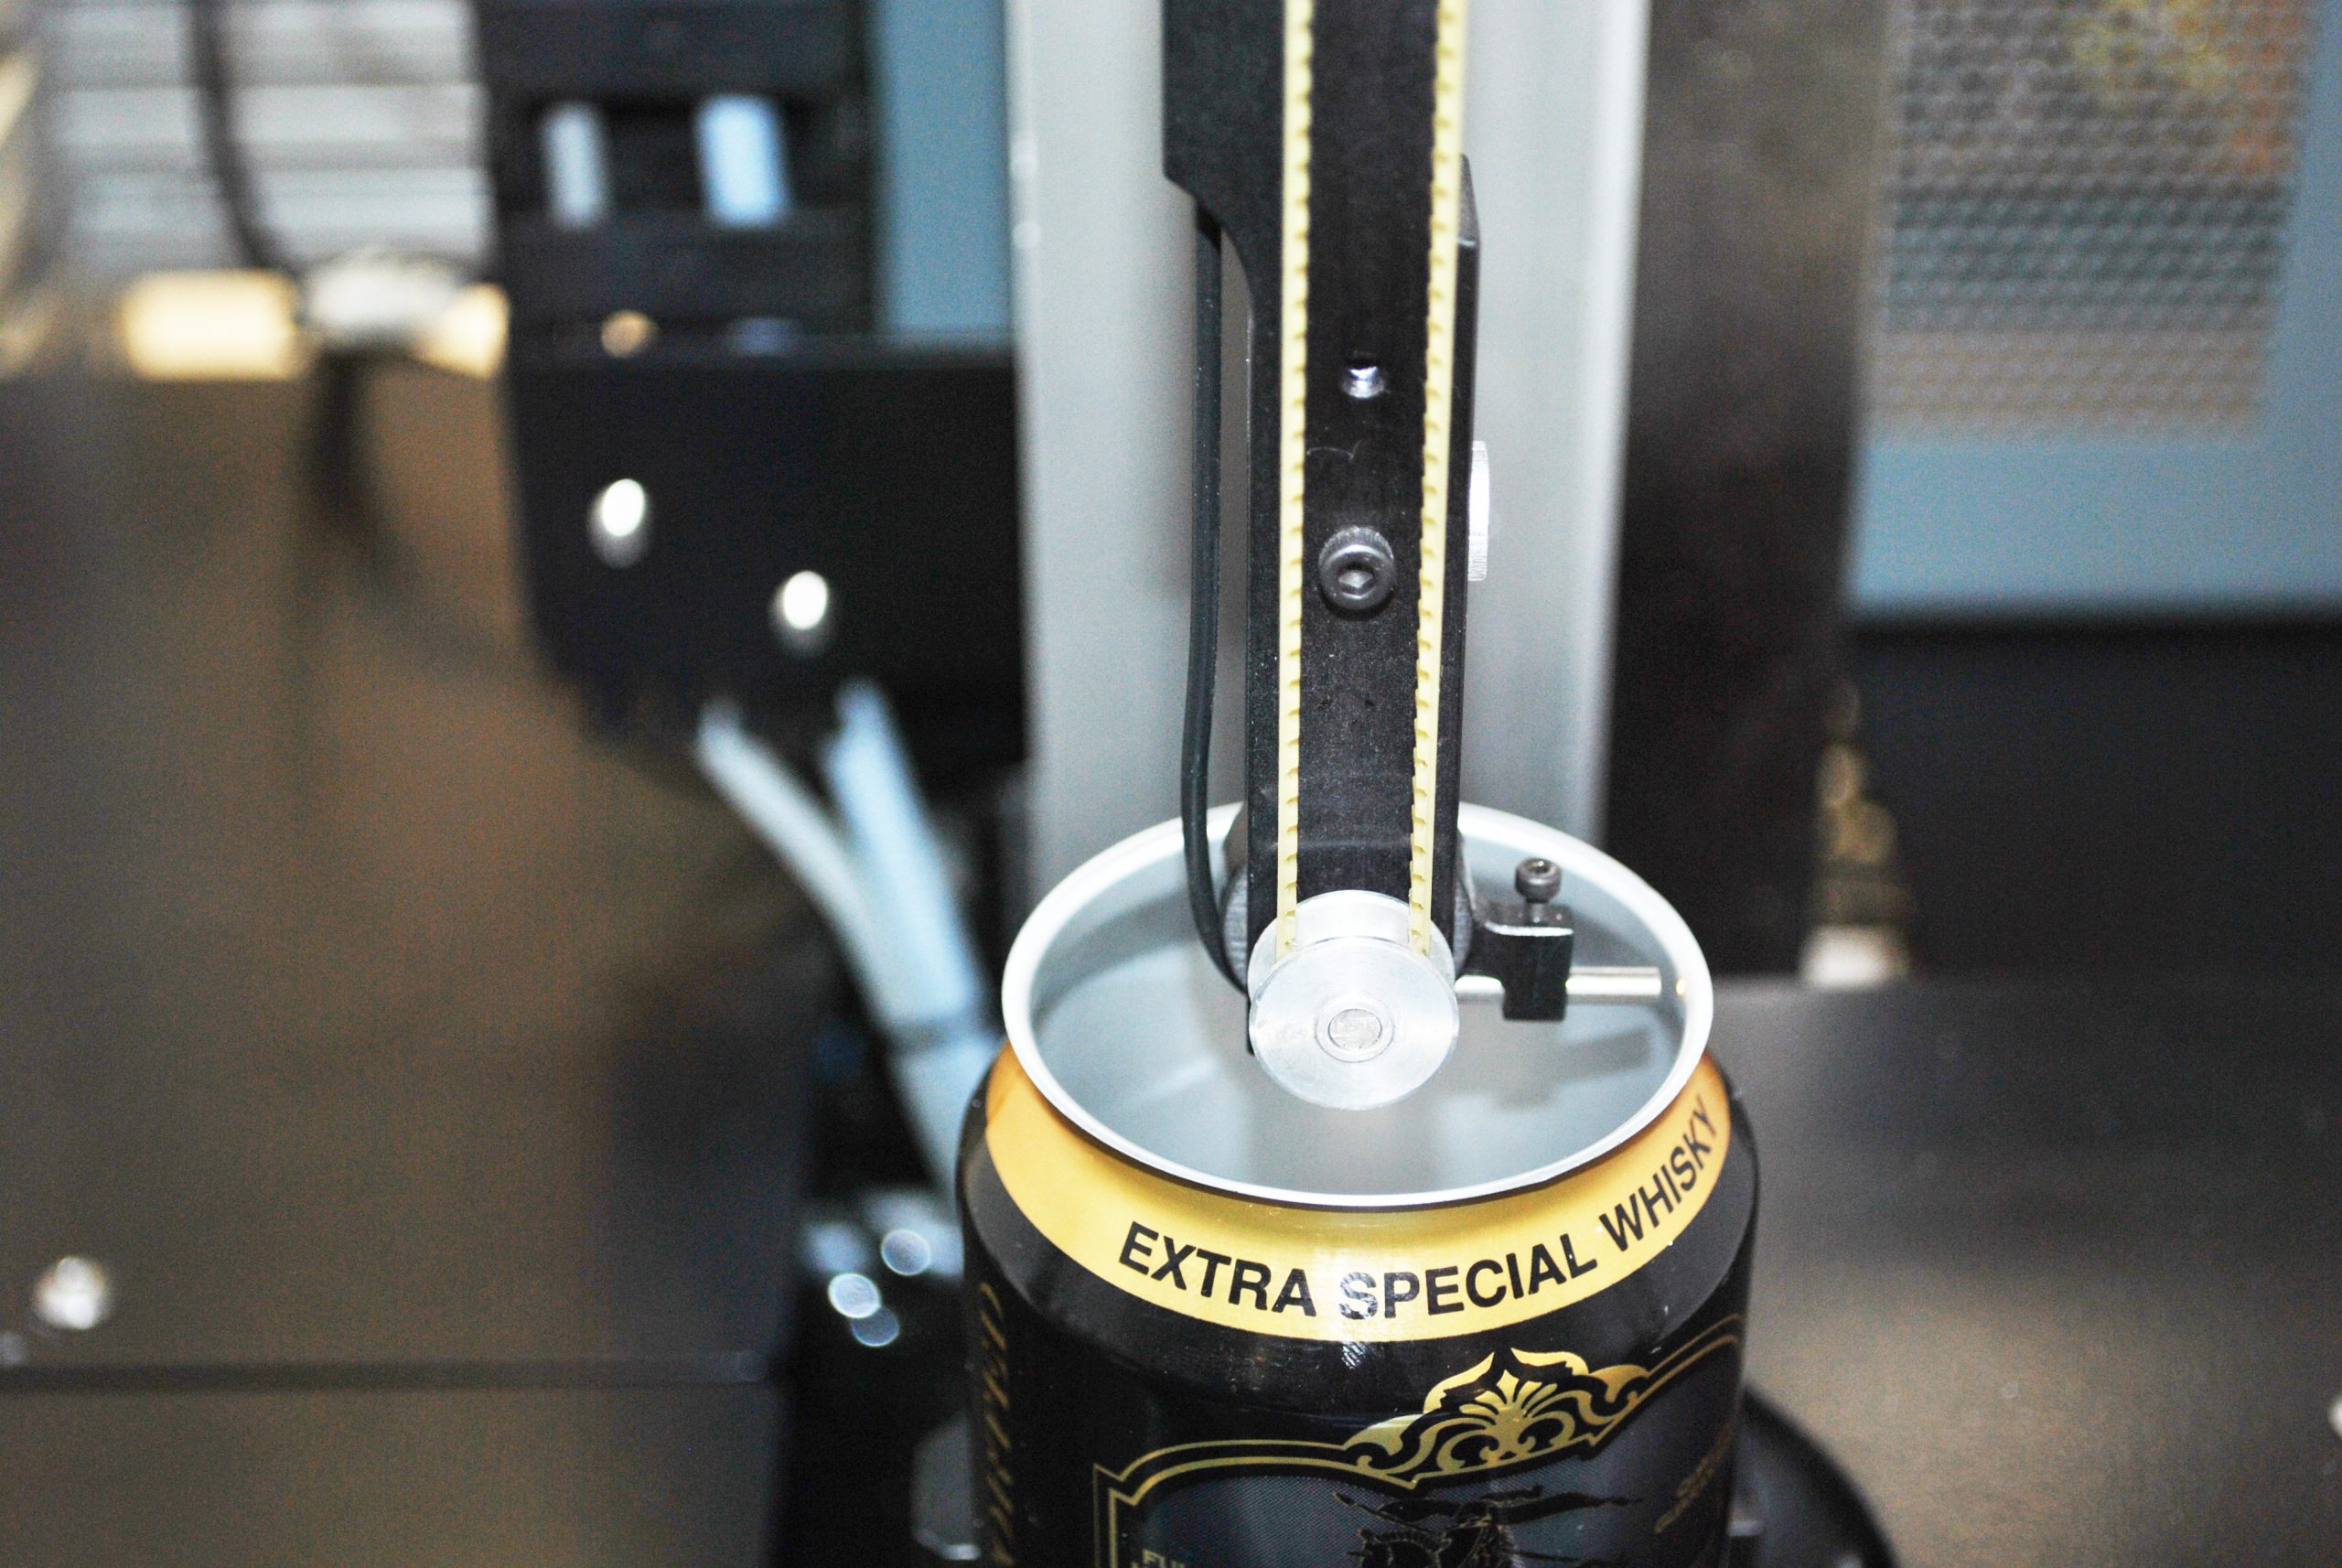


The Z340 Automatic Coating Analyser has been developed to give detailed distribution analysis of the internal lacquer on a beverage can
The proven contact measurement technology ensures accurate, reliable and traceable measurement 24/7.
Torus Beverage Can Gauging
Measurement Features
Technical Specification
Gauge Features
Our modular gauge setups are unique and allow you to customise your gauge as and when you require, giving you the flexibility to ensure you have a total quality solution.
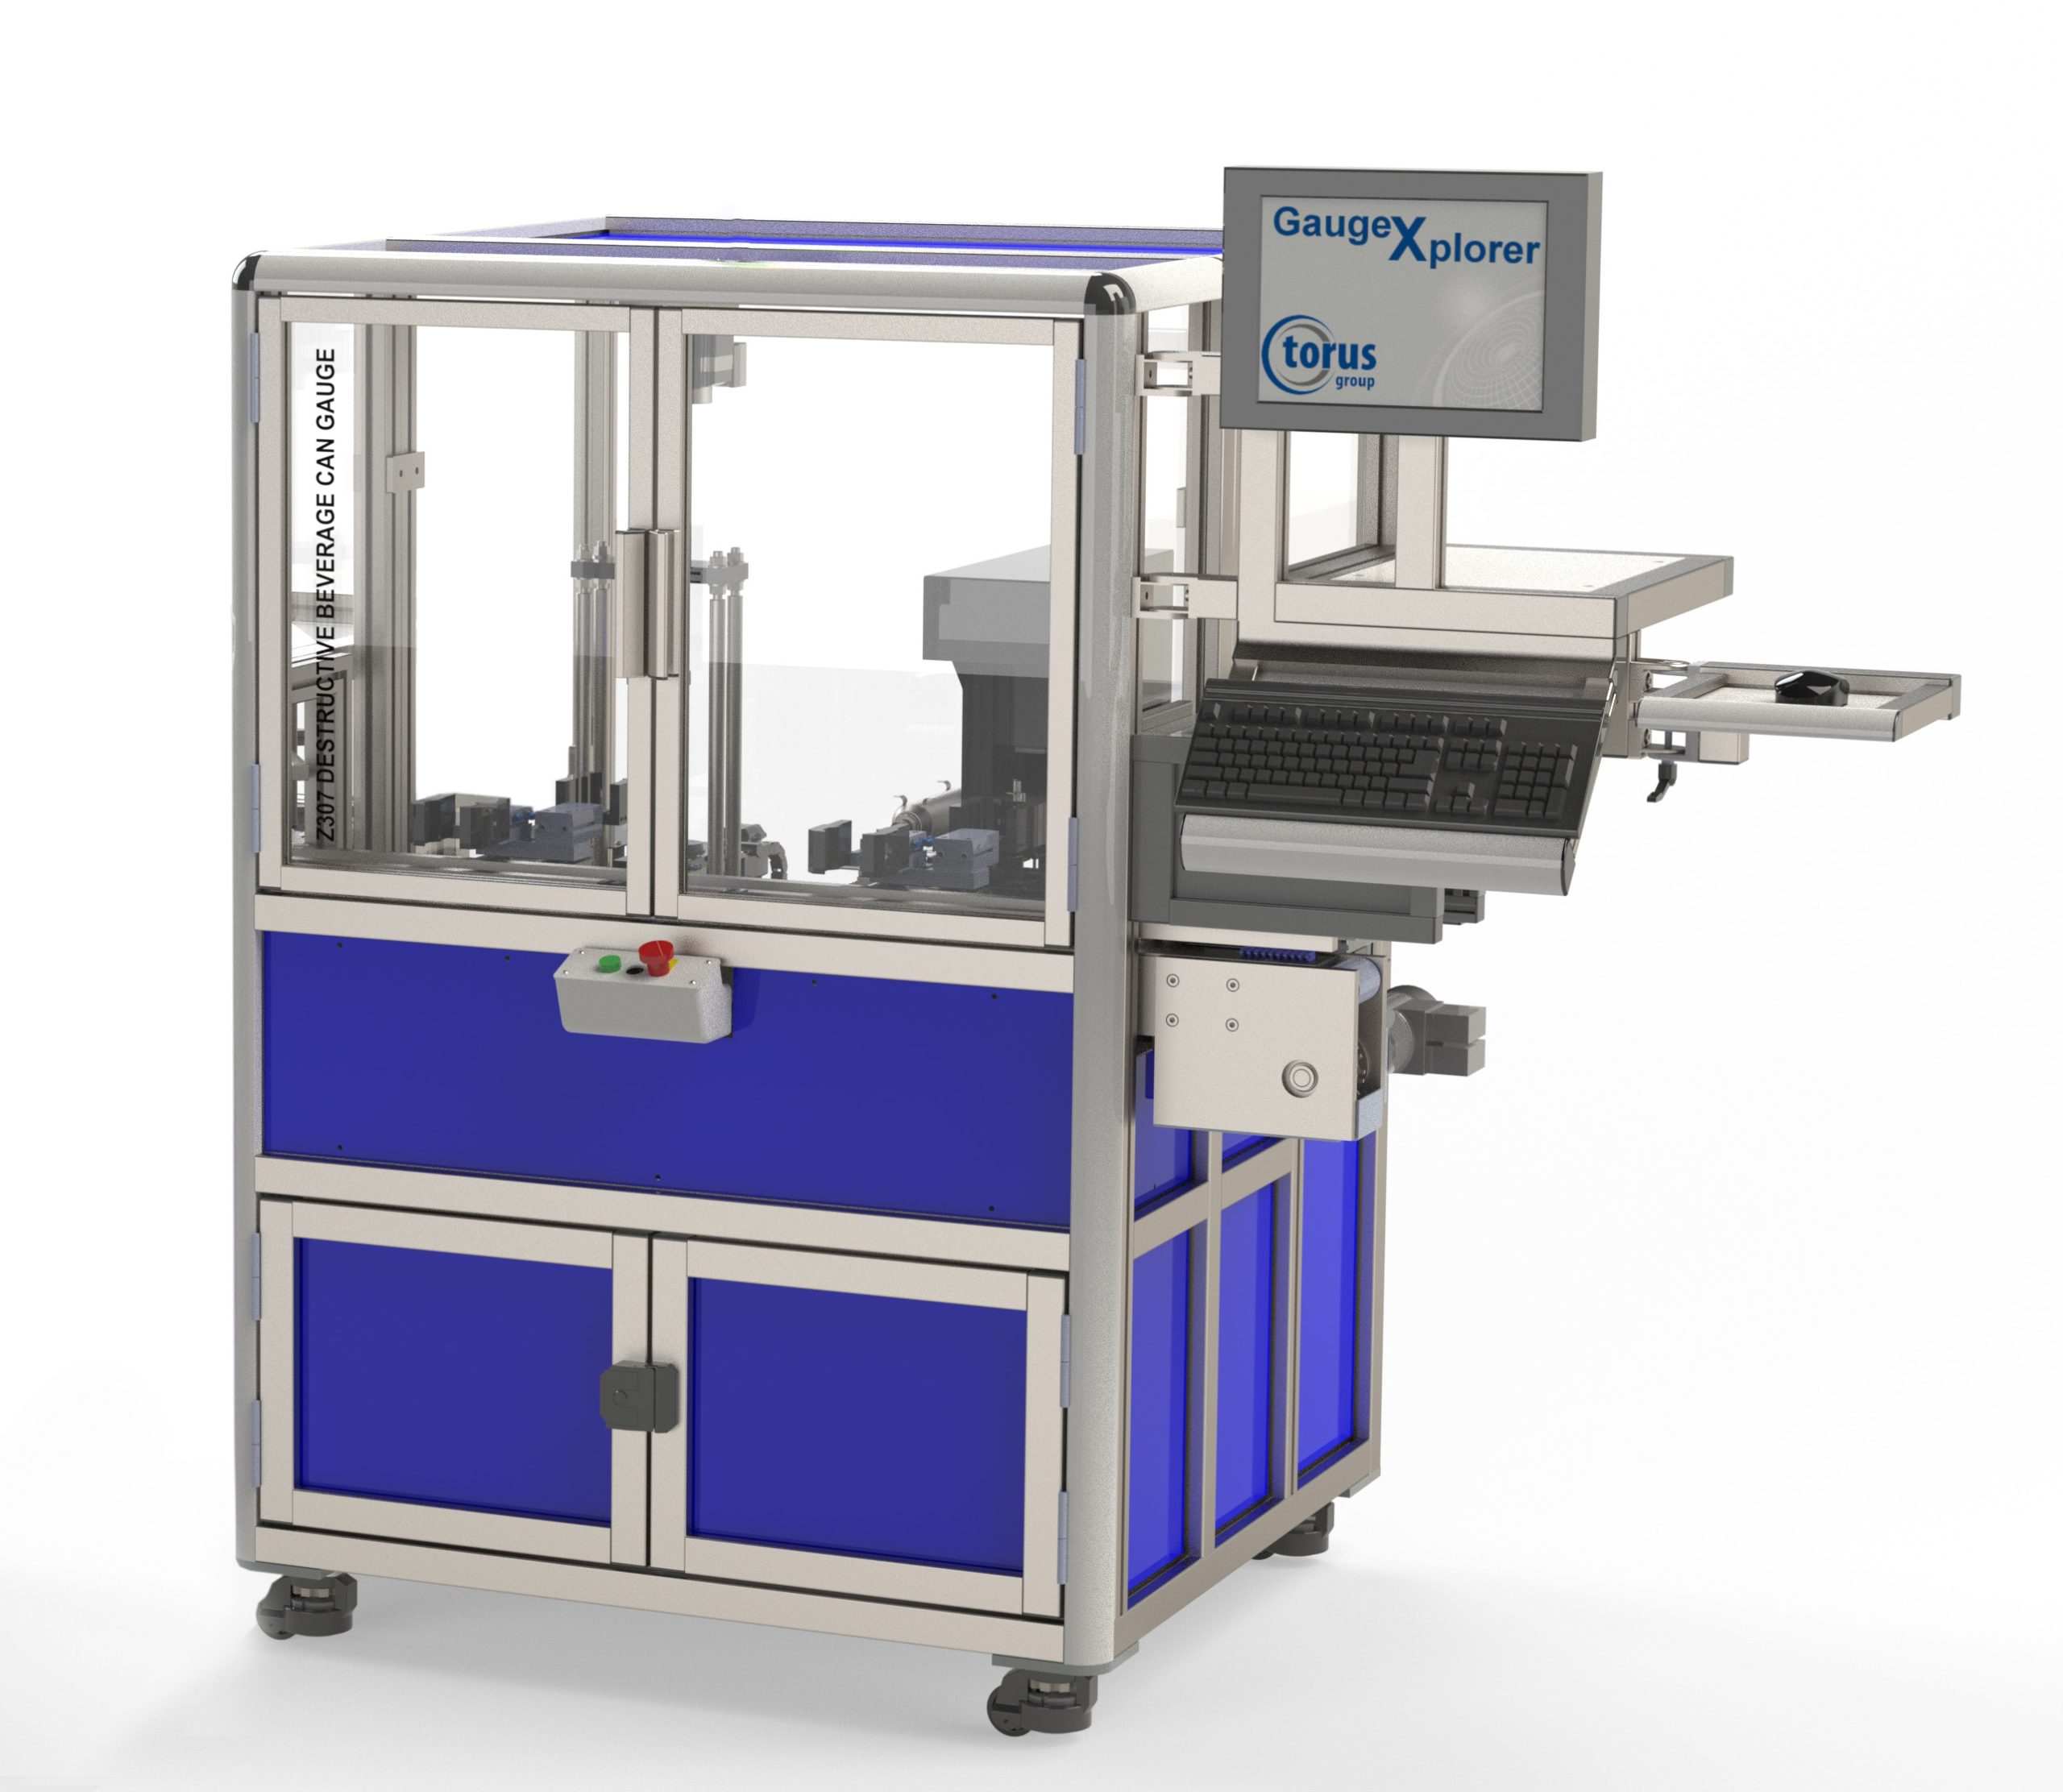
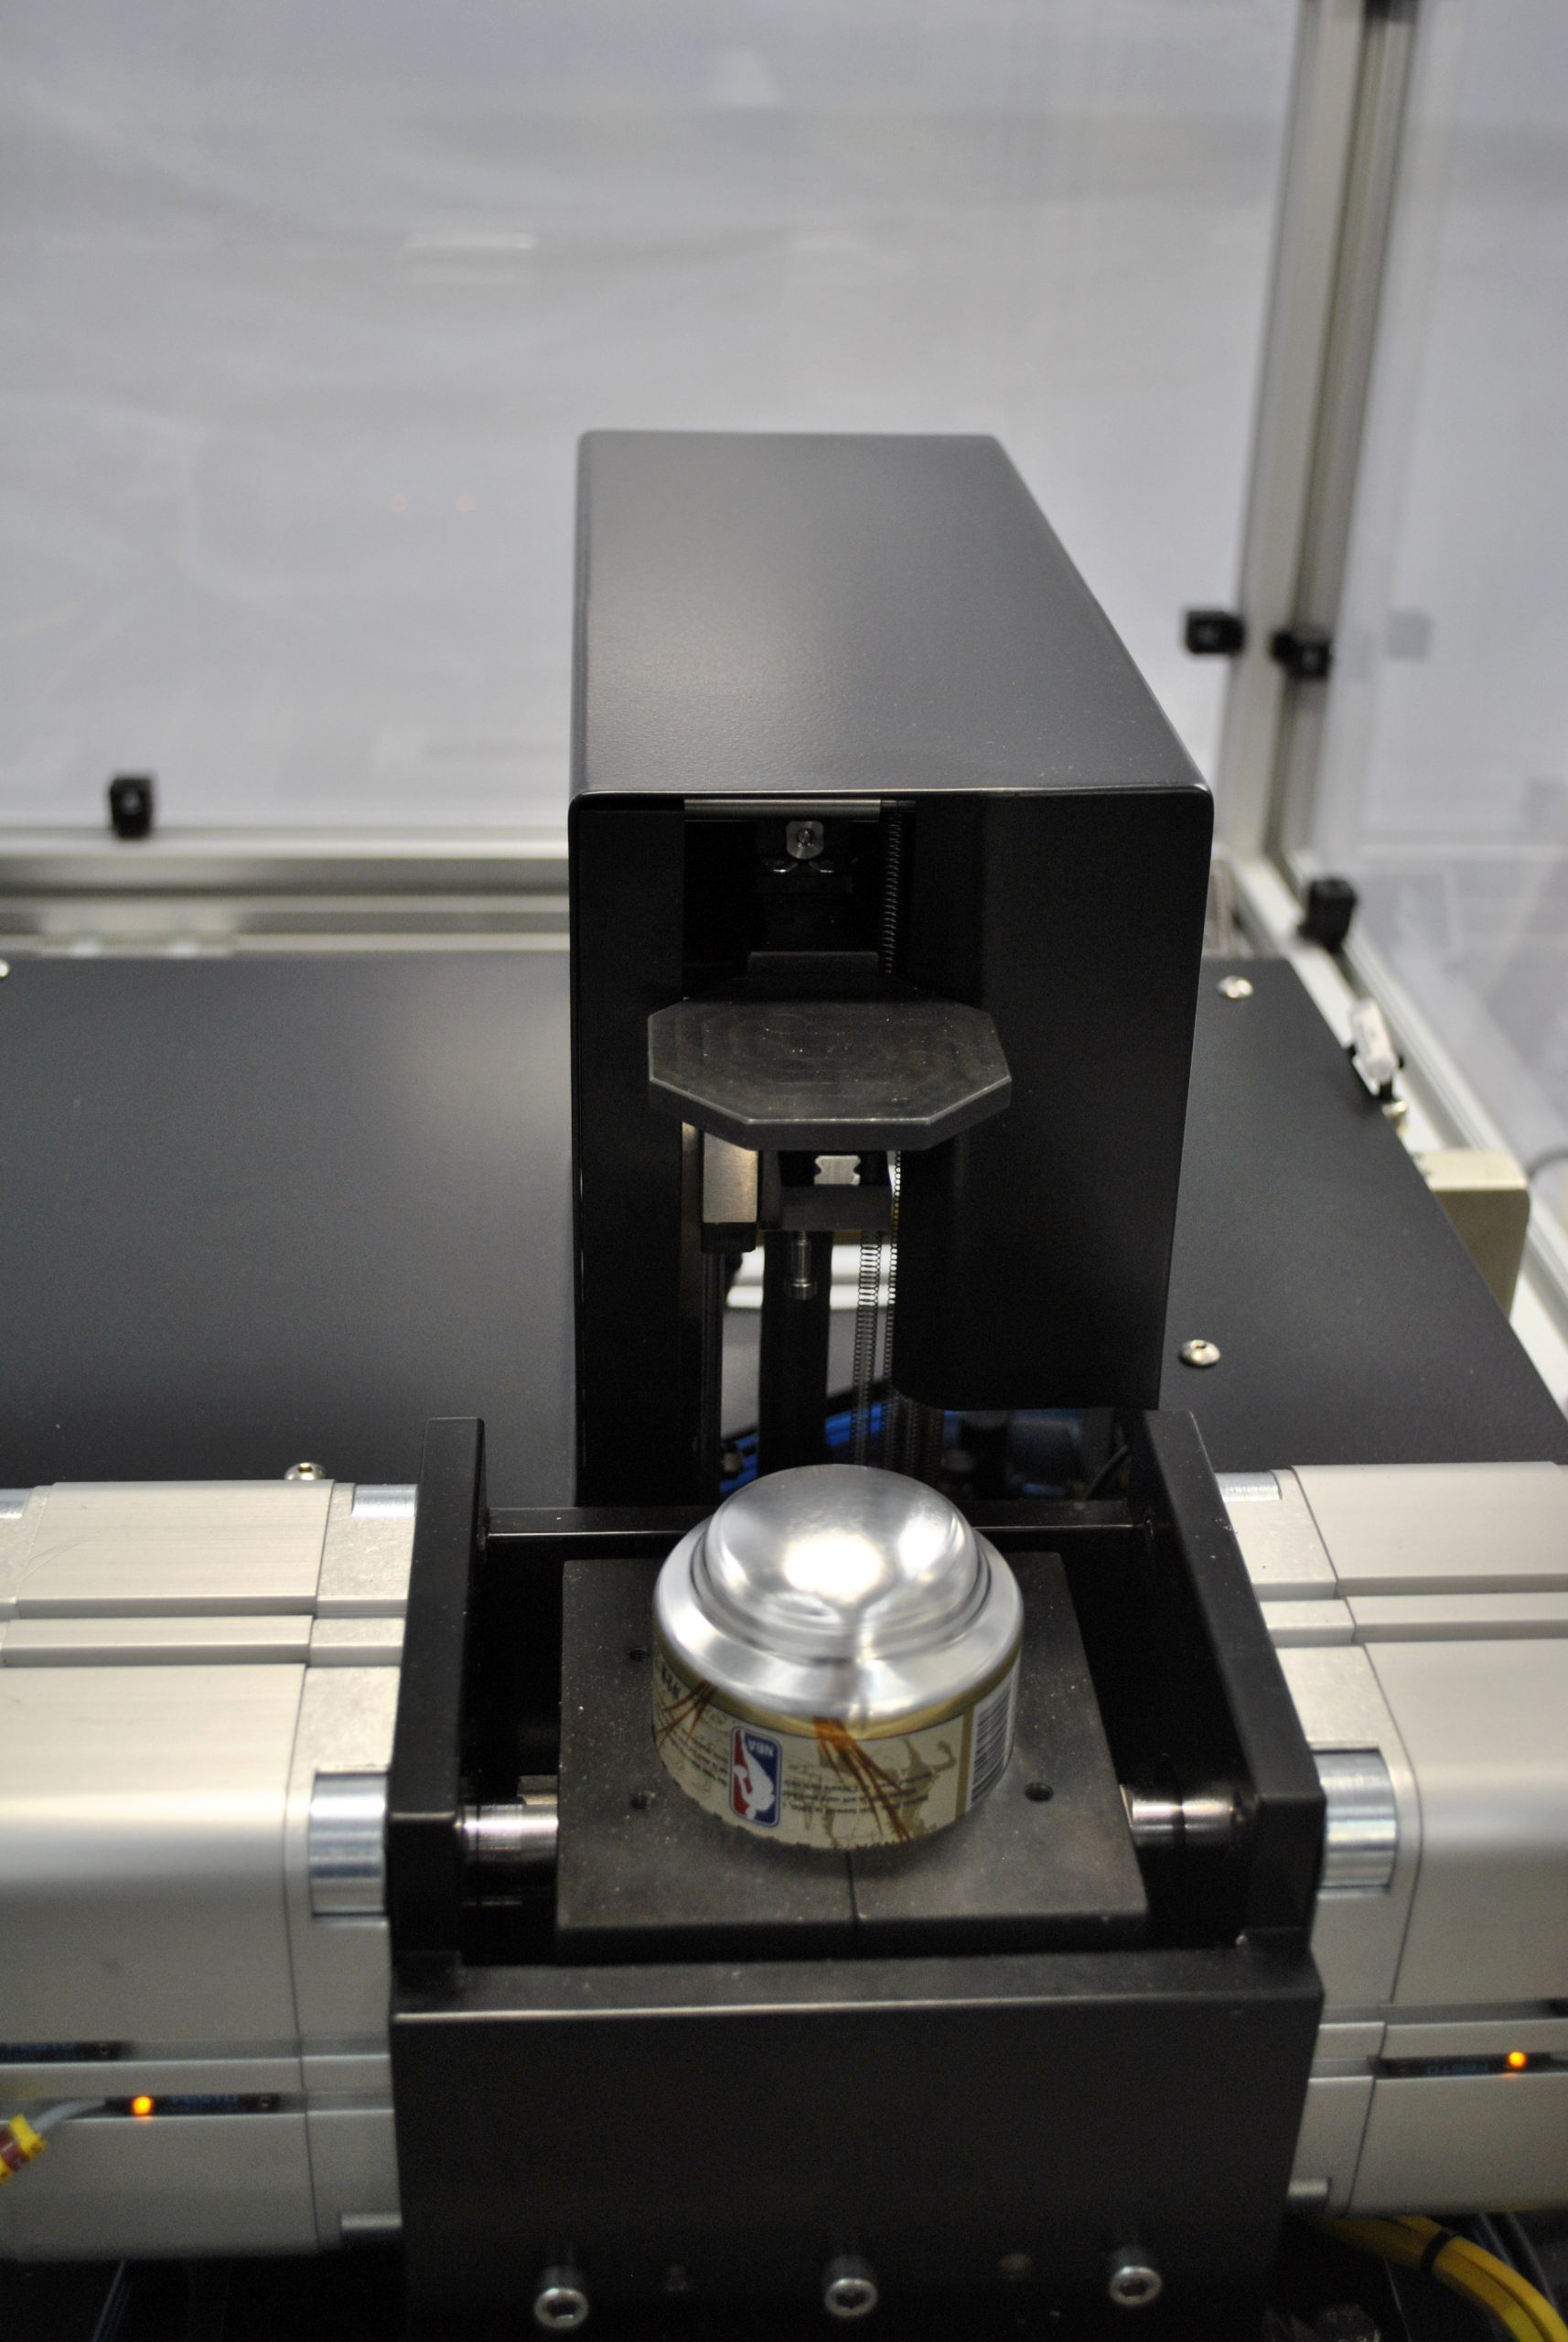
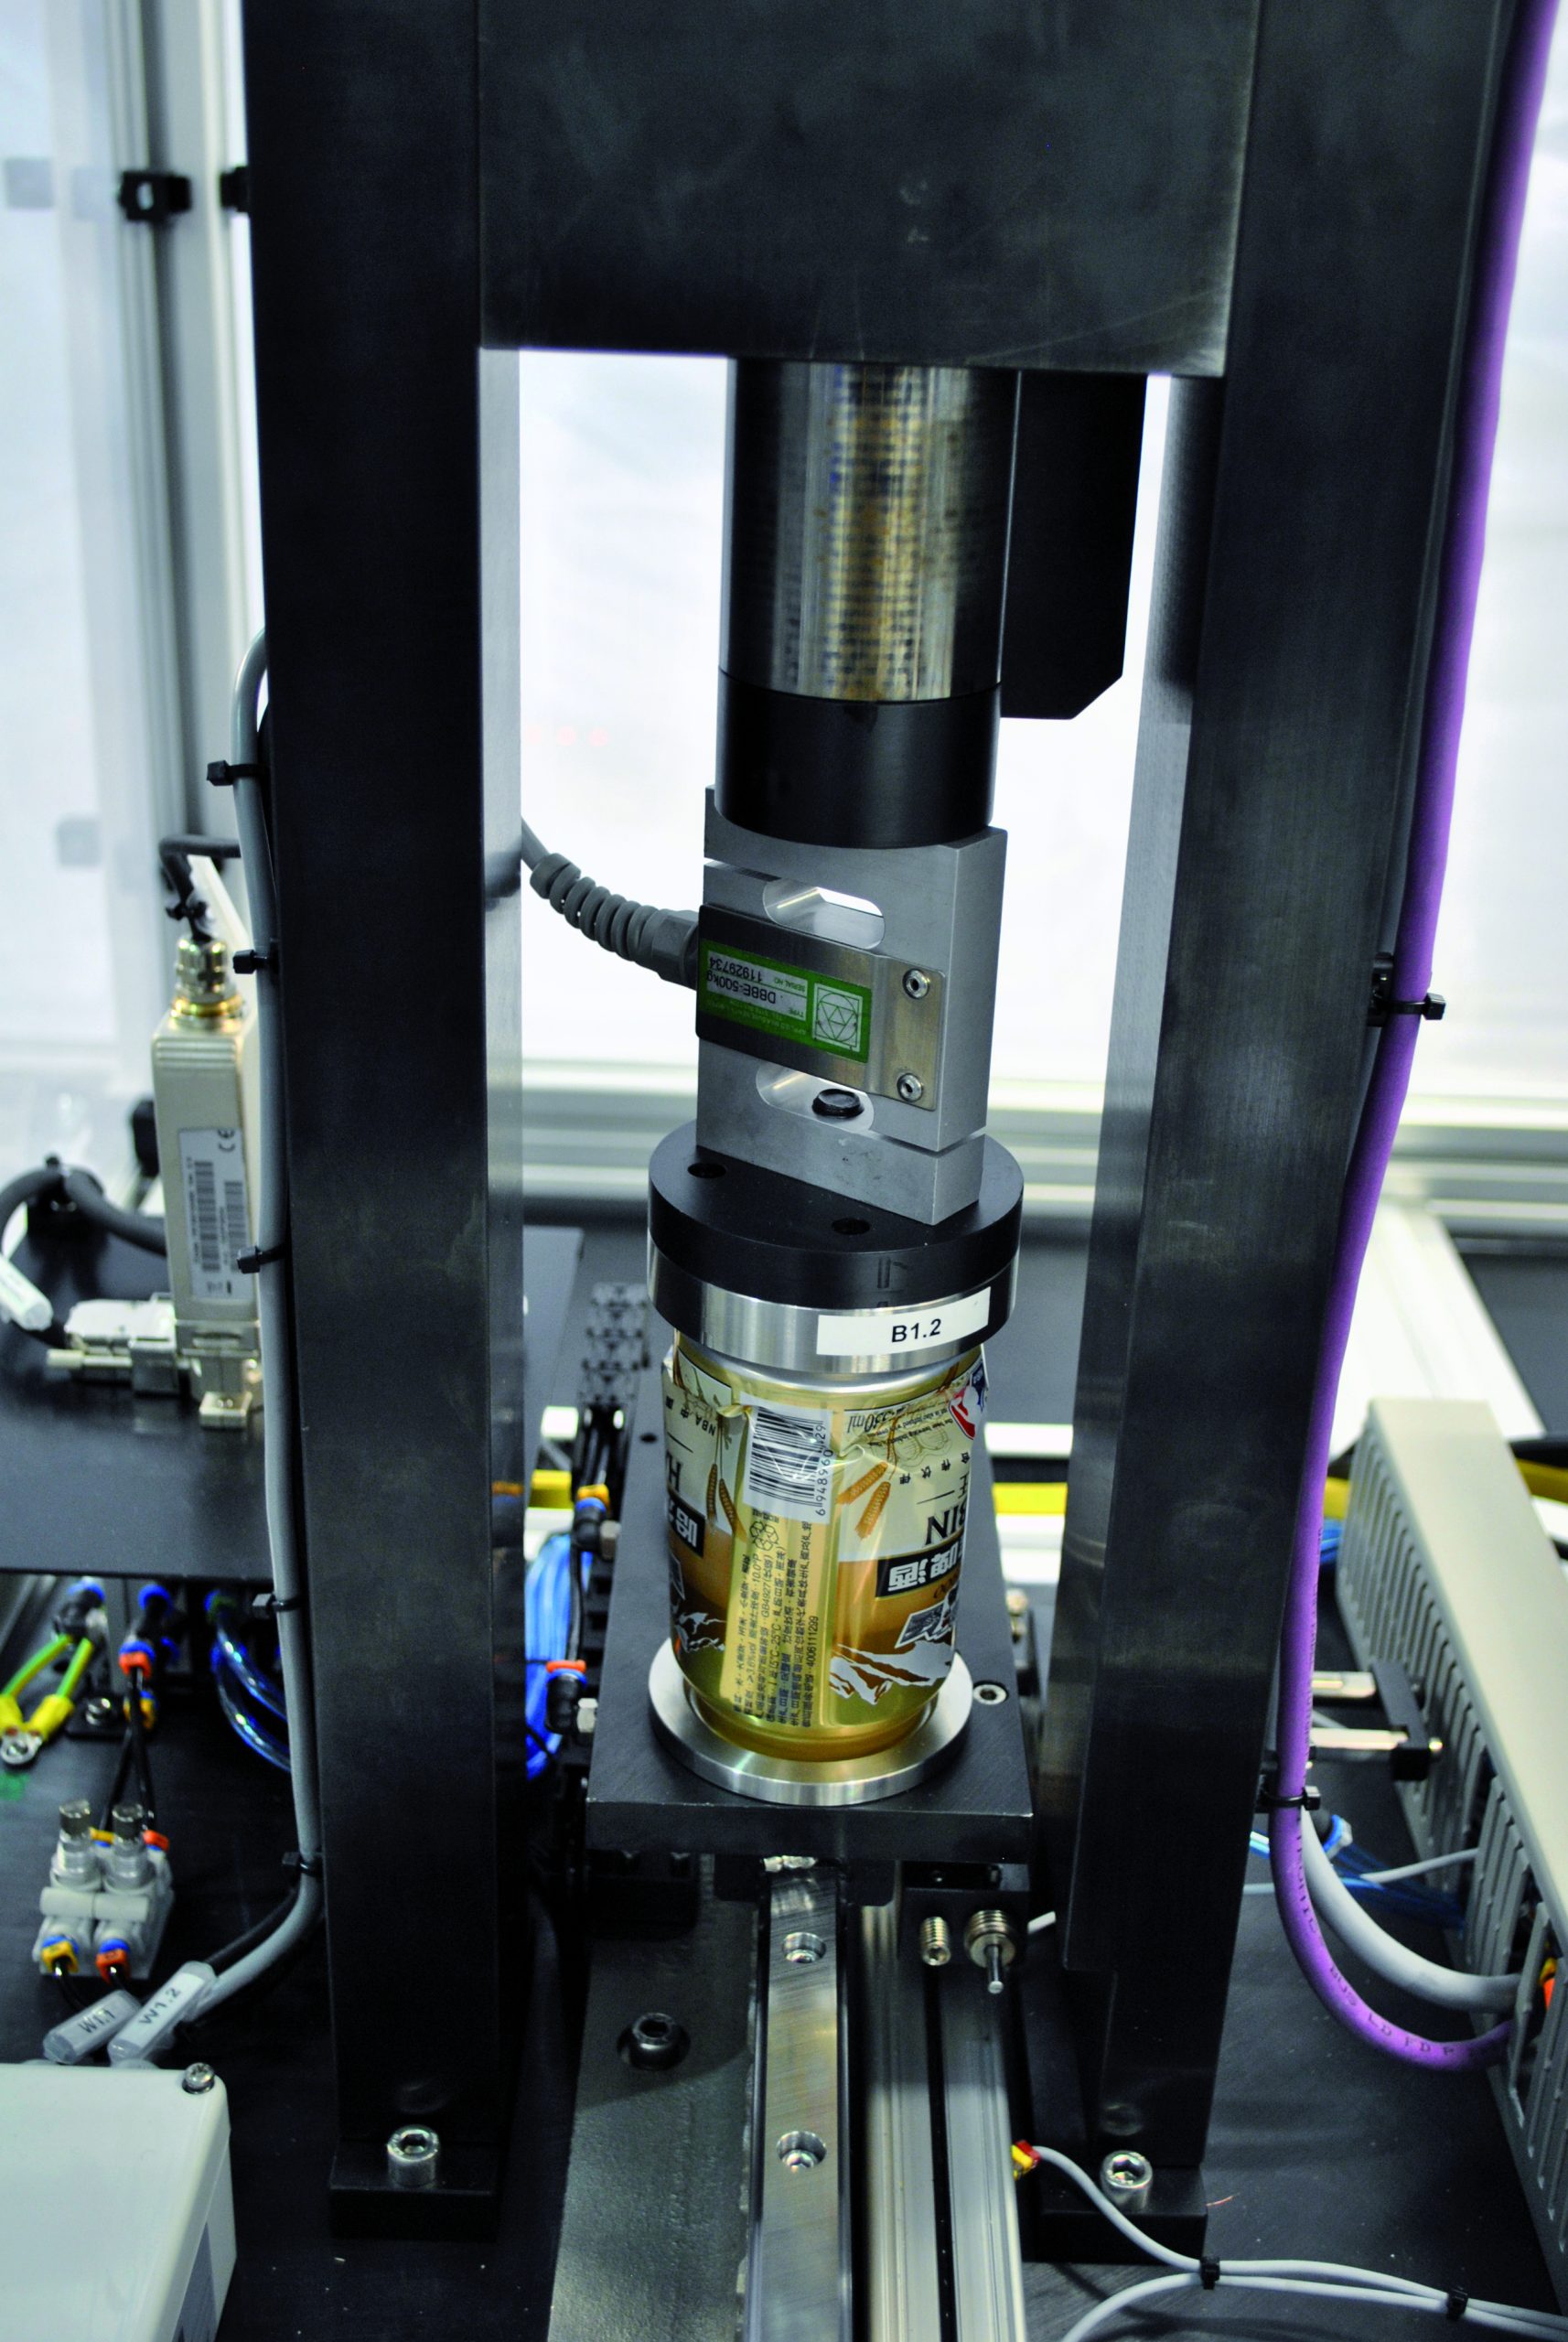
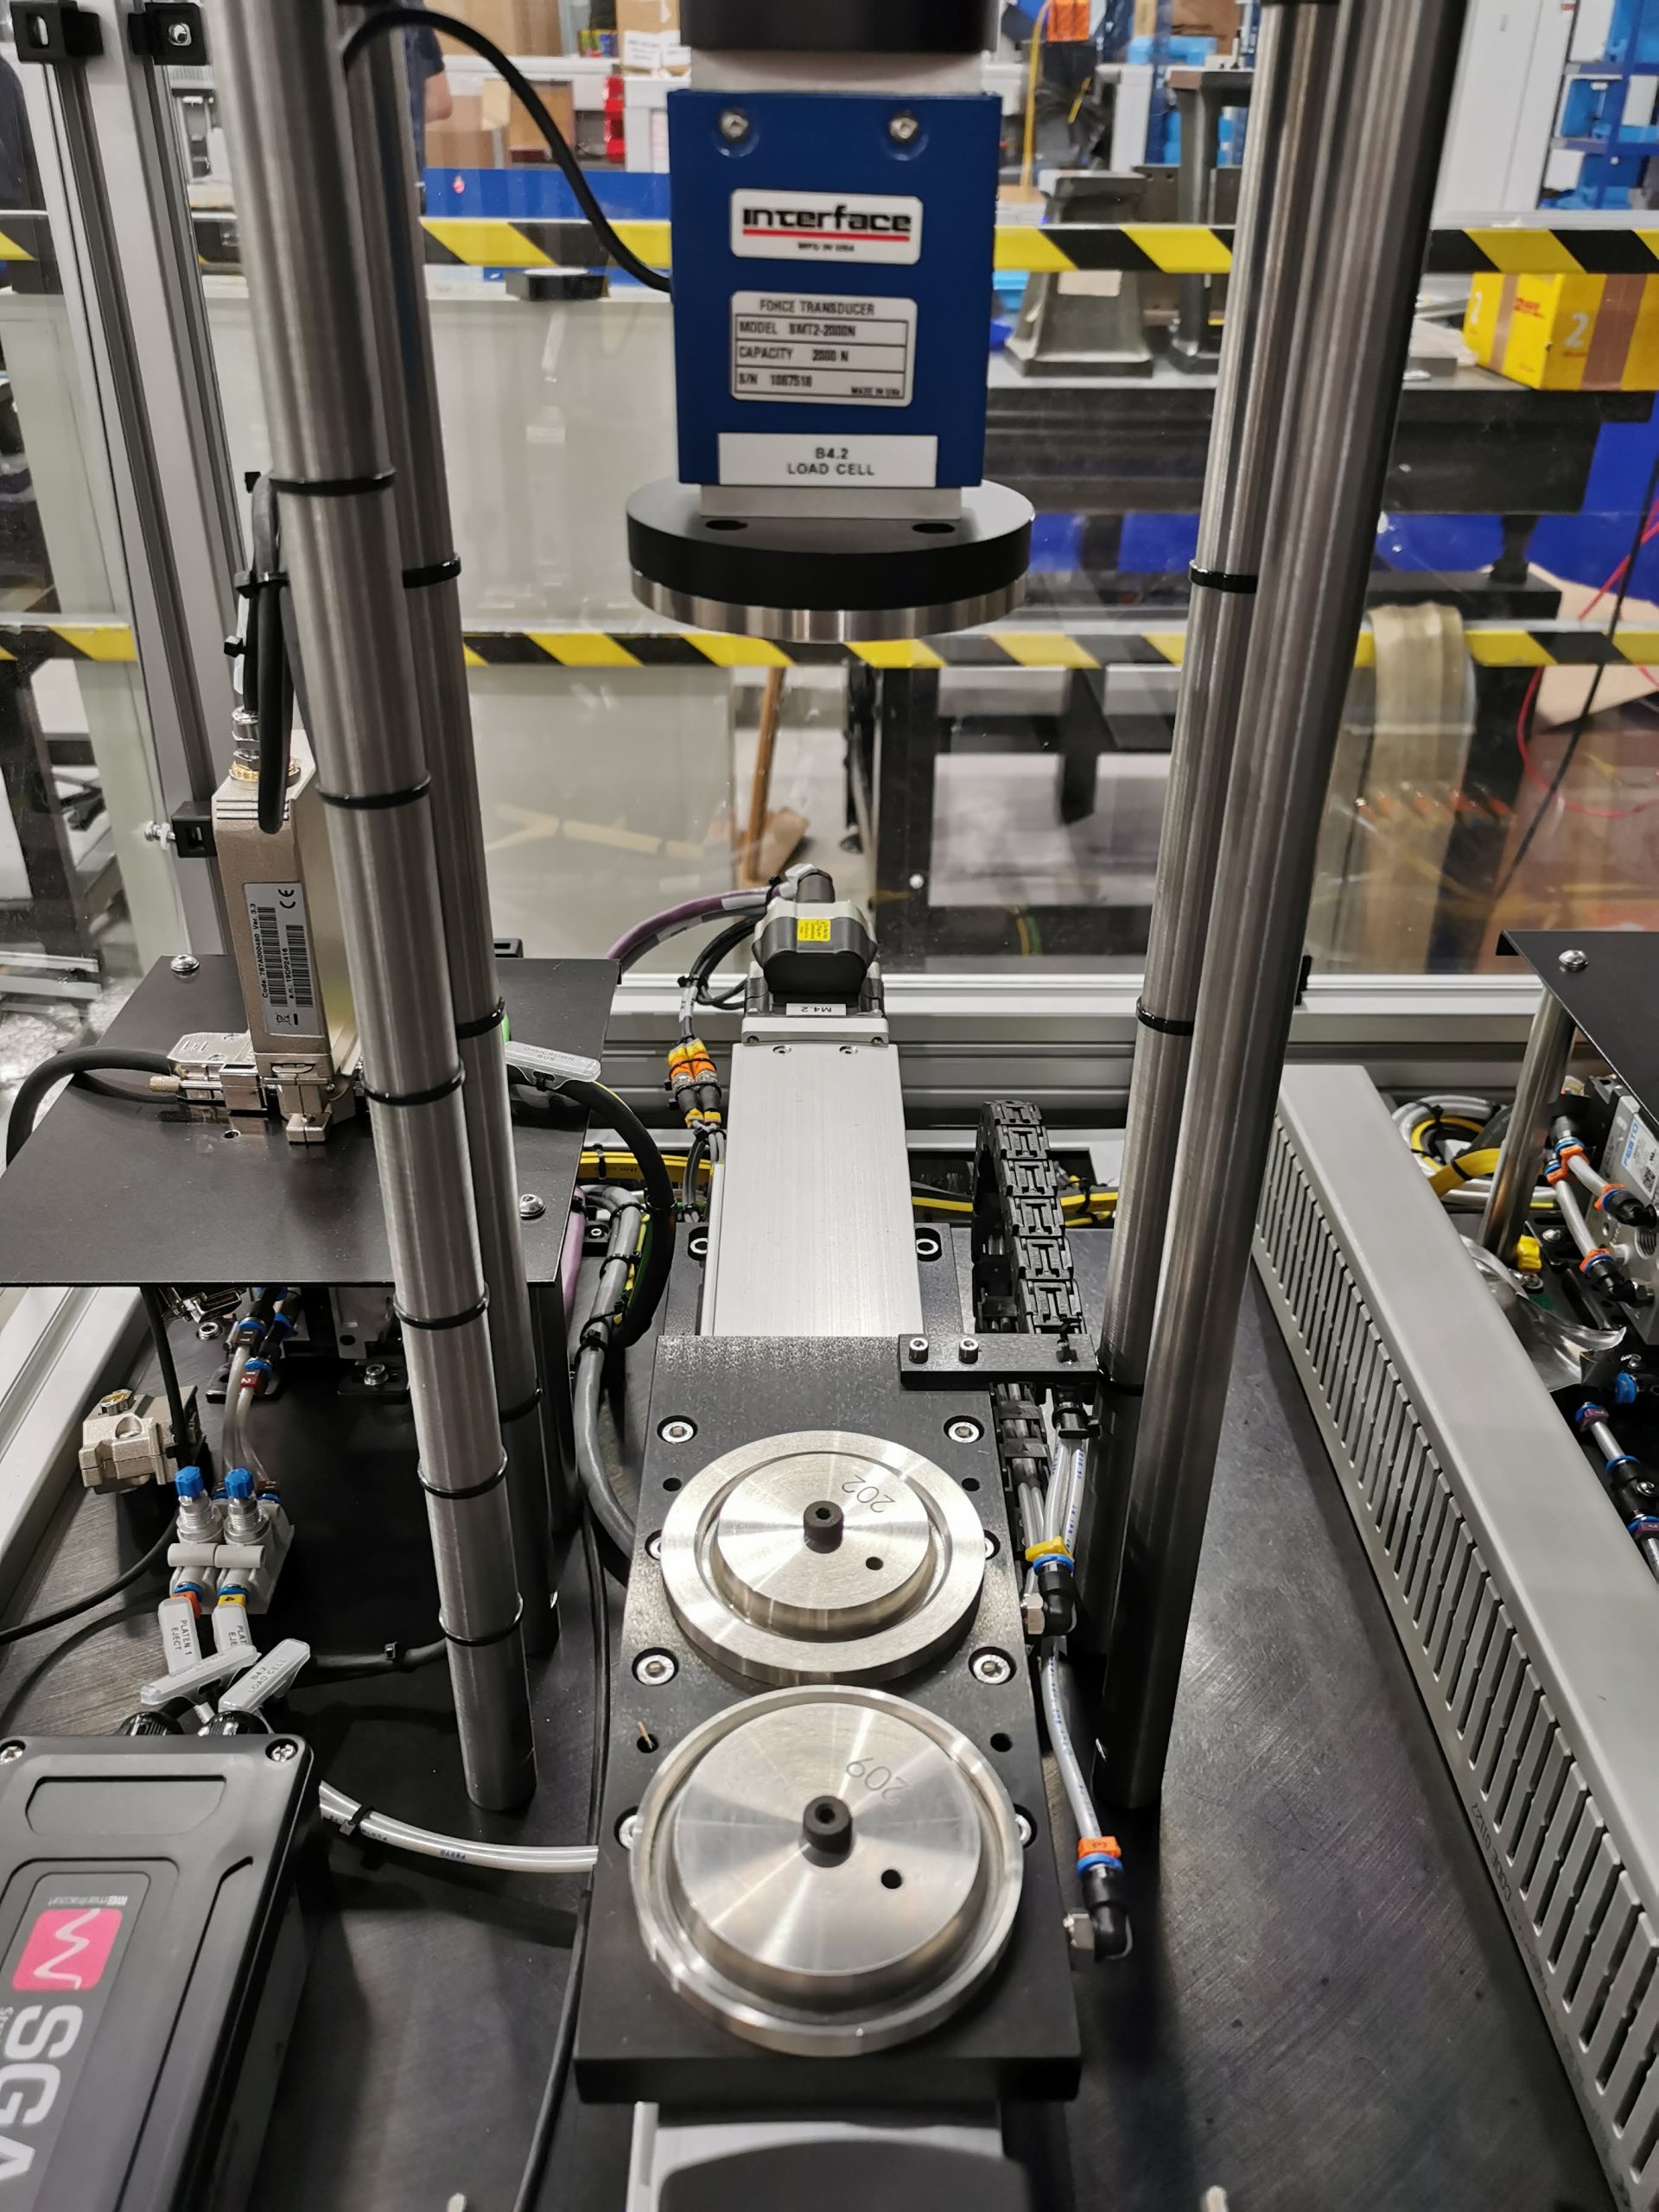


Torus’ Z307 series defines the standard for destructive testing and inspection
The Z307 Automatic Axial Load module determines the maximum axial load force that can be applied prior to container failure, within a short cycle time.
The Z308 Dome Growth/Dome Reversal module provides detailed information about the overall change in length of the can when pressure is applied and subsequently removed. The system has programmable internal pressure capability to meet each customer’s exact needs for dome growth. After dome growth, the can sample can be reversed to find the maximum pressure the sample is able to withstand before failure (dome reversal)
Torus Beverage Can Gauging
Measurement Features
Technical Specification
Gauge Features
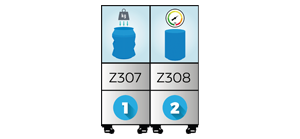
Option 1: Standard Setup
Z308 Option:
Interchangeable Jaws
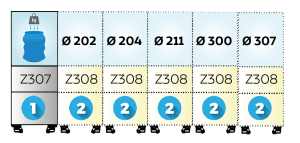
Option 2: Dedicated Body Diameters
For dedicated body diameter product lines, the Torus modular concept is able to cover Ø 202 – Ø 307 body diameters (up to but not limited to) with a dedicated module for each with no change parts.
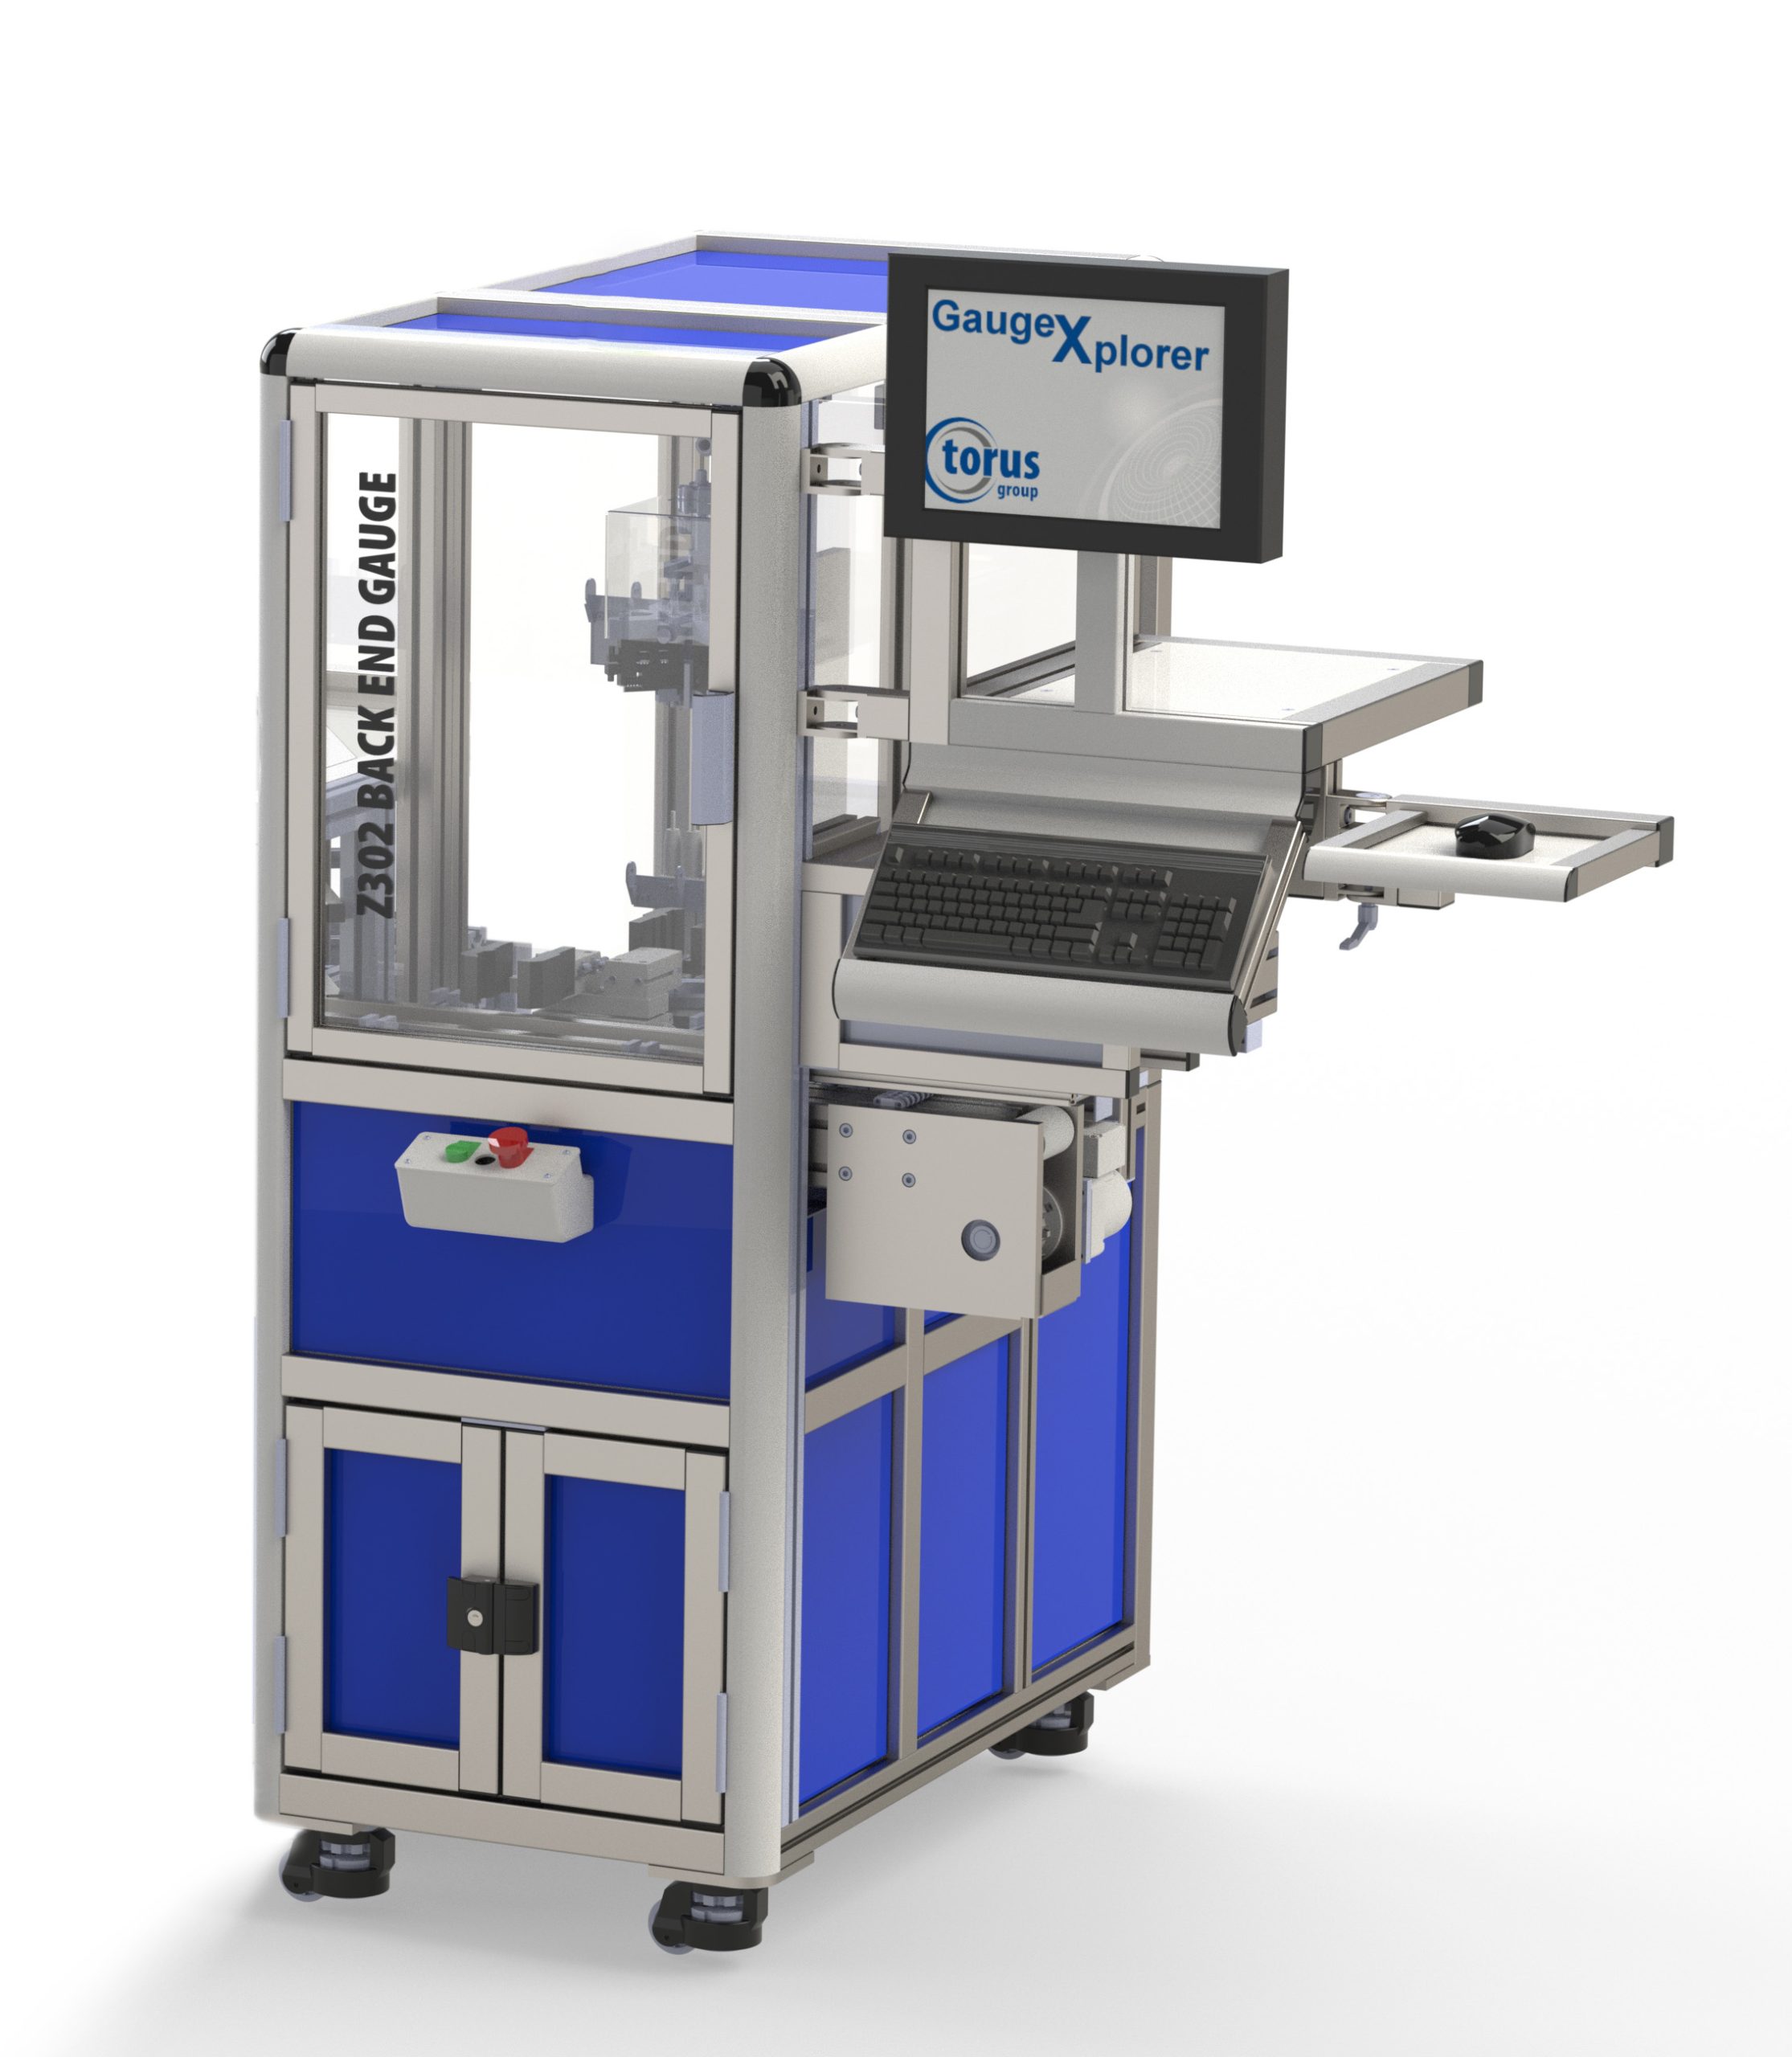
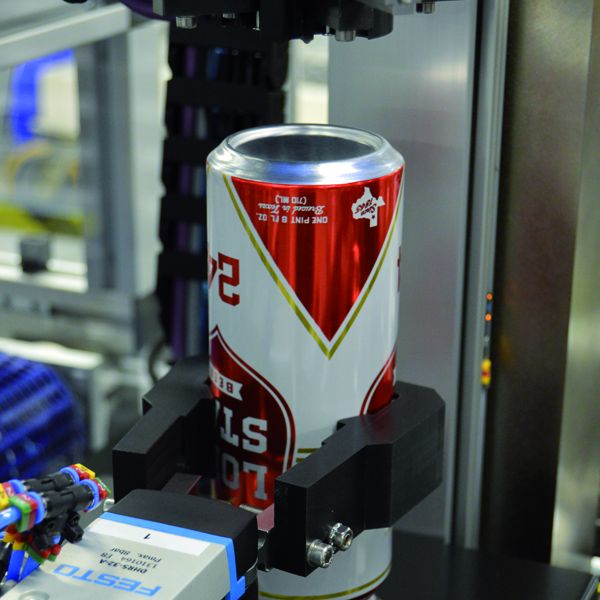
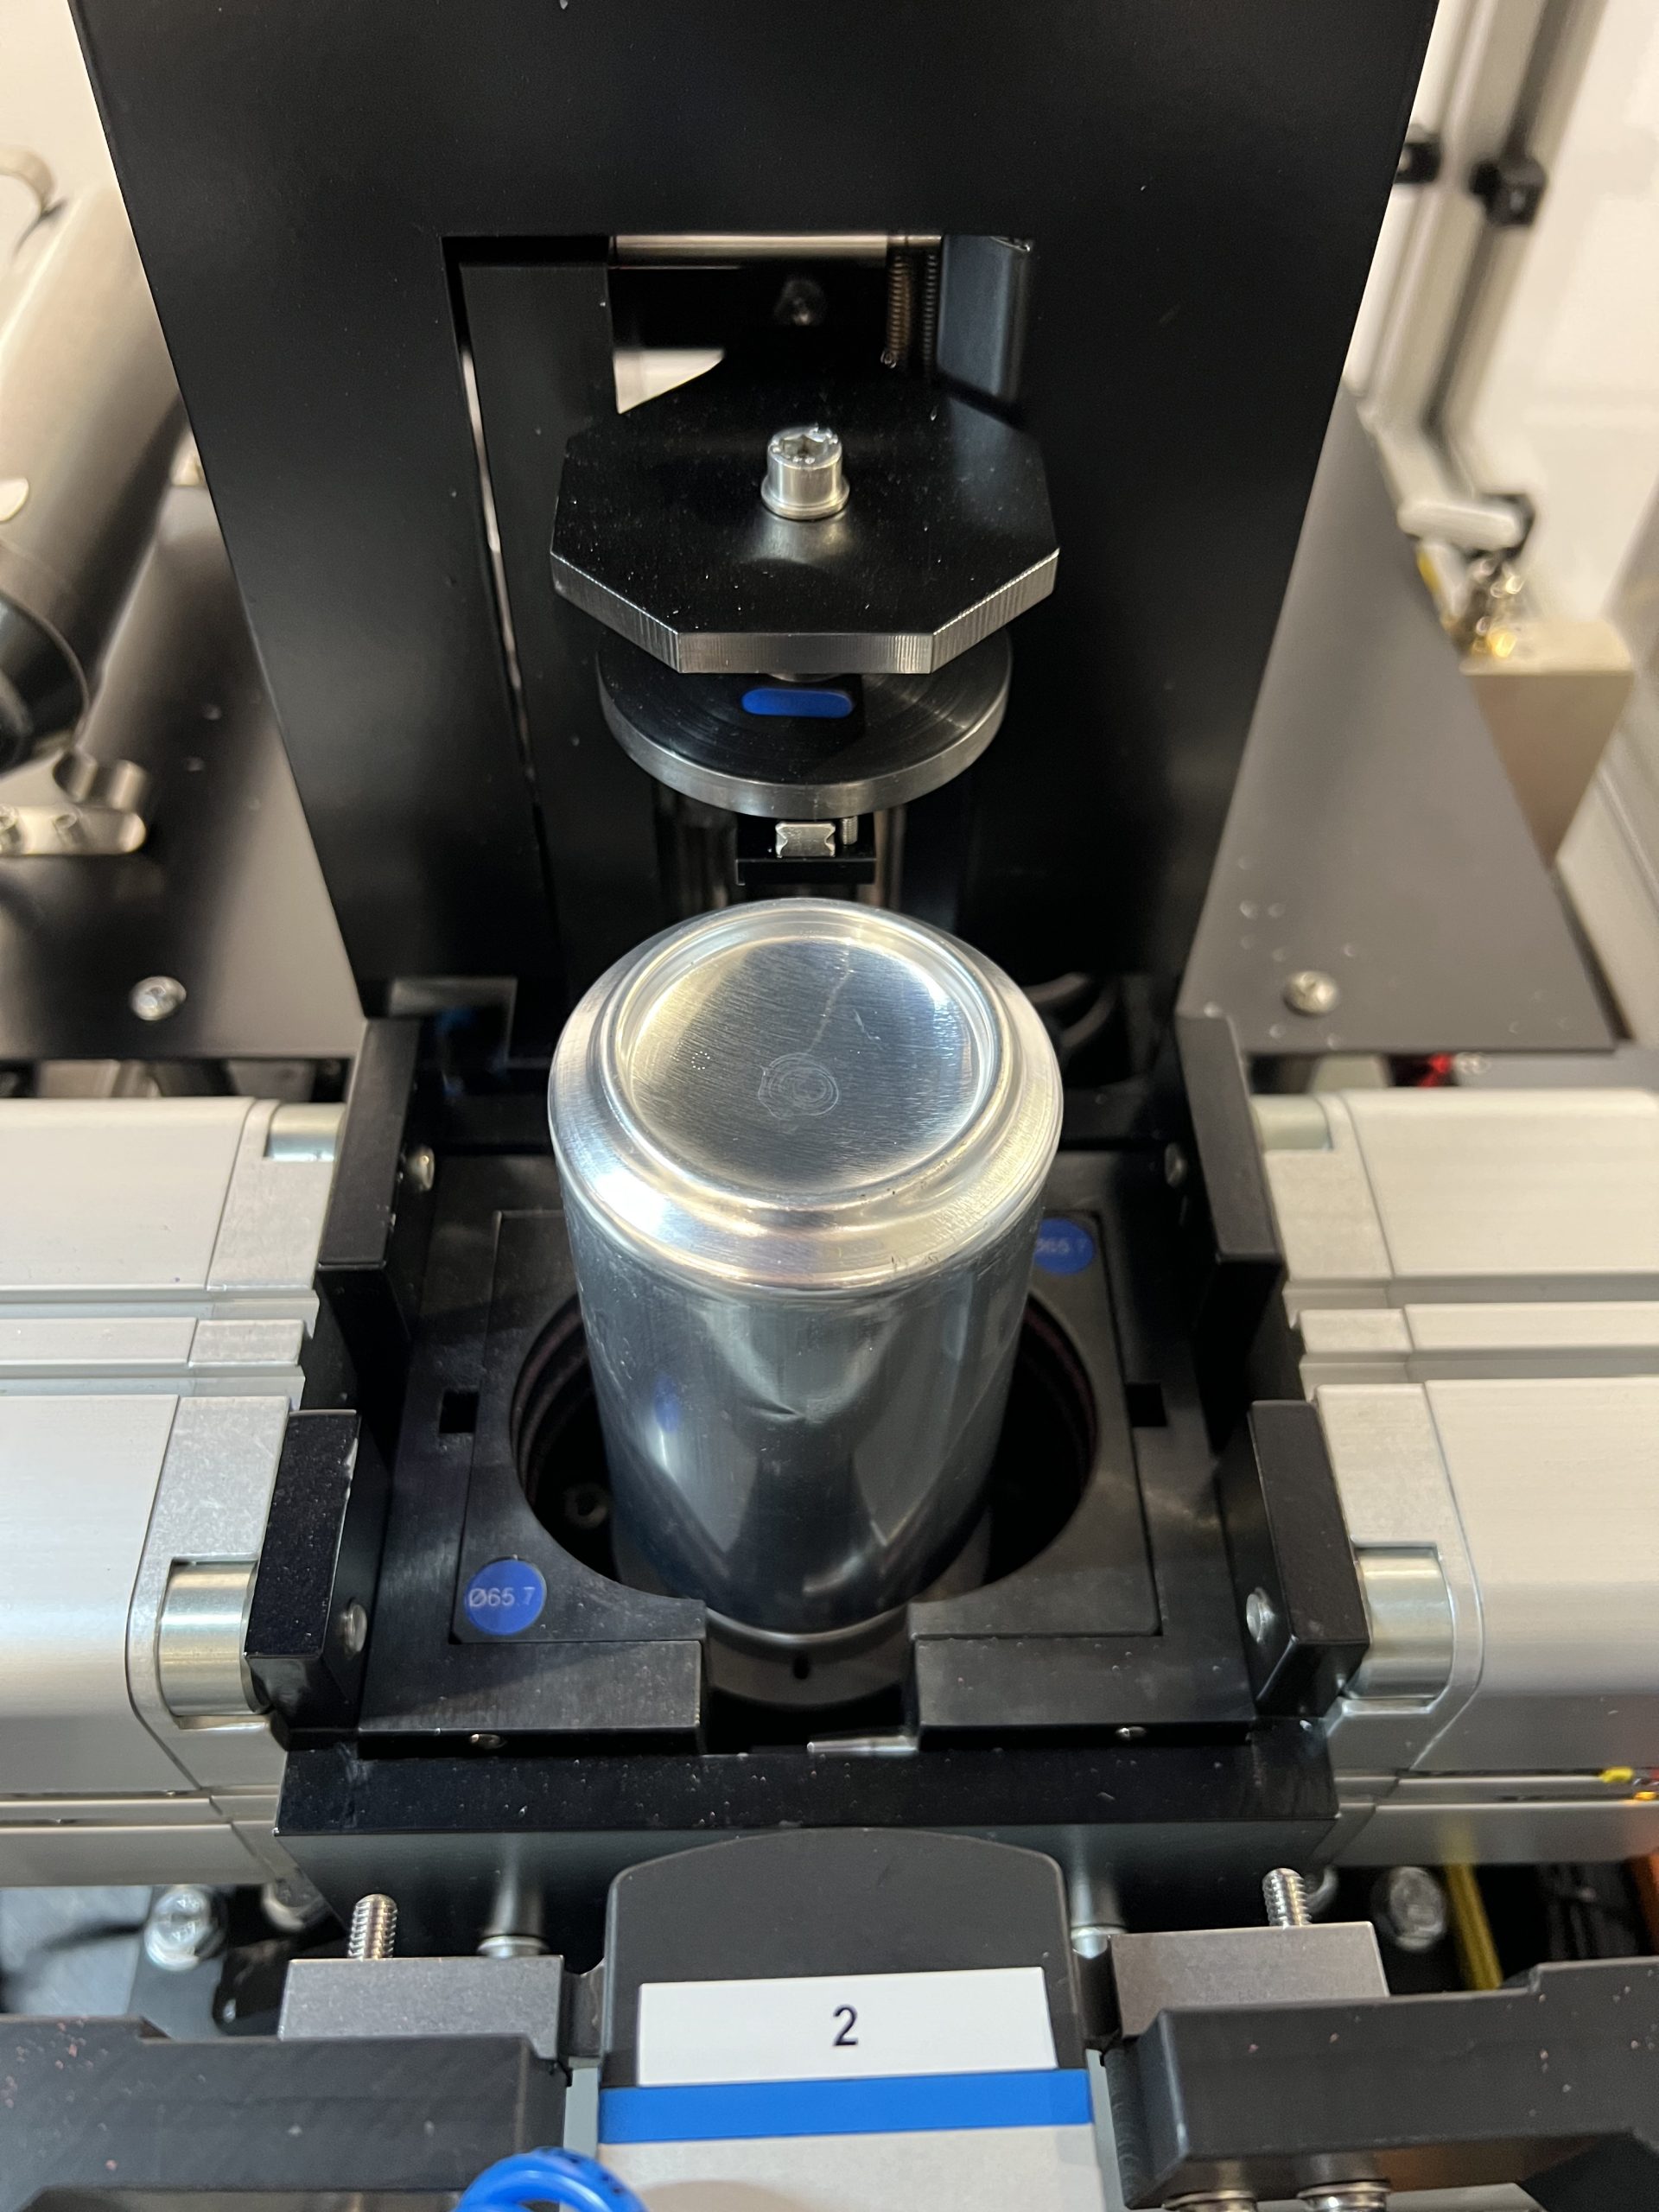
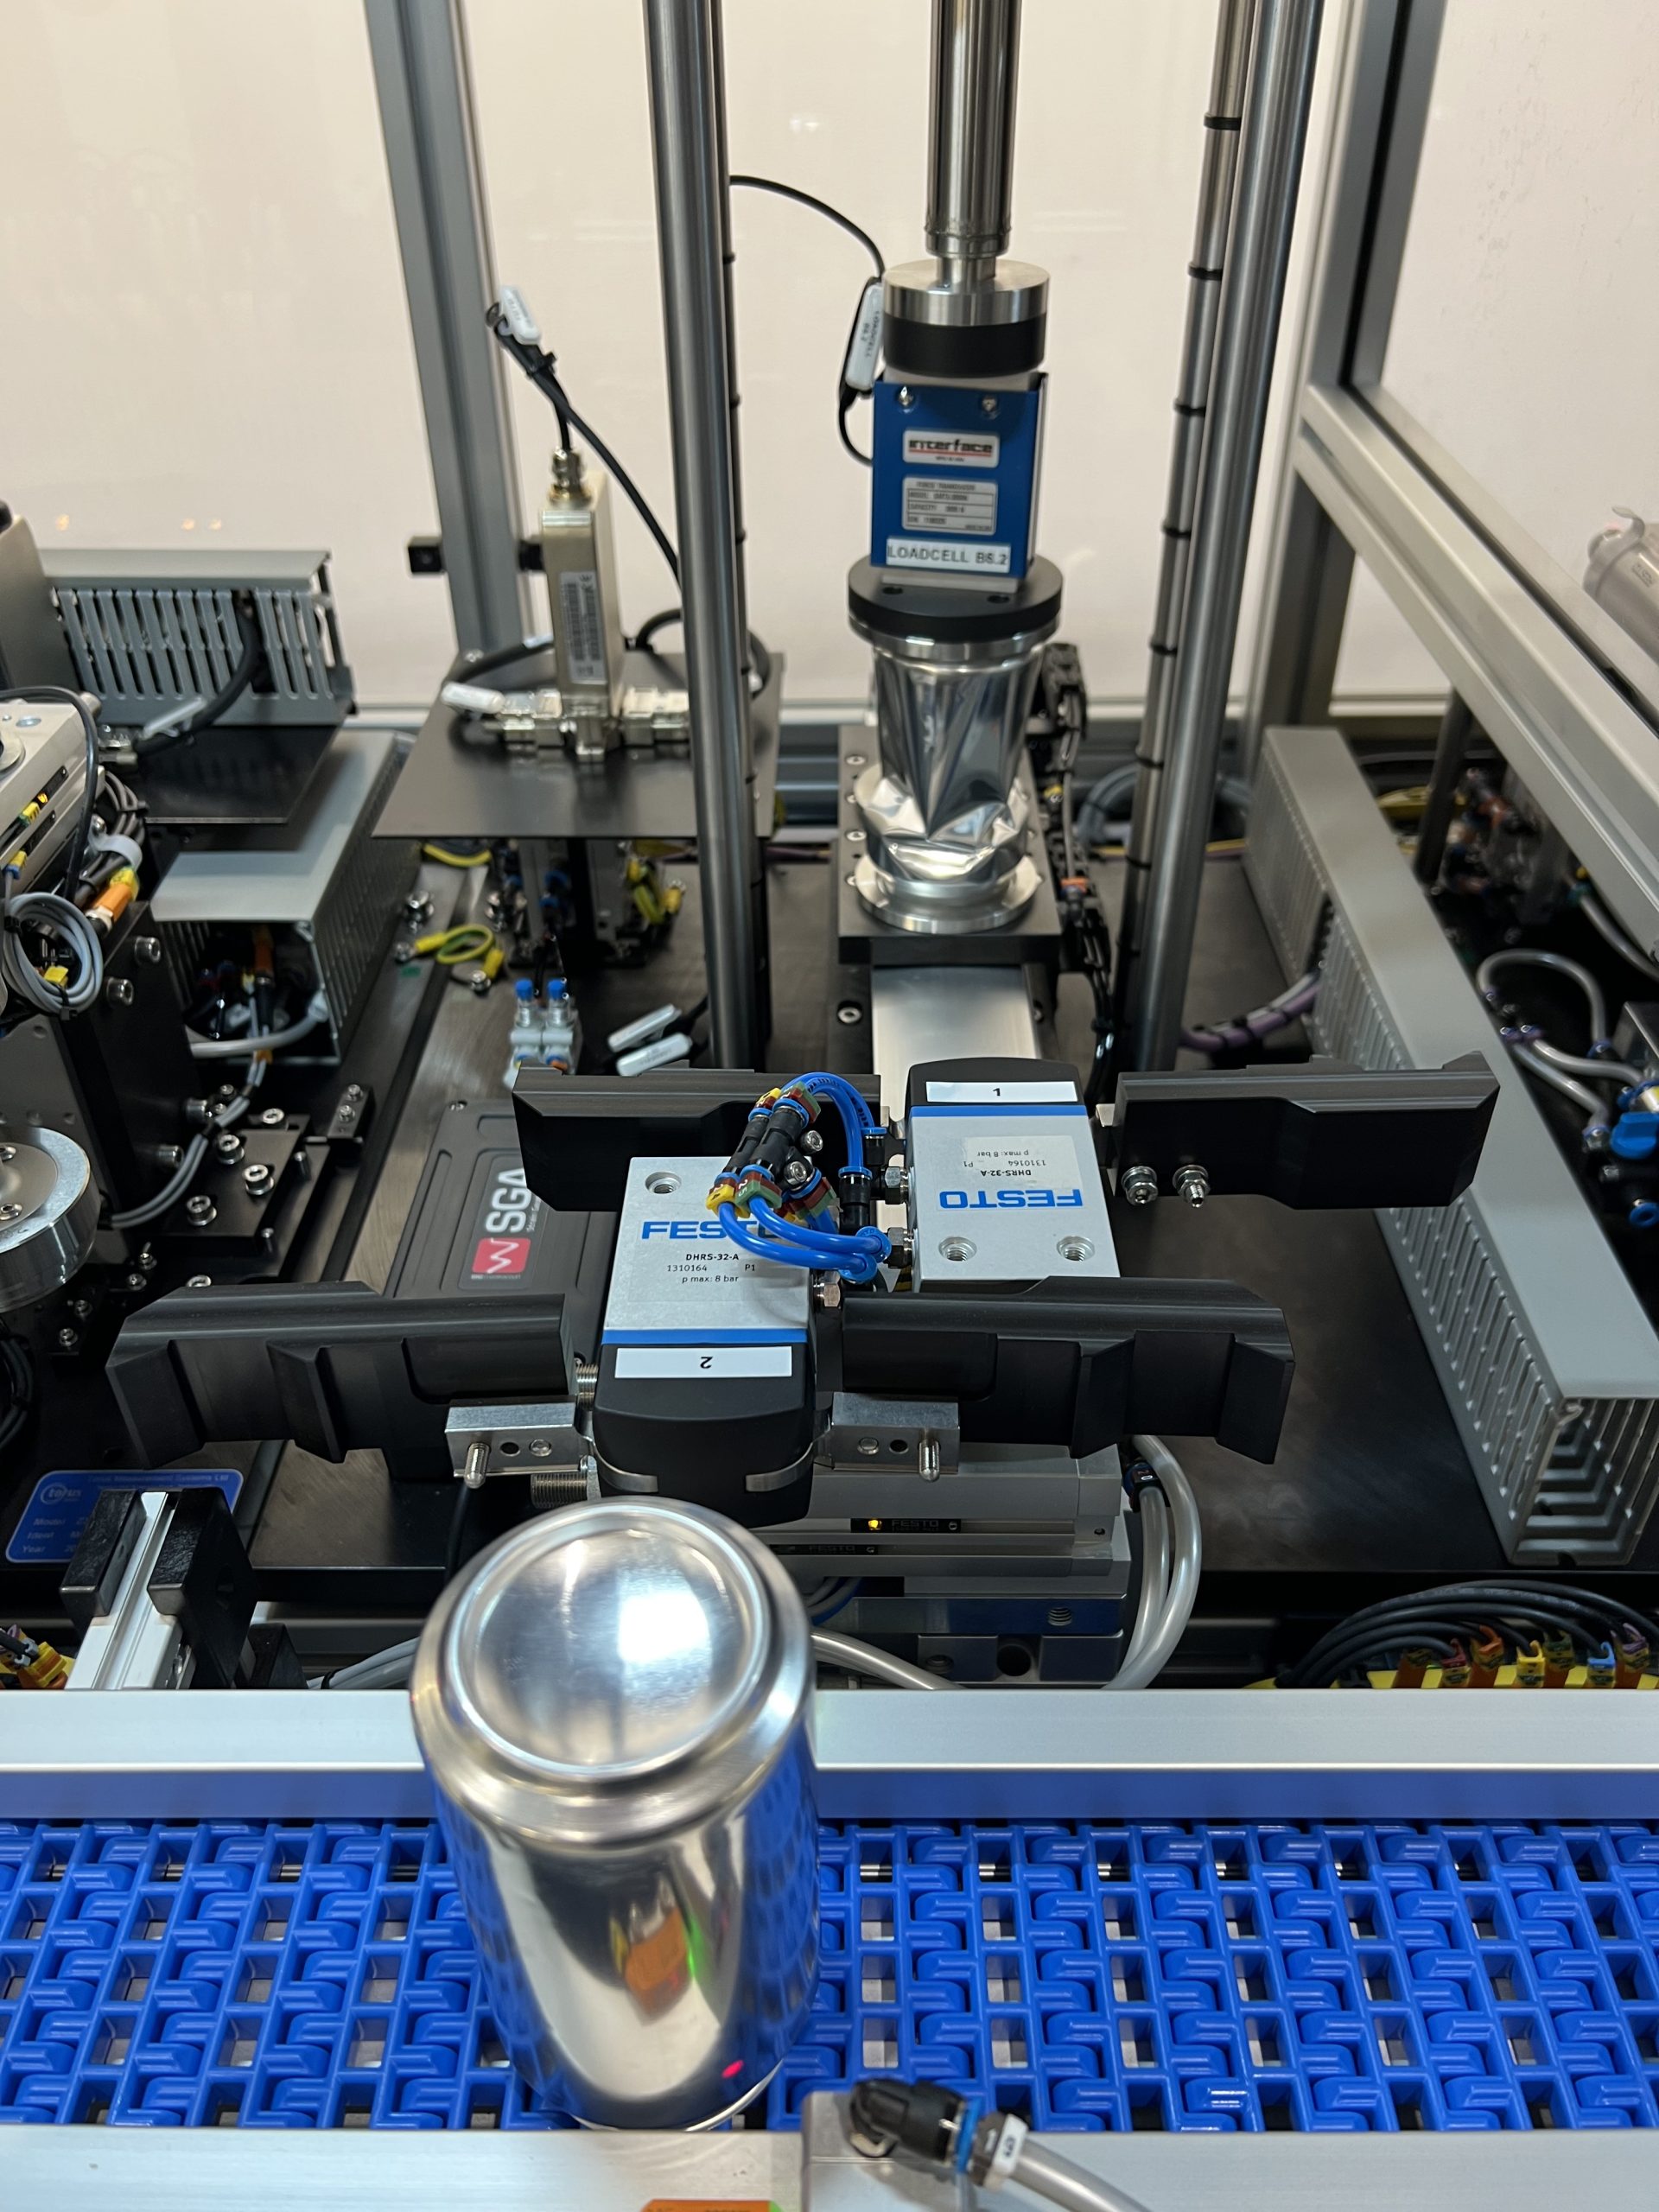
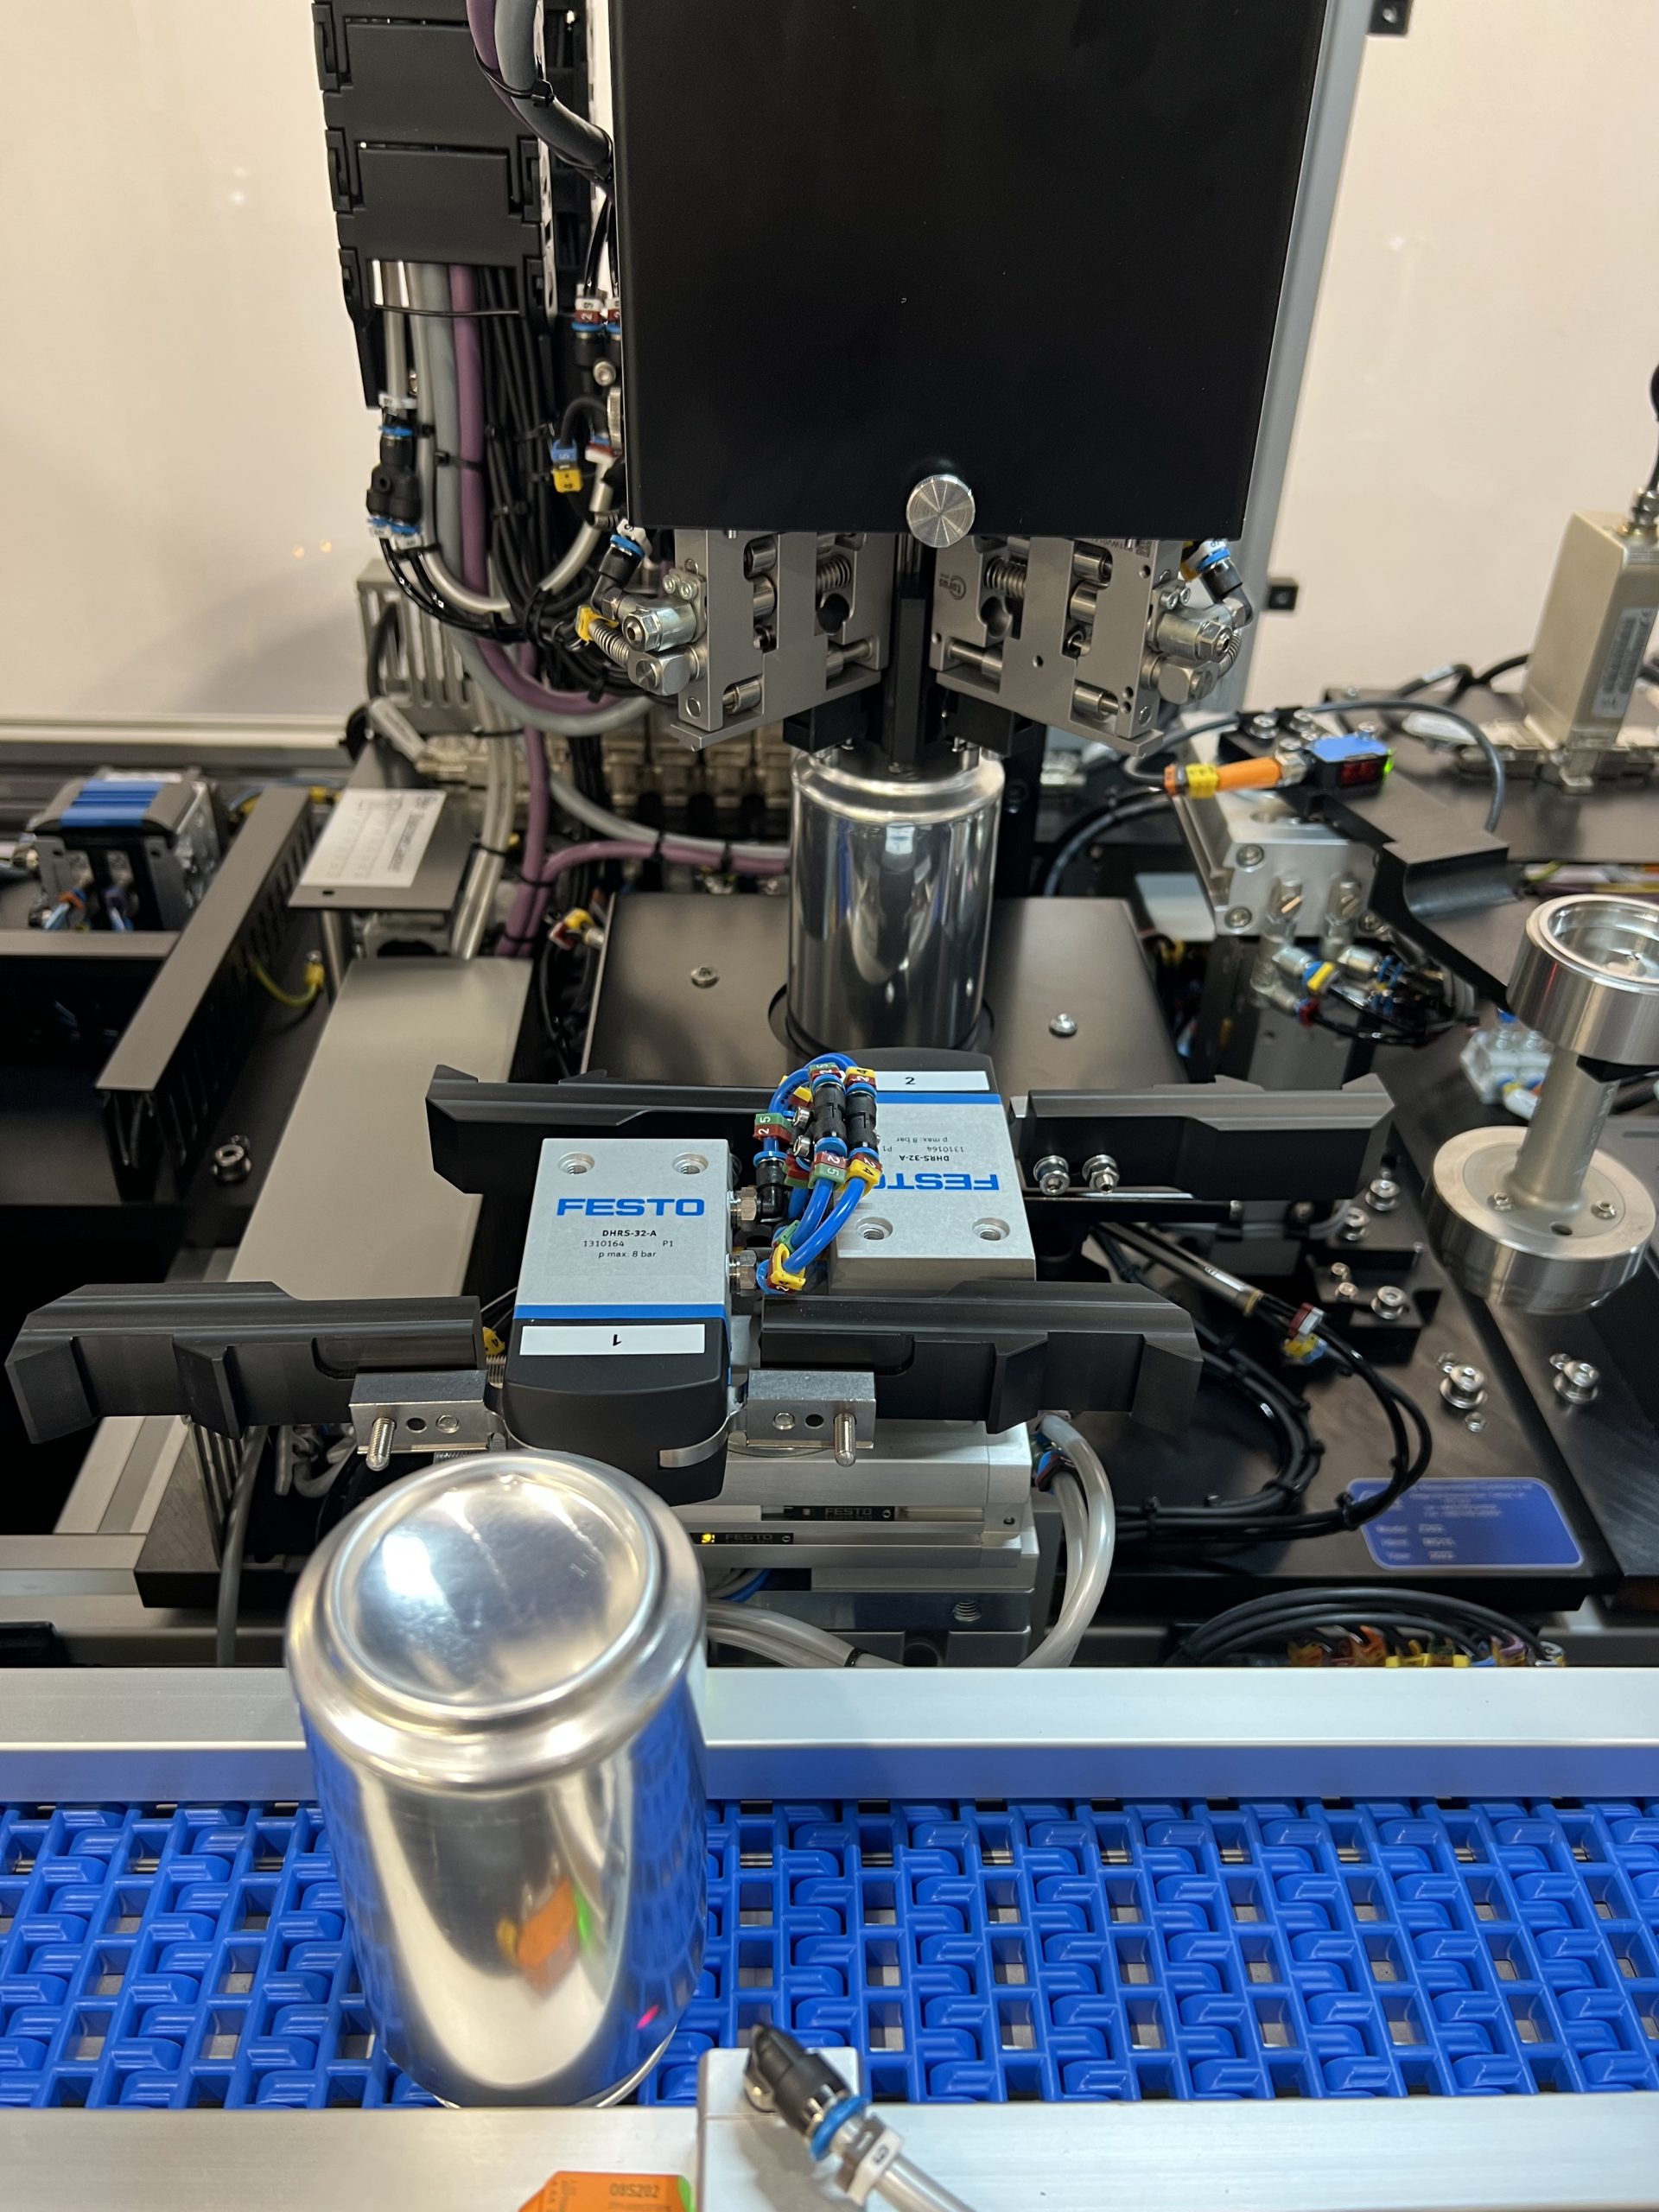


The Z302 Finished Can Back End Inspection Gauge features high-precision transducer technology, using dedicated probe contact for accurate, reliable and traceable measurement of your finished cans 24/7.
An additional option is available for component rotation to enable additional radial measurement positions, giving you significantly increased measurement data allowing increased data analysis for instant process control.
Torus Beverage Can Gauging
Measurement Features
Technical Specification
Our modular gauge setups are unique and allow you to customise your gauge as and when you require, giving you the flexibility to ensure you have a total quality solution.
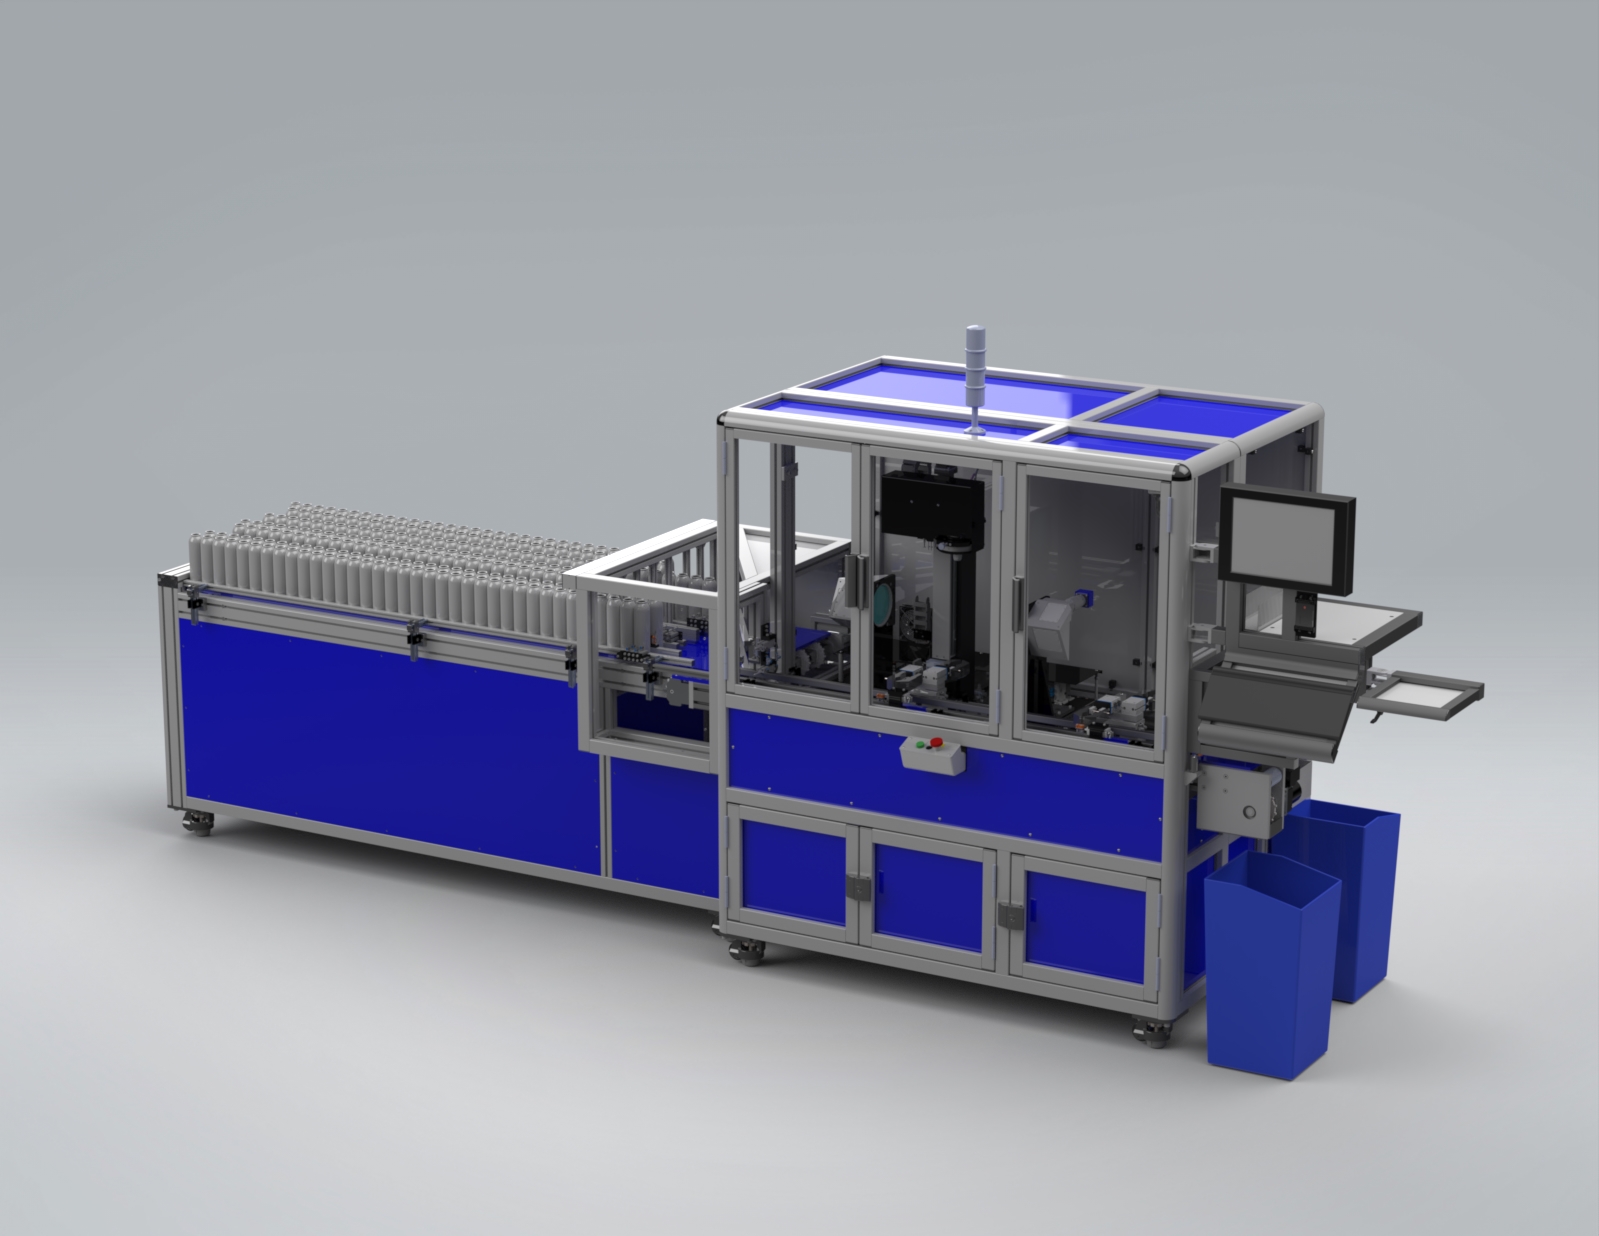
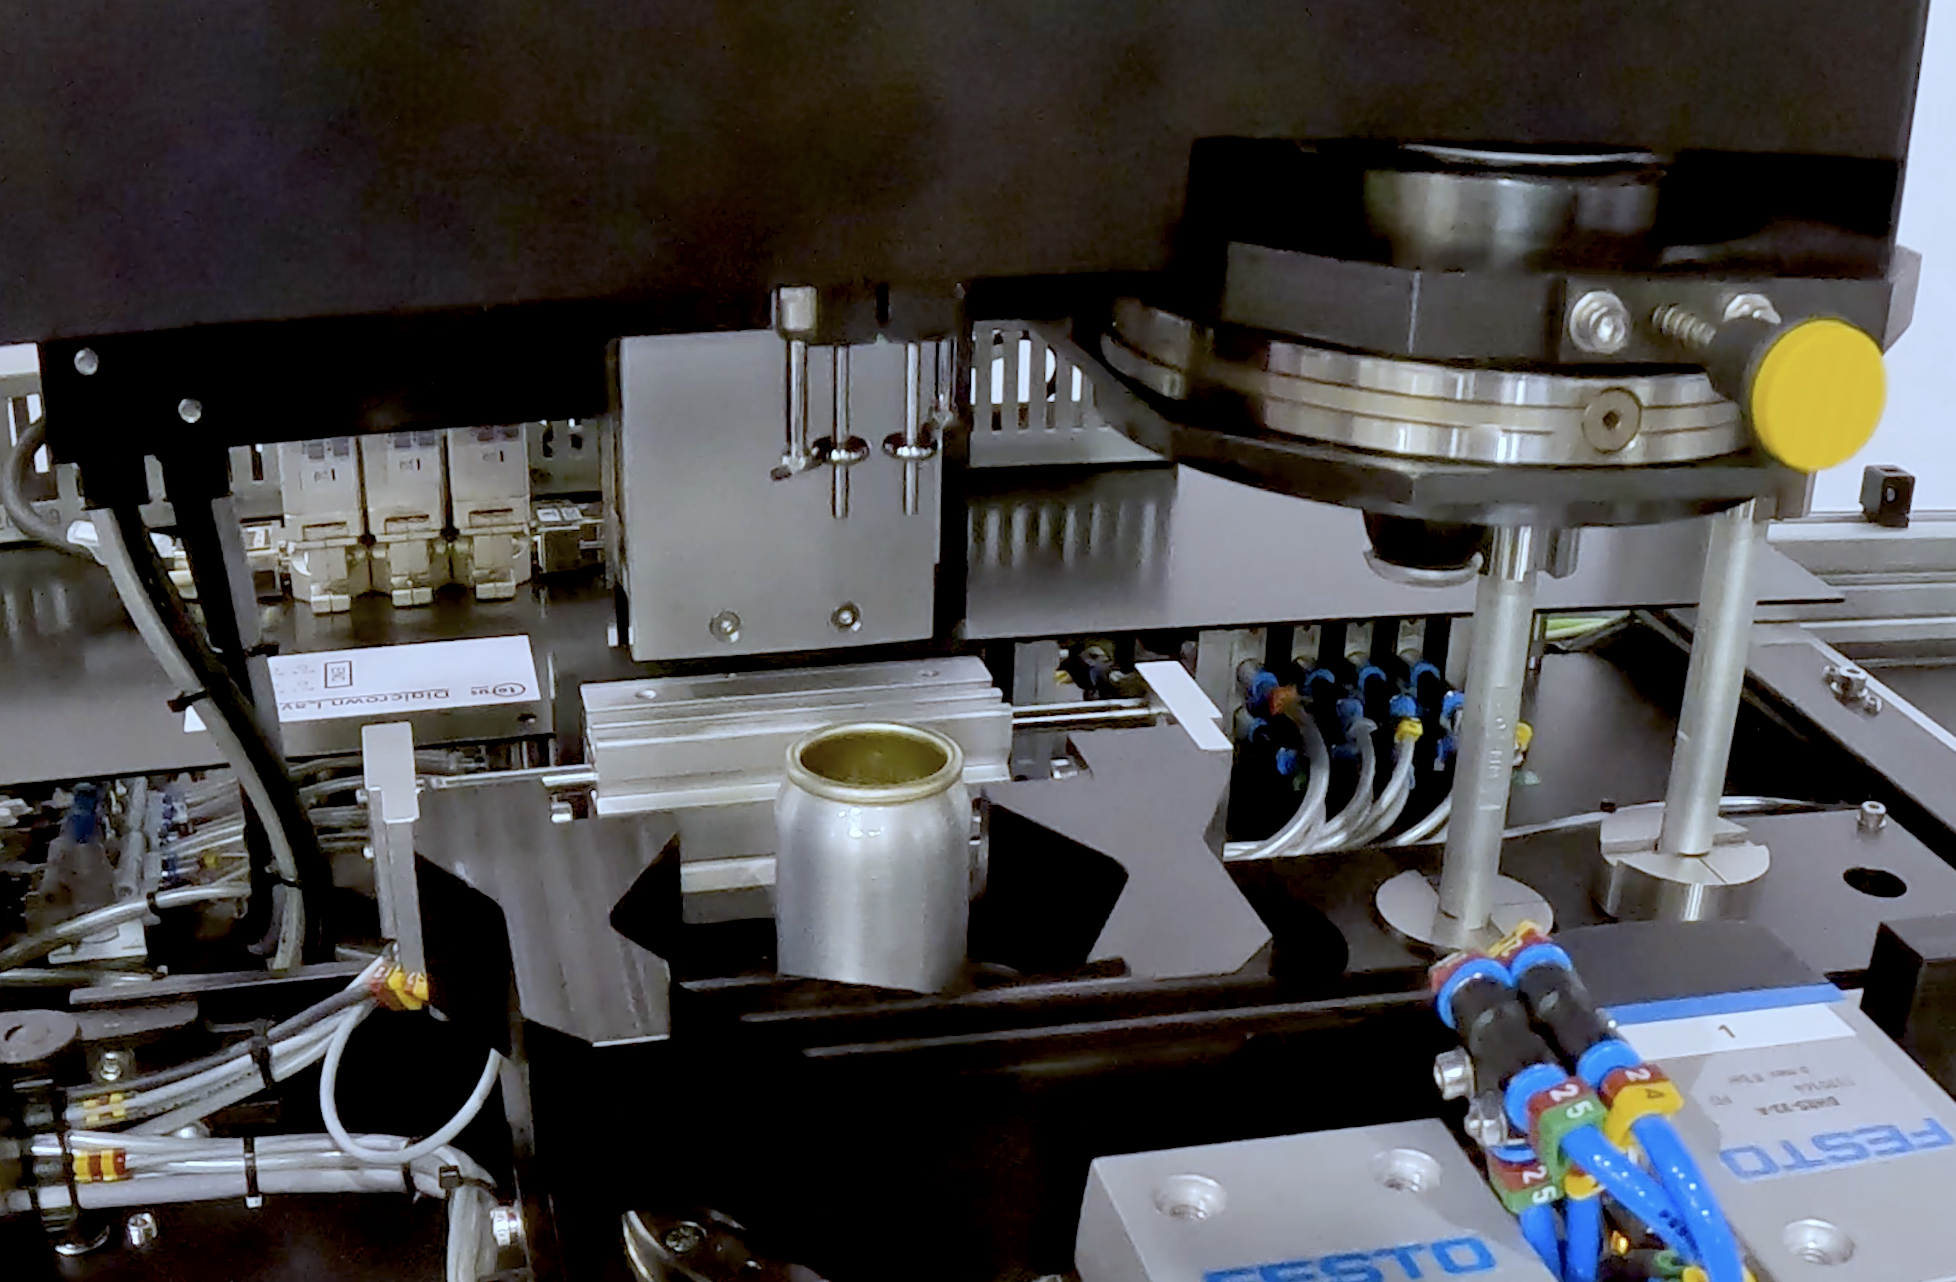


The Torus Z702 Automatic Finished Can Aerosol Can Inspection System has been developed to inspect all the critical dimensions of an aerosol can.
Using state-of-the-art optical measurement technology, critical dimensions on the body or thread and cap areas can be obtained quickly without operator intervention.
Unlike other vision based technologies, a collimated light source combined with a high-resolution camera and lens generate a high-resolution image of the bottle centreline, from which precise form data is collected using Torus’ GaugeXplorer software.
Measurement Features
Technical Specification
Our modular gauge setups are unique and allow you to customise your gauge as and when you require, giving you the flexibility to ensure you have a total quality solution.
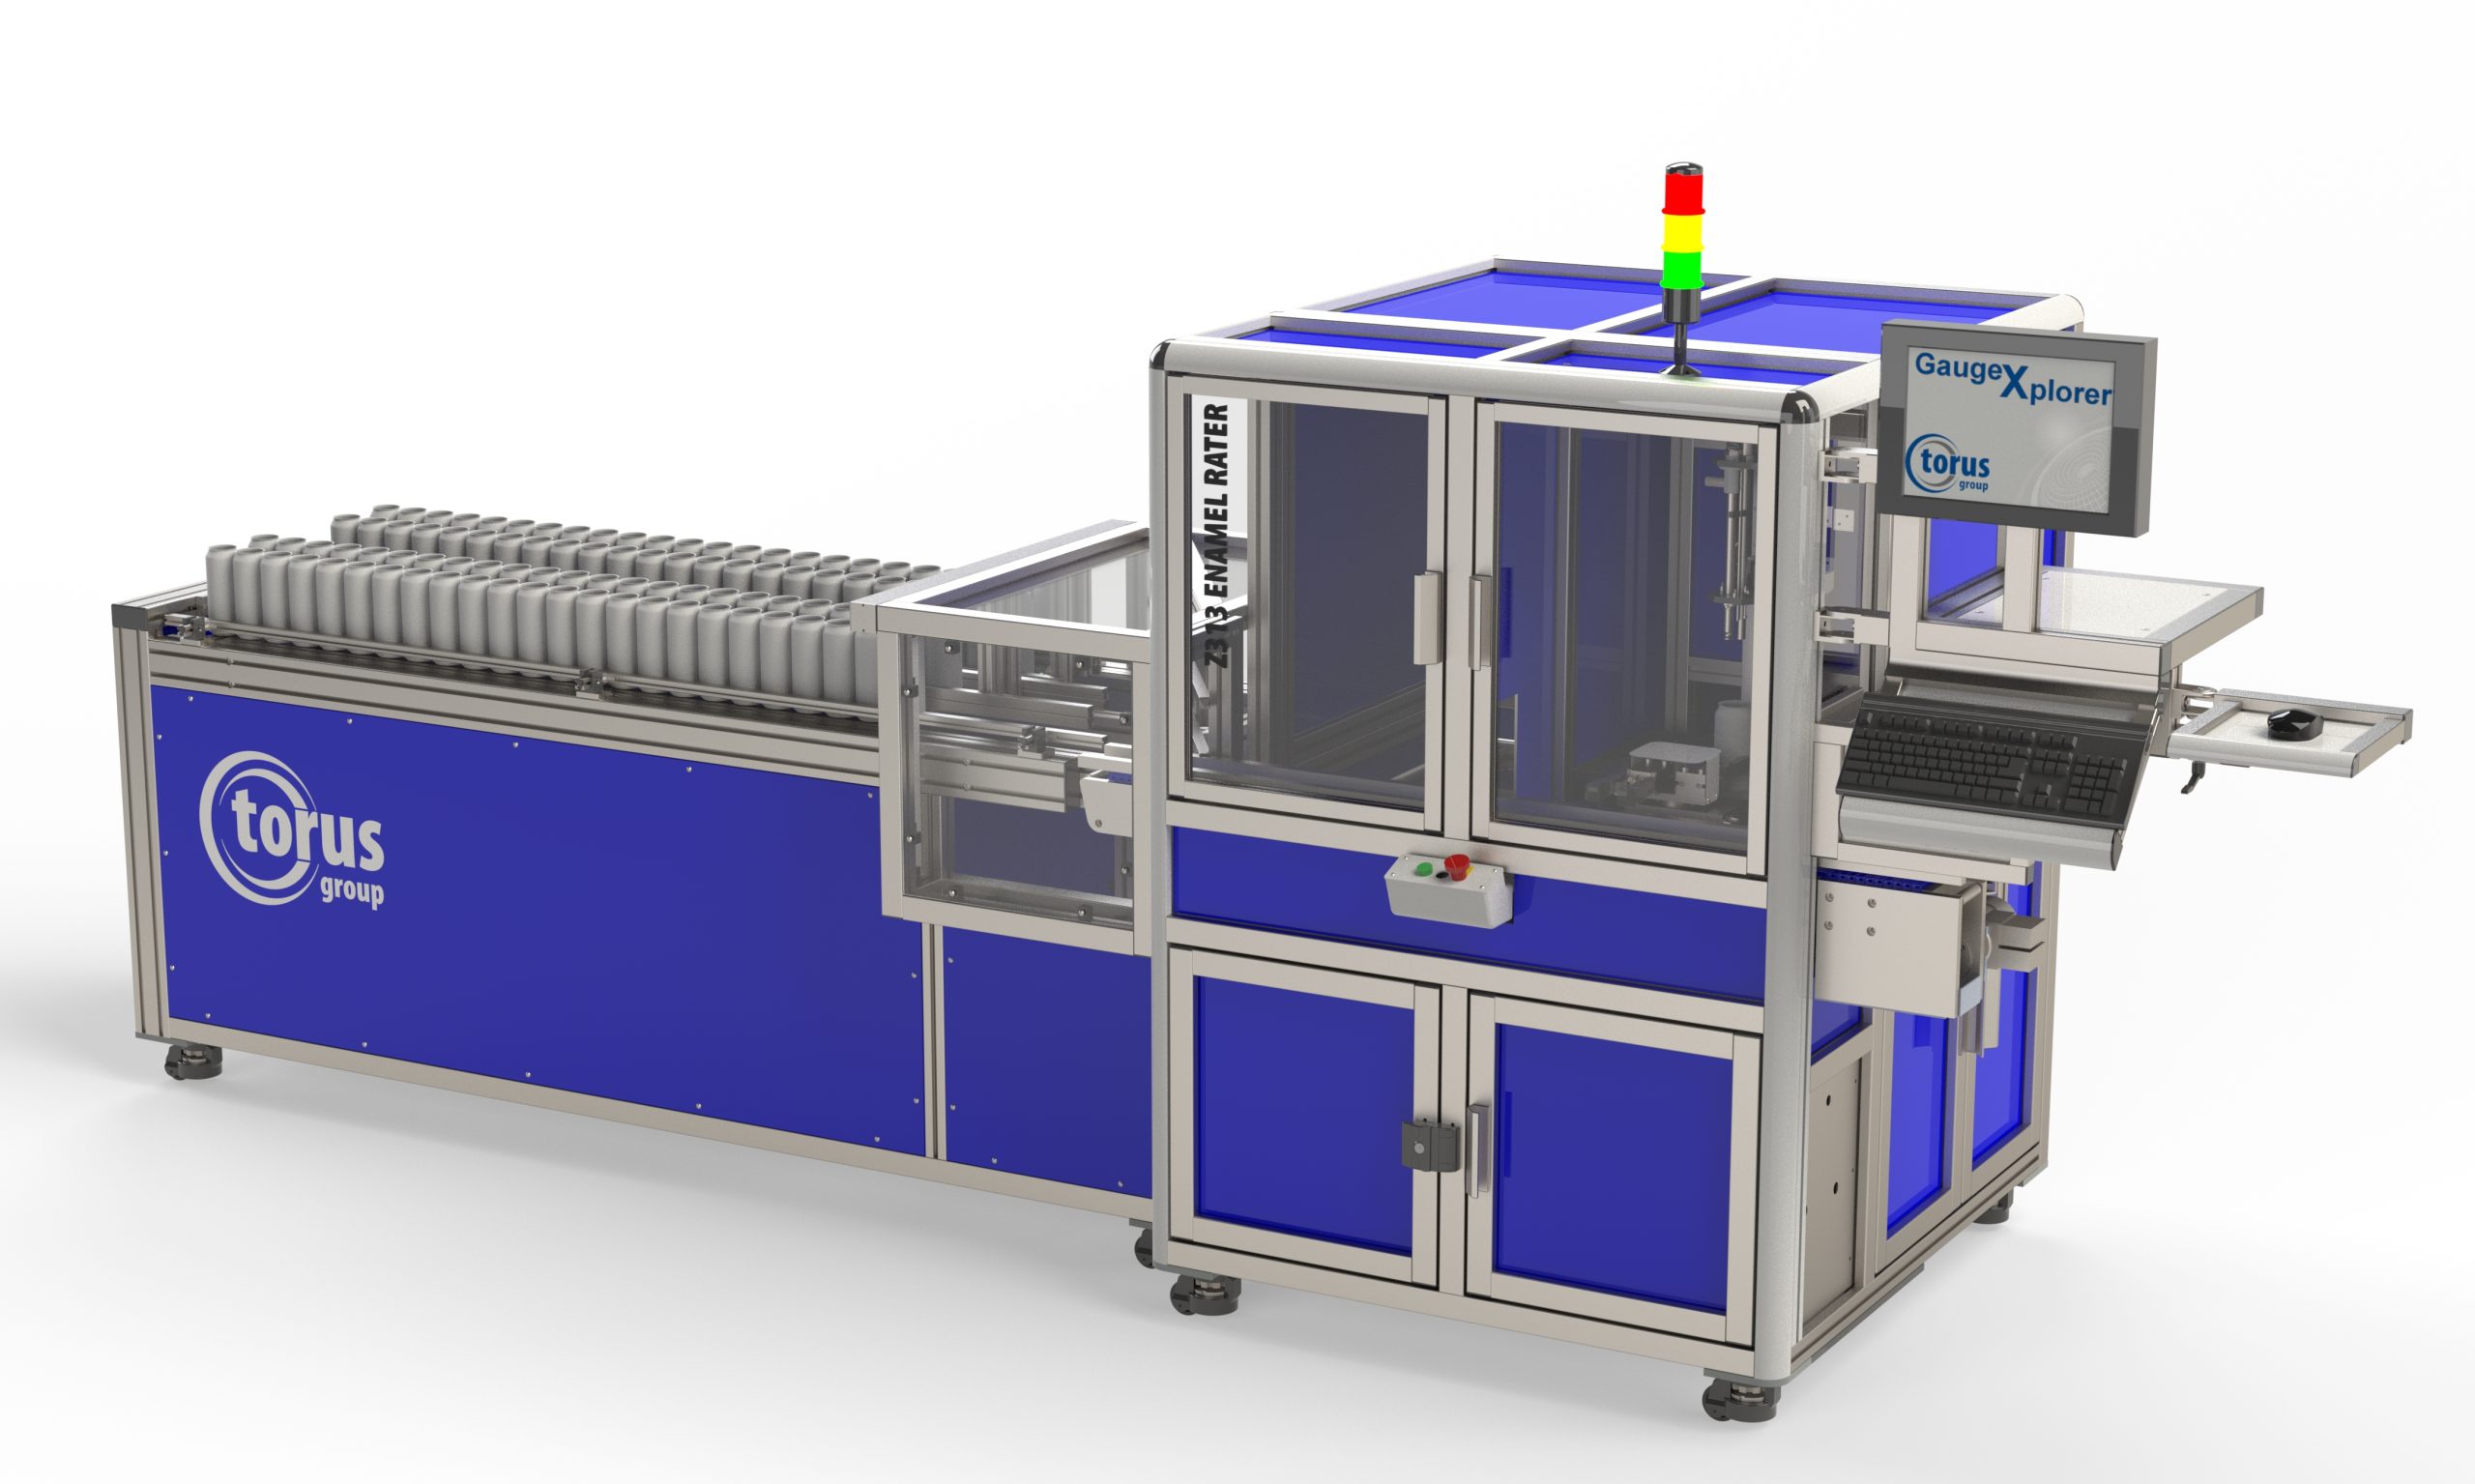
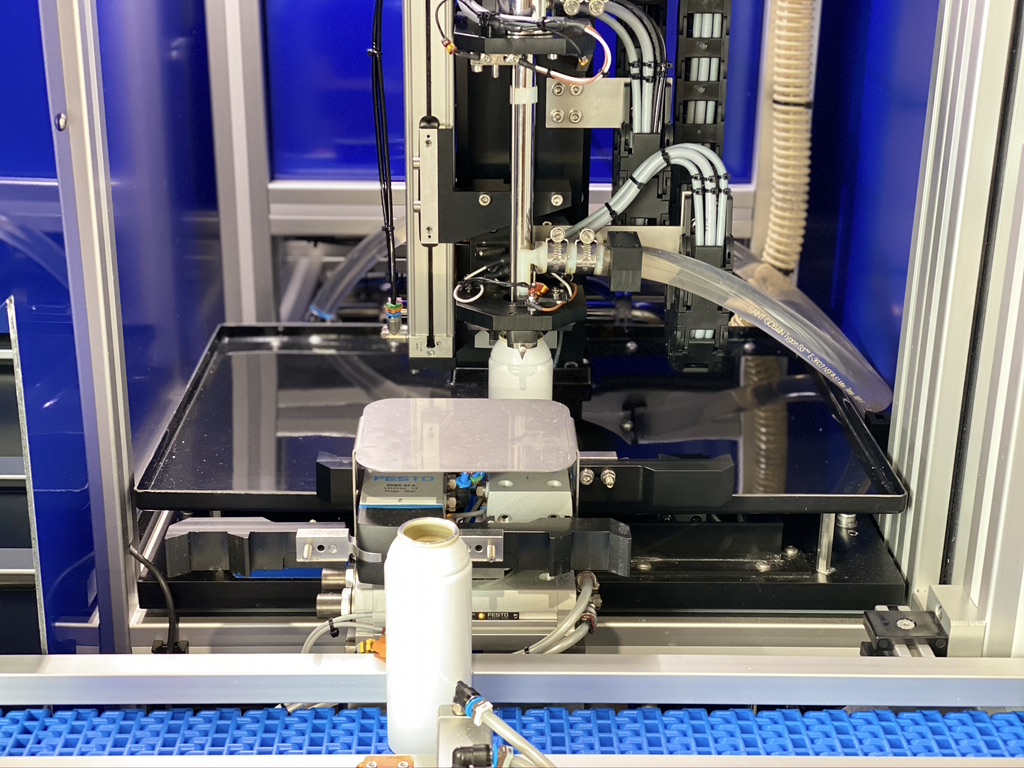
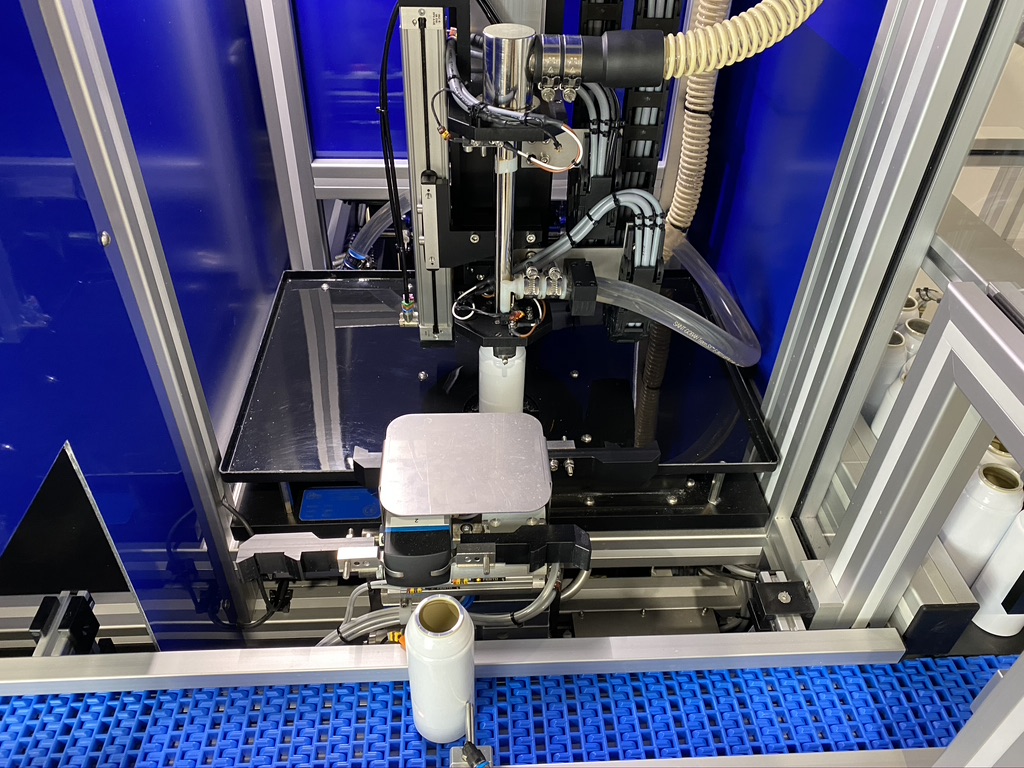


The Z313 Series Enamel Rater can be specified for conveyor loaded (automatic) or fully line fed (in-line) operation
The Z313 Enamel Rater measures the lacquer integrity of metal cans, with a typical throughput speed of 3 cans per minute.
The system can be specified with Torus’ optional LSM/ISG Recognition Camera Module, ensuring SPC data output is “tagged” with the relevant traceability for effective remedial actions.
Measurement Features
Standard
Measurement Features
Hi-Res (typically for plants running steel cans)
Technical Specification
Our modular gauge setups are unique and allow you to customise your gauge as and when you require, giving you the flexibility to ensure you have a total quality solution.
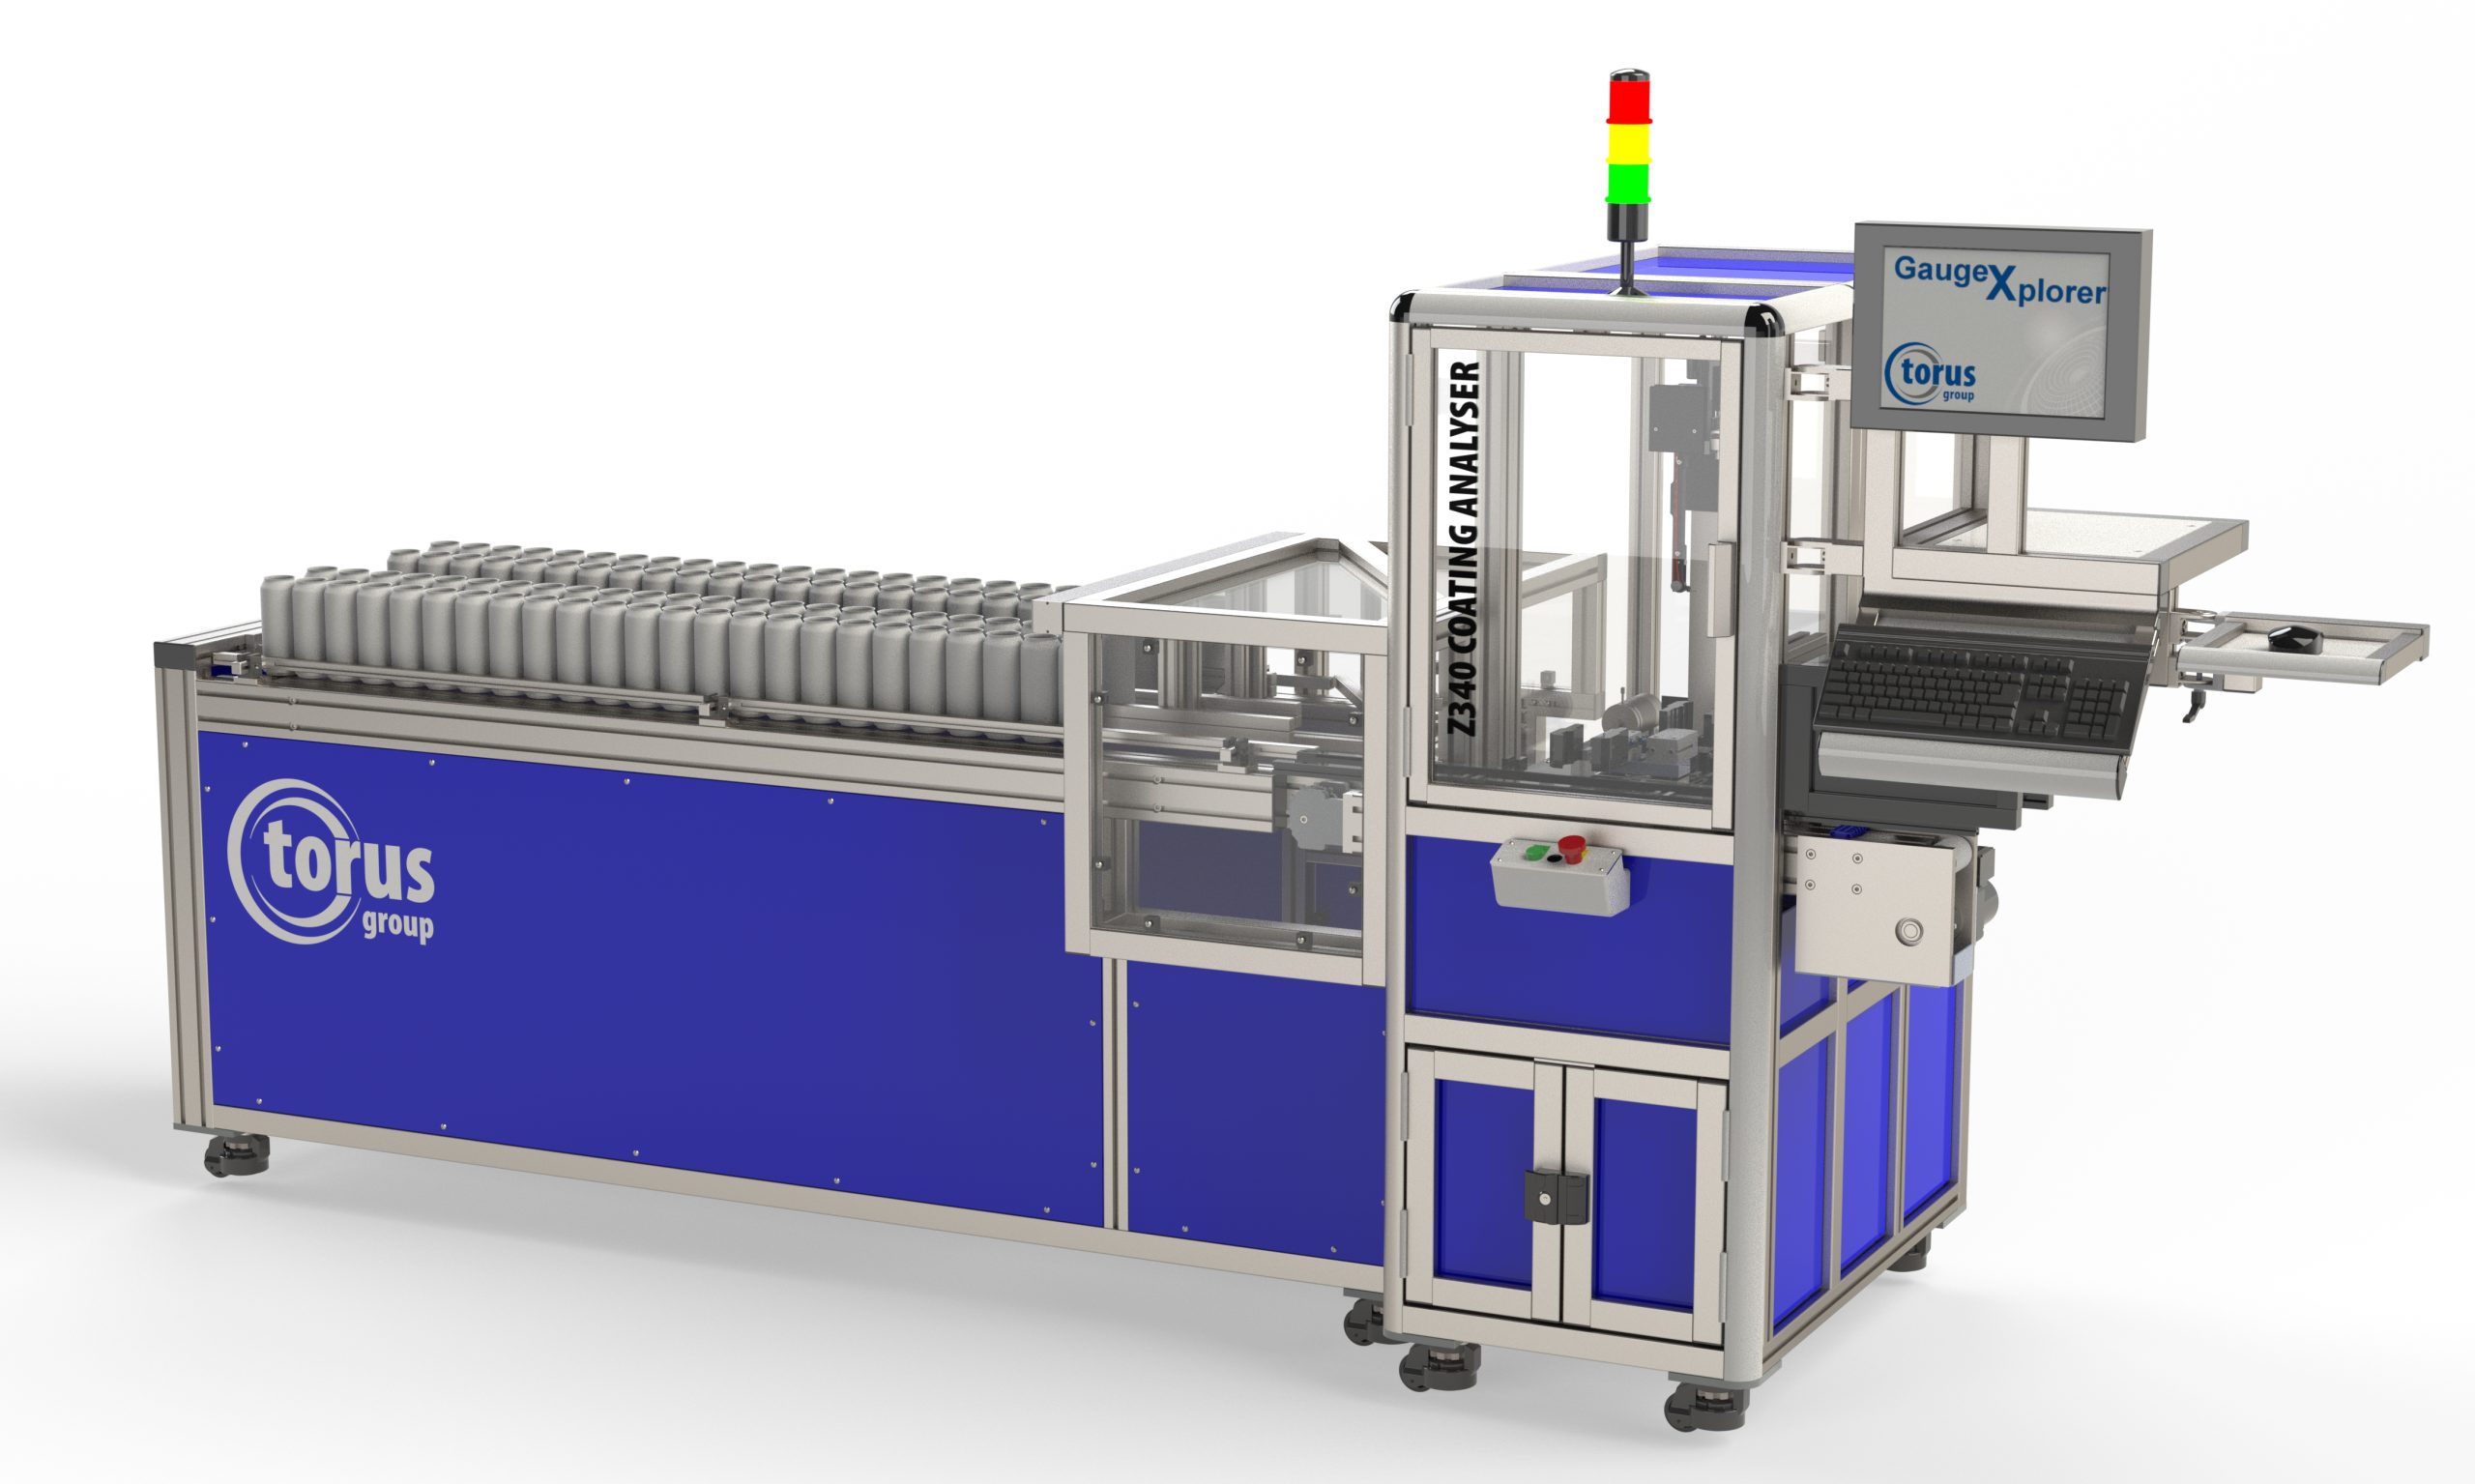


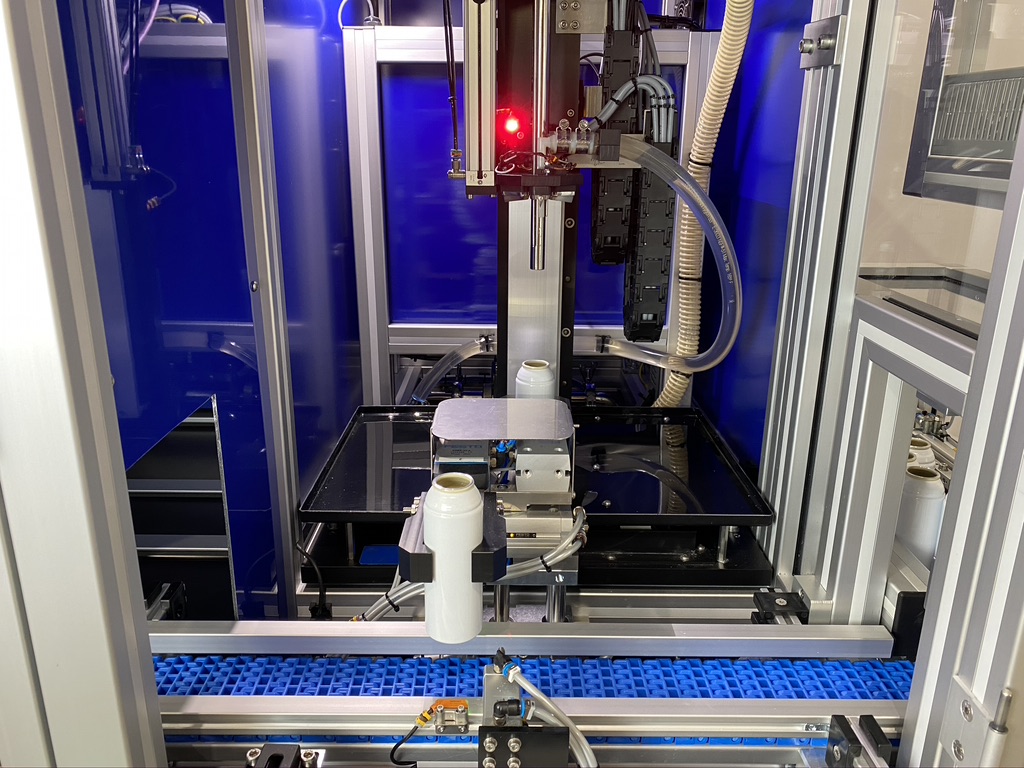
The Z340 Automatic Coating Analyser has been developed to give detailed distribution analysis of the internal lacquer on an aerosol can.
The system utilises state-of-the-art non-contact spectroscopy techniques and is suitable for both aluminium and steel aerosol can inspection.
Measurement Features
Technical Specification
Gauge Features
Our modular gauge setups are unique and allow you to customise your gauge as and when you require, giving you the flexibility to ensure you have a total quality solution.
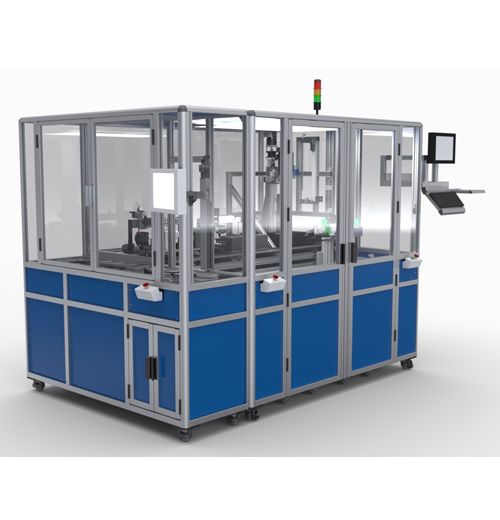
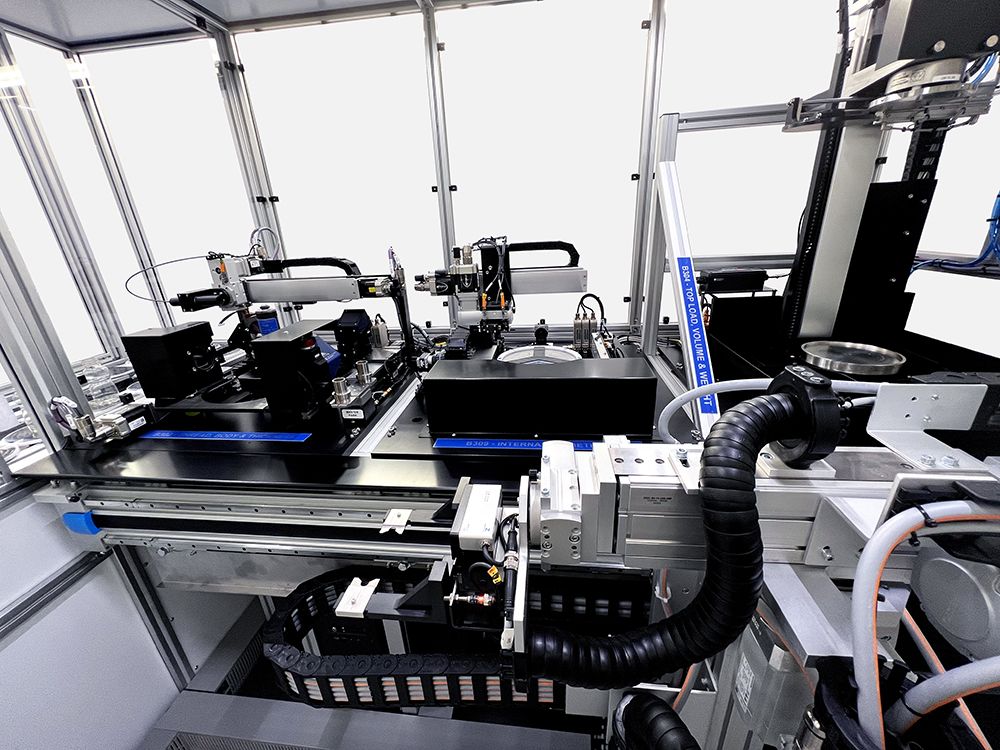
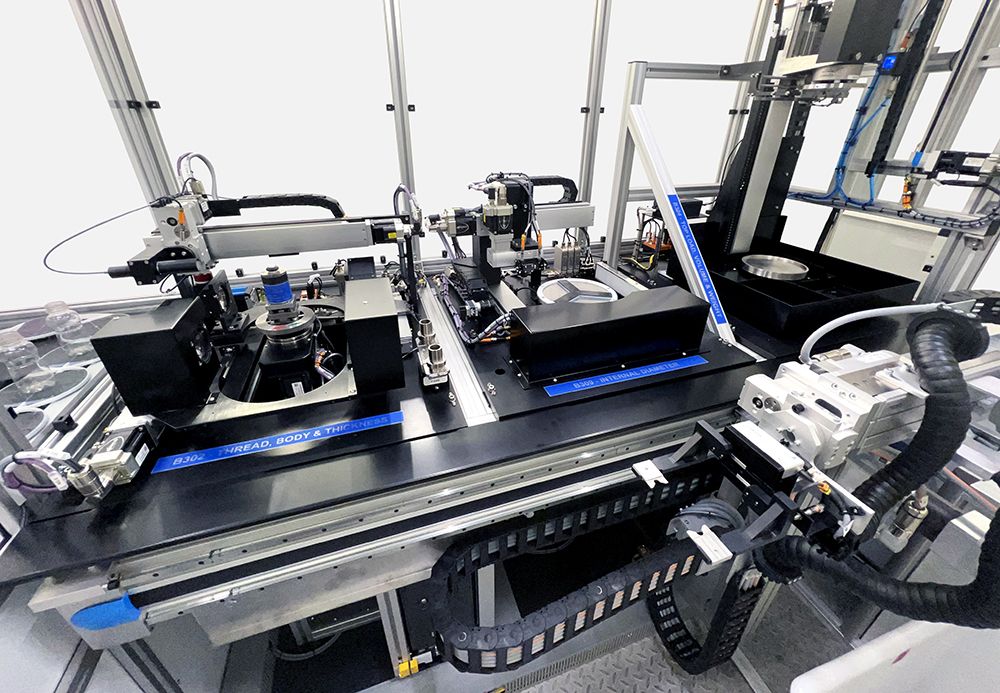
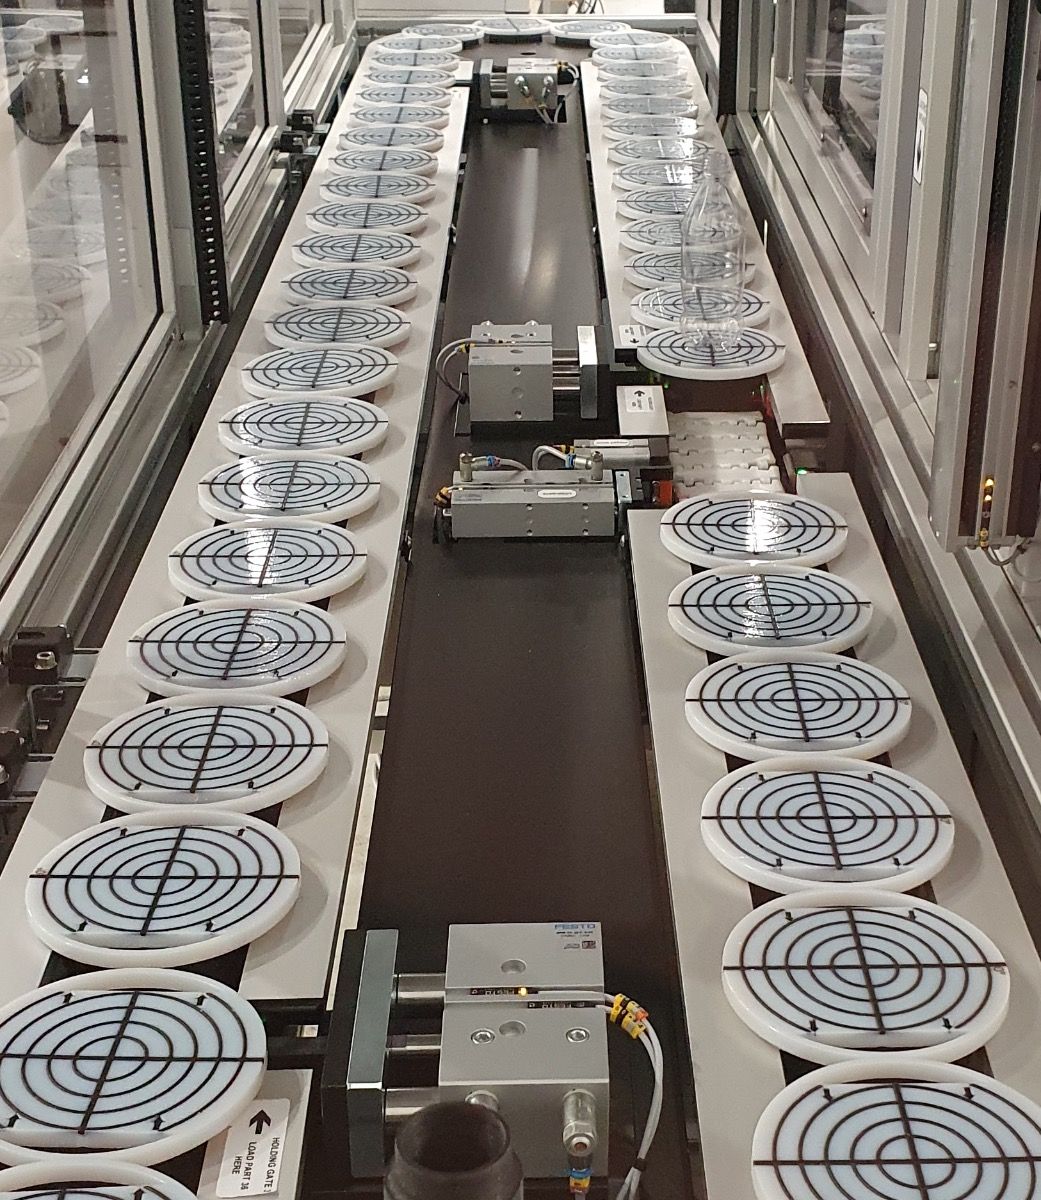


Torus’ TQ-Lab offers customers multiple quality control tests, selectable by customers based on requirements, in one single station. The multi-module concept improves accuracy and repeatability, reduces time and labour costs and saves on floor space in production environments.
The proven contact measurement technology ensures accurate, reliable and traceable measurement 24/7.
Technical Specification
Measurement Features
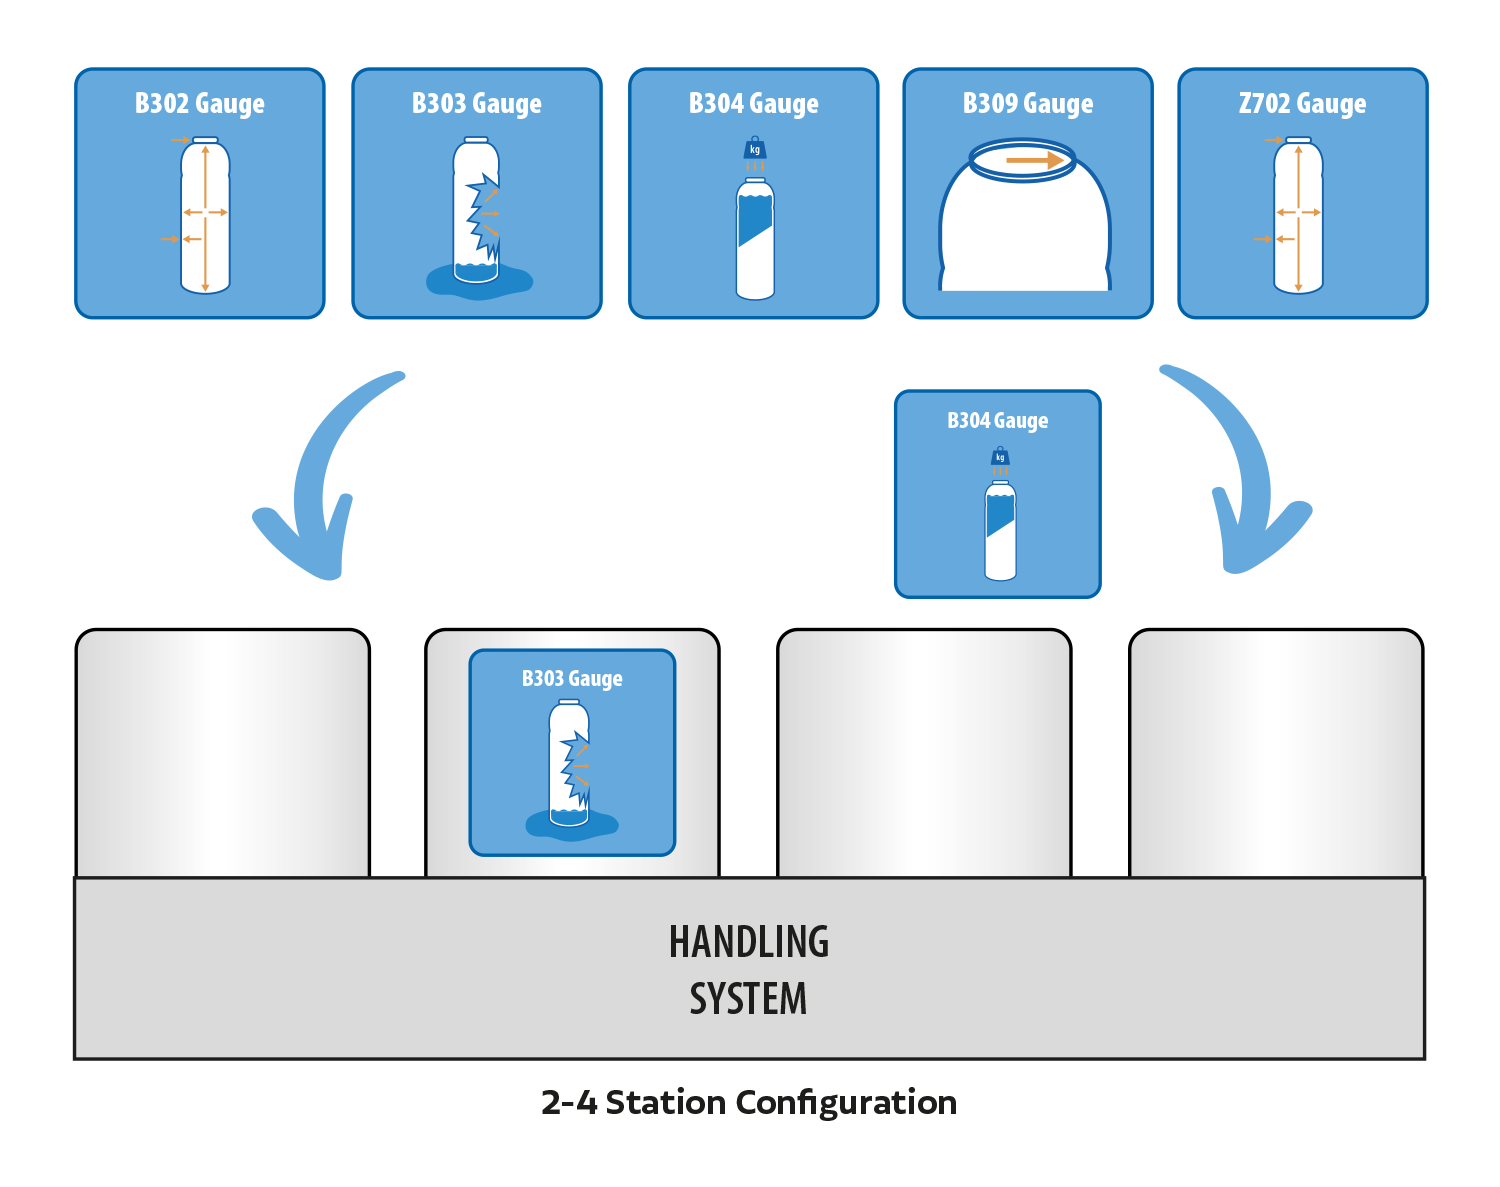
Choose from between 2 and 4 measurement modules to customise your TQ Lab:
Our modular gauge setups are unique and allow you to customise your gauge as and when you require, giving you the flexibility to ensure you have a total quality solution.
Choose from a range of conveyor options, and finally choose your modules (a minimum of a 2 station configuration through to a maximum of 4).
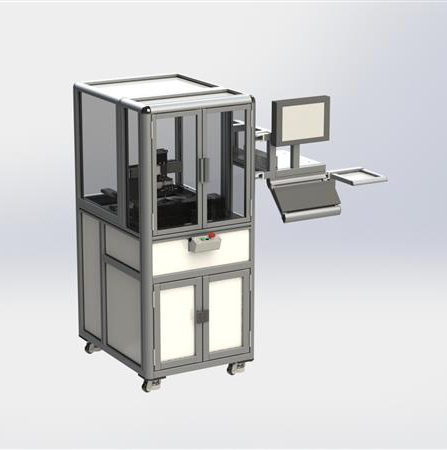
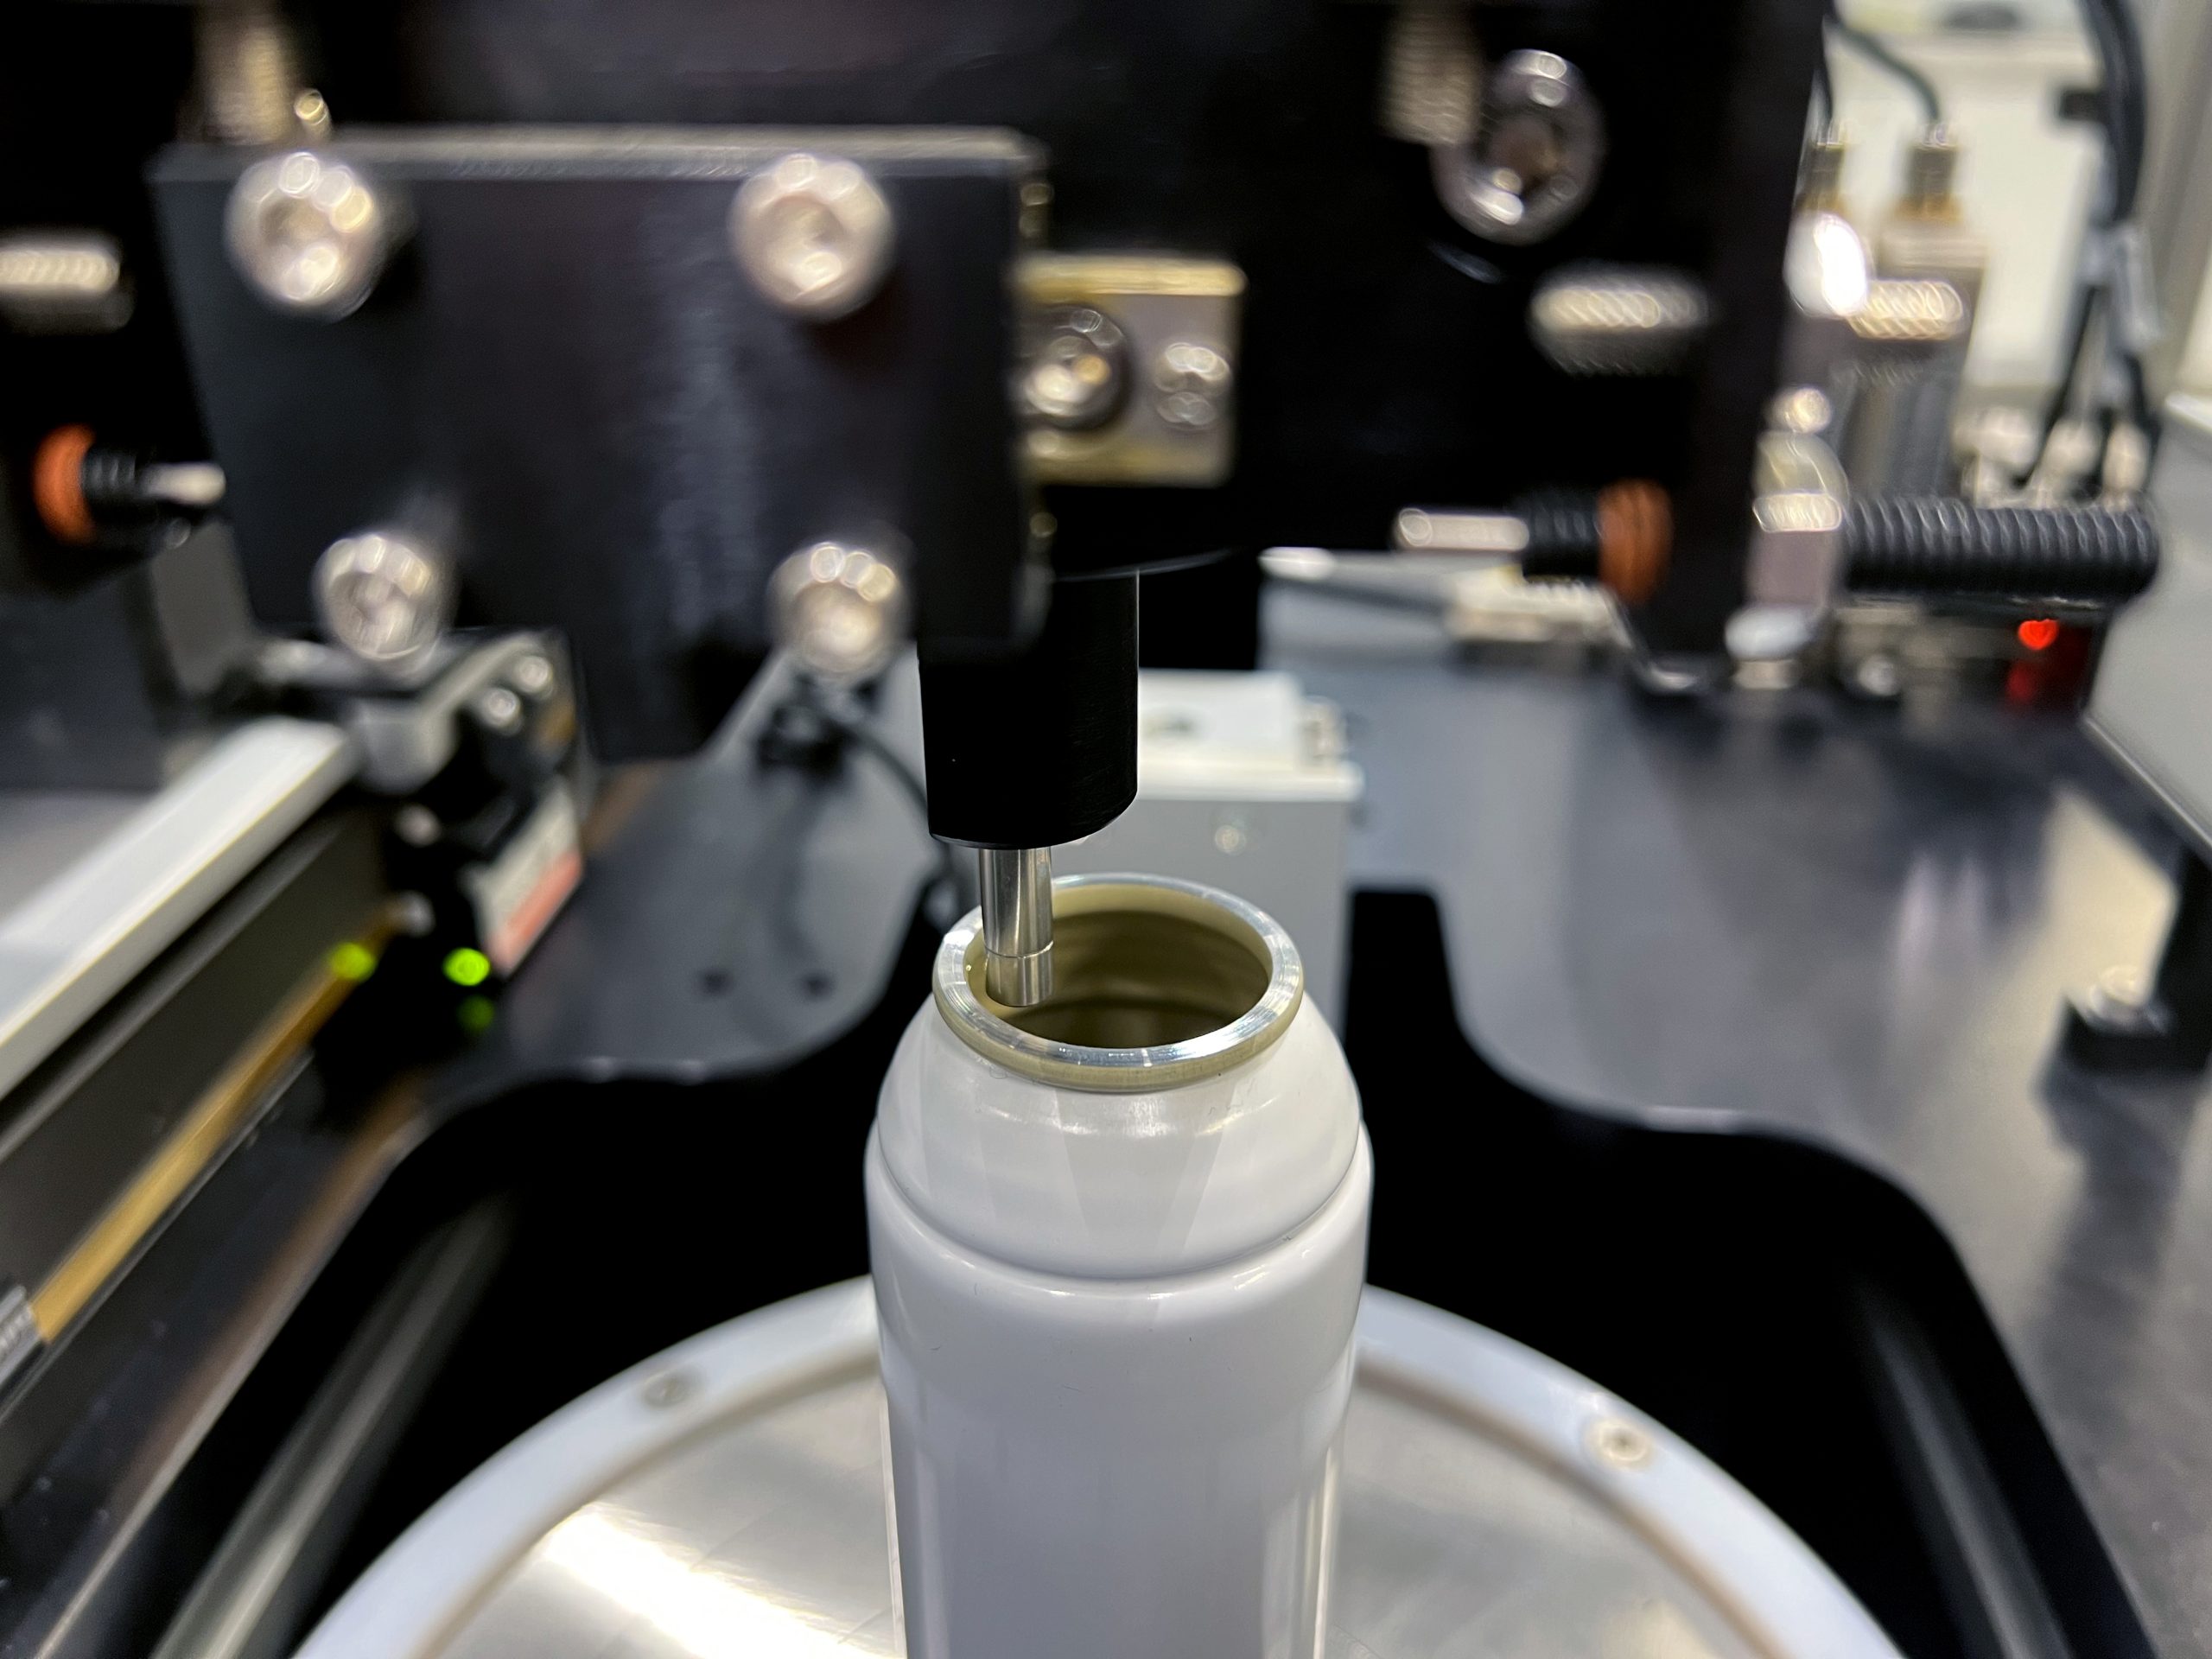


The B309 Internal Diameter Gauge for aerosols offers non-contact internal diameter measurements in a single operation with industry leading measurement range.
The proven contact measurement technology ensures accurate, reliable and traceable measurement 24/7.
Reporting options such as standard CSV or Statistical Process Control (SPC)
Certification to UKAS standards.
Measurement Features
Technical Specification
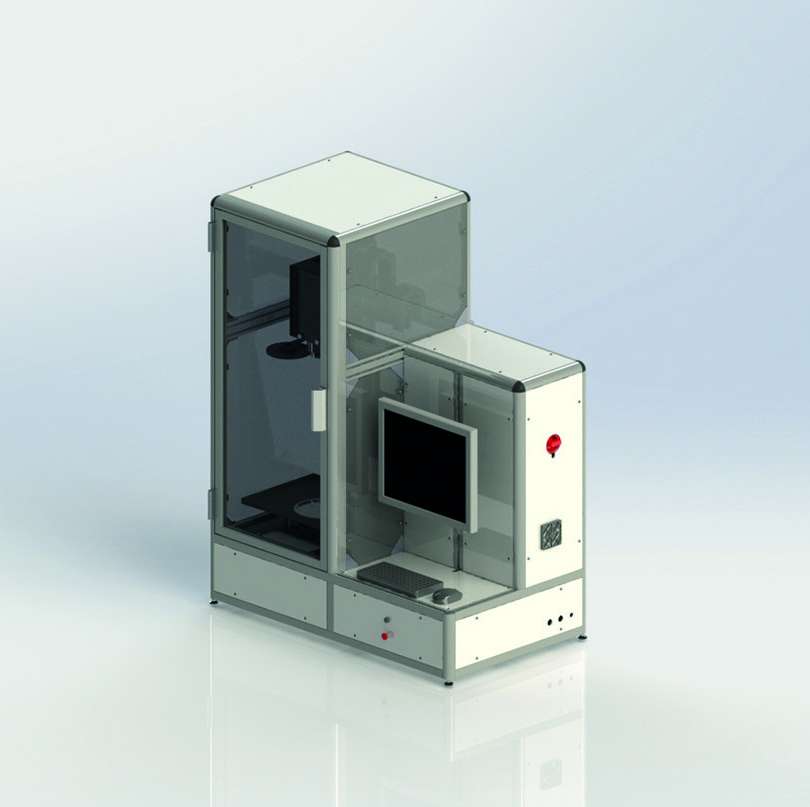
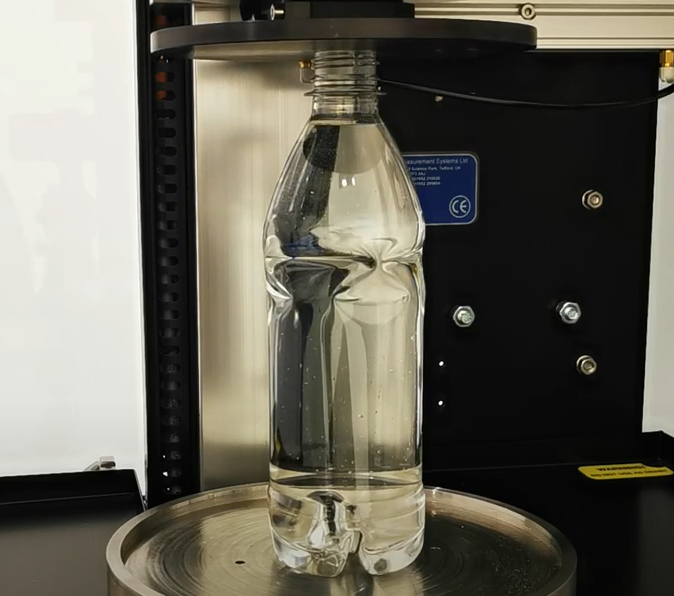
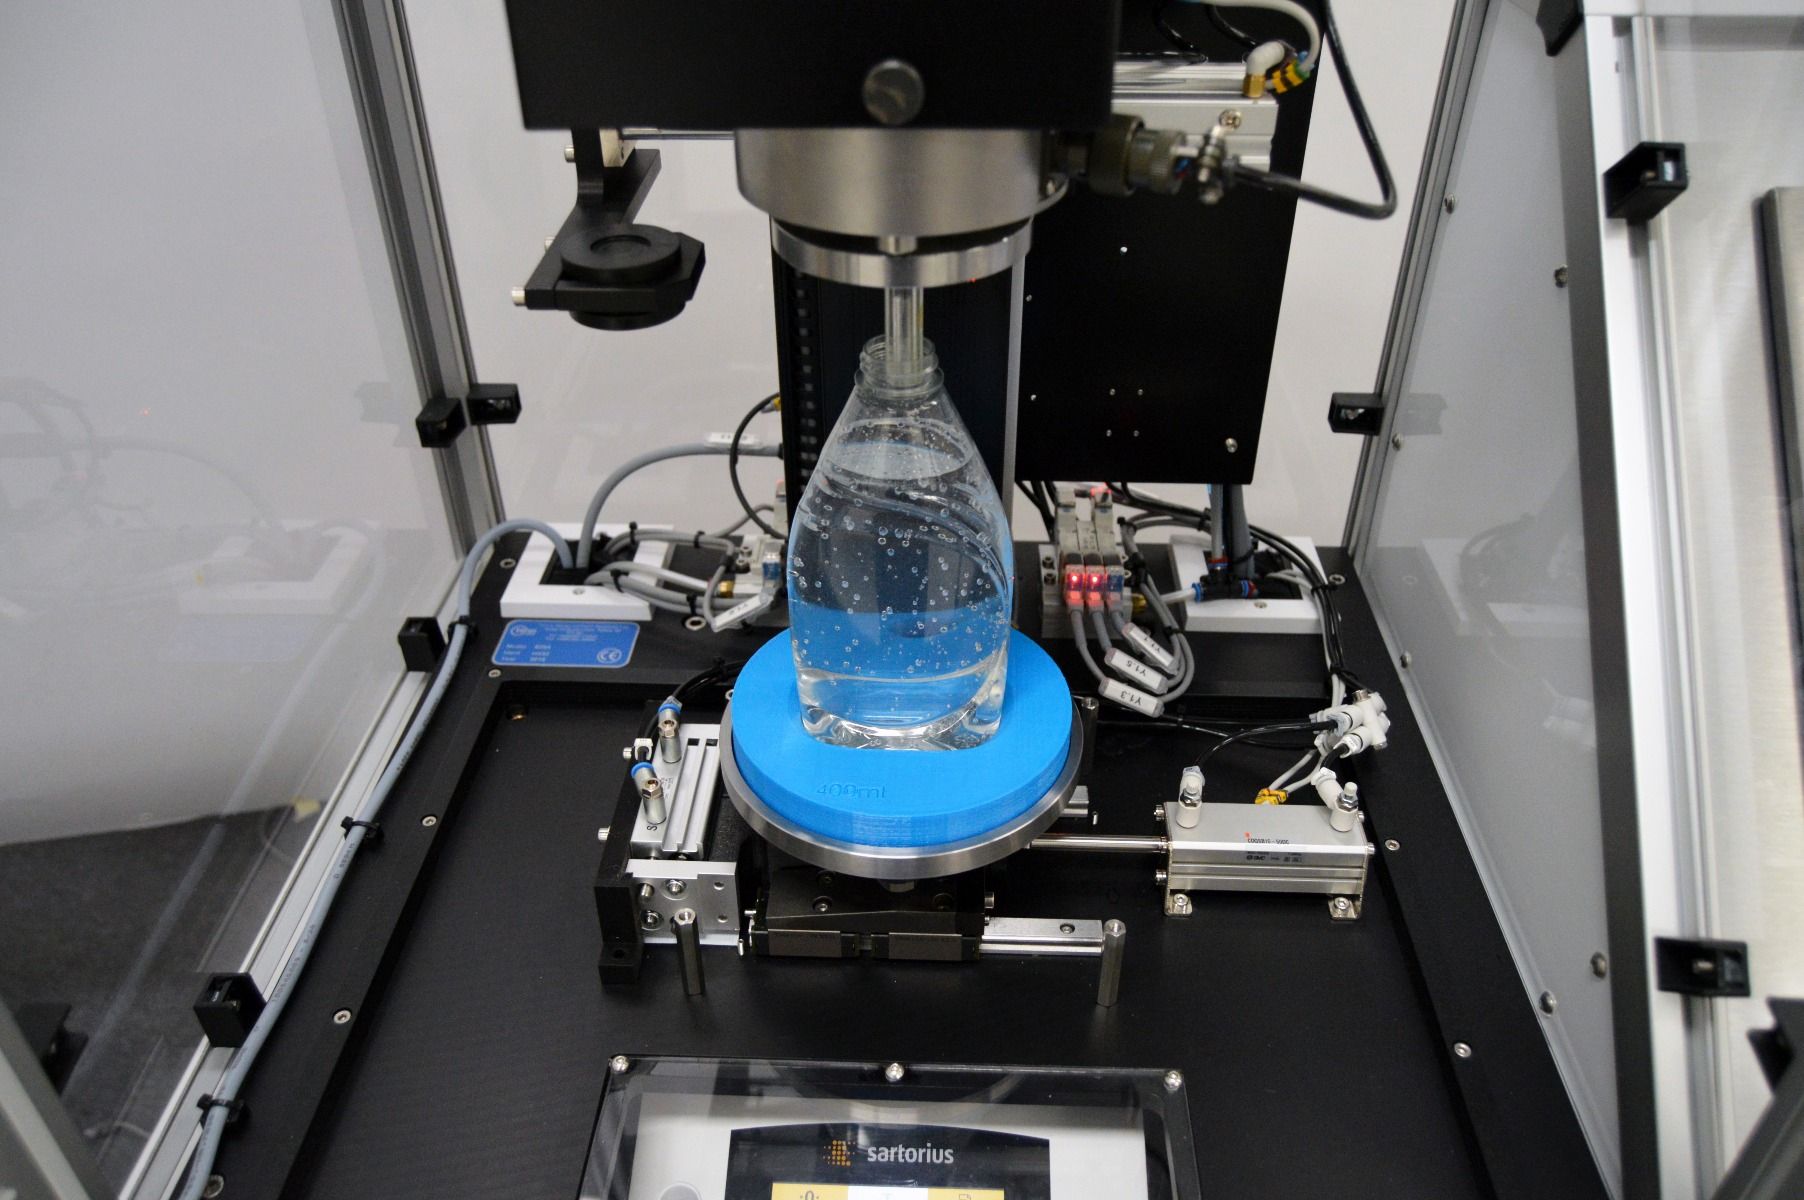
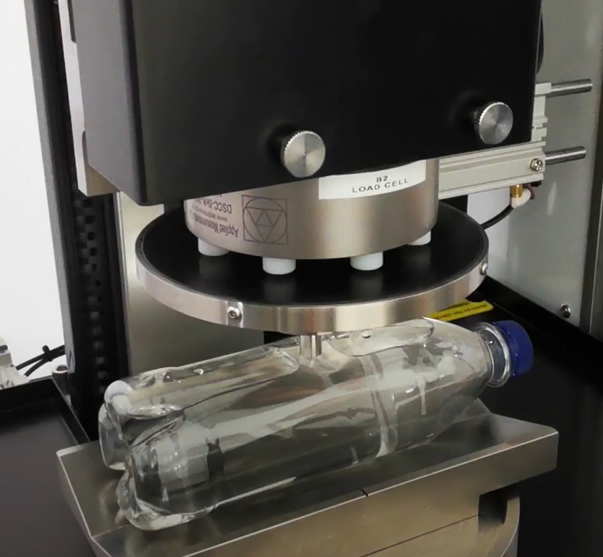


The B304 Aerosol Semi-Automatic Top Load, Volume and Weight Gauge has been developed to provide combination testing capabilities in volume capacity and vertical and horizontal strength.
The system has been designed to provide measurement capability for several industry standard tests within the same program, significantly reducing part setup and part cycle times. Torus’ batch setup process enables the operator to quickly move between test types.
Reporting options such as a standard CSV or Statistical Process Control (SPC)
Traceable to UKAS Standards.
Measurement Features
Technical Specification
Volume Inspection Options
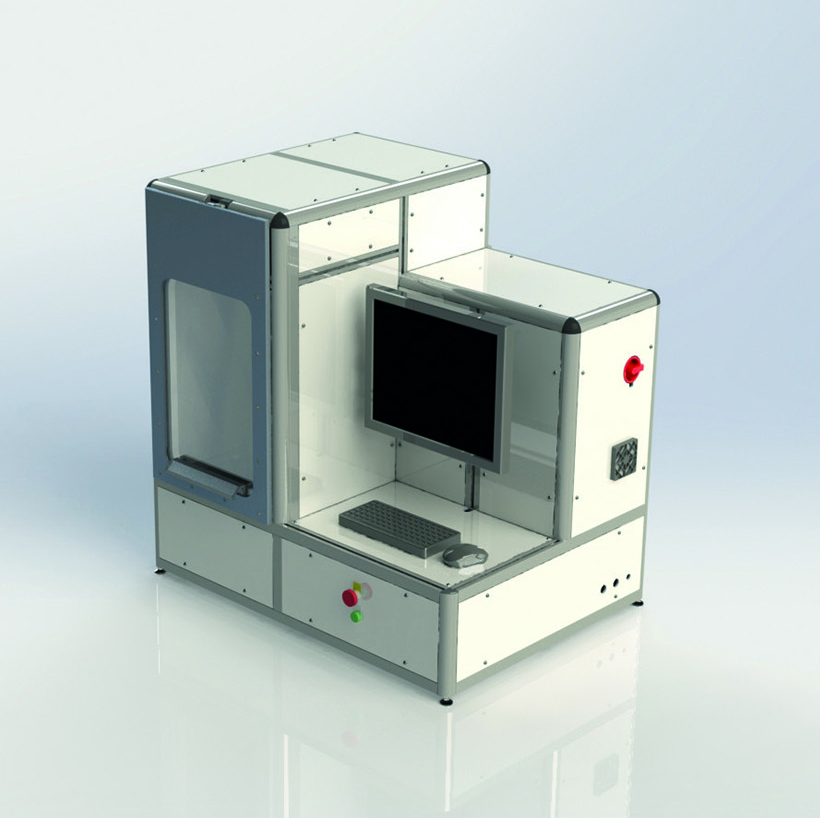
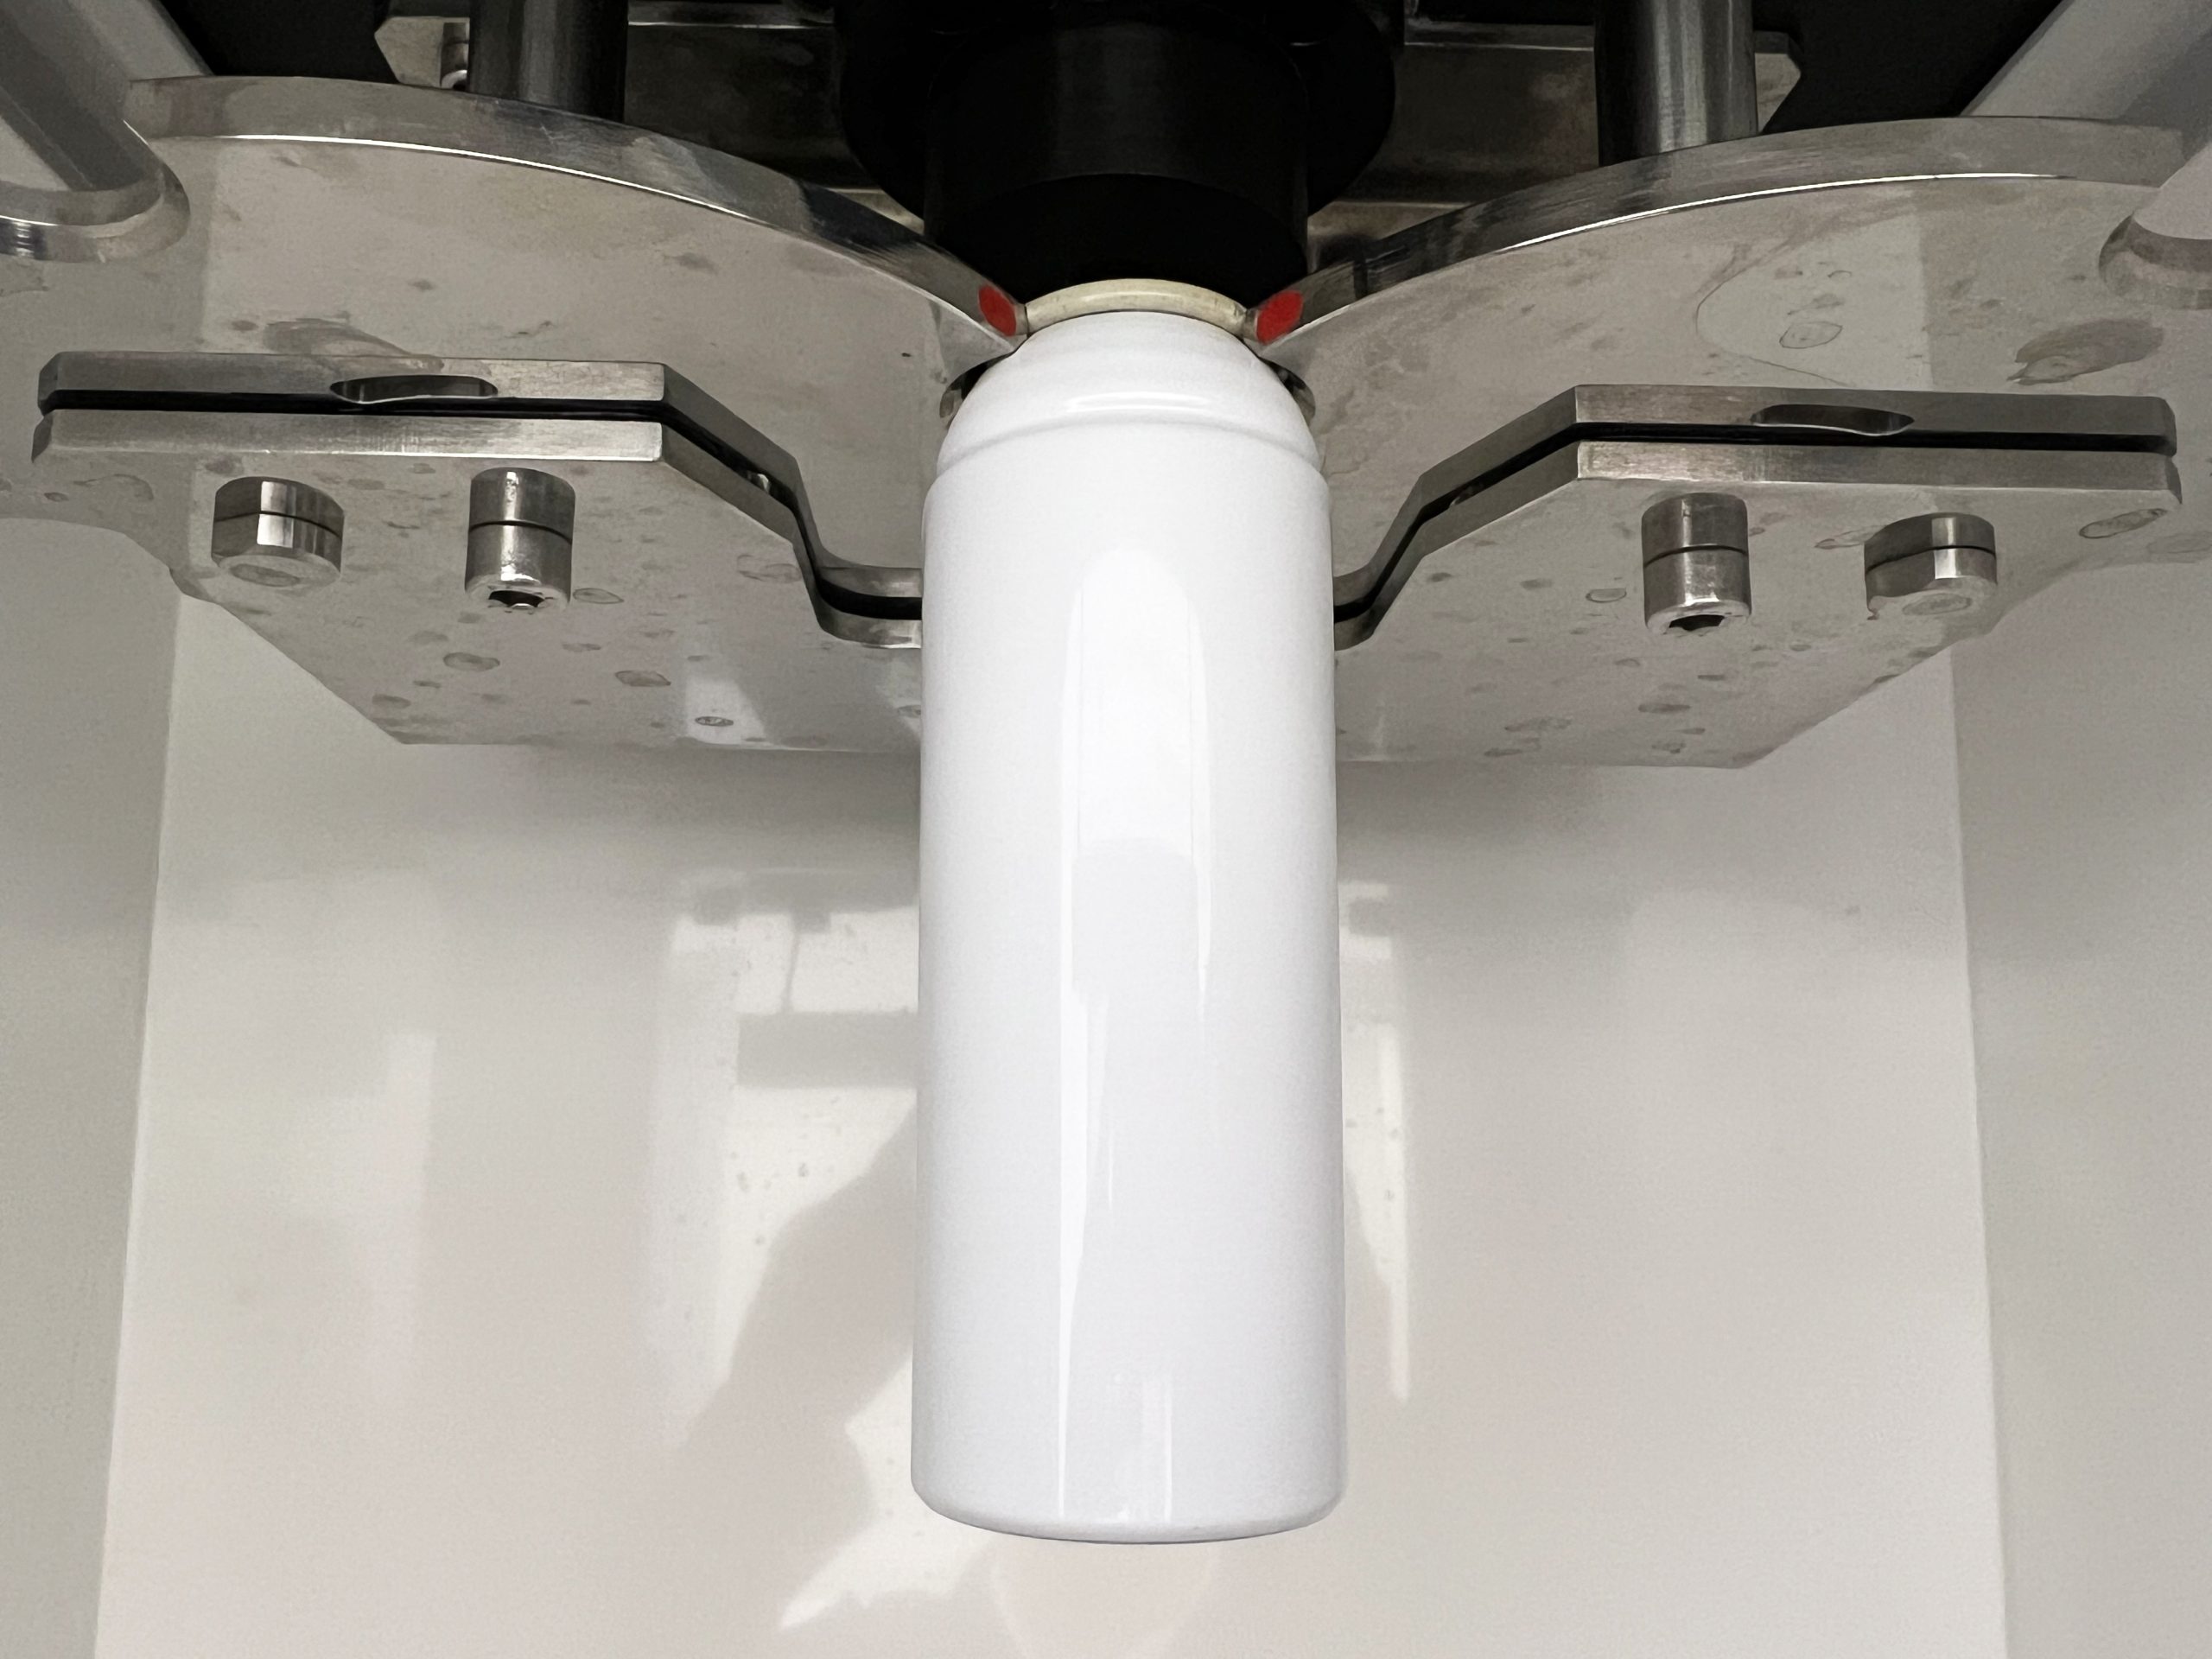
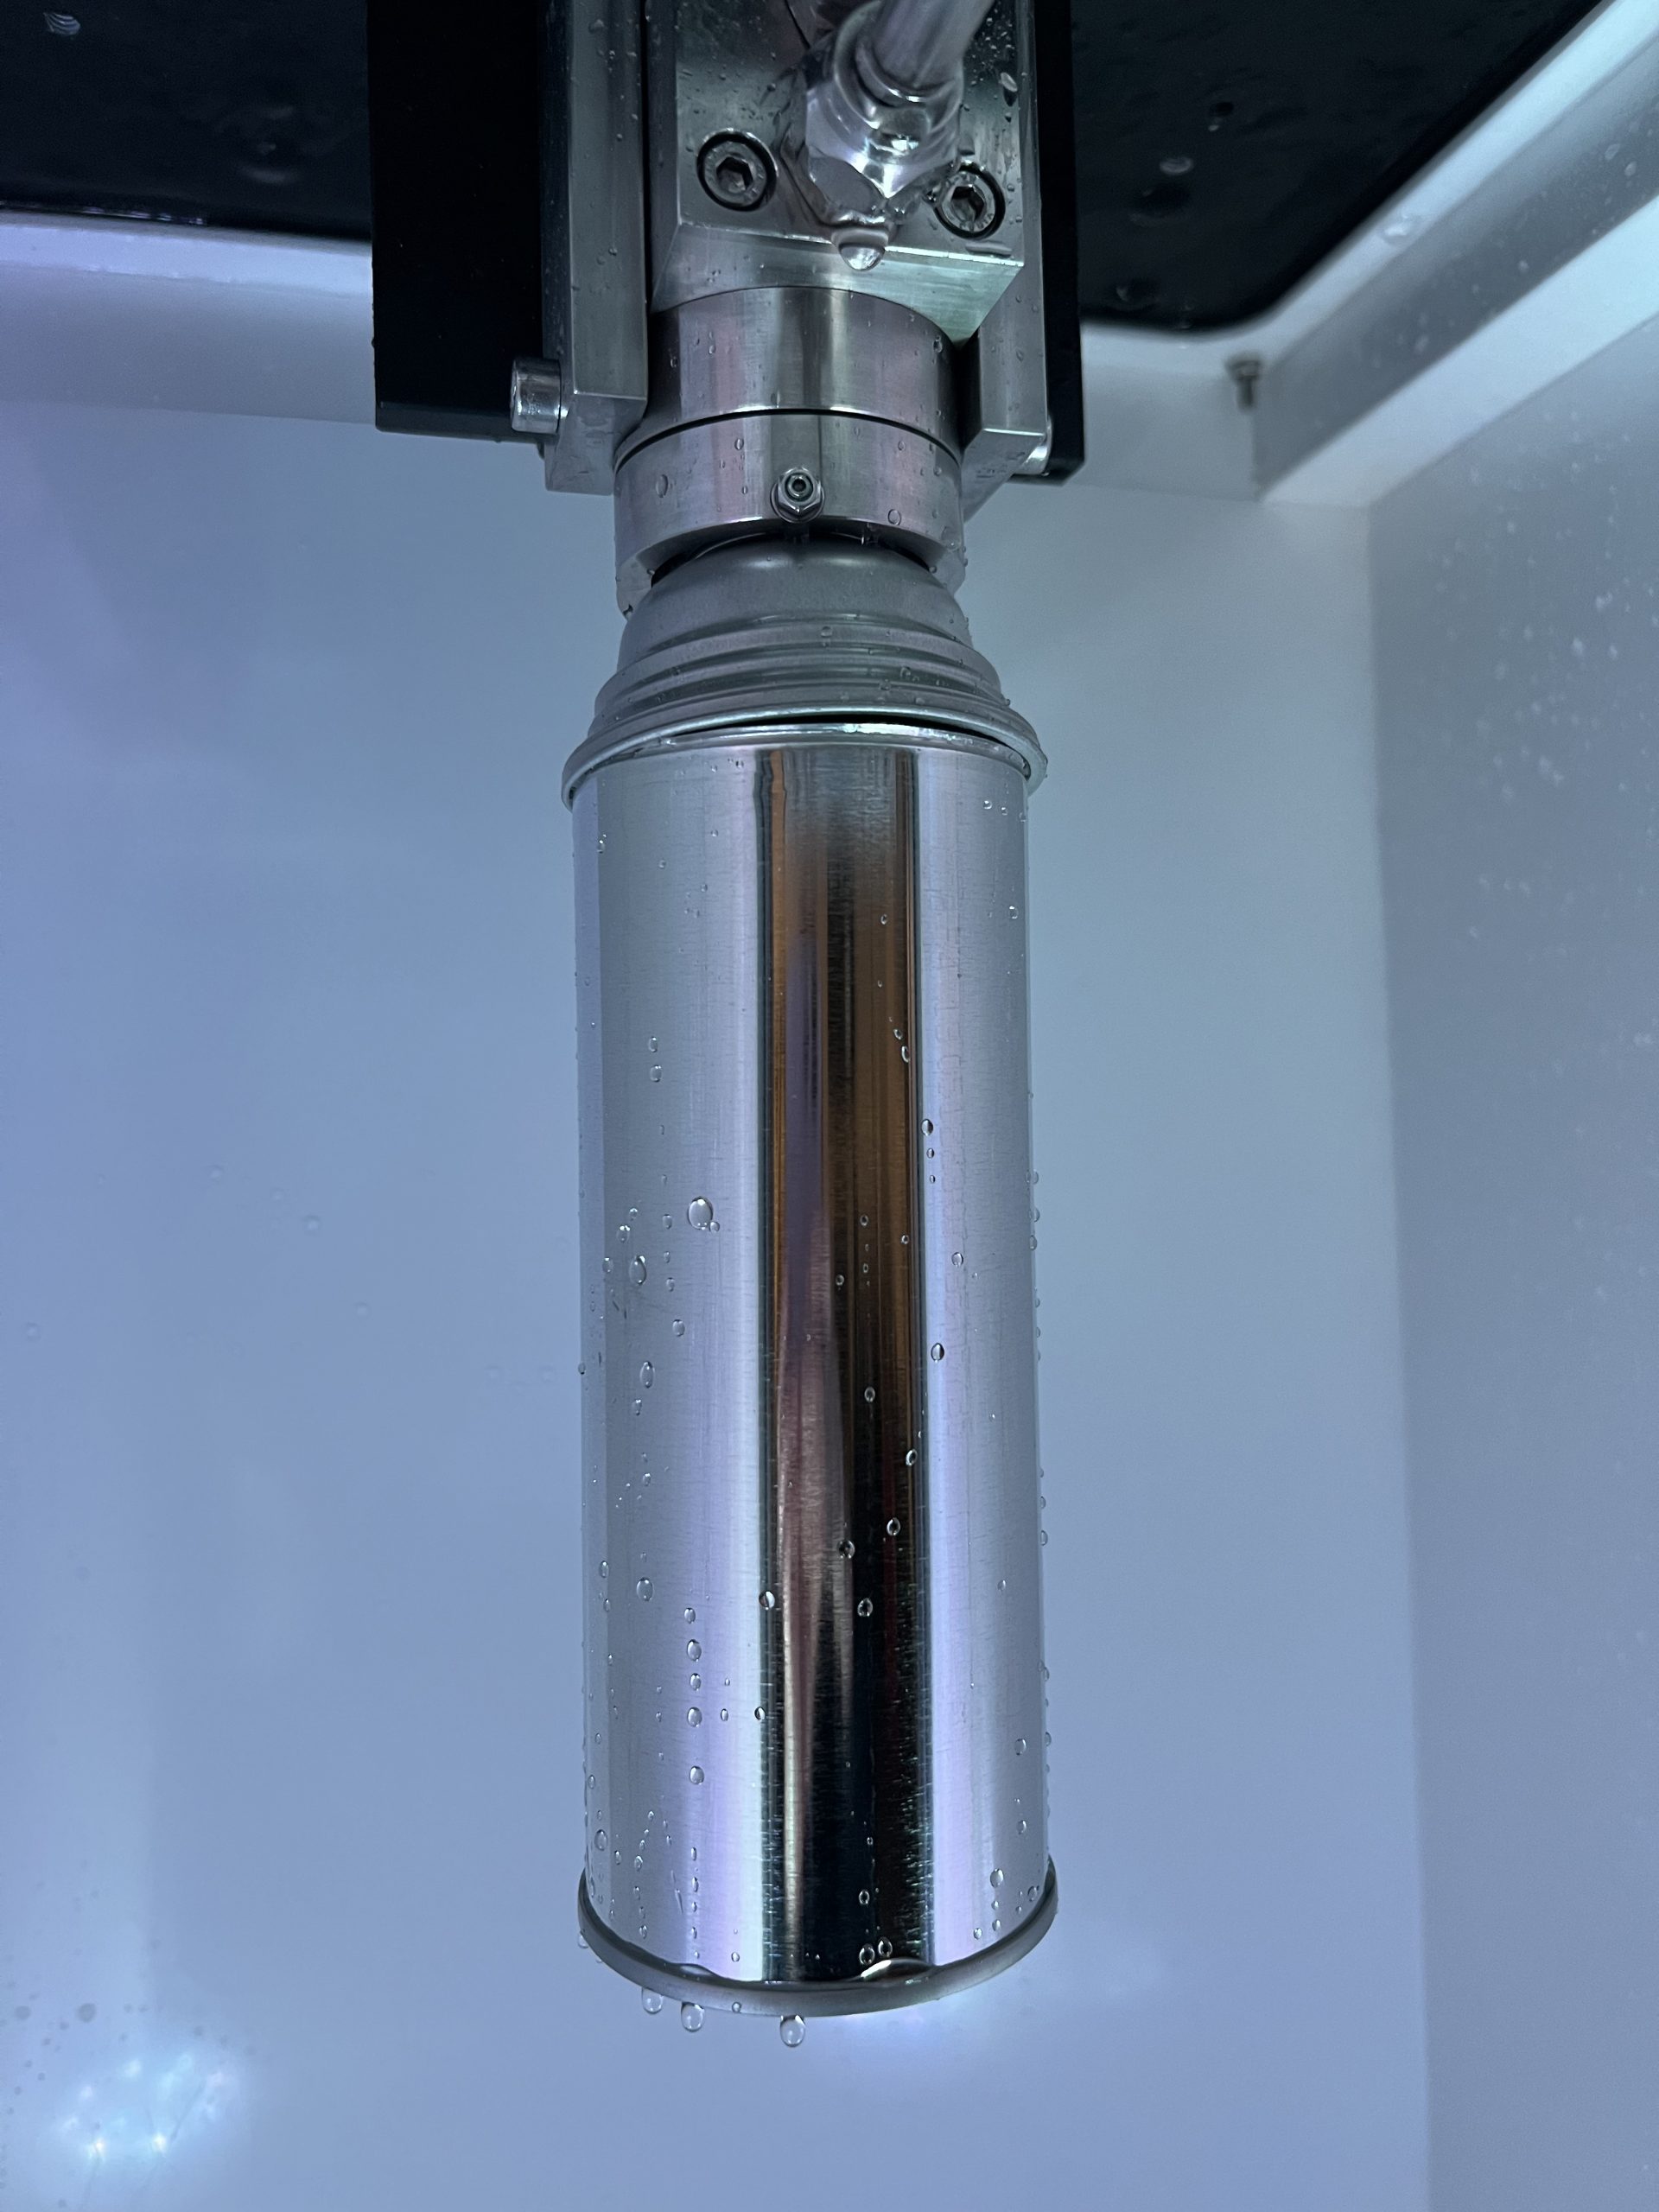
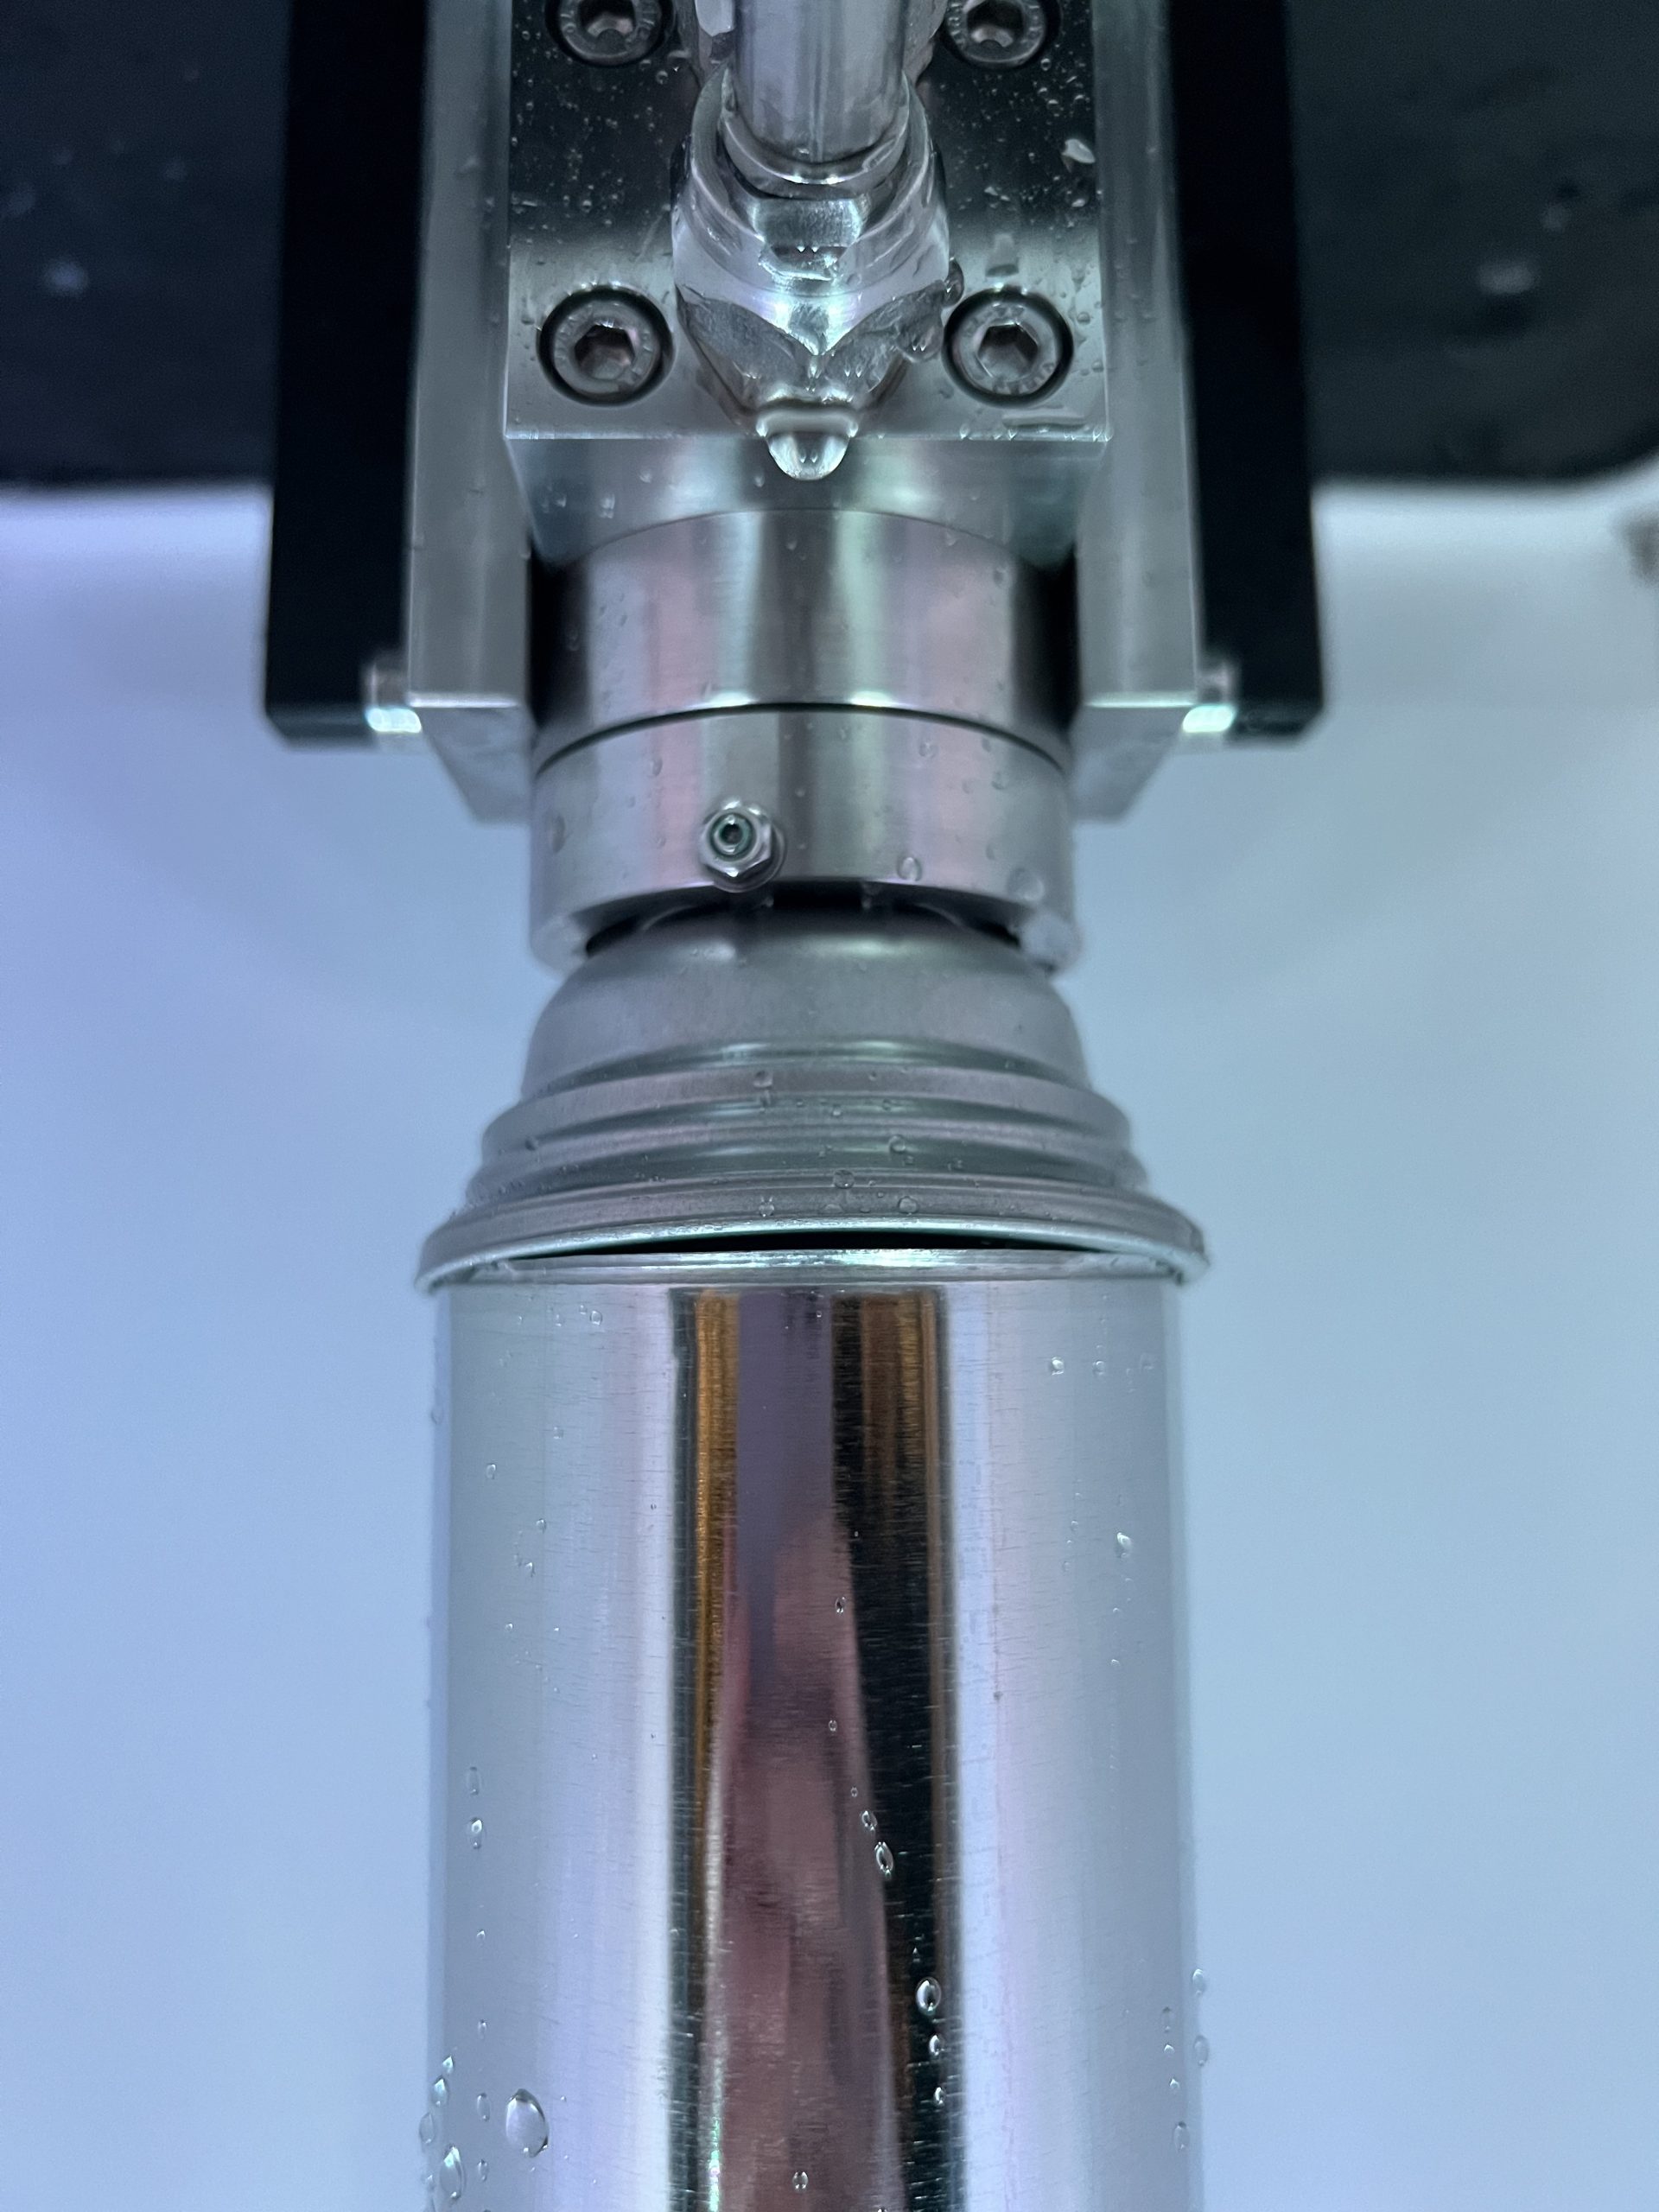
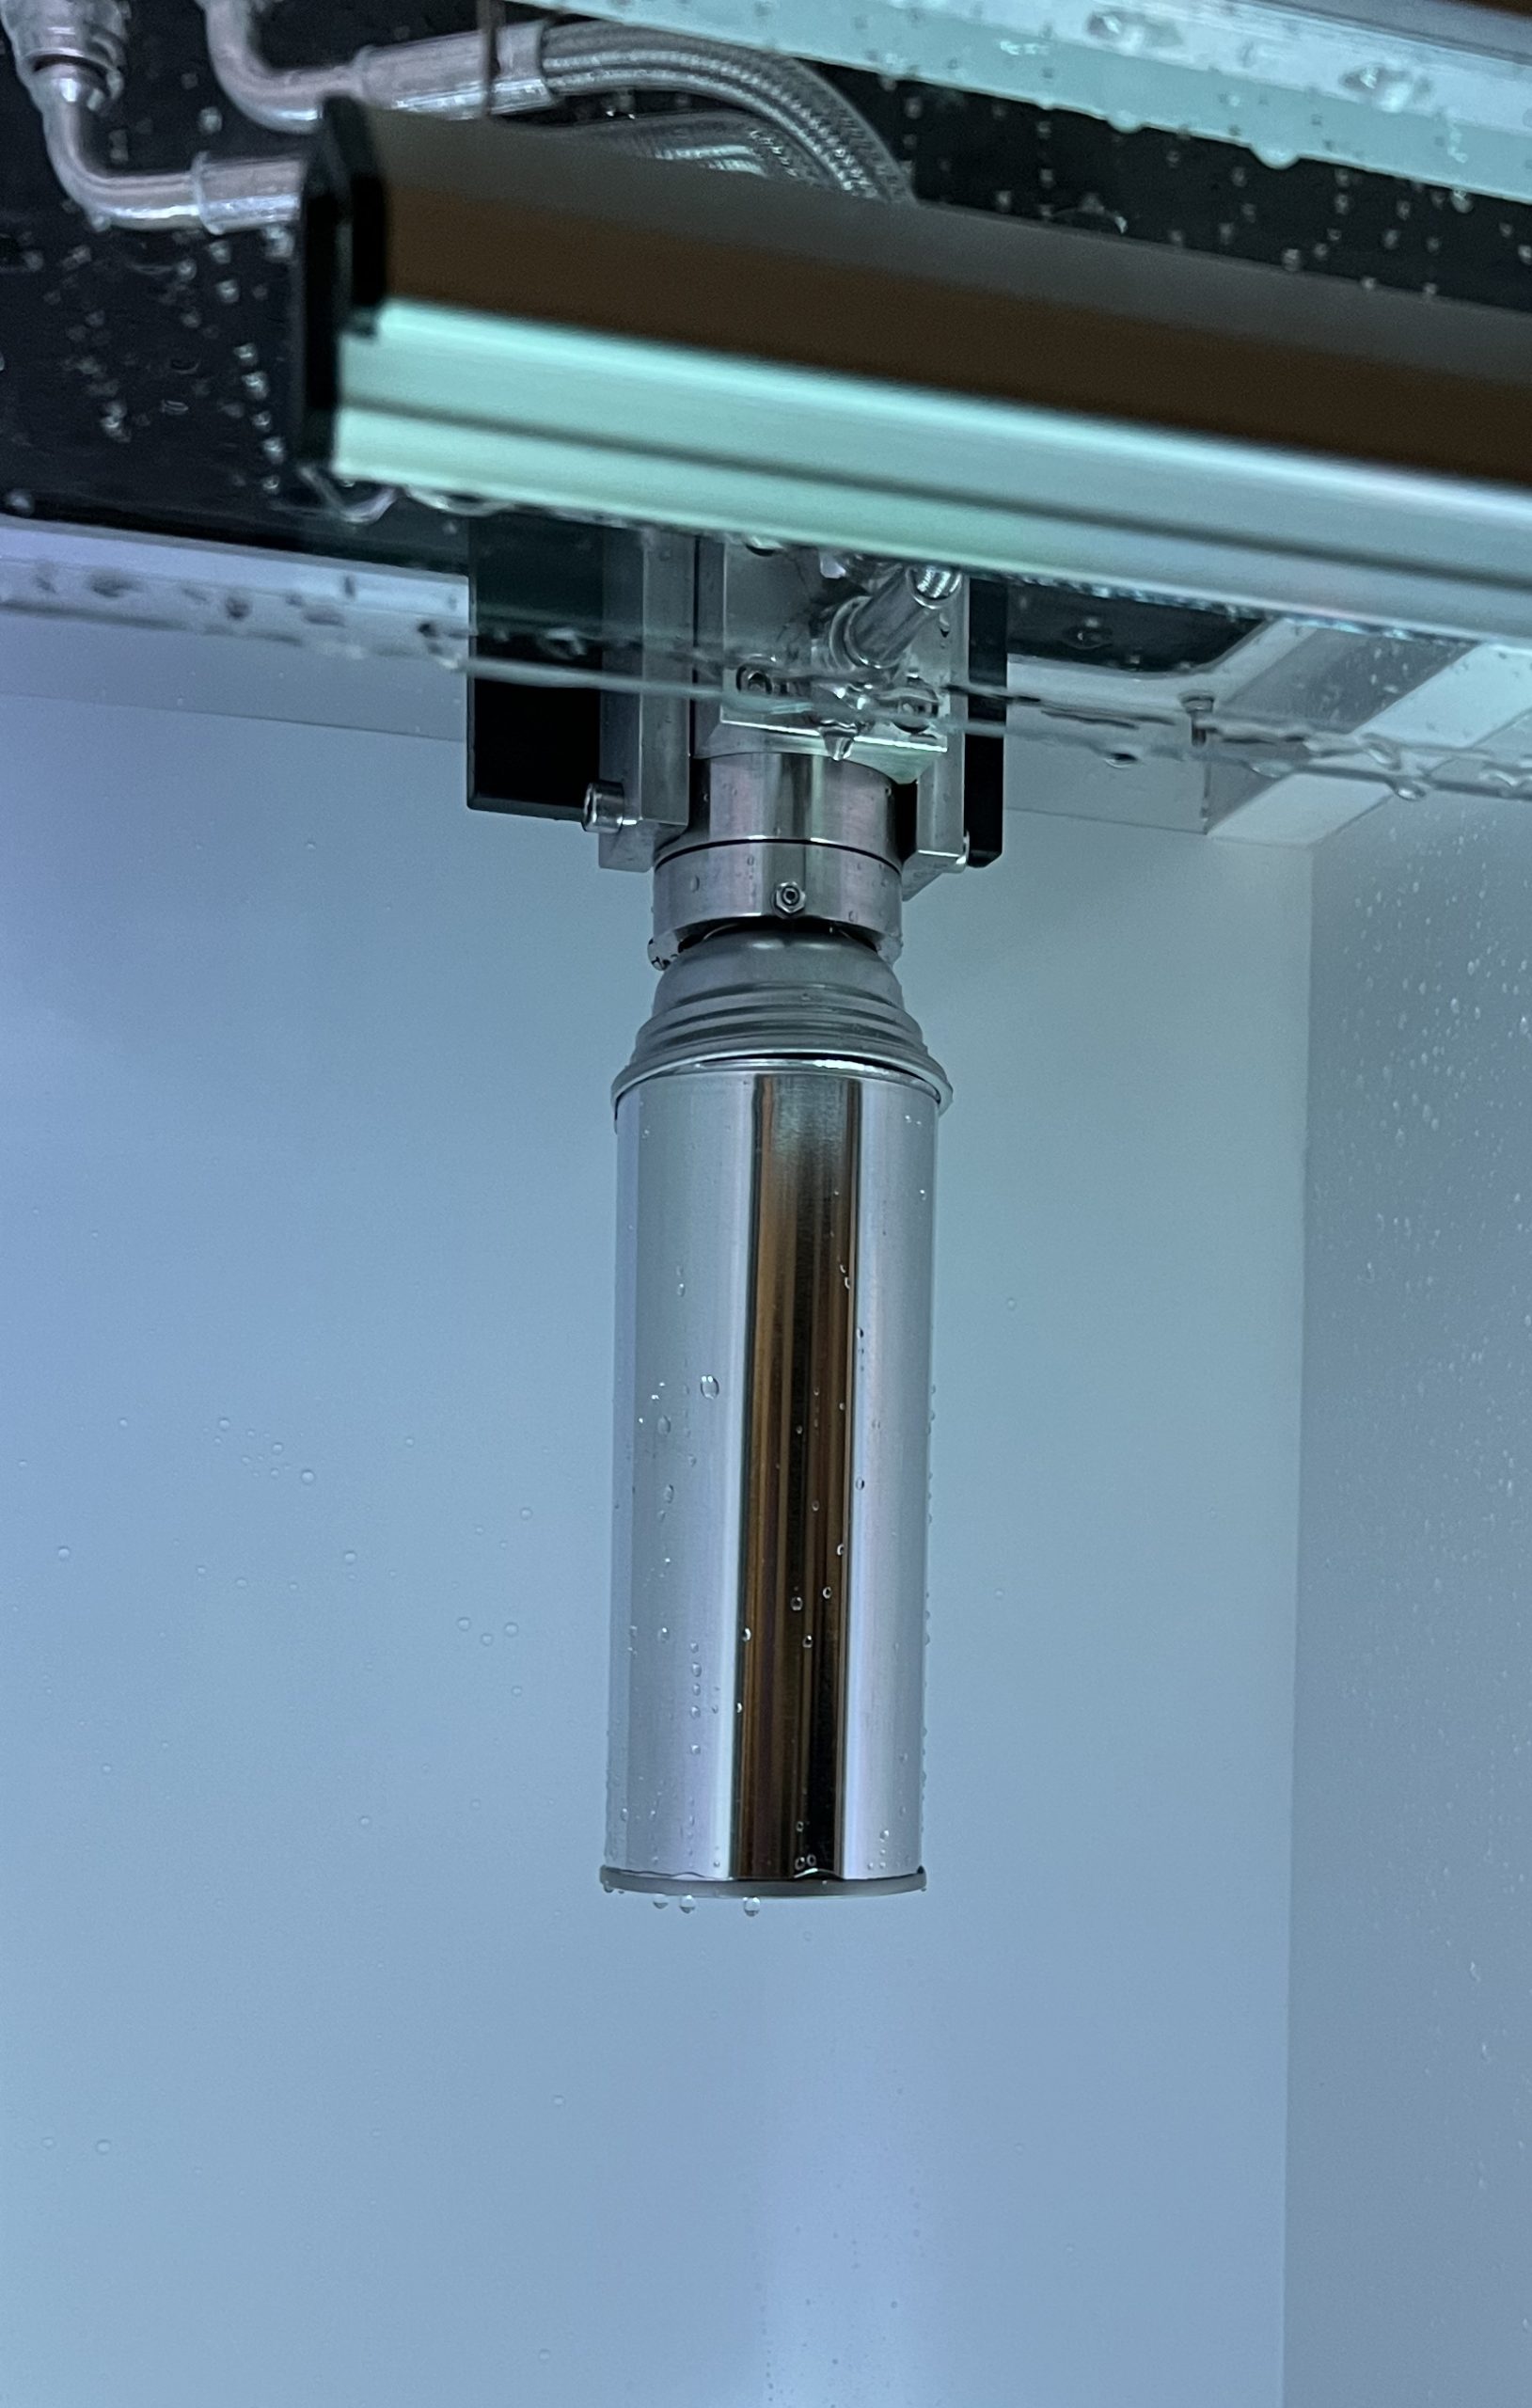


The B303 Semi-Automatic Aerosol Burst Gauge has been developed to verify production aerosols meet the minimum requirements for deformation and burst pressures.
The system monitors expansion volumes, and yield points to provide important information regarding the stability of the finished aerosol can.
Quick-change tooling provides the capability to cover a wide range of industry neck finishes, future production proofing the machine as customer requirements and portfolios develop. With an expansion volume of up to 1800ml, the system covers the full range of industry aerosol containers.
The system has the option of being mains water supplied or recirculating from a local water tank, reducing running costs and therefore cost of ownership.
Reporting options such as standard CSV or Statistical Process Control (SPC).
Traceable to UKAS standards.
Measurement Features
Technical Specification
Pressure and Expansion Options
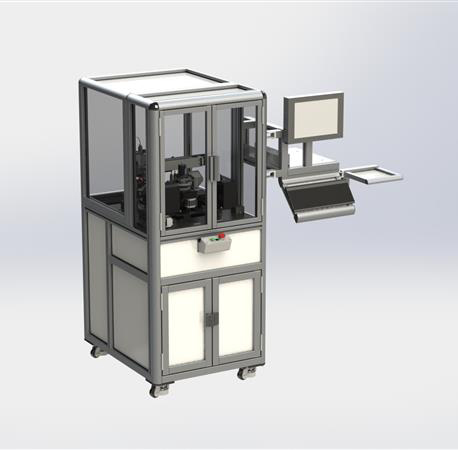
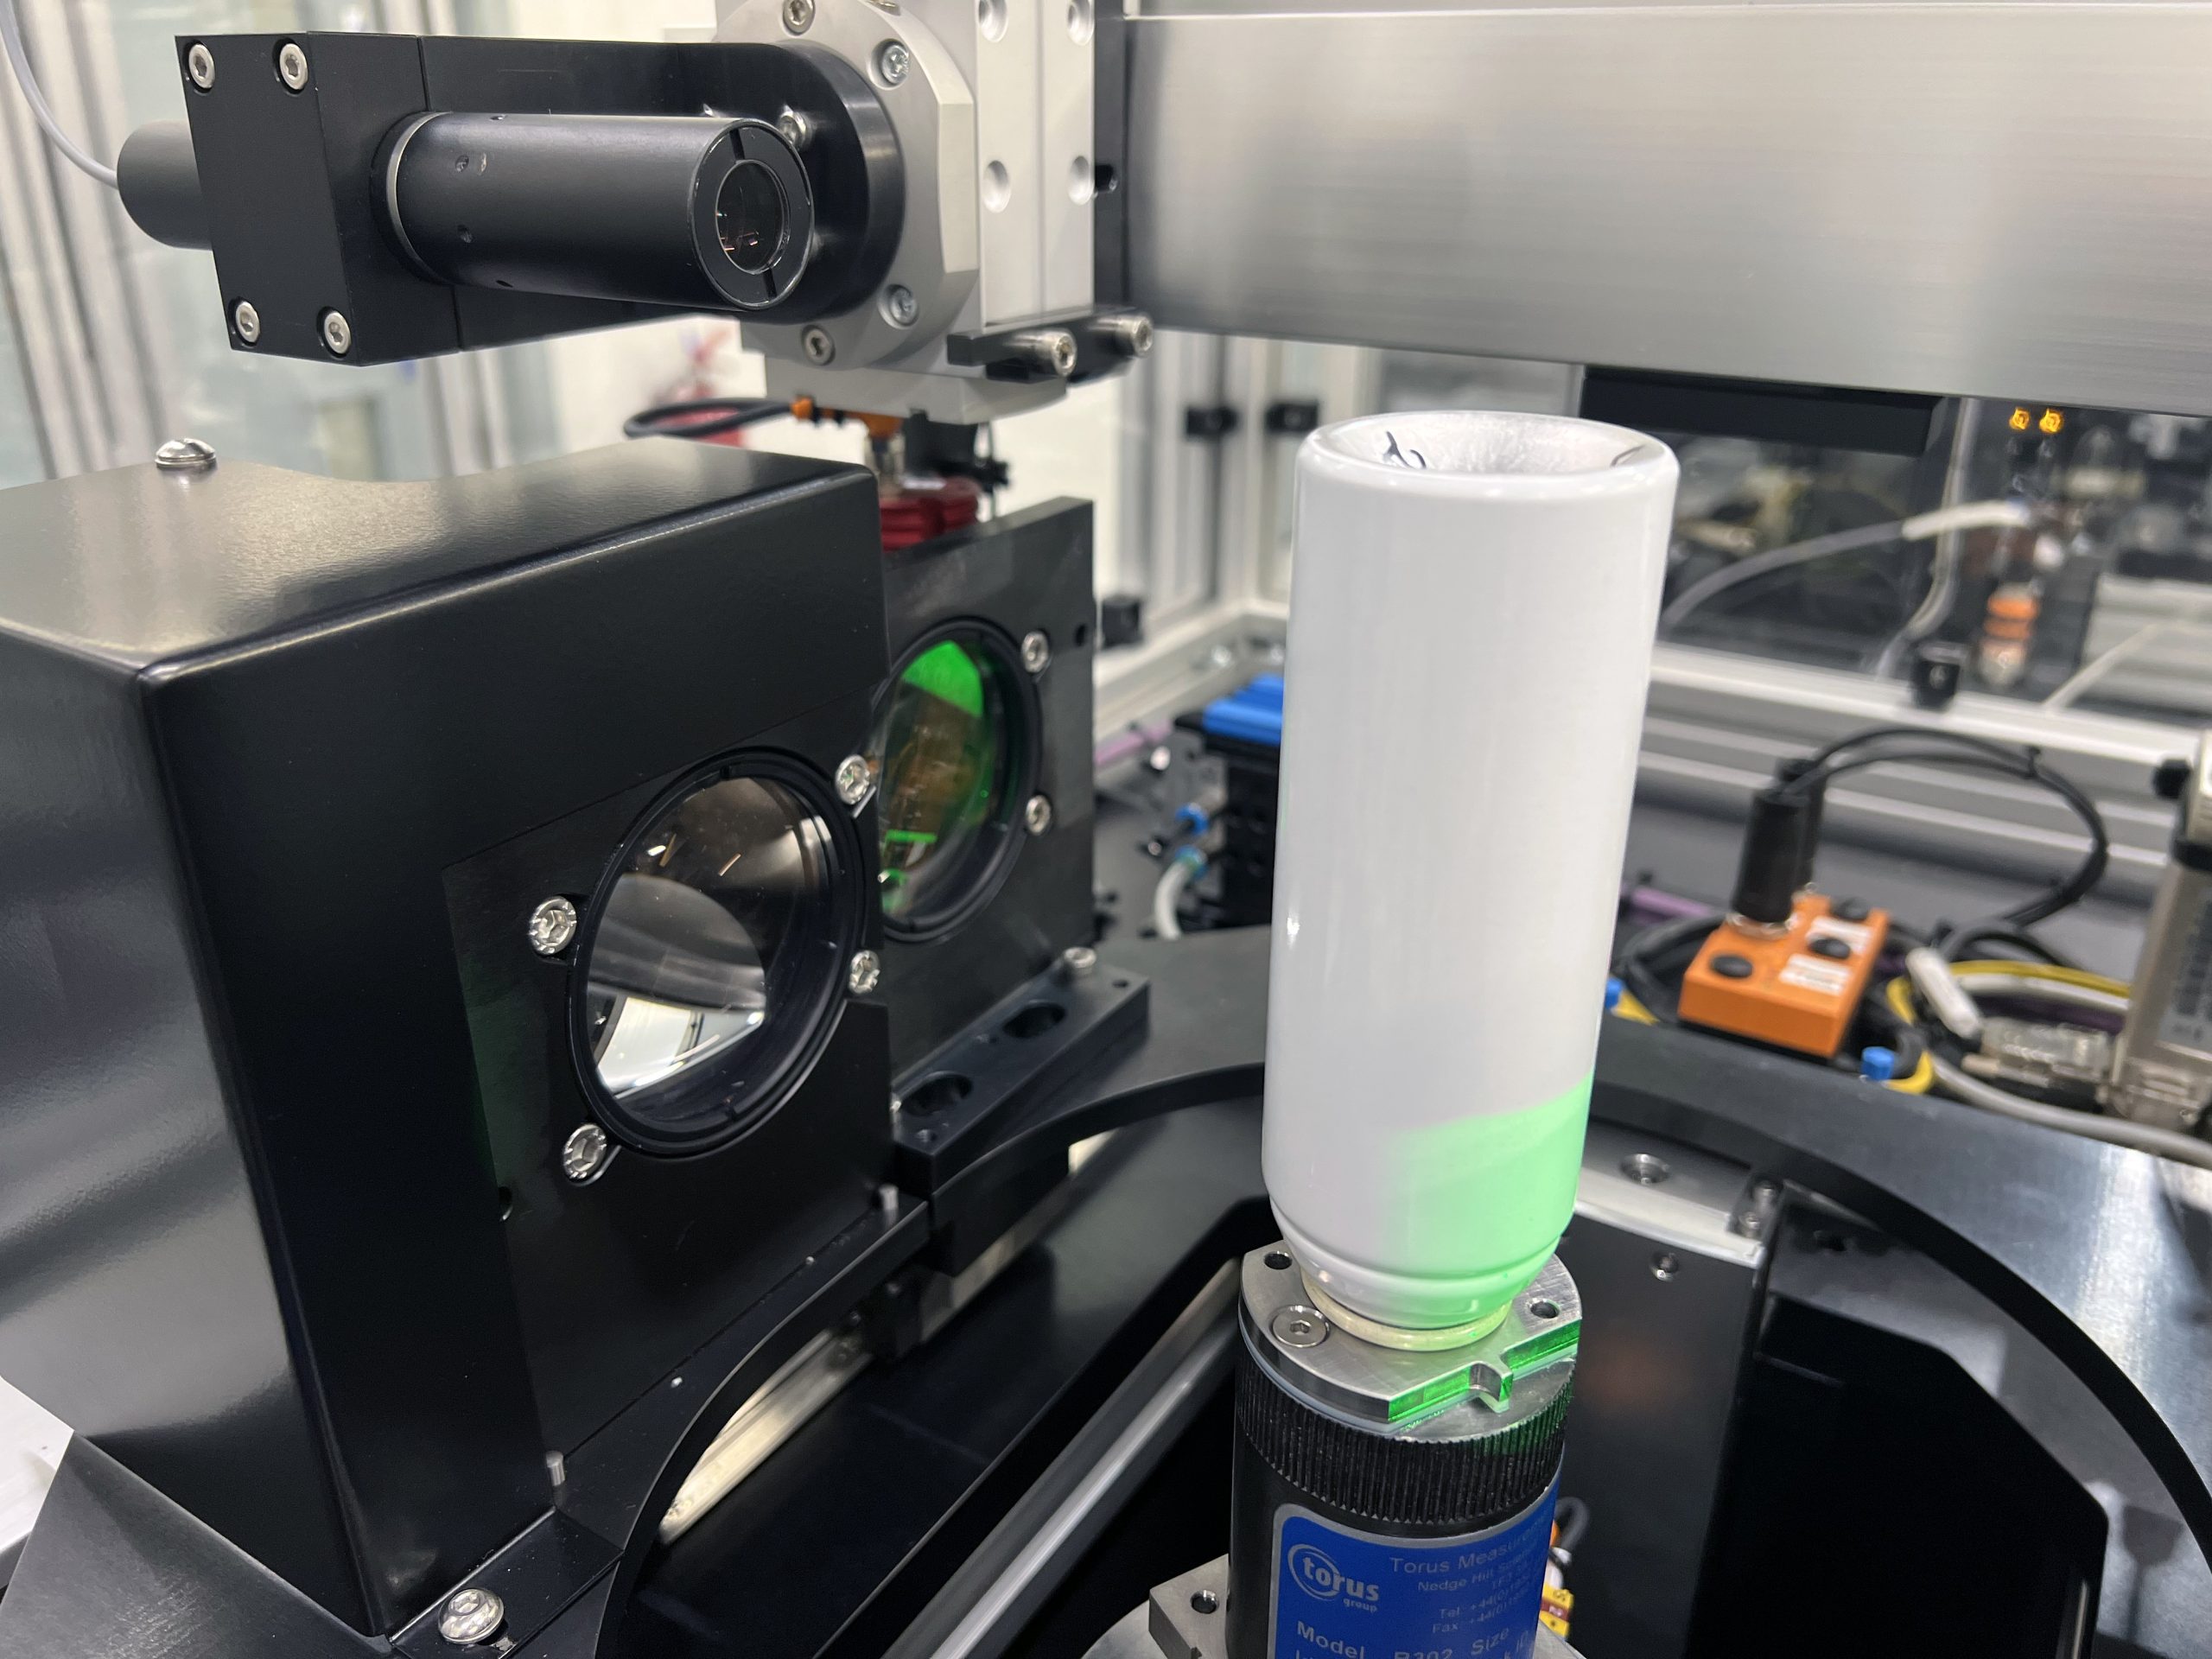
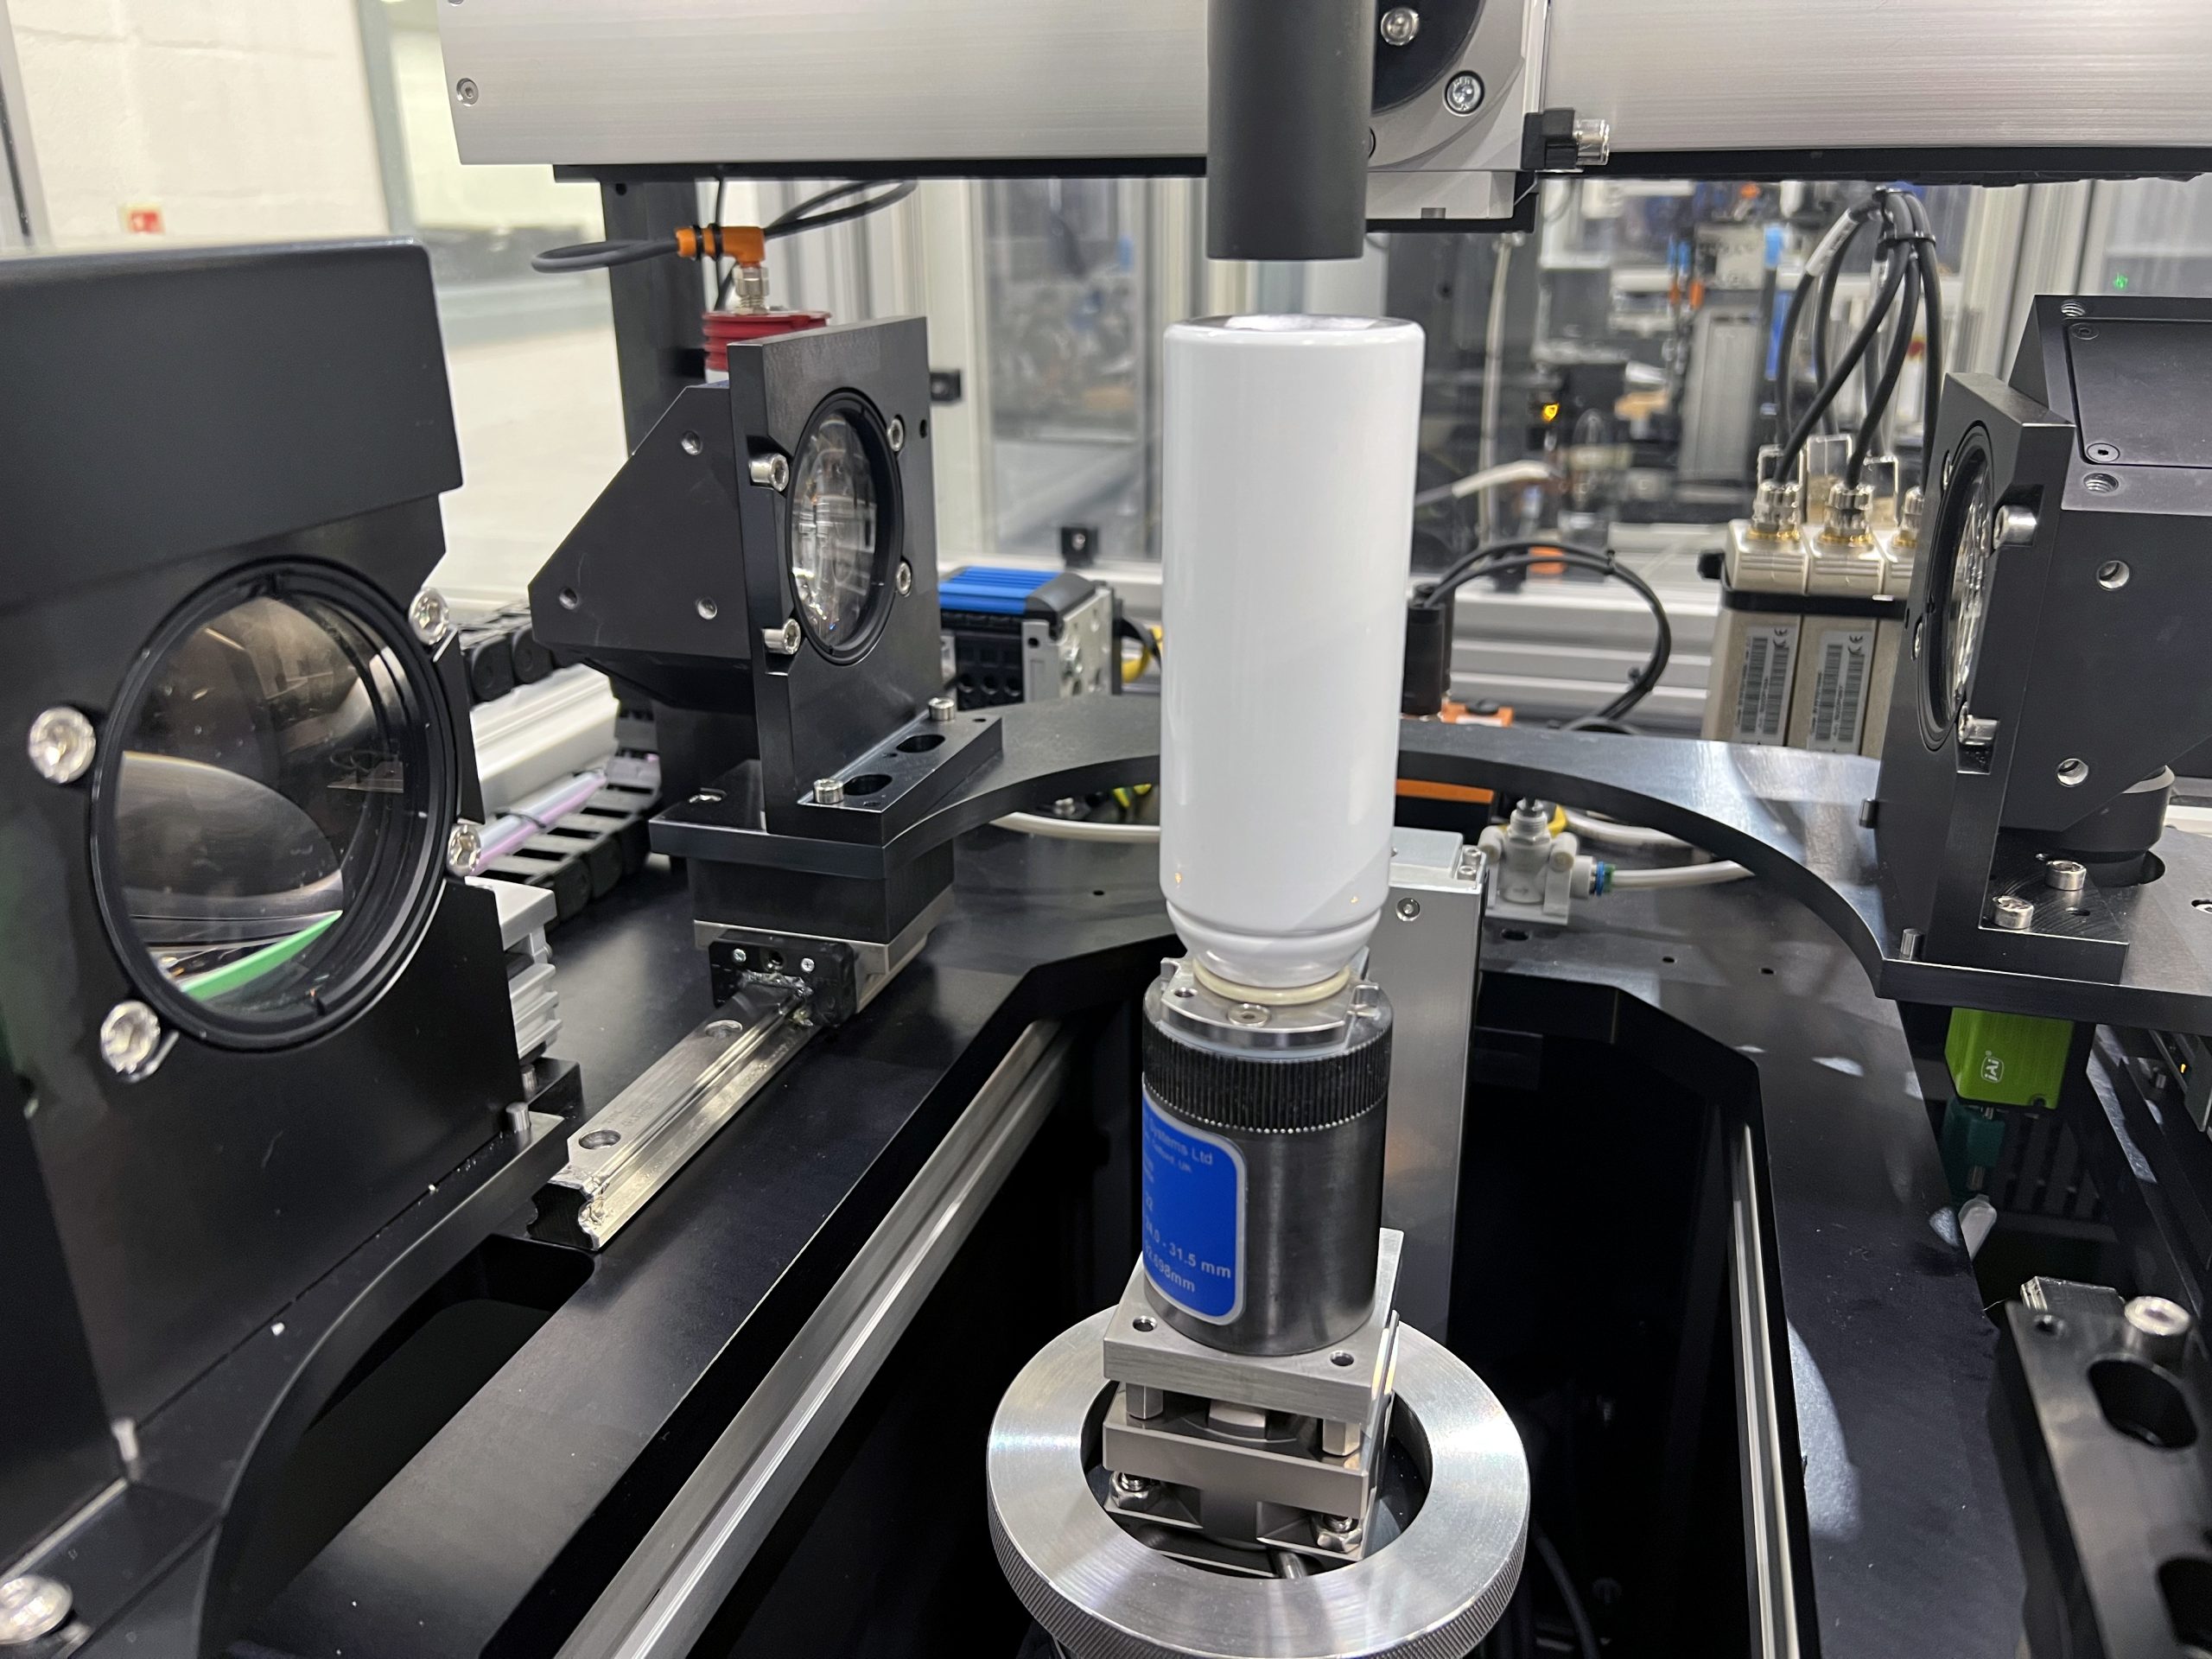


The B302 Semi-Automatic Aerosol Inspectio Gauge us unrivalled in non-contact dimensional inspection equipment.
Interchangeable location tooling provides the capability to measure a wide variety of industry can sizes within one platform, future production proofing the machine.
Reporting options such as standard CSV or Statistical Process Control (SPC).
Traceable to UKAS standards.
Measurement Features
Technical Specification
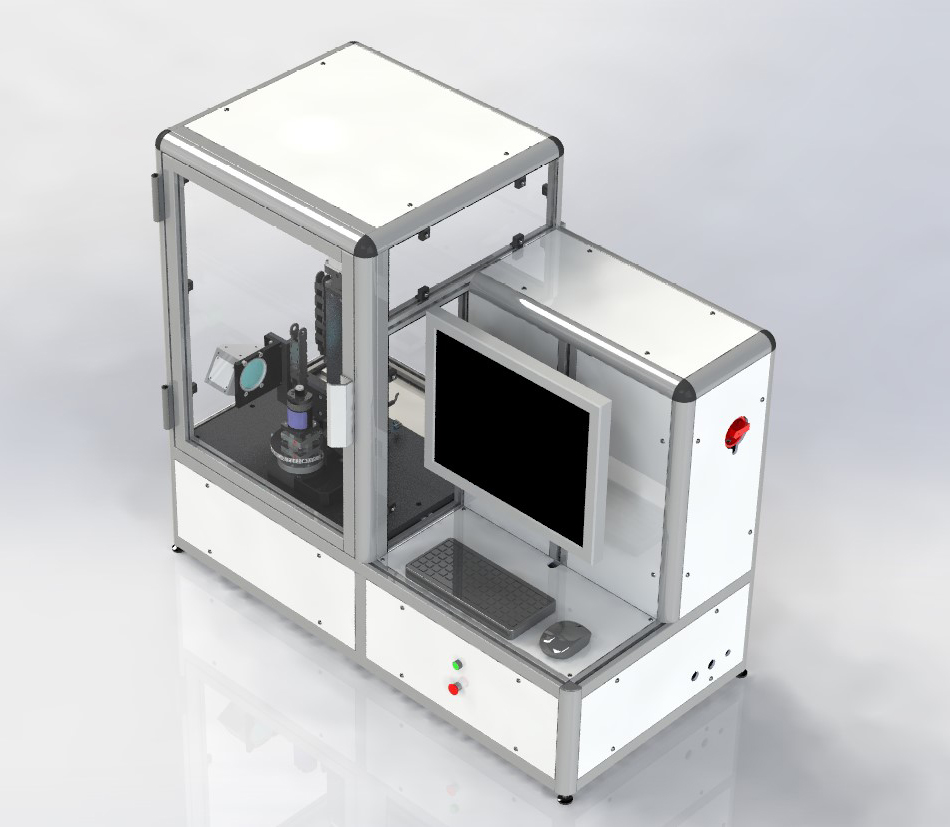
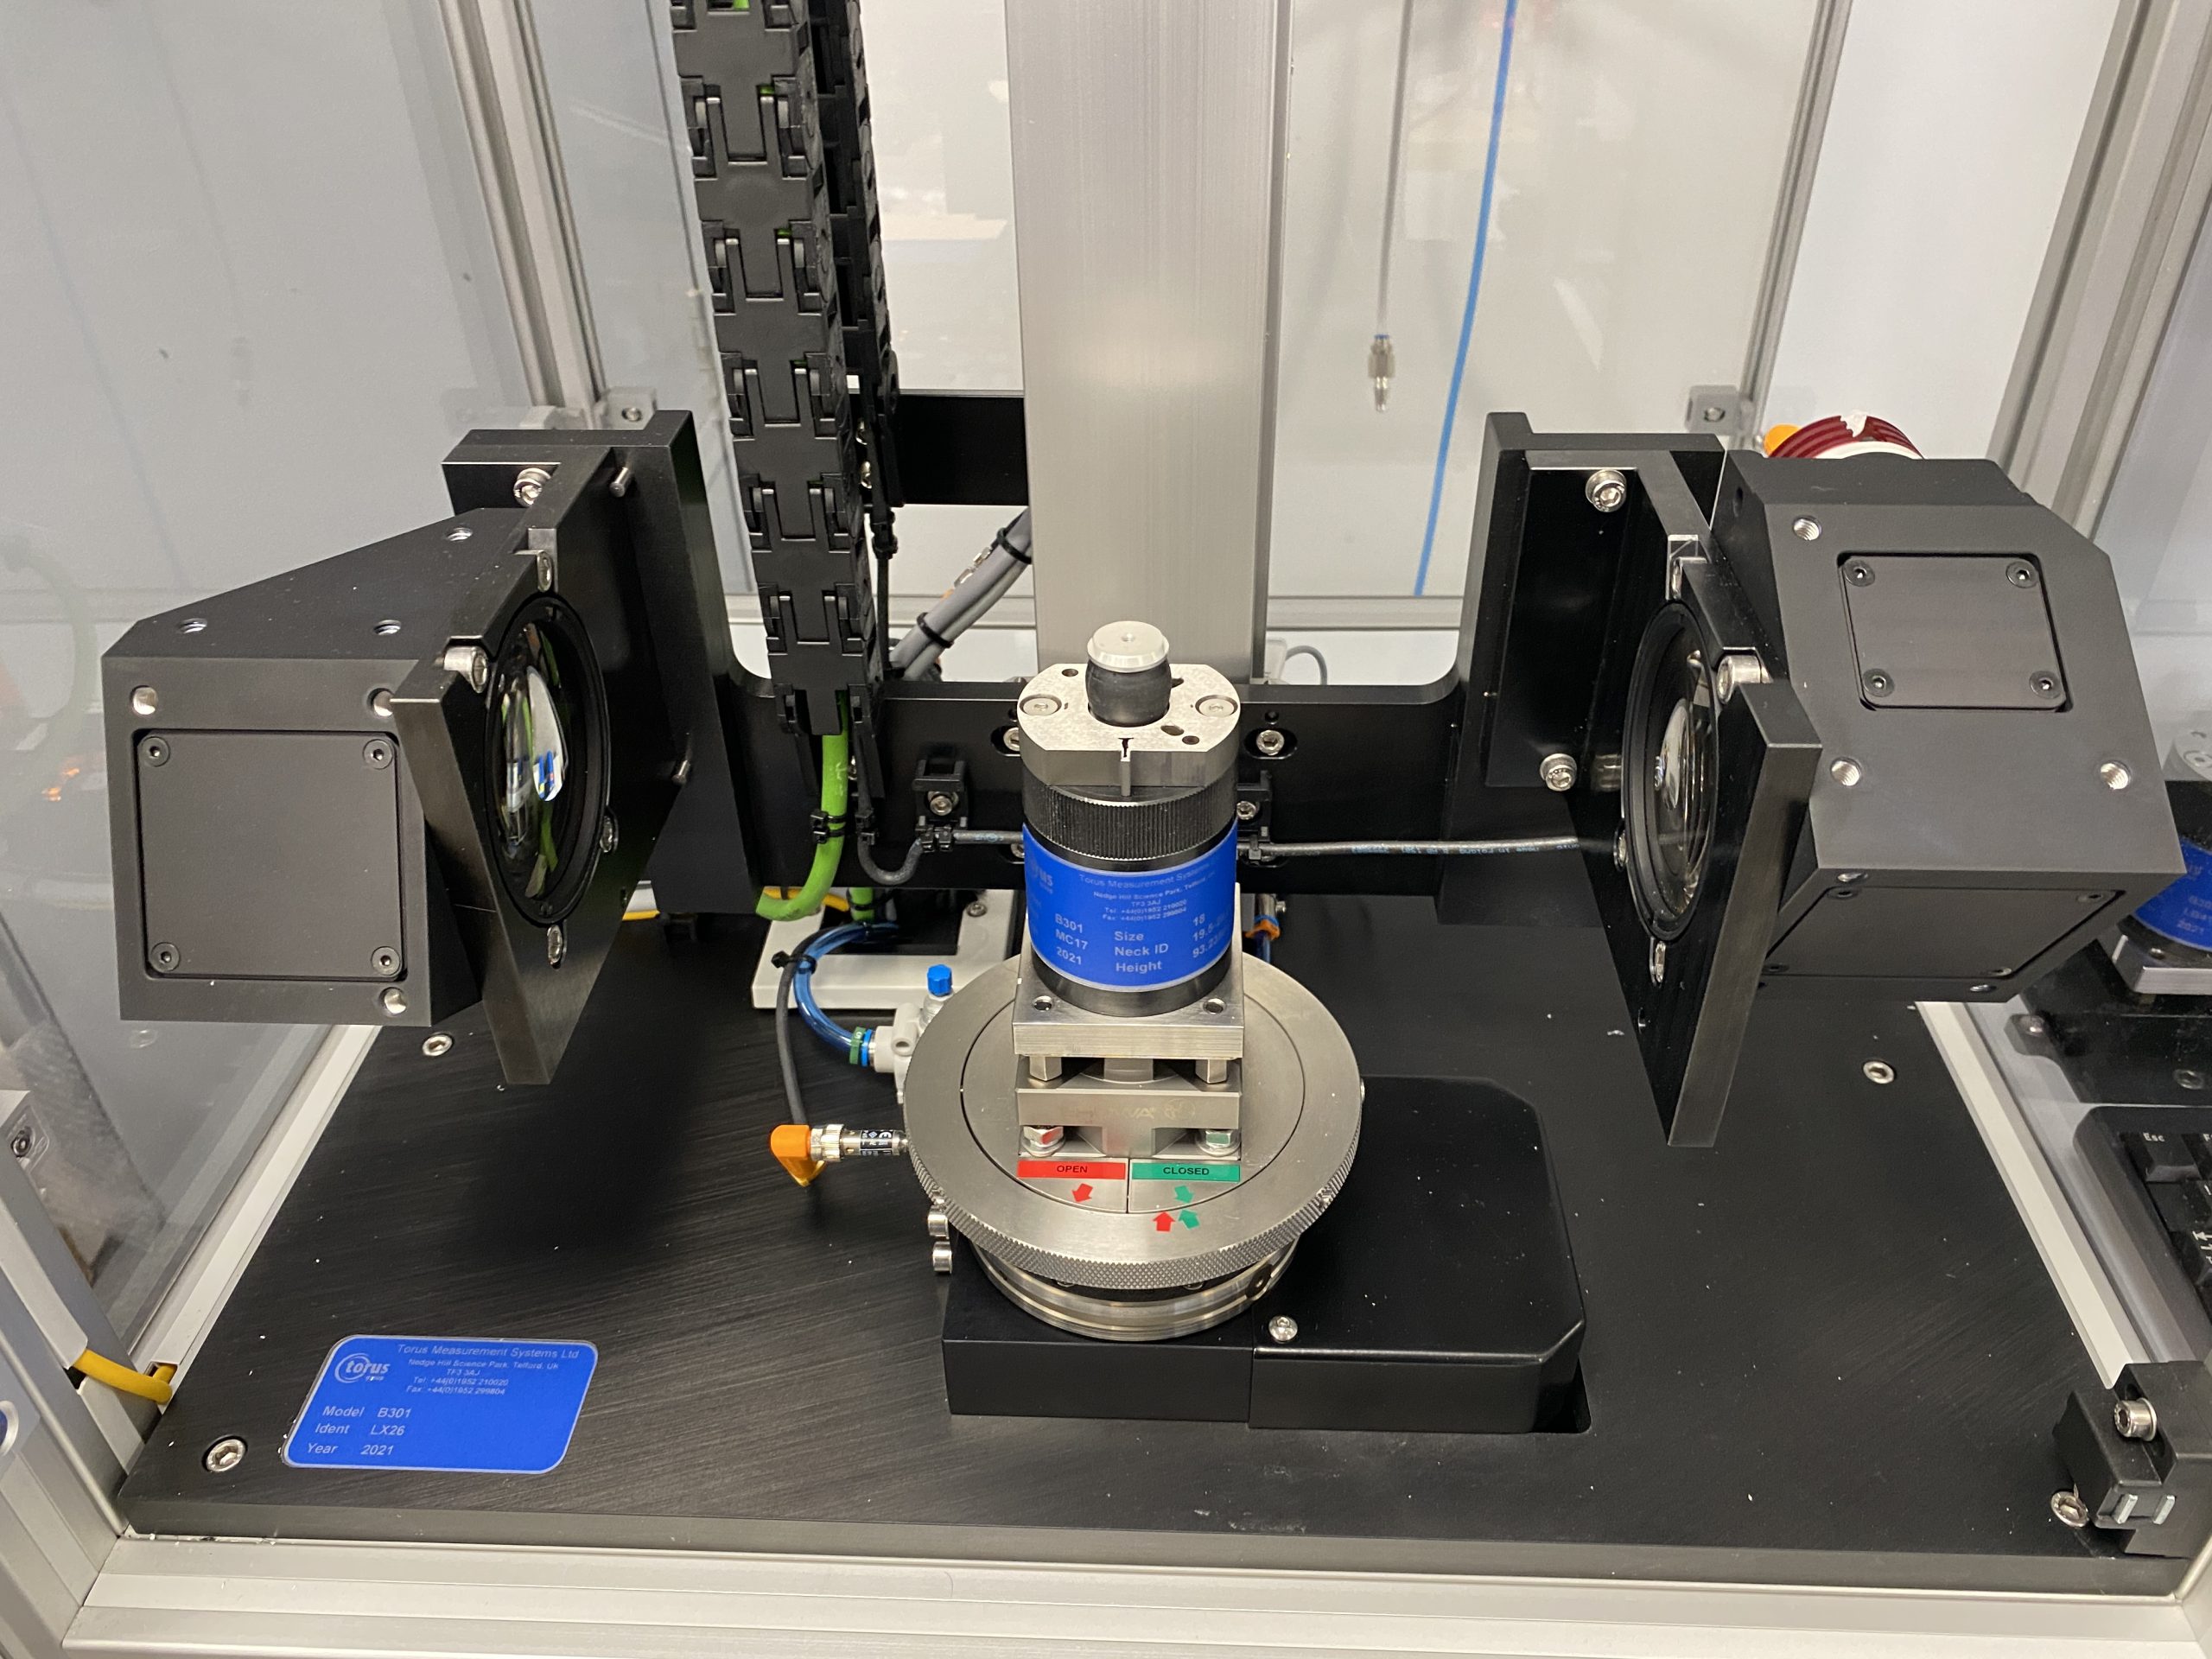
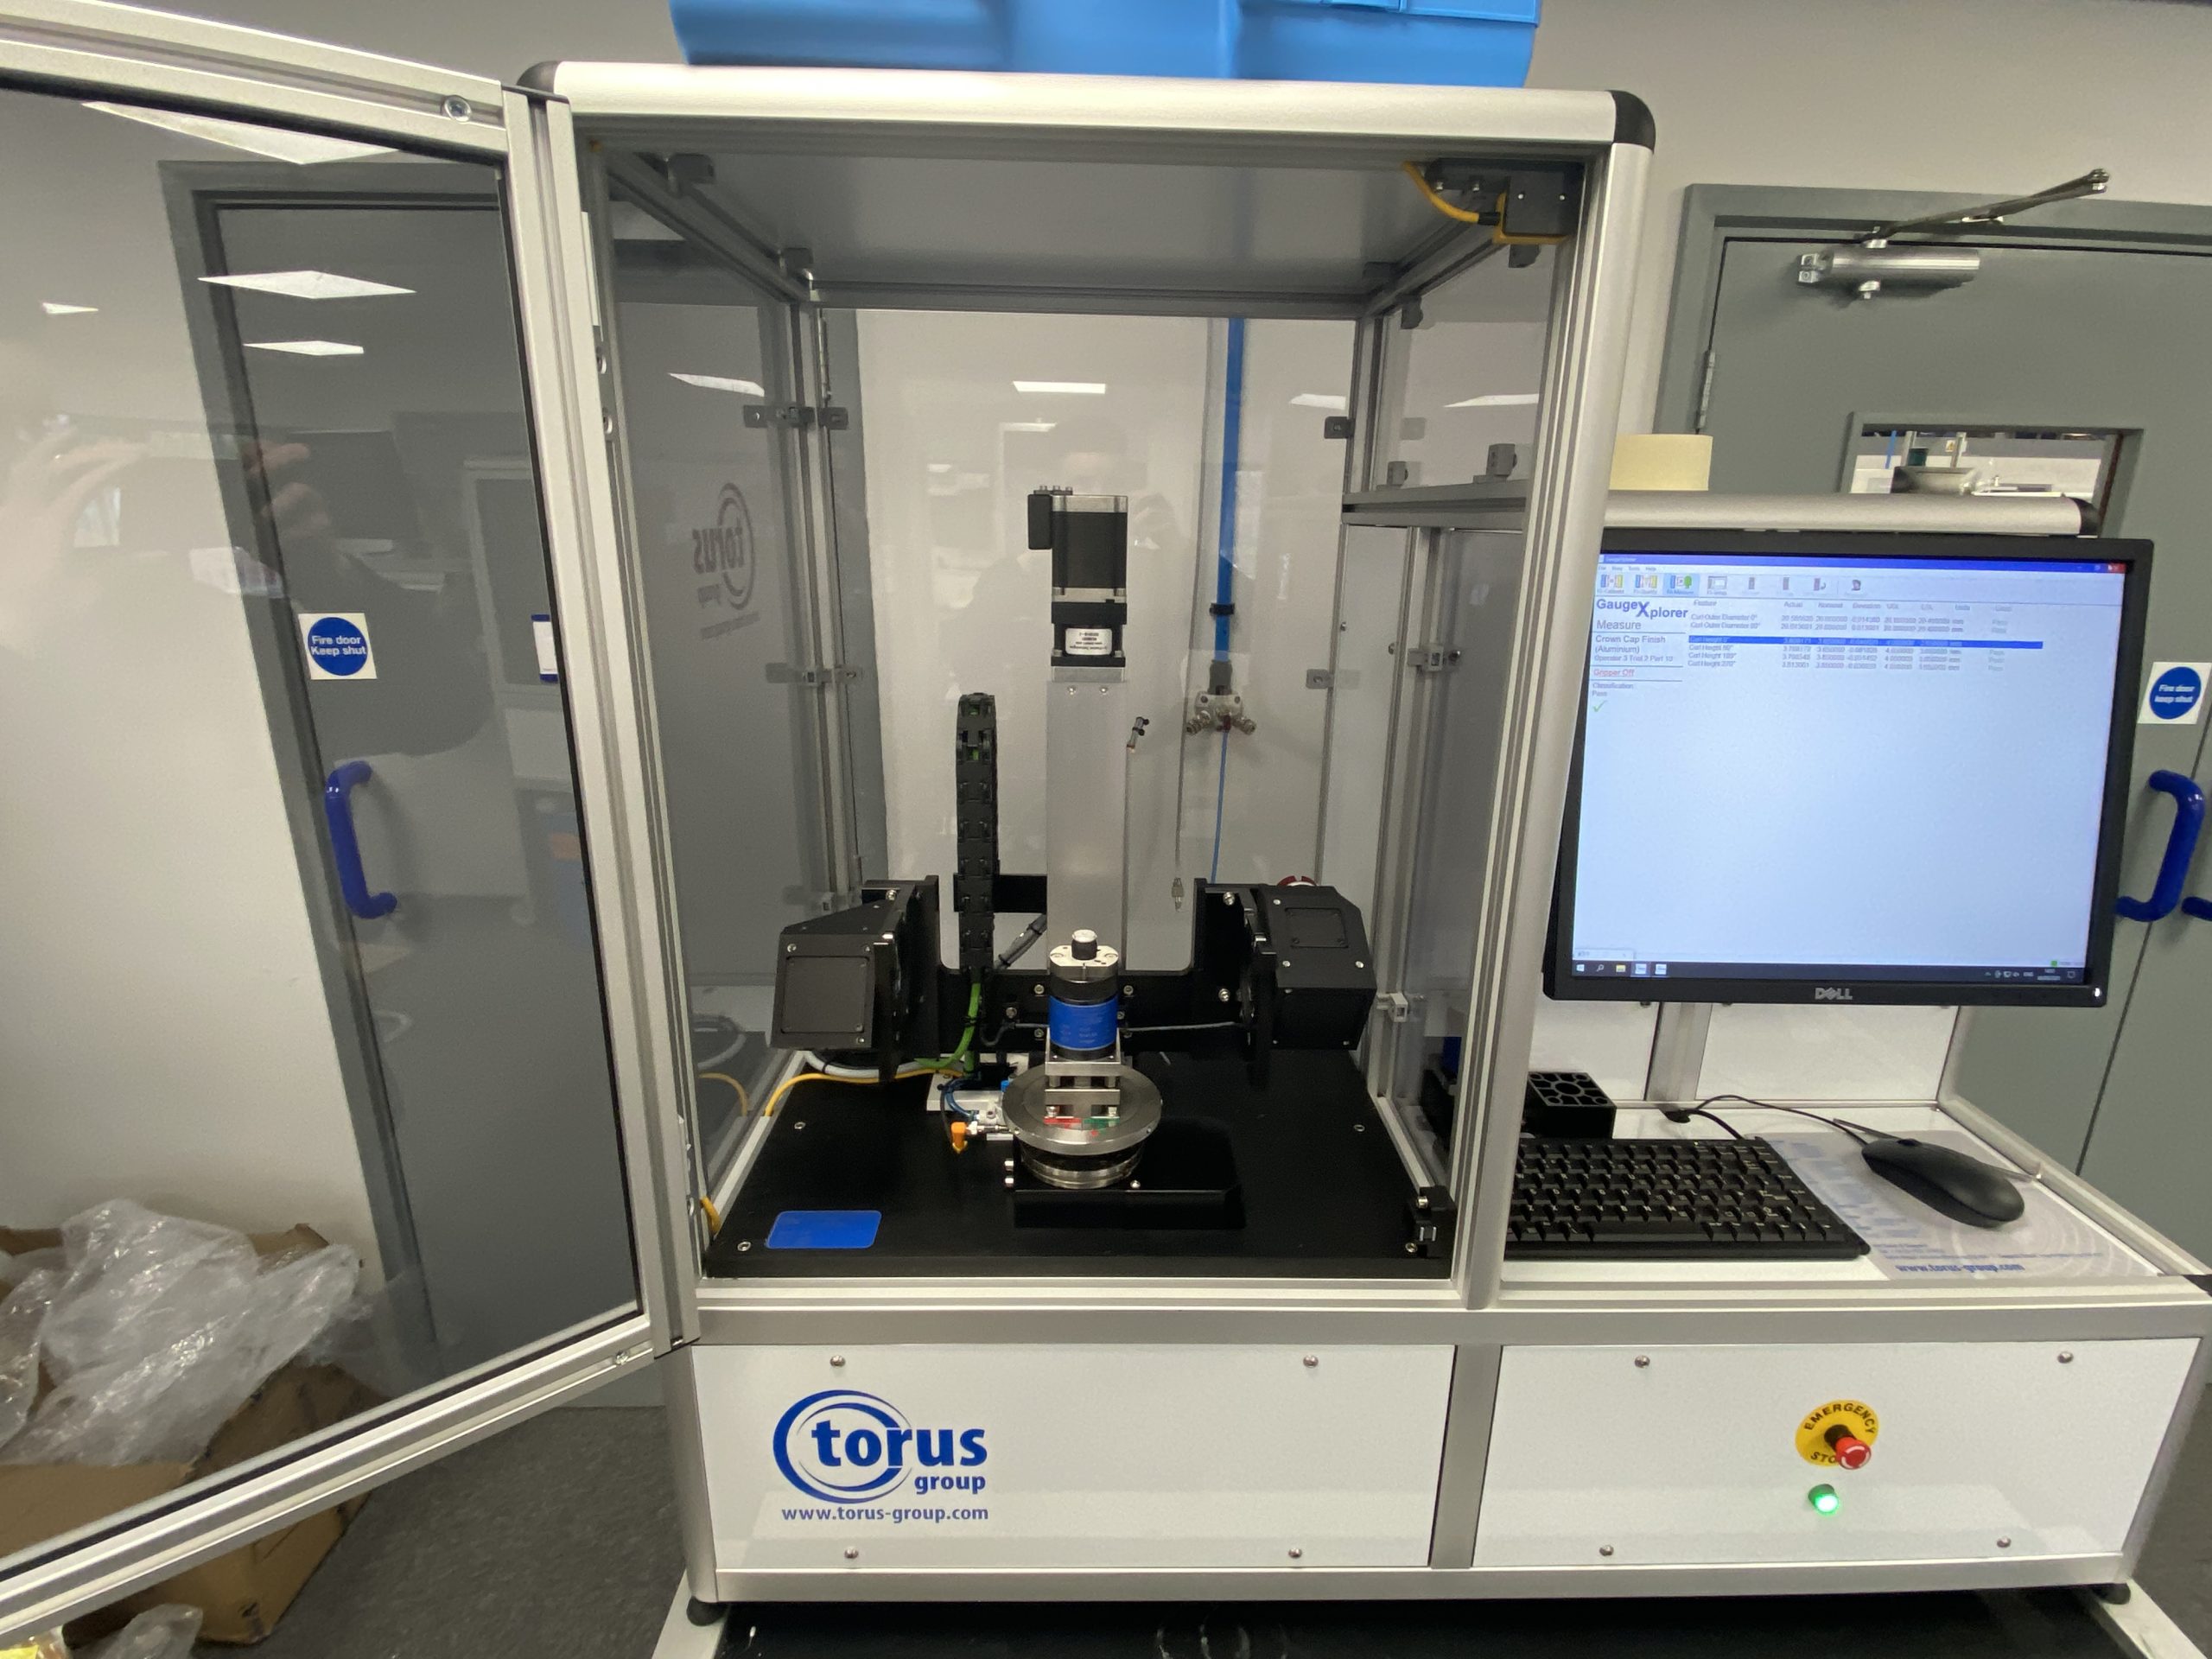


The B301 Semi-Automatic Optical Inspection Gauge has been developed to provide a fast, non-contact, traceable measurement solution for neck finish and body dimensions.
Using state-of-the-art optical telecentric lens technology, the system takes advantage of a self-teach profile function for part program generation.
Interchangeable location tooling provides the capability to perform dimensional inspection on a wide range of industry standard neck type finishes.
Automatic thread start alignment used to offer unmatched measurement repeatability and consistency from part-to-part measurement.
Reporting options as standard CSV or Statistical Process Control (SPC)
Traceability and Certification to UKAS Standards
Measurement Features
Technical Specification
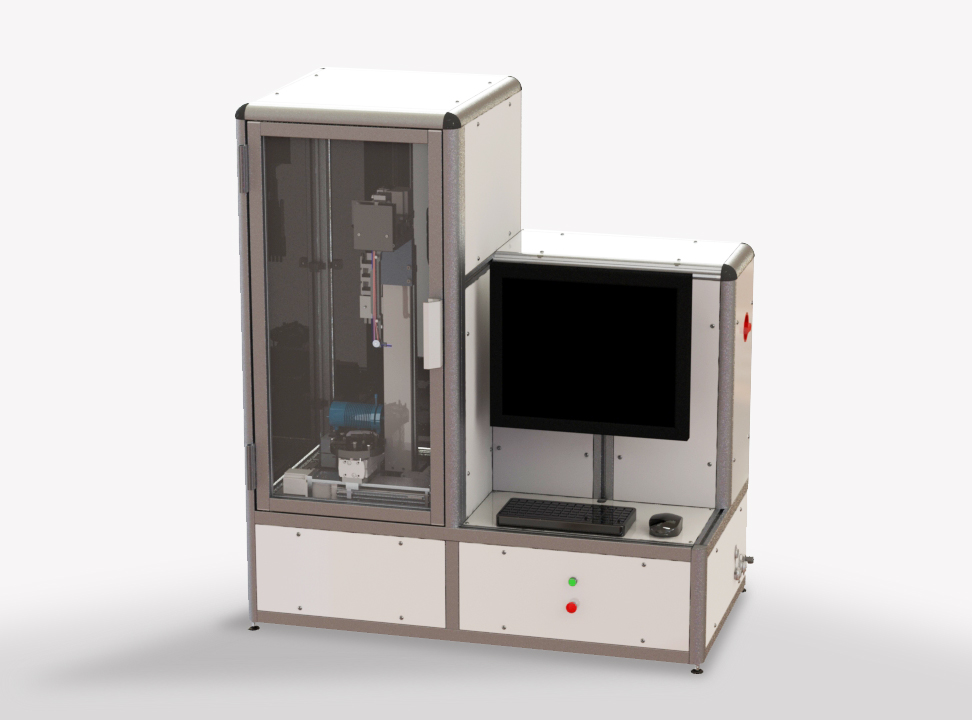
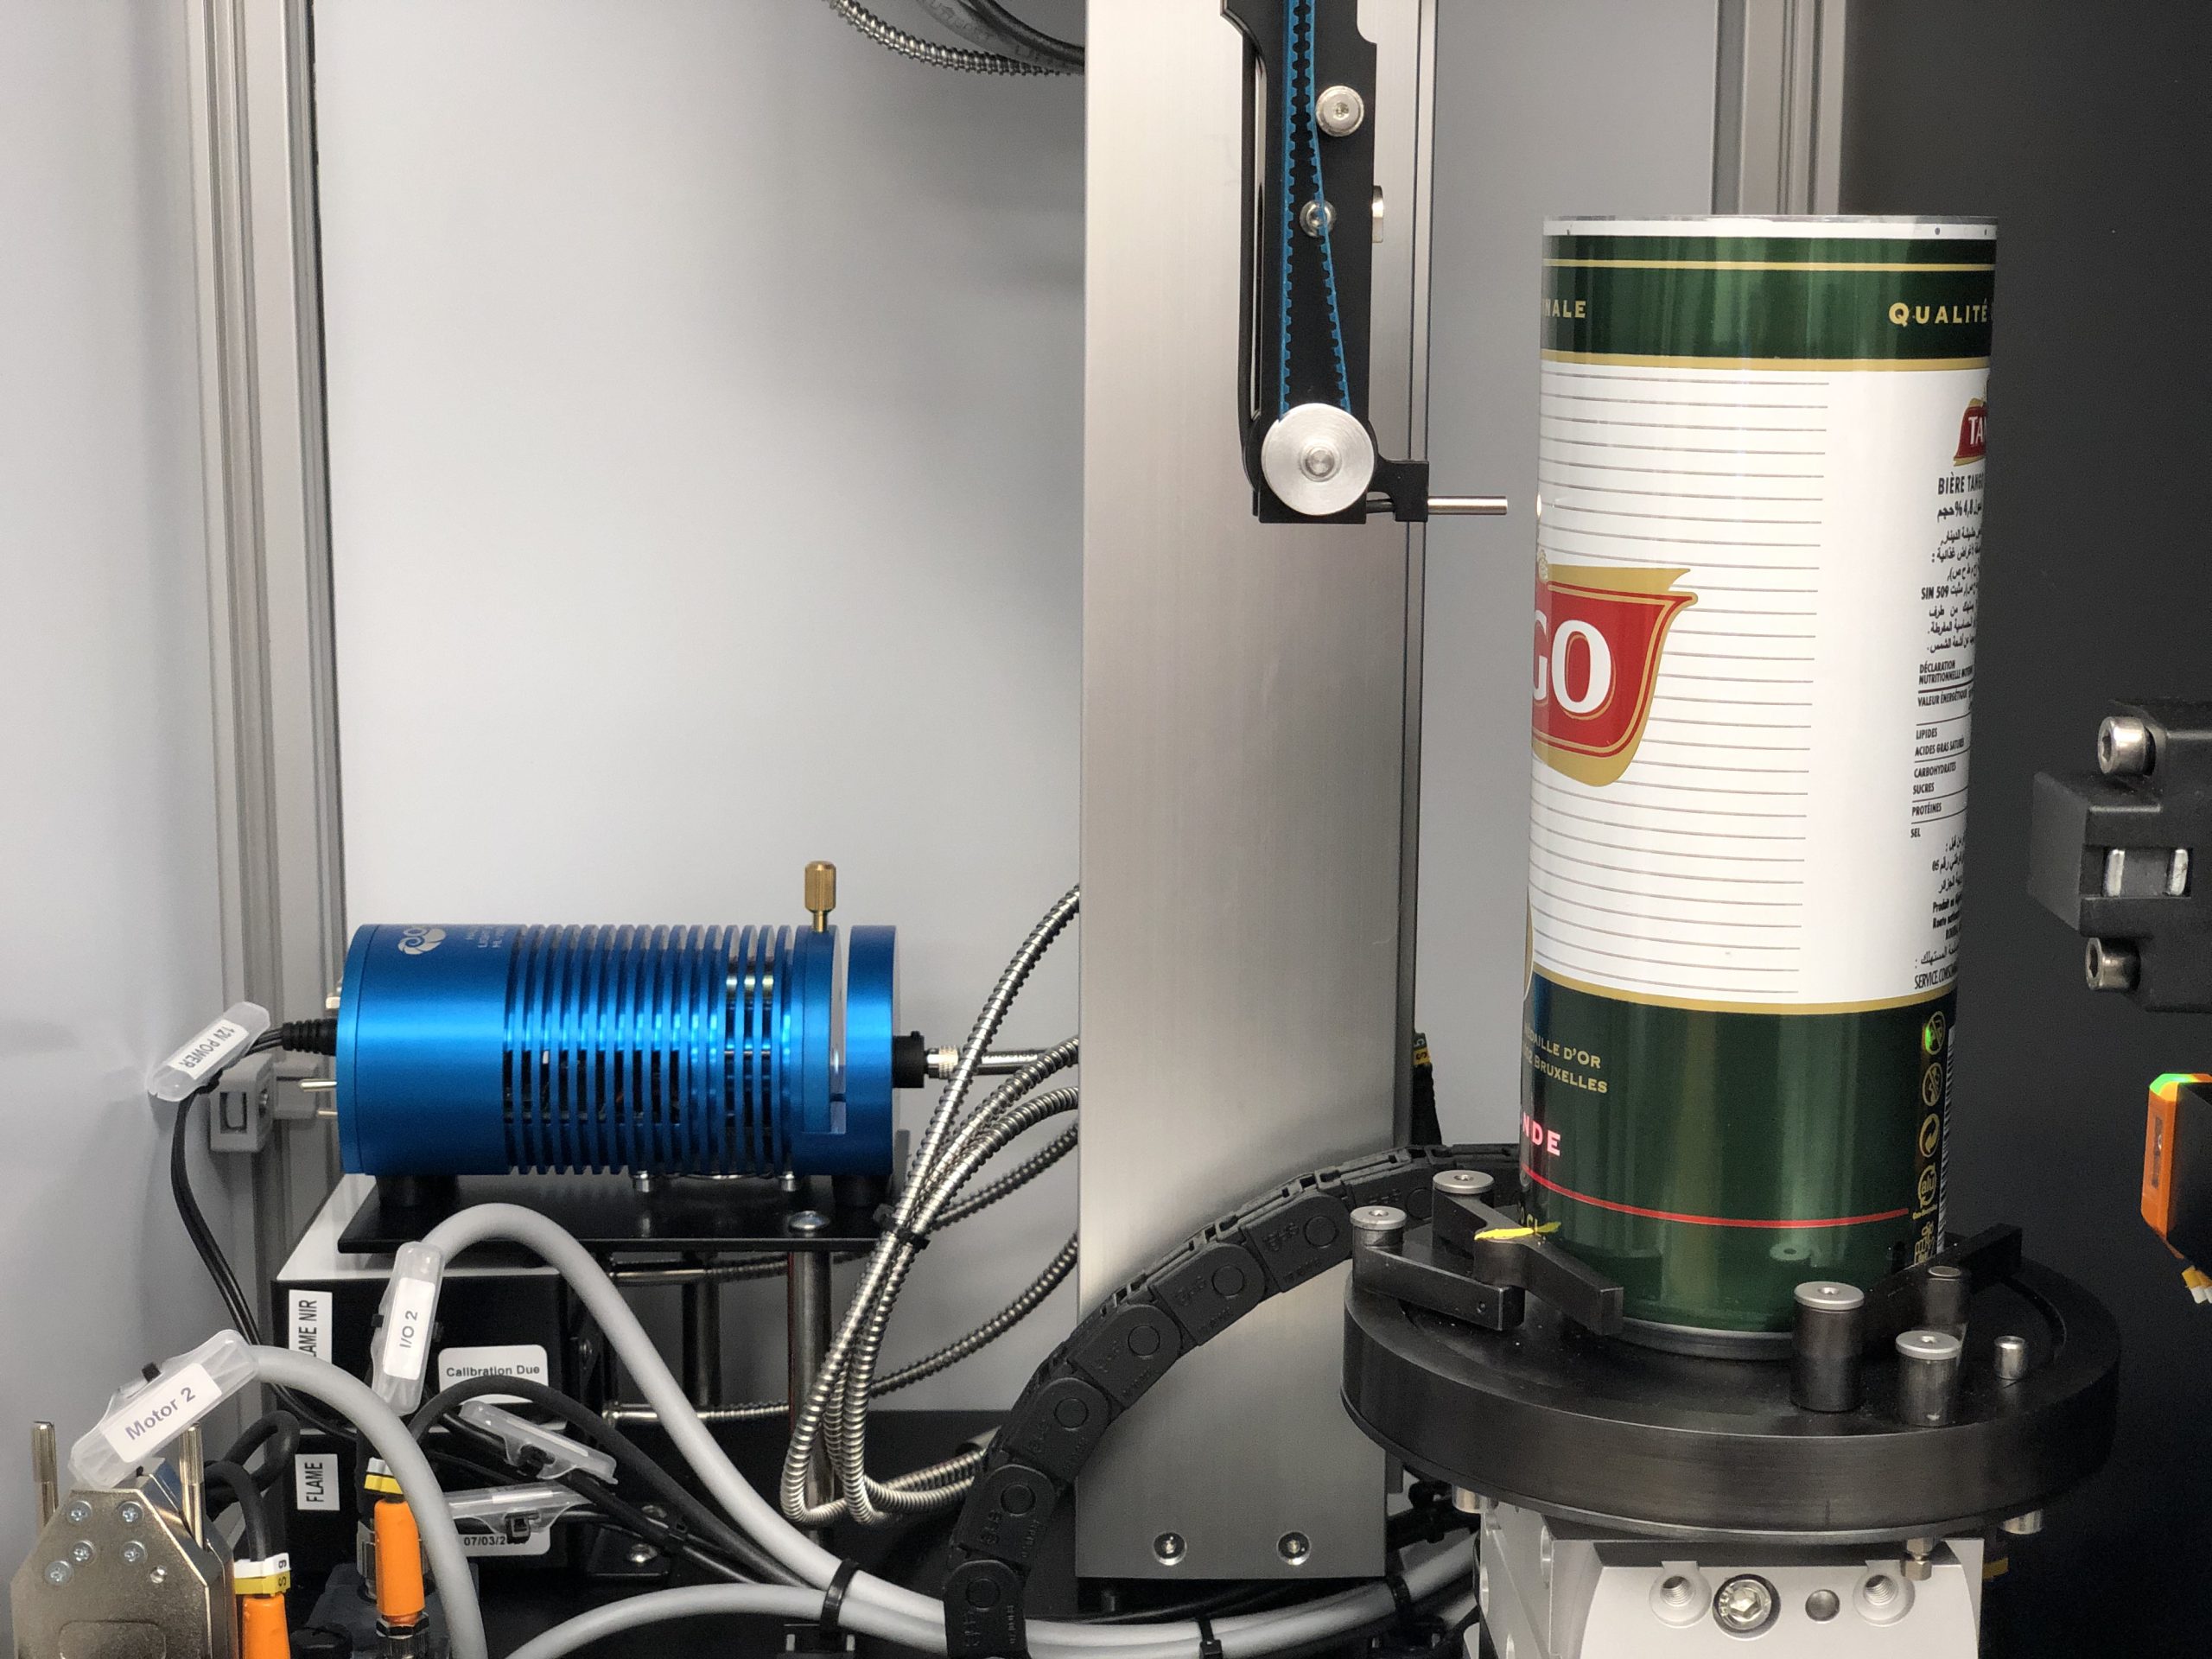
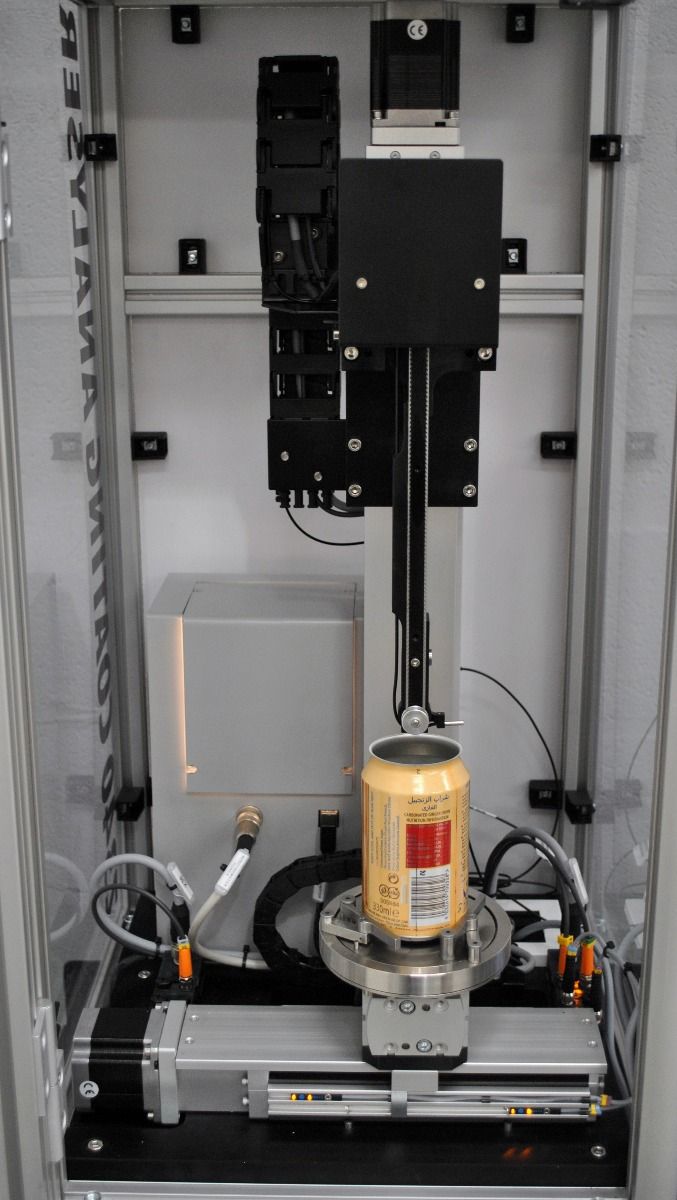


The Z340 Semi-Automatic Bench Top Coating Analyser has been developed to give detailed distribution analysis of the internal and external lacquer on an aerosol can.
The system utilises state-of-the-art non-contact spectroscopy techniques and is suitable for both aluminium and steel aerosol can inspection.
Measurement Features
Technical Specification
Gauge Features
The Z340 Semi Automatic Aerosol Can Coating Analyser 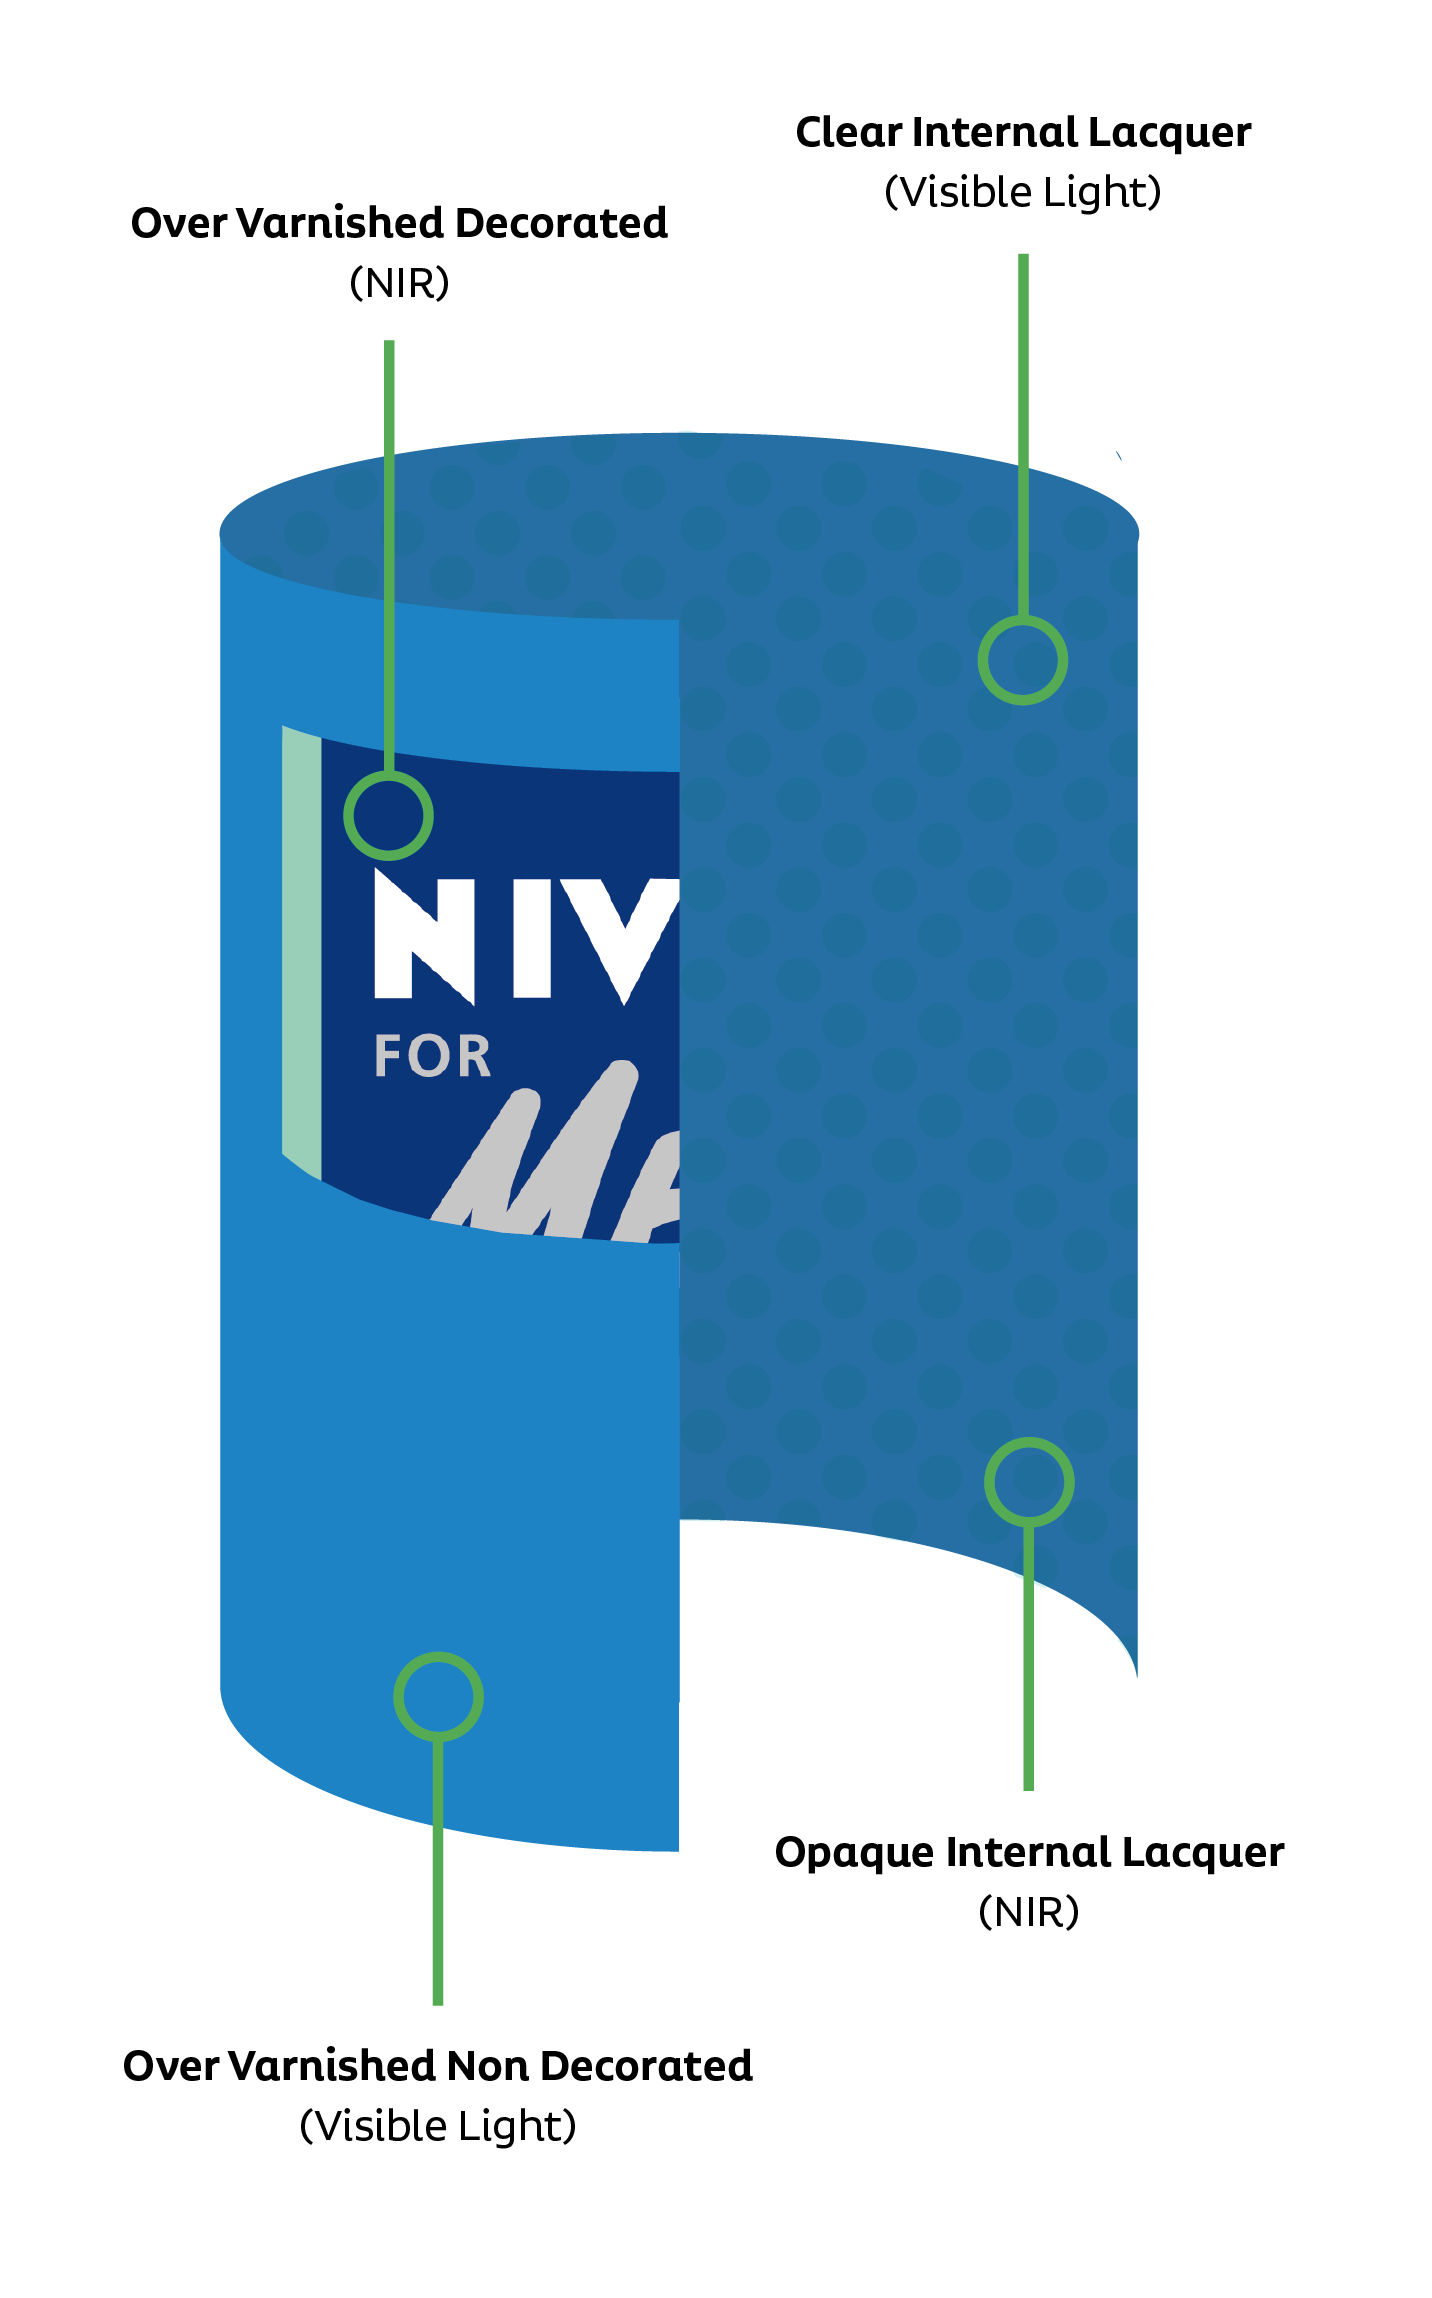
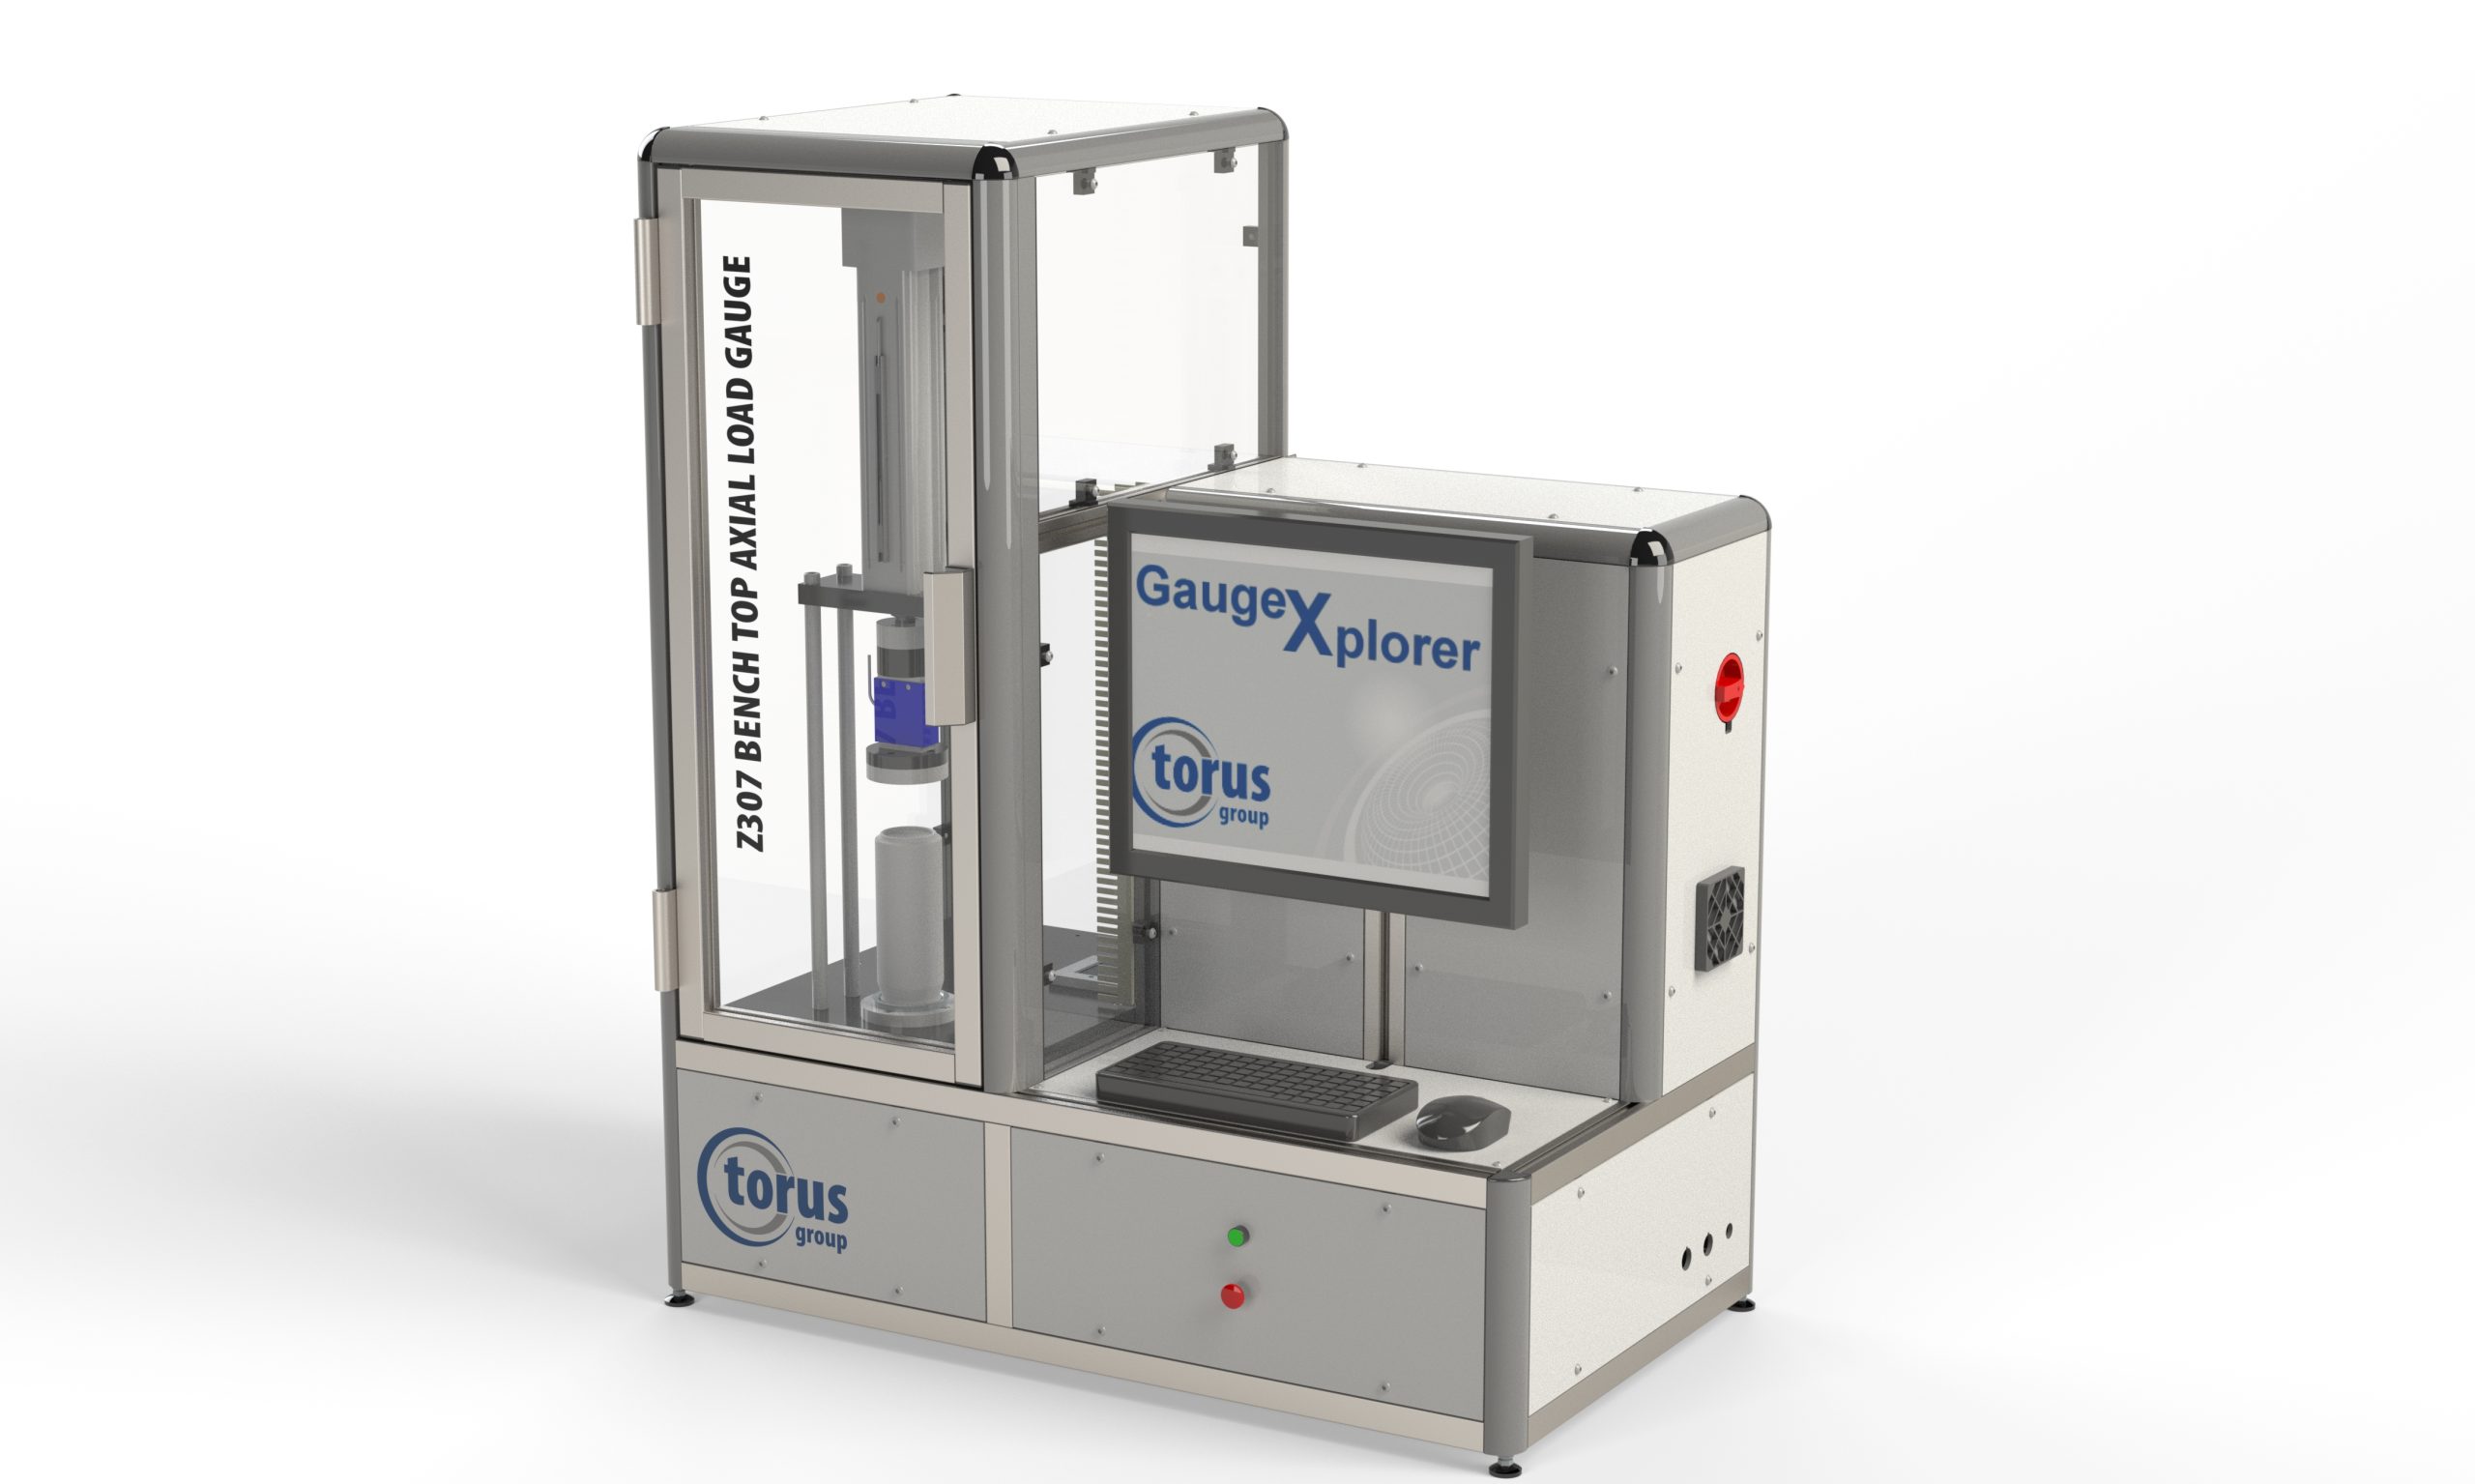
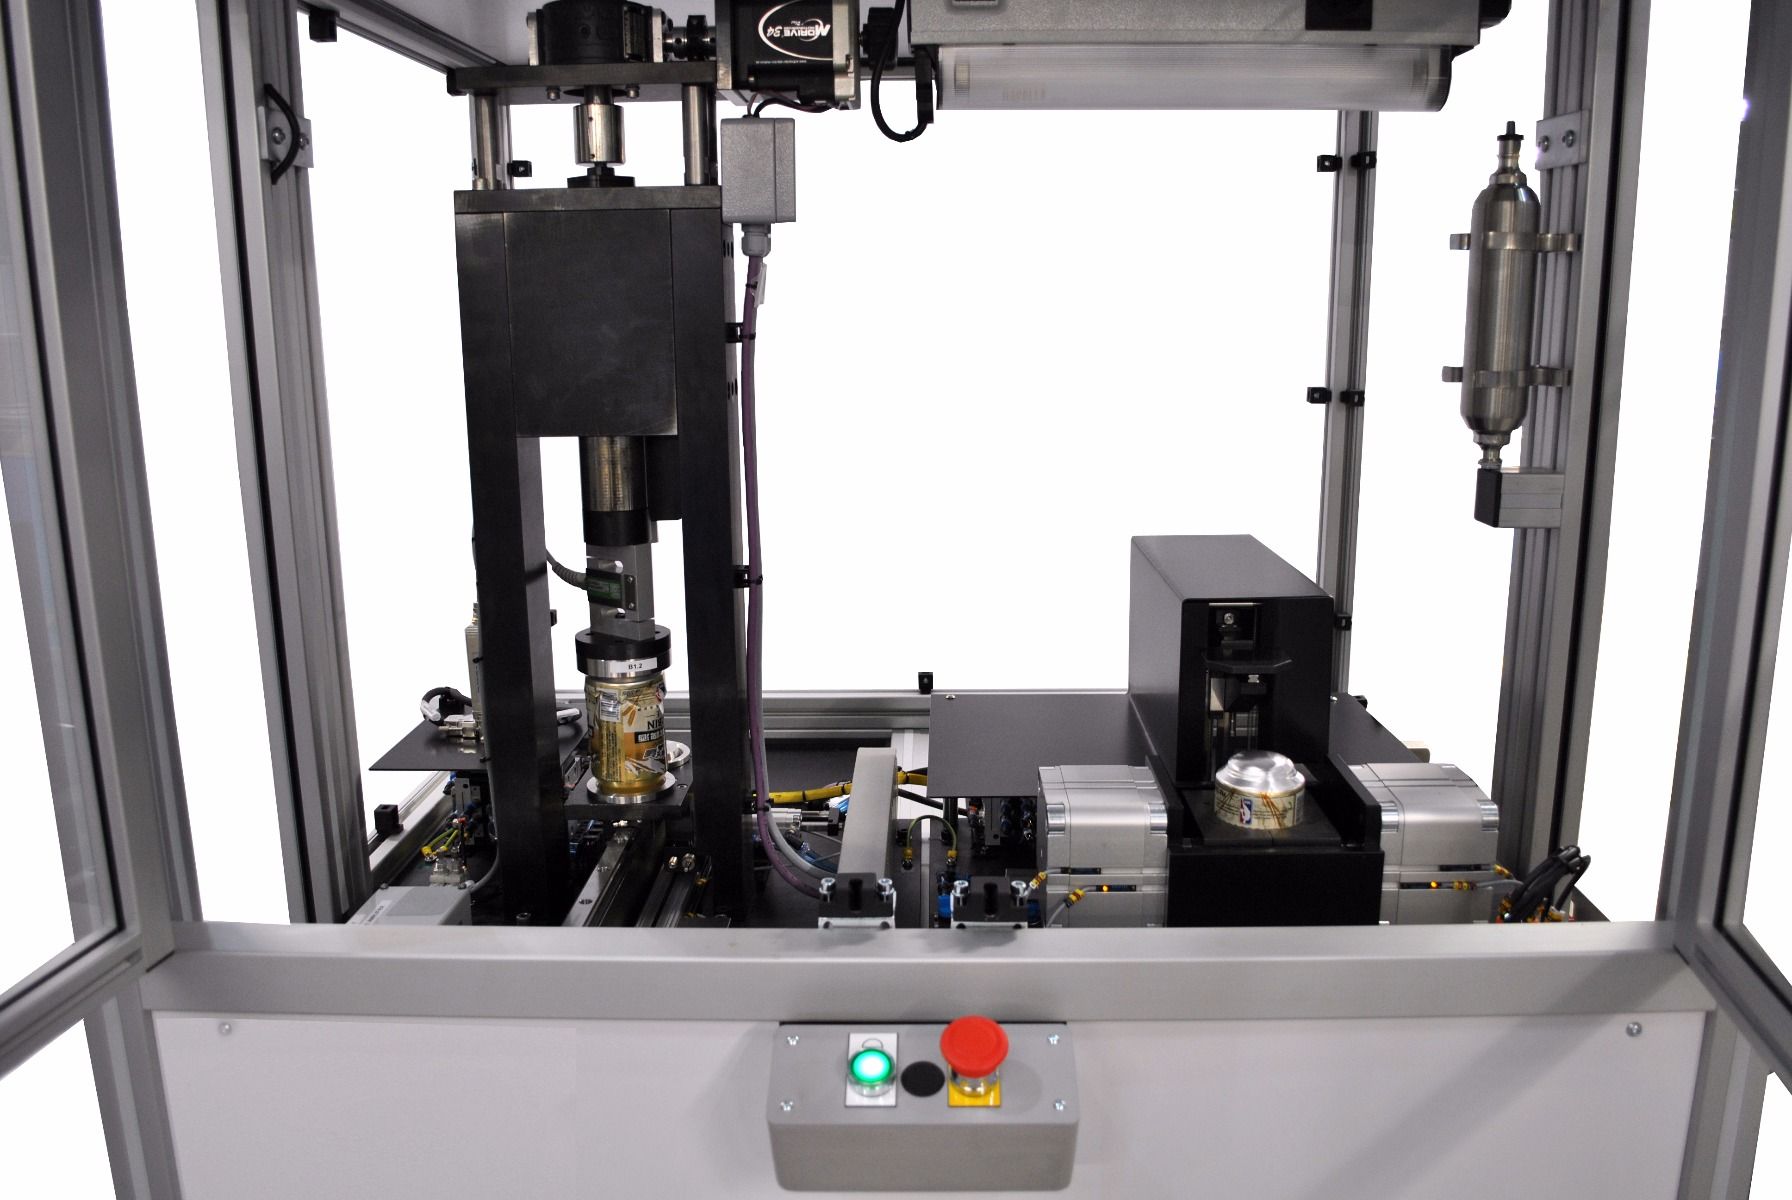


The Z307 Semi-Automatic Bench Top Axial Load Gauge determines the maximum axial load force that can be applied prior to container failure within a short cycle time.
The test will begin once top tooling has detected the start of the axial load via the high accuracy mapped load cell, gathering accurate data throughout the inspection routine. Once the can sample has reached the buckle/column strength maximum achievable load, the result will be shown on screen and exported as necessary.
Measurement Features
Axial Load – The maximum force at which the container fails/collapses | Accuracy: +/- 10 N
Technical Specification
Gauge Features
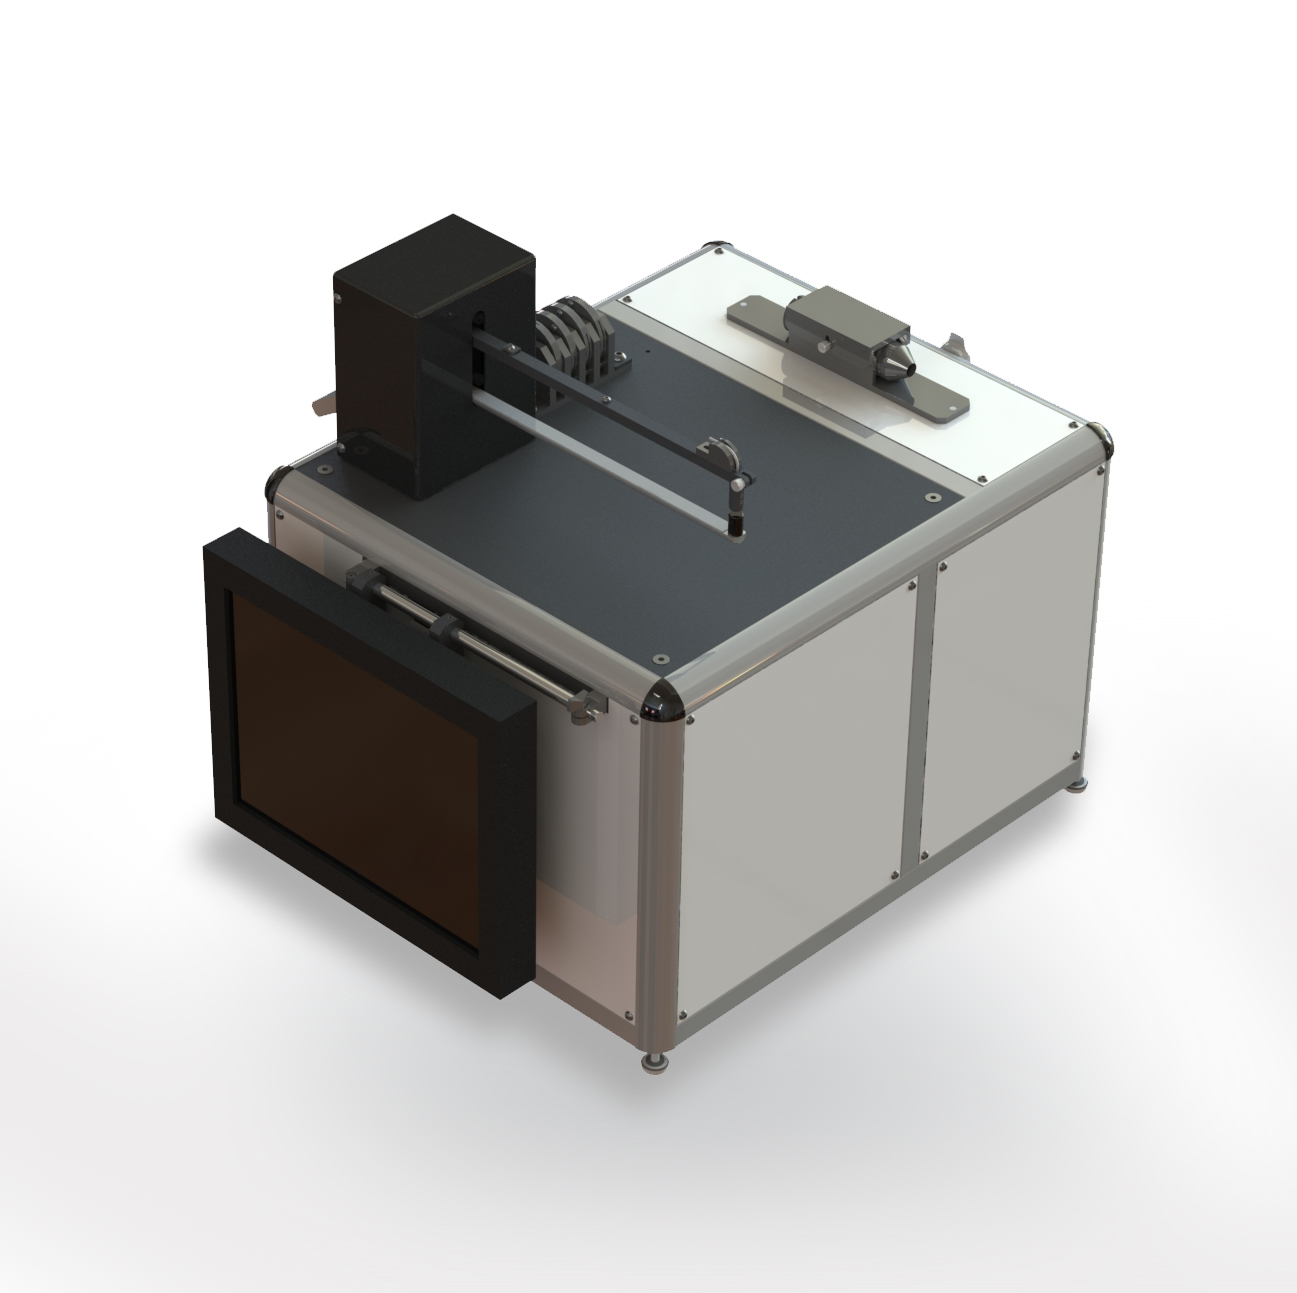
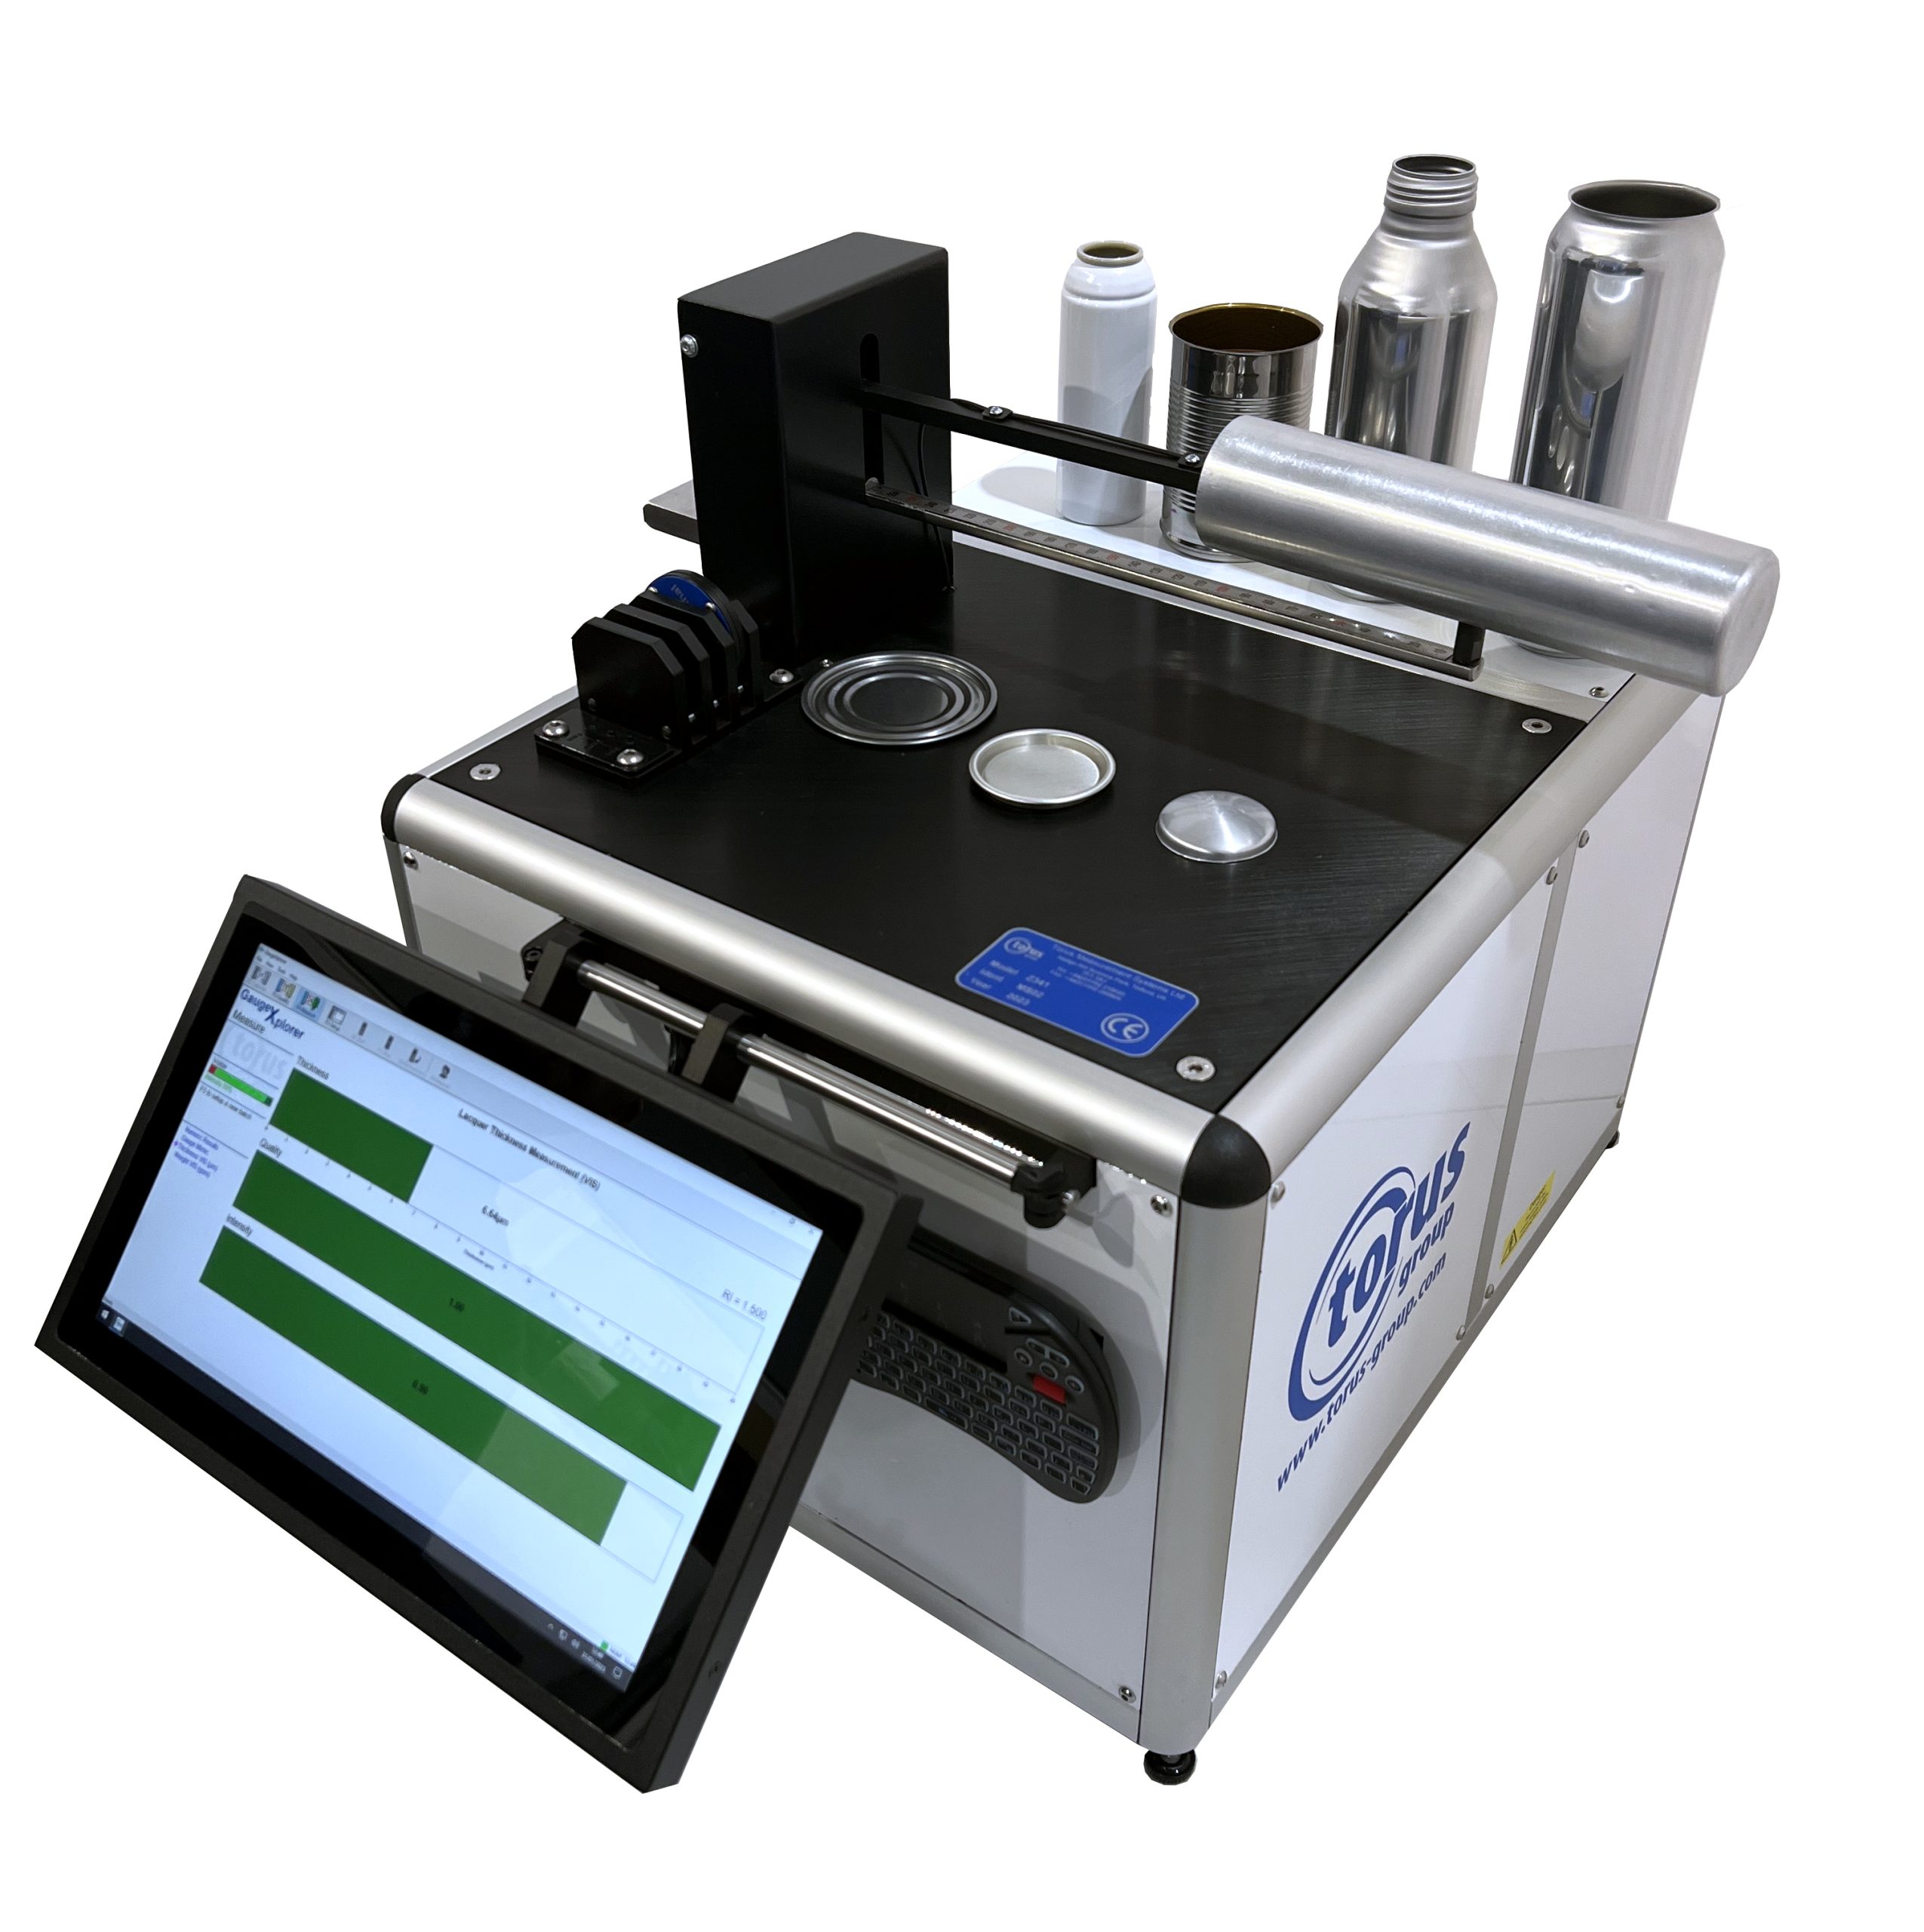
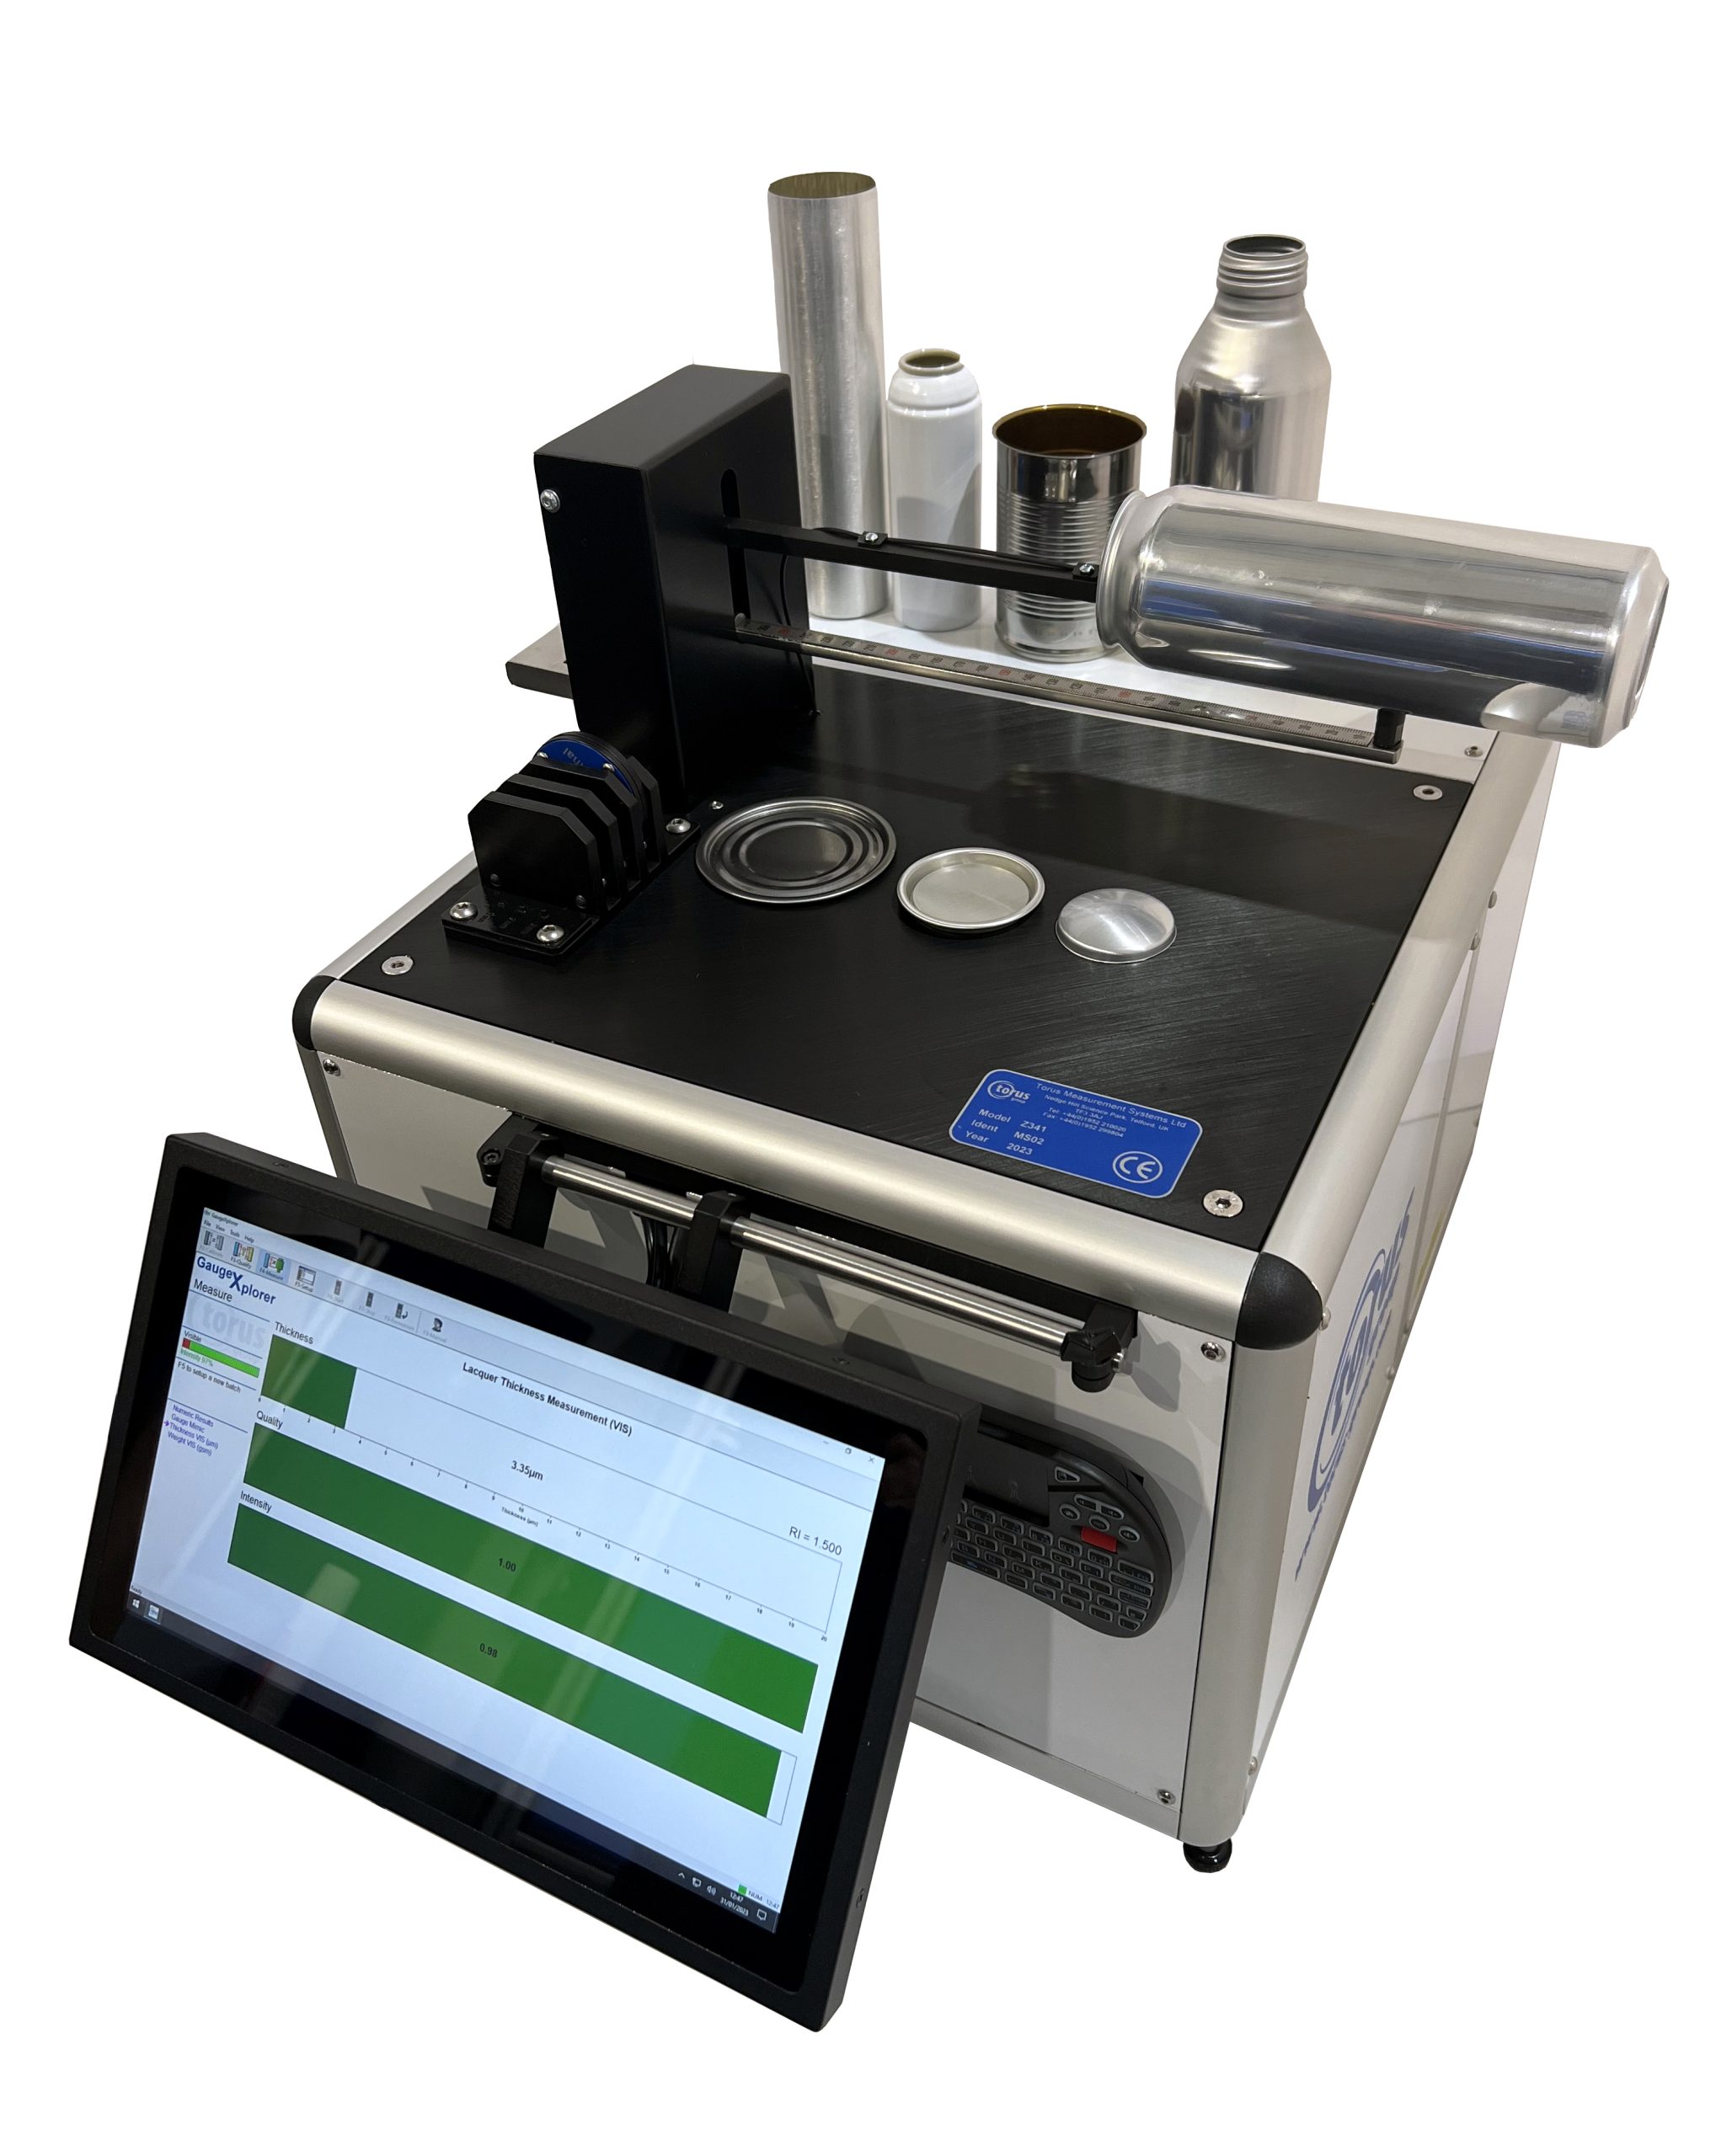
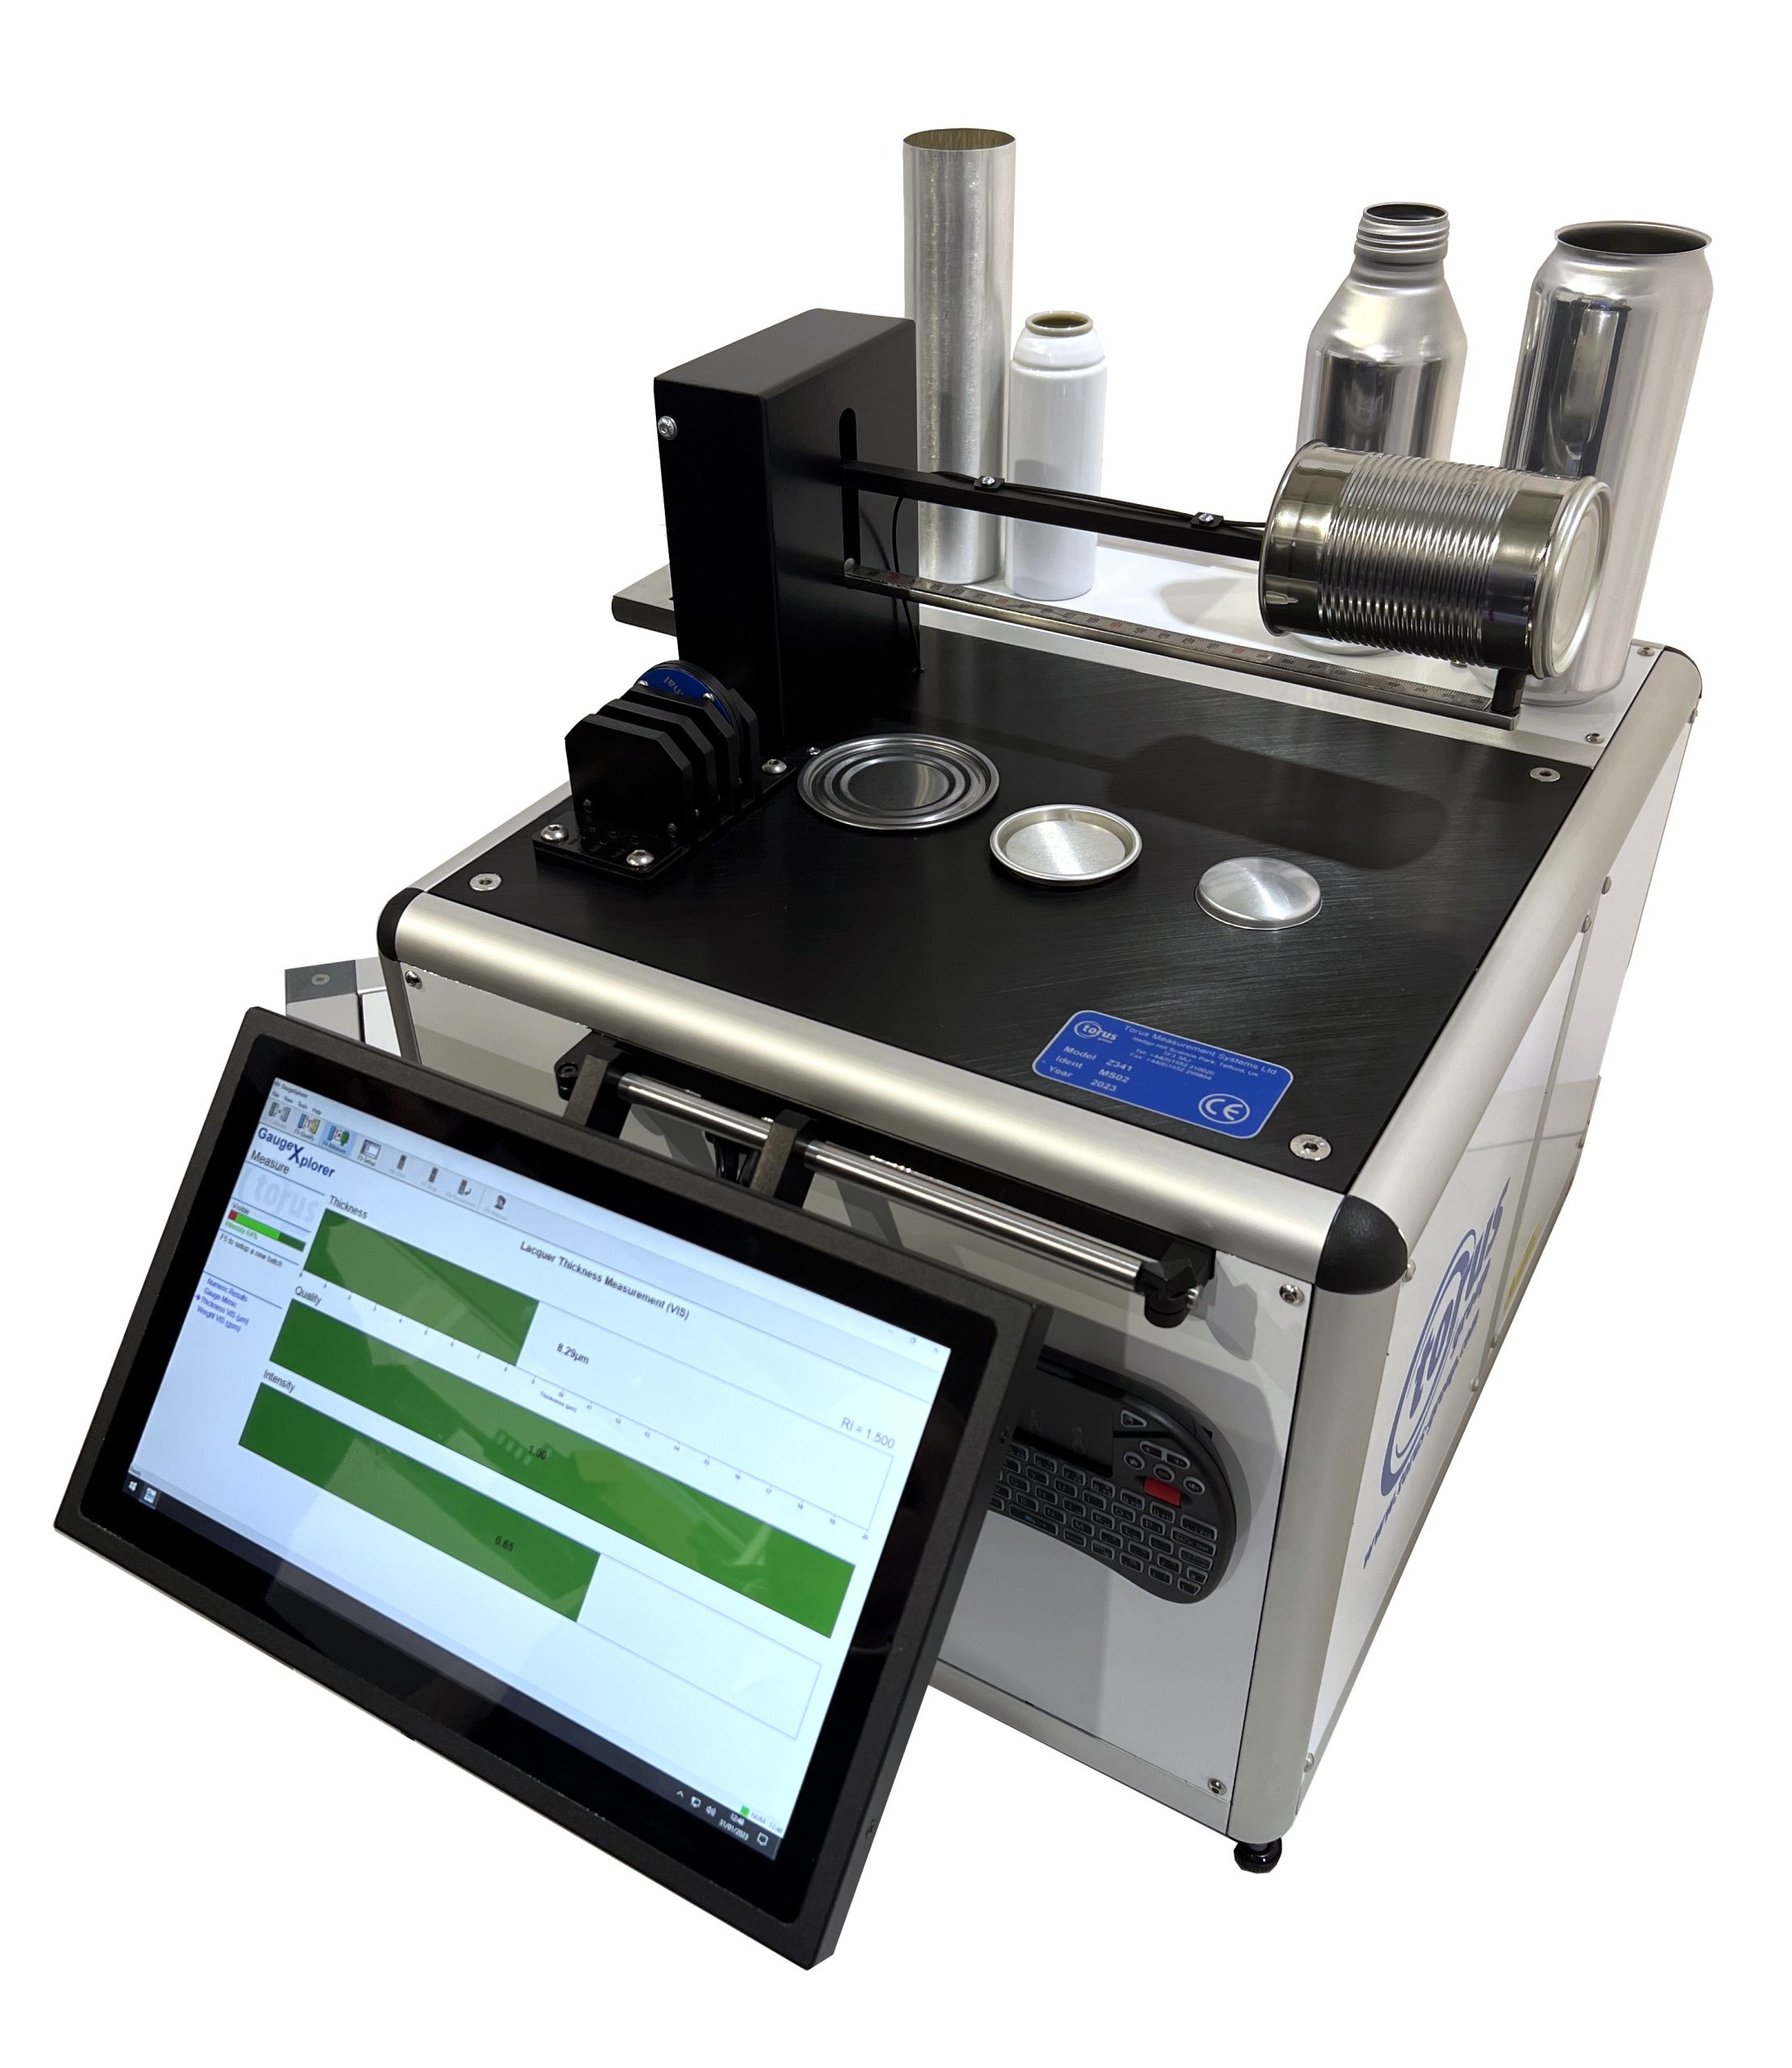
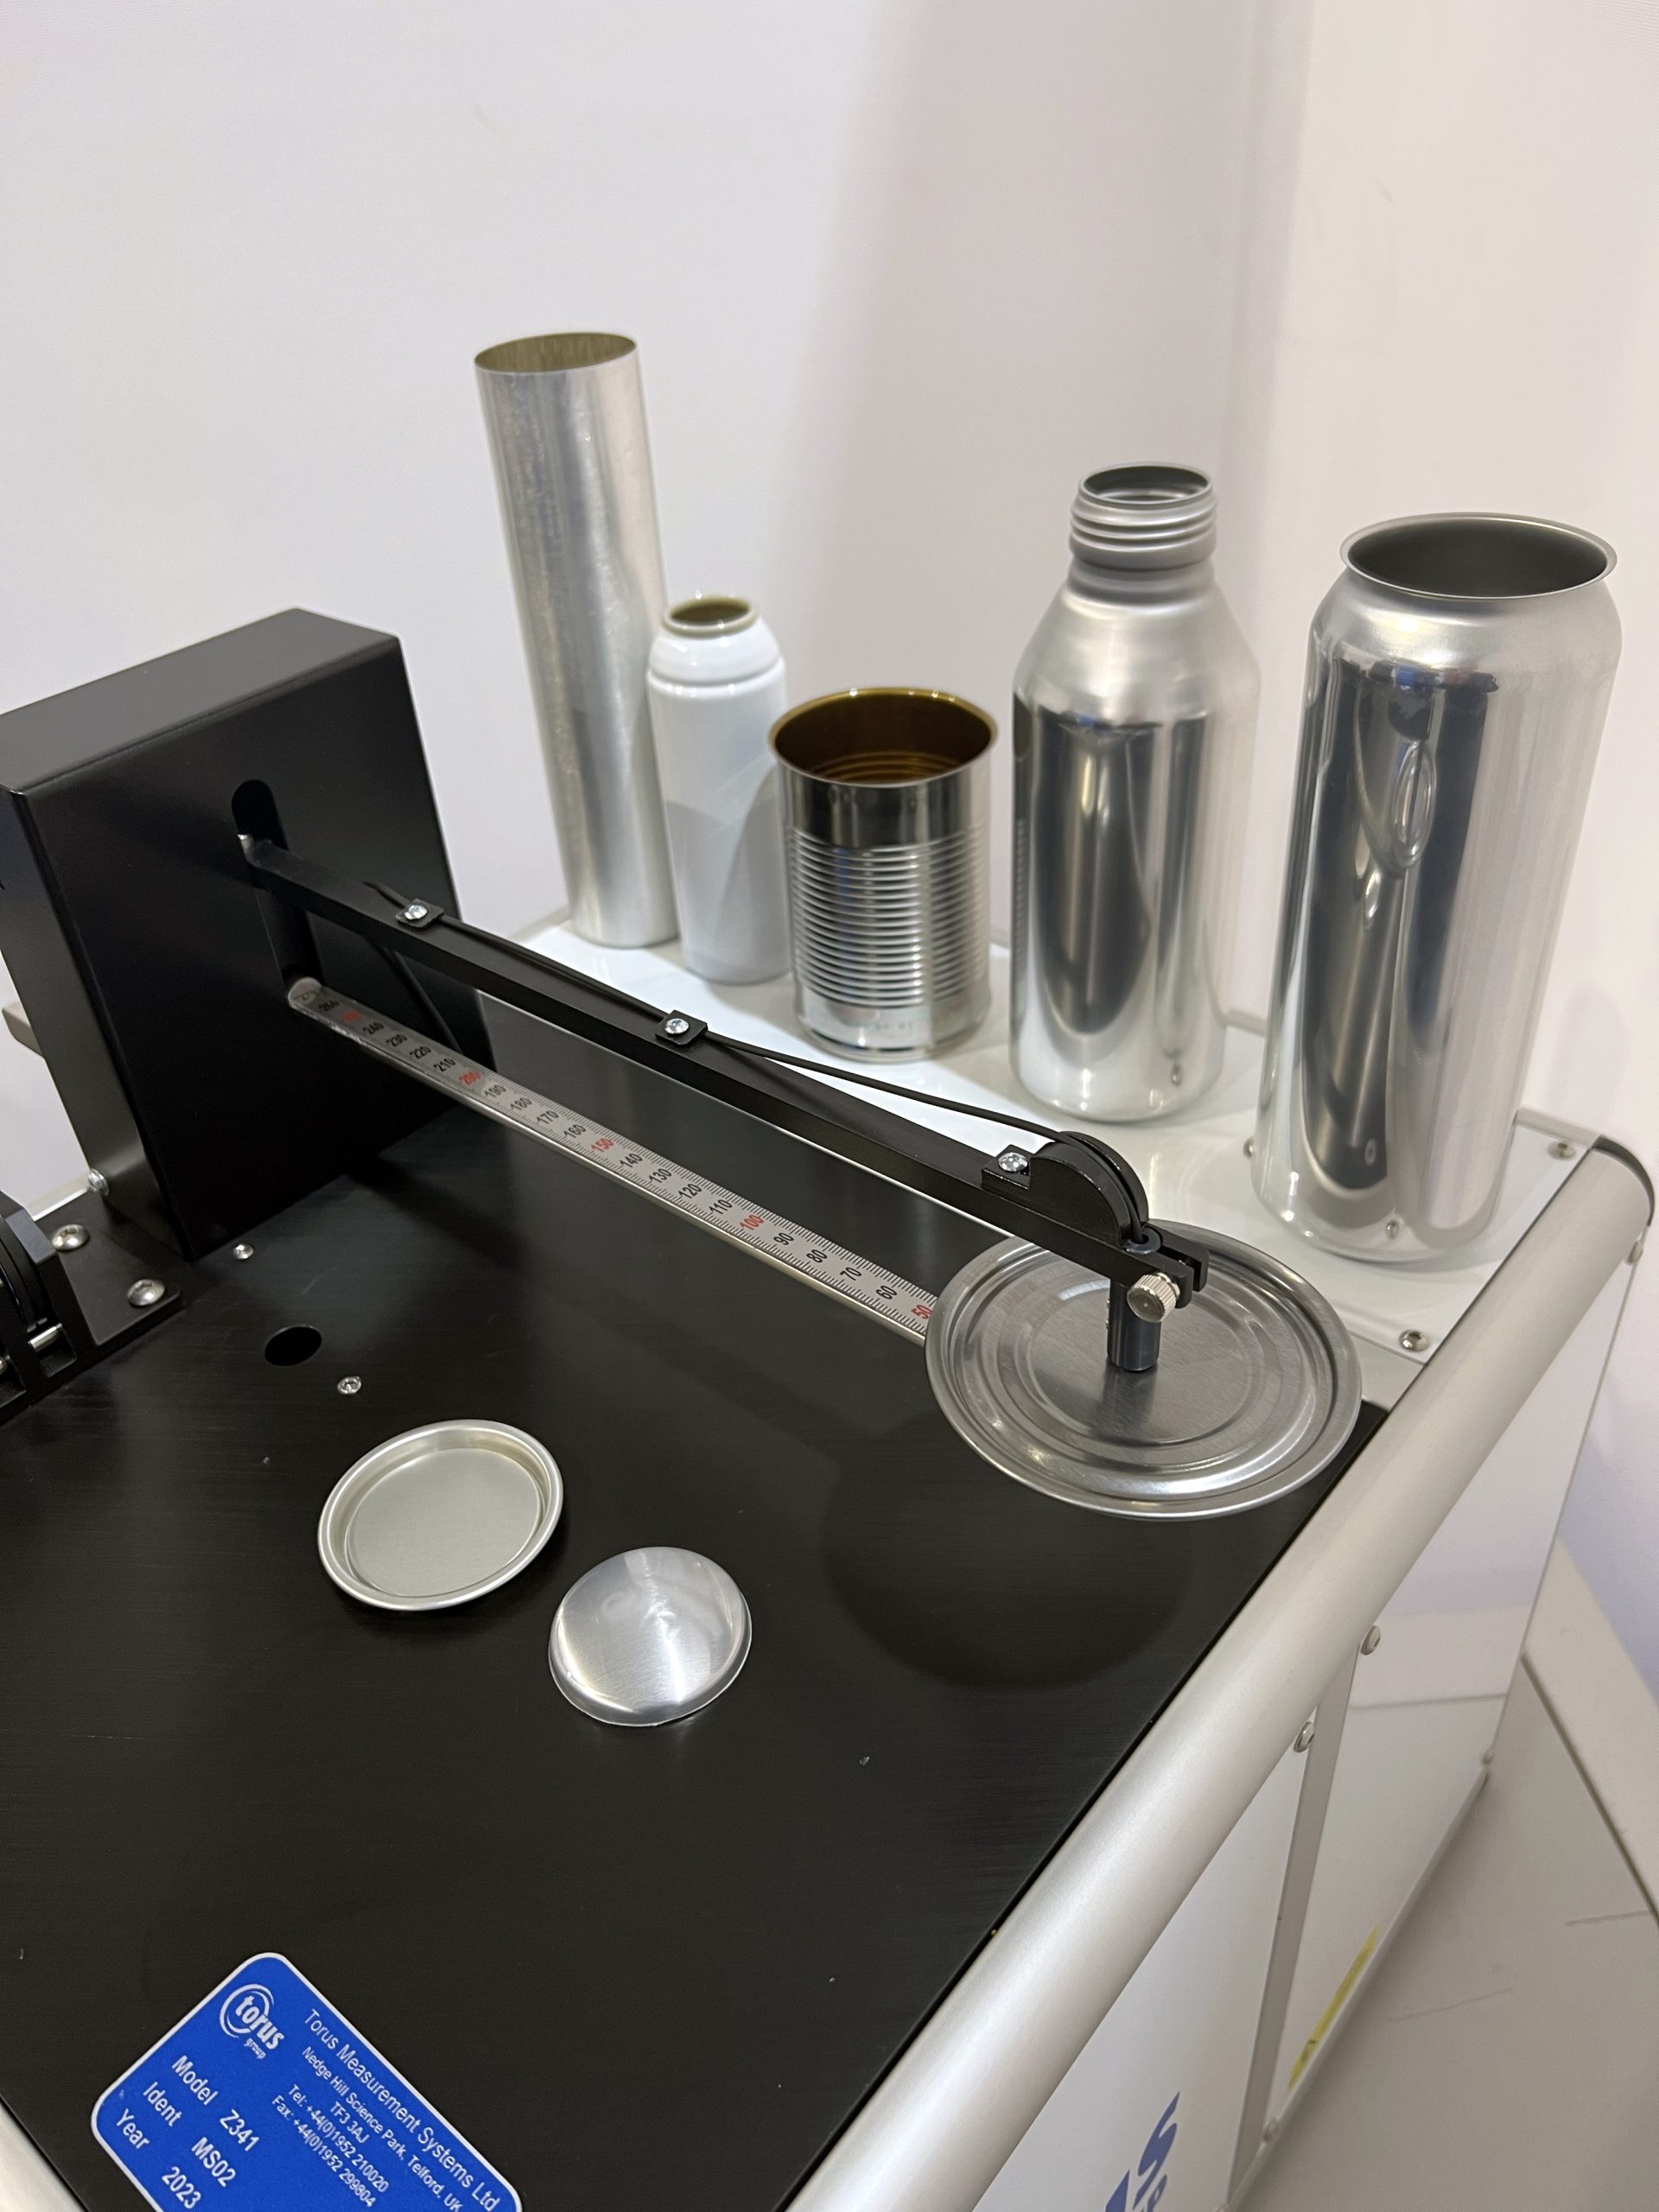


The Z341 Manual Coating Analyser has been developed to give fast and accurate measurement of the internal lacquer, sprayed during today’s 2 piece can manufacturing process
By cutting the can to give suitable access, the dome area of the can is able to be checked by the system.
No “lacquer panels” are required for calibration and measurement data can be exported via on board USB or LAN ports to your factory data acquisition systems where required.
Measurement Features
Technical Specification
Gauge Features


The Z307 Semi-Automatic Bench Top Axial Load Gauge determines the maximum axial load force that can be applied prior to container failure within a short cycle time.
The test will begin once top tooling has detected the start of the axial load via the high accuracy mapped load cell, gathering accurate data throughout the inspection routine. Once the can sample has reached the buckle/column strength maximum achievable load, the result will be shown on screen and exported as necessary.
Torus Food Can Gauging

Measurement Features
Axial Load – The maximum force at which the container fails/collapses | Accuracy: +/- 10 N
Technical Specification
Gauge Features


The Z341 Manual Coating Analyser has been developed to give fast and accurate measurement of the internal lacquer, sprayed during today’s 2 piece can manufacturing process
By cutting the can to give suitable access, the dome area of the can is able to be checked by the system.
No “lacquer panels” are required for calibration and measurement data can be exported via on board USB or LAN ports to your factory data acquisition systems where required.
Torus Food Can Gauging

Measurement Features
Technical Specification
Gauge Features
Introducing Torus’ Z704 RemoteXplorer, offering remote visual global support from our head office
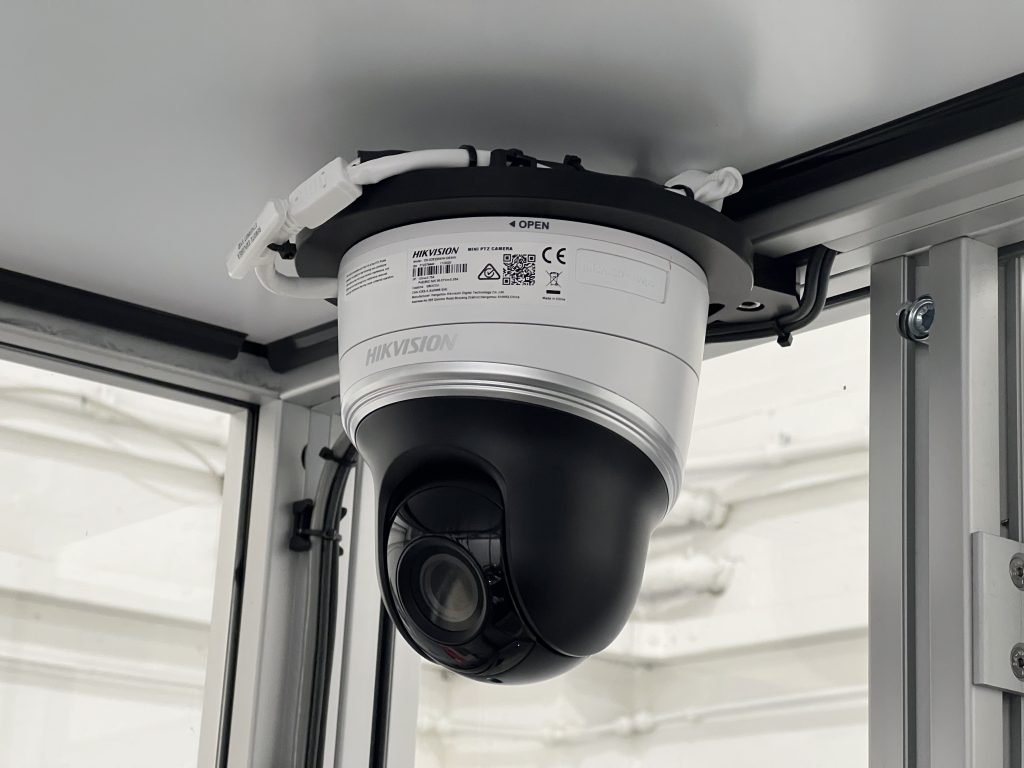
Remote support has been available for many years via Torus’ global helpdesk team, but only now can ‘eyes on’ support be offered via a new extension of Torus’ traditional GaugeXplorer software. RemoteXplorer, with the permission of customers, the gauges can now be monitored visually using RemoteXplorer’s newly developed pan and tilt camera system and software package.
How can we help you?
Using Industry standard database platforms, SPCXplorer is suitable for single station application, through to full factory database-centric network installations.Statistical Process Control (SPC) software is essential for manufacturing wide quality monitoring.
Upgrade Existing SPC Software Systems
With our database migration tools and backward compatibility architecture, users of the previous generation Repro2000 statistical process control software can upgrade with minimal disruption to their daily operation.
Designed with the needs of shop-floor data collection in mind, SPCXplorer can be interfaced to a large variety of manual instrumentation via RS232 connectivity, or for more complex gauging systems, can process bespoke ASCII data files via Ethernet.
The Reporting module ensures the data is displayed in the right format for your quality reviews, and with its simple and powerful administration functions, access to the management and configuration areas of the software is password protected for assured security.
Reliable & Professional SPC Software for Industry – SPCXplorer
Statistical Process Control software helps prevent business relative issues before they occur, via the use of data driven quality analysis. This enables you to monitor your production process by utilising visual diagrams such as Control Charts, customers have the ability to create specific control boundaries for all of their process monitoring needs. SPCXplorer detects manufacturing issues before they occur.
Using statistical process control software and knowing how efficient your processes are running, helps give the operators valuable information on whether to instigate or adjust their manufacturing processes or whether to carry on with the current process.
Want to know more about our SPC software? Contact us today.
How can we help you?
Torus Technology Group
Nedge Hill Science Park, Telford, Shropshire, TF33AJ, UK
Registered in England, Number 08664999
